
1. Introduction
Thank you for choosing the MSI PRO MP223 E2 21.45-inch Full HD Monitor. This manual provides essential information for the safe and efficient use of your new monitor. Please read it thoroughly before installation and operation, and keep it for future reference. This monitor is designed to enhance your productivity and viewing experience with its 100Hz refresh rate, Full HD resolution, and advanced eye-care features.

Figure 1.1: Front view of the MSI PRO MP223 E2 Monitor.
2. Safety Information
- Always place the monitor on a stable, flat surface to prevent it from falling.
- Do not block ventilation openings. Ensure adequate space around the monitor for proper airflow.
- Use only the power adapter and cables provided by the manufacturer.
- Avoid exposing the monitor to water, moisture, or extreme temperatures.
- Do not attempt to repair the monitor yourself. Refer all servicing to qualified personnel.
- Unplug the monitor from the power outlet before cleaning.
3. Package Contents
Verify that all items are present in your package. If any item is missing or damaged, contact your retailer.
- MSI PRO MP223 E2 Monitor
- Monitor Stand (Base and Neck)
- Power Adapter and Power Cord
- HDMI Cable
- Quick Start Guide
4. Product Features
The MSI PRO MP223 E2 monitor is equipped with several features designed for comfort and performance:
- 21.45-inch Full HD Display: Enjoy crisp visuals with a 1920x1080 resolution.
- 100Hz Refresh Rate: Provides a smoother visual experience compared to standard 60Hz monitors.
- EyesErgo Technology: Incorporates eye-friendly features and an ergonomic stand design.
- TÜV Rheinland Eye Comfort Certified: Features Less Blue Light and Anti-Flicker technologies to reduce eye strain during prolonged use.
- Anti-Glare Screen: Reduces reflections and glare for improved viewing comfort.
- Eye-Q Check Function: Accessible via the OSD menu, this feature allows users to self-assess and maintain their eye health.
- Tilt Adjustment: The stand allows for tool-free tilt adjustments for optimal viewing angles.
- VESA Mount Compatible: Supports 75mm VESA mounts for alternative mounting solutions (e.g., wall or arm mounts).
- Accessory Slot: An embedded slot in the base provides convenient storage for pens or styluses.
- Versatile Connectivity: Includes HDMI 1.4b and DisplayPort 1.2a for connecting to various devices.

Figure 4.1: Details of the monitor's stand, ports, and TÜV Rheinland certification.
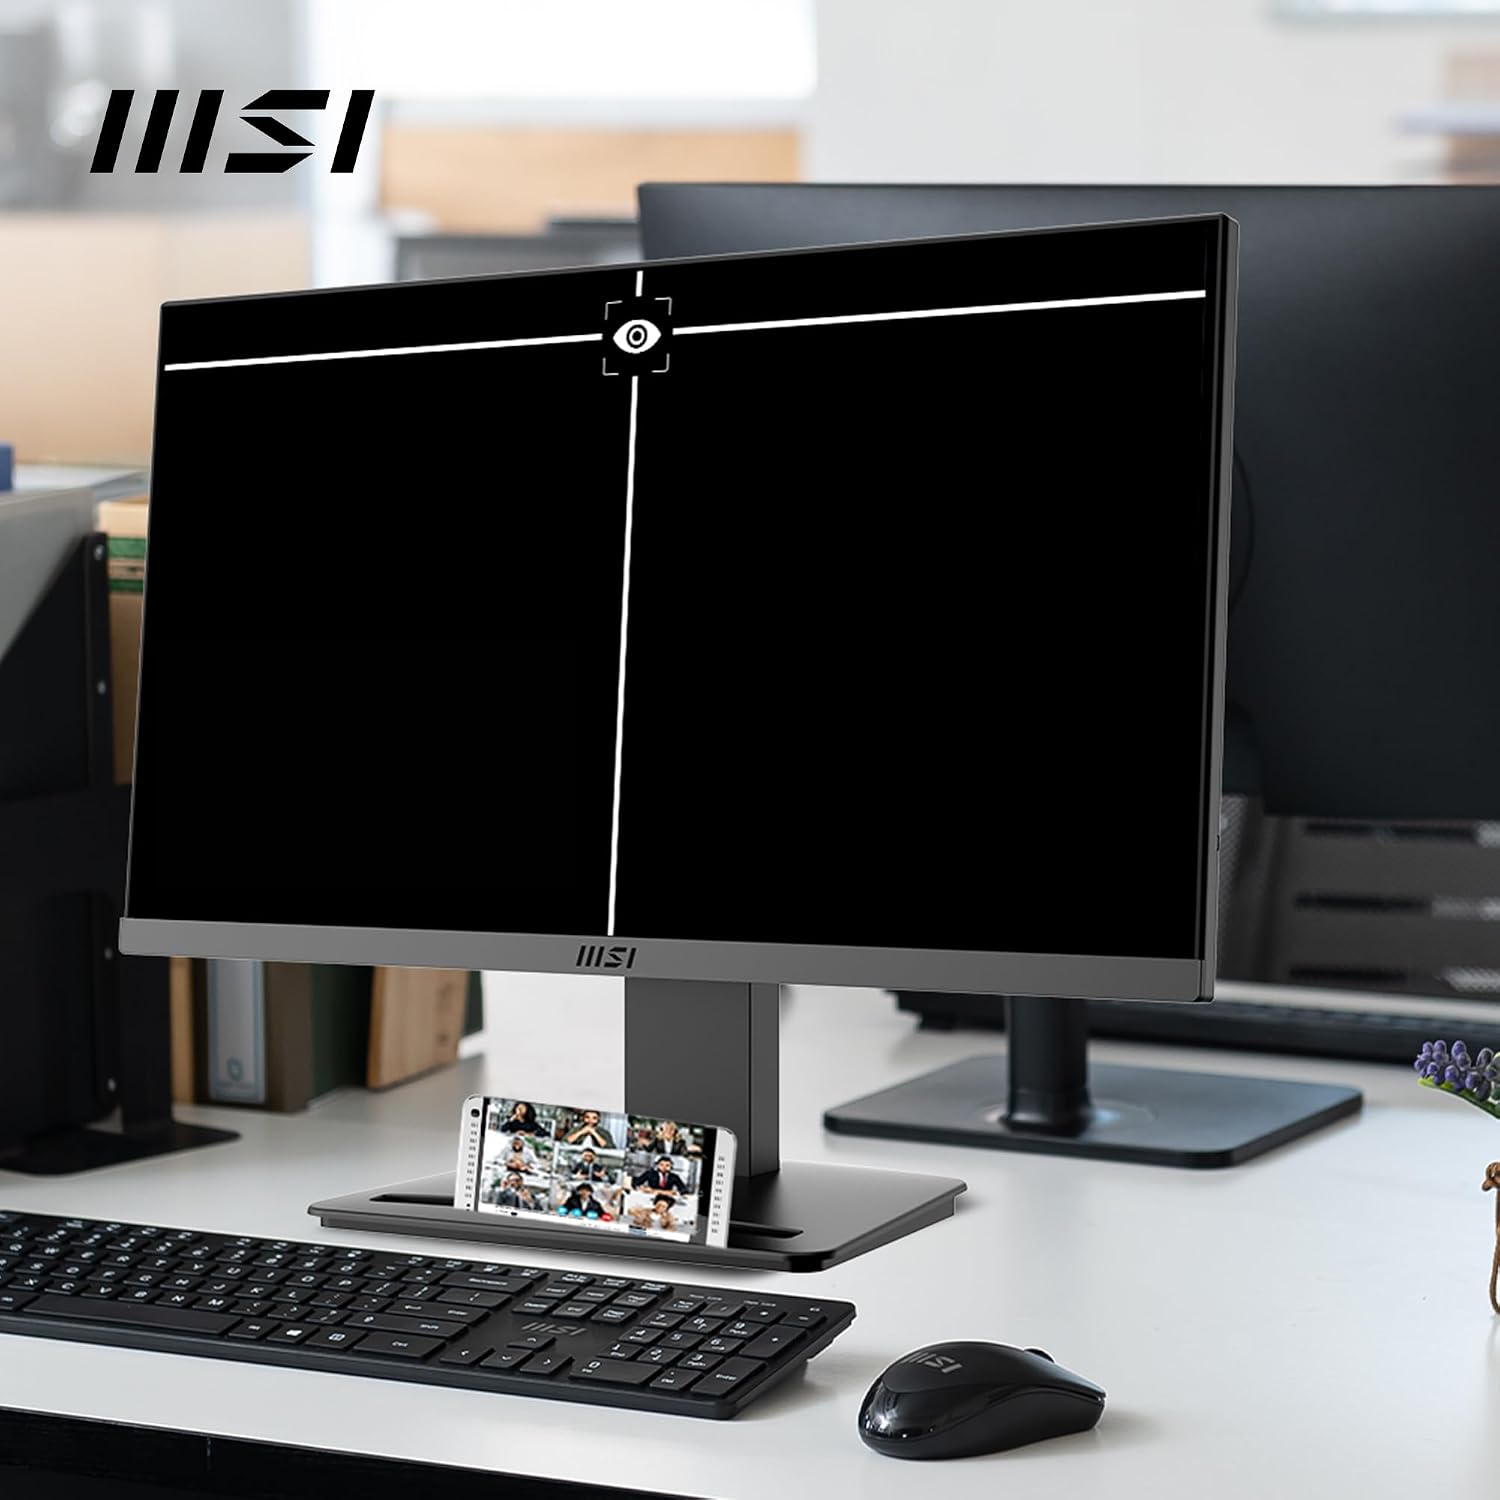
Figure 4.2: Monitor in use, highlighting the accessory slot.
5. Setup
5.1 Assembling the Stand
- Carefully remove the monitor and stand components from the packaging.
- Attach the stand neck to the monitor panel. Ensure it clicks securely into place.
- Attach the stand base to the stand neck. Tighten any screws if necessary (tool-free design for most parts).
- Place the assembled monitor on a stable desk or surface.
5.2 Connecting to a Computer
The monitor supports both HDMI and DisplayPort connections.
- HDMI Connection: Connect one end of the HDMI cable to the HDMI port on your computer and the other end to the HDMI 1.4b port on the monitor.
- DisplayPort Connection: Connect one end of the DisplayPort cable to the DisplayPort on your computer and the other end to the DisplayPort 1.2a port on the monitor.
5.3 Connecting Power
- Connect the power adapter to the monitor's power input port.
- Plug the power cord into the power adapter.
- Plug the other end of the power cord into a grounded electrical outlet.
5.4 Initial Power On
Press the power button located on the monitor to turn it on. The monitor will automatically detect the input signal. If no signal is detected, ensure your computer is powered on and the video cable is securely connected.
5.5 VESA Mounting (Optional)
The monitor is compatible with 75mm VESA mounting standards. To mount the monitor on a wall or arm, remove the stand and attach a VESA-compatible bracket (not included) to the monitor's rear mounting holes.

Figure 5.1: Monitor mounted on a VESA arm.
6. Operating
6.1 OSD Menu Navigation
The On-Screen Display (OSD) menu allows you to adjust various monitor settings. Use the joystick or buttons (depending on model variation) located on the monitor to navigate the menu.
- Press the OSD button/joystick to open the OSD menu.
- Move the joystick/buttons up/down/left/right to navigate through options.
- Press the OSD button/joystick to confirm a selection.
- Press the OSD button/joystick again or move left to exit a submenu or the OSD.
6.2 Adjusting Display Settings
Within the OSD menu, you can adjust settings such as:
- Brightness/Contrast: Adjust the overall luminance and contrast of the display.
- Color Temperature: Select from various presets (e.g., Warm, Cool, User) to change the color balance.
- Input Source: Manually select between HDMI and DisplayPort inputs.
- Refresh Rate: Ensure your system is configured to output 100Hz for the smoothest experience. If your monitor is stuck at 60Hz, you can change it via your operating system or graphics card control panel.
To change refresh rate in Windows 10/11:
- Right-click on your desktop and select Display settings.
- Scroll down and click on Advanced display (or Advanced display settings).
- Ensure your MSI monitor is selected in the dropdown menu.
- Under Choose a refresh rate, click the dropdown and select 100 Hz.
For NVIDIA/AMD Graphics Card Control Panel:
- NVIDIA: Right-click desktop > NVIDIA Control Panel > Change resolution > select 100Hz.
- AMD: Right-click desktop > AMD Software: Adrenalin Edition > Display > adjust the refresh rate.
6.3 Eye-Care Features
The monitor includes several features to protect your eyes:
- Less Blue Light: Reduces the emission of harmful blue light. This can be adjusted in the OSD menu.
- Anti-Flicker: Prevents screen flickering, which can cause eye strain and fatigue. This feature is always active.
- Eye-Q Check: Access this function through the OSD menu to perform a quick self-assessment of your eye health.
6.4 Tilt Adjustment
You can adjust the tilt angle of the monitor for a more comfortable viewing position. Gently hold both sides of the monitor panel and tilt it forwards or backwards within the range of -5° to 20°.

Figure 6.1: Monitor tilt adjustment range.
7. Maintenance
7.1 Cleaning the Monitor
- Always unplug the monitor from the power outlet before cleaning.
- Use a soft, lint-free cloth slightly dampened with water or a mild, non-abrasive screen cleaner.
- Do not spray cleaner directly onto the screen. Apply it to the cloth first.
- Avoid using harsh chemicals, abrasive pads, or solvents.
7.2 Storage
When storing the monitor for an extended period, ensure it is powered off and unplugged. Store it in a cool, dry place, preferably in its original packaging to protect it from dust and physical damage.
8. Troubleshooting
If you encounter issues with your monitor, refer to the following common problems and solutions:
- No Power: Ensure the power cord is securely connected to the monitor and a working electrical outlet. Check the power adapter.
- No Signal: Verify that the video cable (HDMI or DisplayPort) is correctly connected to both the monitor and your computer. Ensure your computer is powered on and not in sleep mode. Try switching input sources via the OSD menu.
- Flickering Screen: Check the video cable connection. Ensure the refresh rate is set correctly (100Hz) in your operating system settings.
- Image Too Dark/Bright: Adjust the brightness and contrast settings in the OSD menu.
- Incorrect Colors: Adjust color temperature settings in the OSD menu. Ensure your graphics card drivers are up to date.
- Monitor Stuck at 60Hz: Refer to Section 6.2 for detailed instructions on how to change the refresh rate in Windows or your graphics card control panel.
If the problem persists after trying these steps, contact MSI customer support.
9. Specifications
| Feature | Specification |
|---|---|
| Brand | MSI |
| Model | MP223 E2 |
| Screen Size | 21.45 inches |
| Resolution | 1920 x 1080 (Full HD) |
| Aspect Ratio | 16:9 |
| Refresh Rate | 100 Hz |
| Response Time | 1 ms (MPRT) |
| Panel Type | VA |
| Brightness | 250 nits |
| Contrast Ratio | 3000:1 |
| Viewing Angle | 178° (H) / 178° (V) |
| Color Gamut | 99% sRGB |
| Surface Treatment | Anti-Glare |
| Video Ports | 1x HDMI 1.4b, 1x DisplayPort 1.2a |
| Audio Ports | 1x Headphone Out |
| VESA Mounting | 75mm x 75mm |
| Tilt Adjustment | -5° ~ 20° |
| Dimensions (D x W x H) | 18.2 x 49.5 x 38.5 cm |
| Weight | 2.4 kg |
| Power Input | 240 Volts |
| Additional Features | Adaptive Sync (FreeSync), Eye-Care, Anti-Flicker, Less Blue Light |
10. Warranty and Support
This MSI PRO MP223 E2 monitor comes with a 3-year manufacturer's warranty. For detailed warranty terms and conditions, please refer to the warranty card included with your product or visit the official MSI website.
For technical support, driver downloads, or further assistance, please visit the official MSI support website or contact your local MSI service center. Keep your purchase receipt and product serial number handy when seeking support.
MSI Official Website: www.msi.com


