
Nitecore MH40 Pro
Nitecore MH40 Pro Flashlight Instruction Manual
Model: MH40 Pro
Brand: Nitecore
Product Overview
The Nitecore MH40 Pro is a high-performance, long-throw flashlight designed for various demanding applications such as hunting, search and rescue, and patrolling. It boasts an impressive 3500 lumens output and a beam distance of up to 1421 yards, making it ideal for illuminating distant targets.
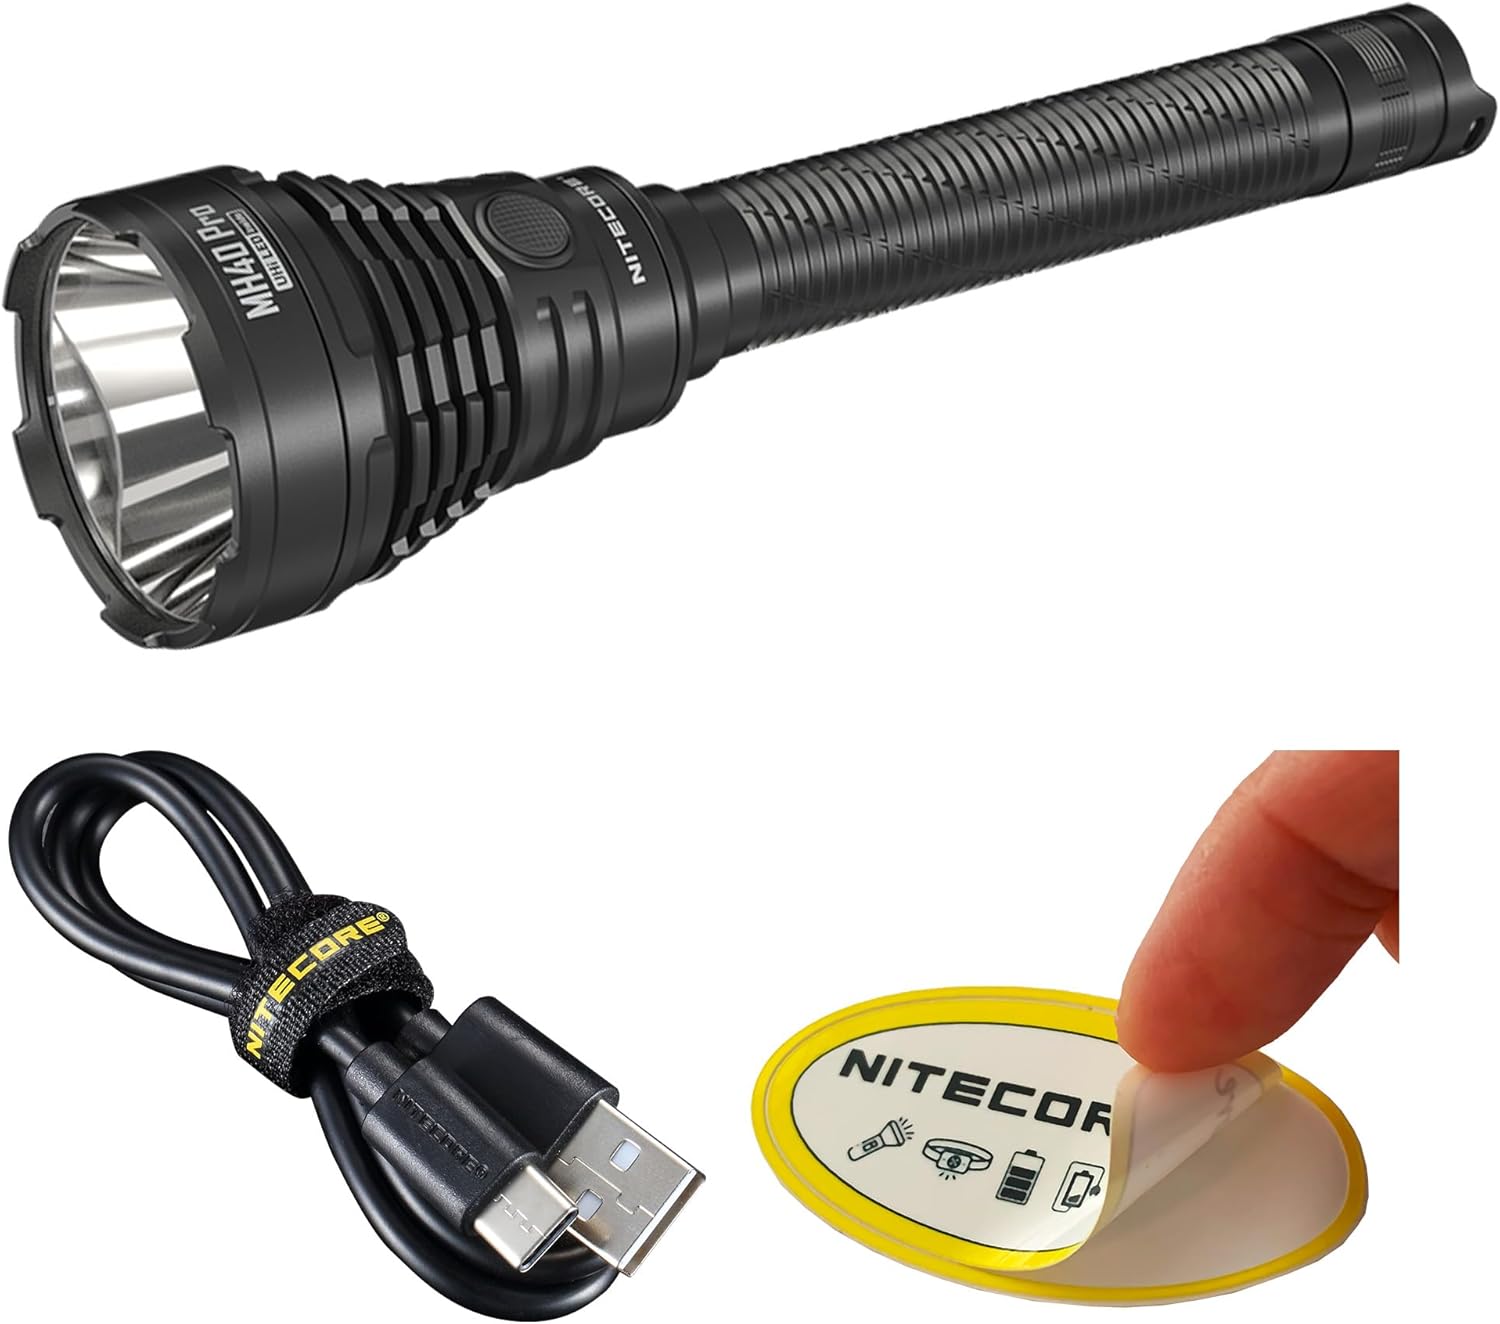
Figure 1: Nitecore MH40 Pro Flashlight
Key features include a USB-C rechargeable battery with extended runtime, a pressure switch for versatile control, and a robust design with an IP68 rating for water and impact resistance. Its advanced temperature regulation ensures reliable performance in diverse environments.
What's in the Box
The Nitecore MH40 Pro package includes all necessary components to get you started:
- Nitecore MH40 Pro Flashlight (with battery pre-installed)
- Lanyard
- Holster
- USB-C Charging Cable
- Pressure Switch
- Hook-and-loop Fastener
- Hook-and-loop Strap x 2
- Mount x 2
- Nitecore Sticker

Figure 2: Included accessories for the MH40 Pro, featuring the USB-C charging cable and Nitecore sticker.
Setup
- Initial Charge: Before first use, fully charge the pre-installed battery using the provided USB-C charging cable. Connect the cable to the flashlight's USB-C port and a compatible power source. The power indicator will show charging status.
- Battery Installation: Ensure the battery is correctly installed with the positive (+) end facing the head of the flashlight.
- Attach Lanyard/Holster (Optional): Attach the lanyard for secure carrying or place the flashlight in its holster for convenient access.
- Pressure Switch Setup (Optional): The wireless pressure switch can be attached to any platform using the hook-and-loop fastener or straps for remote control.
Operating Instructions
Basic Operation (Tail Switch)
- Momentary On: When the light is off, half-press and hold the tail switch to turn on the light momentarily. Release to turn off.
- Constant On/Off: When the light is off, short-press the tail switch until you hear a click sound to turn it on. To turn it off, short-press the tail switch again until you hear a click.
Brightness Levels (Mode Button)
- The MH40 Pro has a memory mode function, meaning it will automatically access the previously memorized brightness level (Low, Mid, High, Turbo) when reactivated.
- When the light is on, short-press the mode button to cycle through the following brightness levels: Low, Mid, High, Turbo.
Special Modes (Strobe, Beacon, SOS)
- When the light is on, keep holding the mode button to cycle through the special modes: Strobe, Beacon, and SOS.
- Release the mode button to select the desired special mode.
- To return to the previous status, short-press the mode button. Alternatively, short-press the tail switch to turn off the light.
Wireless Remote Switch
The MH40 Pro is equipped with a specialized wireless remote switch for convenient control. The buttons on the remote switch have the same functionality as the flashlight's main controls.

Figure 3: Nitecore MH40 Pro shown with its wireless remote control for enhanced usability.
Pairing the Wireless Remote Switch:
- When the flashlight is off, short-press the tail switch while holding the mode button until the light flashes quickly. This indicates it has entered pairing pending status.
- While the flashlight is in pairing pending status, press both the 'A' and 'B' buttons on the wireless remote switch simultaneously until the flashlight becomes steadily turned on. This confirms successful pairing.
Official Product Video: Operation Guide & Features
Video 1: A comprehensive overview of the Nitecore MH40 Pro, including its powerful long-throw capabilities, various brightness modes, the functionality of the wireless remote switch, and battery status indicators. This video also demonstrates the flashlight's durability and performance in real-world scenarios.
Maintenance
- Charging: The MH40 Pro features a USB-C rechargeable battery. When the remaining power is below 10%, the flashlight will vibrate every 10 seconds to remind the user to recharge.
- Battery Status Indication: The power indicator beneath the mode button will flash to show the remaining battery power:
- Flashing 3 times: ≥50%
- Flashing 2 times: <50%
- Flashing 1 time: <25%
- Cleaning: Regularly clean the flashlight's body with a soft, damp cloth. Keep the lens free of dust and debris for optimal light output.
- Lubrication: Apply silicone grease to the O-rings periodically to maintain waterproof integrity.
- Storage: Store the flashlight in a cool, dry place when not in use for extended periods. Remove the battery if storing for several months to prevent leakage.

Figure 4: Visual guide for the intuitive power indication system on the MH40 Pro.

Figure 5: The MH40 Pro vibrates to alert users when battery power is low, ensuring timely recharging.
Troubleshooting
If you encounter issues with your Nitecore MH40 Pro, refer to the following common troubleshooting steps:
| Problem | Possible Cause | Solution |
|---|---|---|
| Flashlight does not turn on. | Low battery; improperly installed battery; loose tail cap. | Charge the battery; ensure battery is installed correctly; tighten the tail cap. |
| Light output is dim or flickers. | Low battery; dirty contacts; loose connections. | Recharge the battery; clean battery contacts and flashlight contacts; ensure all parts are securely tightened. |
| Battery rattles inside the flashlight. | Battery not fitting snugly; incorrect battery size. | Ensure you are using the recommended battery type (1 Lithium Ion battery included). If the issue persists, contact customer support. |
| Lens/reflector rattles or beam is distorted. | Internal component misalignment. | This may indicate a manufacturing defect. Do not attempt to disassemble. Contact customer support for assistance. |
| Wireless remote switch not responding. | Remote switch not paired; out of range; low battery in remote switch. | Re-pair the remote switch (refer to "Pairing the Wireless Remote Switch" section); ensure remote is within 1m (3.28ft) range; check remote switch battery (if applicable, typically integrated with flashlight power). |
Specifications
| Feature | Detail |
|---|---|
| Brand | Nitecore |
| Model | MH40 Pro |
| Special Feature | Long Range, High Power, Durable, Impact Resistant, Rechargeable |
| Color | Black |
| Power Source | Battery Powered |
| Light Source Type | LED |
| Material | Anodized Aluminum |
| White Brightness | 3500 Lumens |
| Light Path Distance | 1421 Yards |
| Battery Cell Composition | Lithium Ion |
| Number of Batteries | 1 Lithium Ion batteries required. (included) |
| Water Resistance Level | Waterproof (IP68 rated) |
| Item Weight | 14.72 ounces |
| Product Dimensions | 2.56"D x 10.08"W x 2.56"H |
| Runtime (Turbo) | 1 hour |
| Manufacturer | Sysmax Innovations Co. |
Warranty and Support
The Nitecore MH40 Pro comes with a Limited Warranty. For detailed warranty information, please refer to the warranty card included in your product packaging or visit the official Nitecore website.
For technical support, troubleshooting assistance, or any product-related inquiries, please contact Nitecore Customer Service. You can often find contact details on the official brand website or through your point of purchase.
Online Resources:
- Visit the official Nitecore Store on Amazon for product information and updates.
Related documentsMH40 Pro


Ask a question about this manual
Ask about setup, troubleshooting, compatibility, parts, safety, or missing instructions. Manuals+ will review the question and use this page’s manual context to help answer it.