1. Introduction
This manual provides detailed instructions for the installation, operation, and maintenance of your GAMDIAS TALOS M3 MESH WH E-ATX Mid Tower Gaming PC Case. Please read this manual thoroughly before beginning assembly to ensure proper setup and optimal performance. Retain this manual for future reference.
2. Safety Information
Observe the following safety precautions during installation and operation:
- Always disconnect the power supply from the wall outlet before performing any installation or maintenance.
- Handle components with care to prevent damage.
- Avoid exposing the case to moisture or extreme temperatures.
- Ensure proper ventilation around the case to prevent overheating.
- Keep small parts and tools away from children.
3. Package Contents
Verify that all components are present in the package:
- GAMDIAS TALOS M3 MESH WH PC Case
- Accessory Box (screws, standoffs, cable ties, etc.)
- User Manual (this document)
- Pre-installed 140mm PWM ARGB Fans (x2)
- Pre-installed 120mm PWM ARGB Fan (x1)
4. Setup and Installation
4.1. Component Overview
Familiarize yourself with the main features and layout of the PC case.
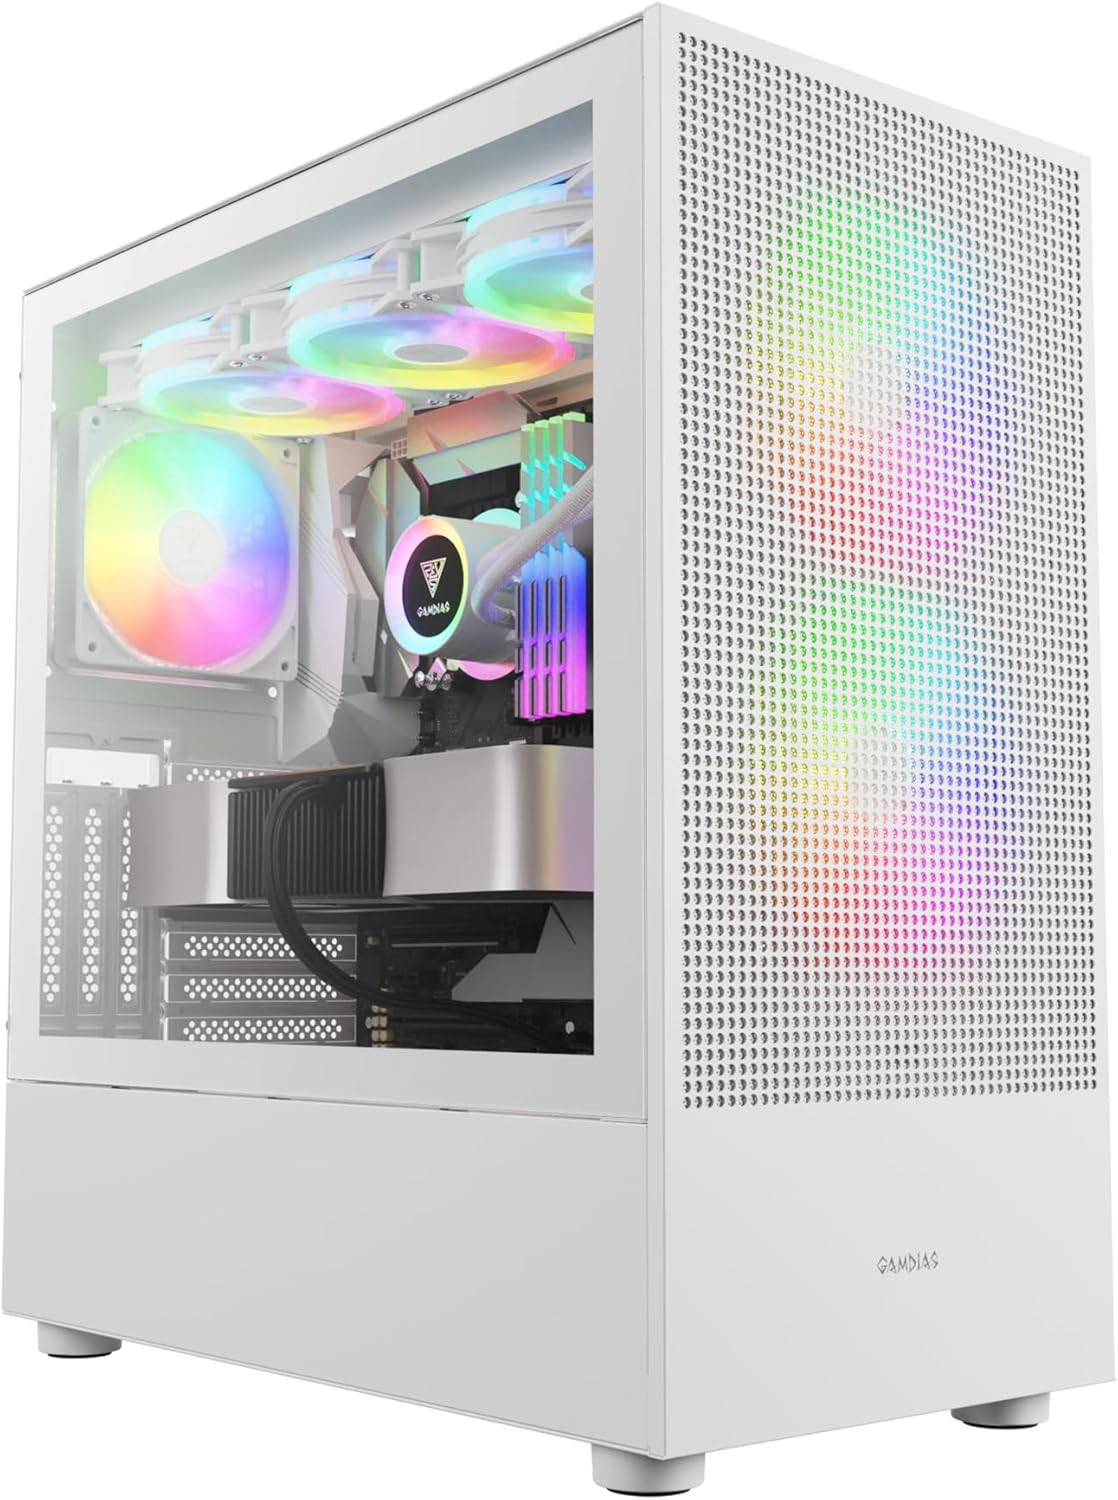
Figure 4.1: Front view of the GAMDIAS TALOS M3 MESH WH PC case, showcasing its tempered glass side panel and pre-installed ARGB fans.
4.2. Airflow and Cooling Configuration
The TALOS M3 MESH WH is designed for optimal airflow to keep your components cool.

Figure 4.2: Diagram illustrating the optimized airflow design of the TALOS M3 MESH series, highlighting the mesh front panel and fan configuration for enhanced cooling.

Figure 4.3: Close-up view of the perforated front panel with 5.0mm air vents, designed for superior air intake.

Figure 4.4: Illustration of the three pre-installed ARGB PWM fans (two 140mm, one 120mm) and the integrated 6-port PWM ARGB fan hub for lighting and fan speed control.

Figure 4.5: Diagram detailing the cooling compatibility, including support for 360/280mm radiators and CPU cooler height up to 180mm.
4.3. Interior Accommodation and Component Installation
The case offers ample space for various high-end components.
4.3.1. Motherboard and GPU Installation
The TALOS M3 MESH WH supports E-ATX, ATX, Micro ATX, and Mini ITX motherboards. It accommodates VGA cards up to 390mm in length and CPU coolers up to 180mm in height.
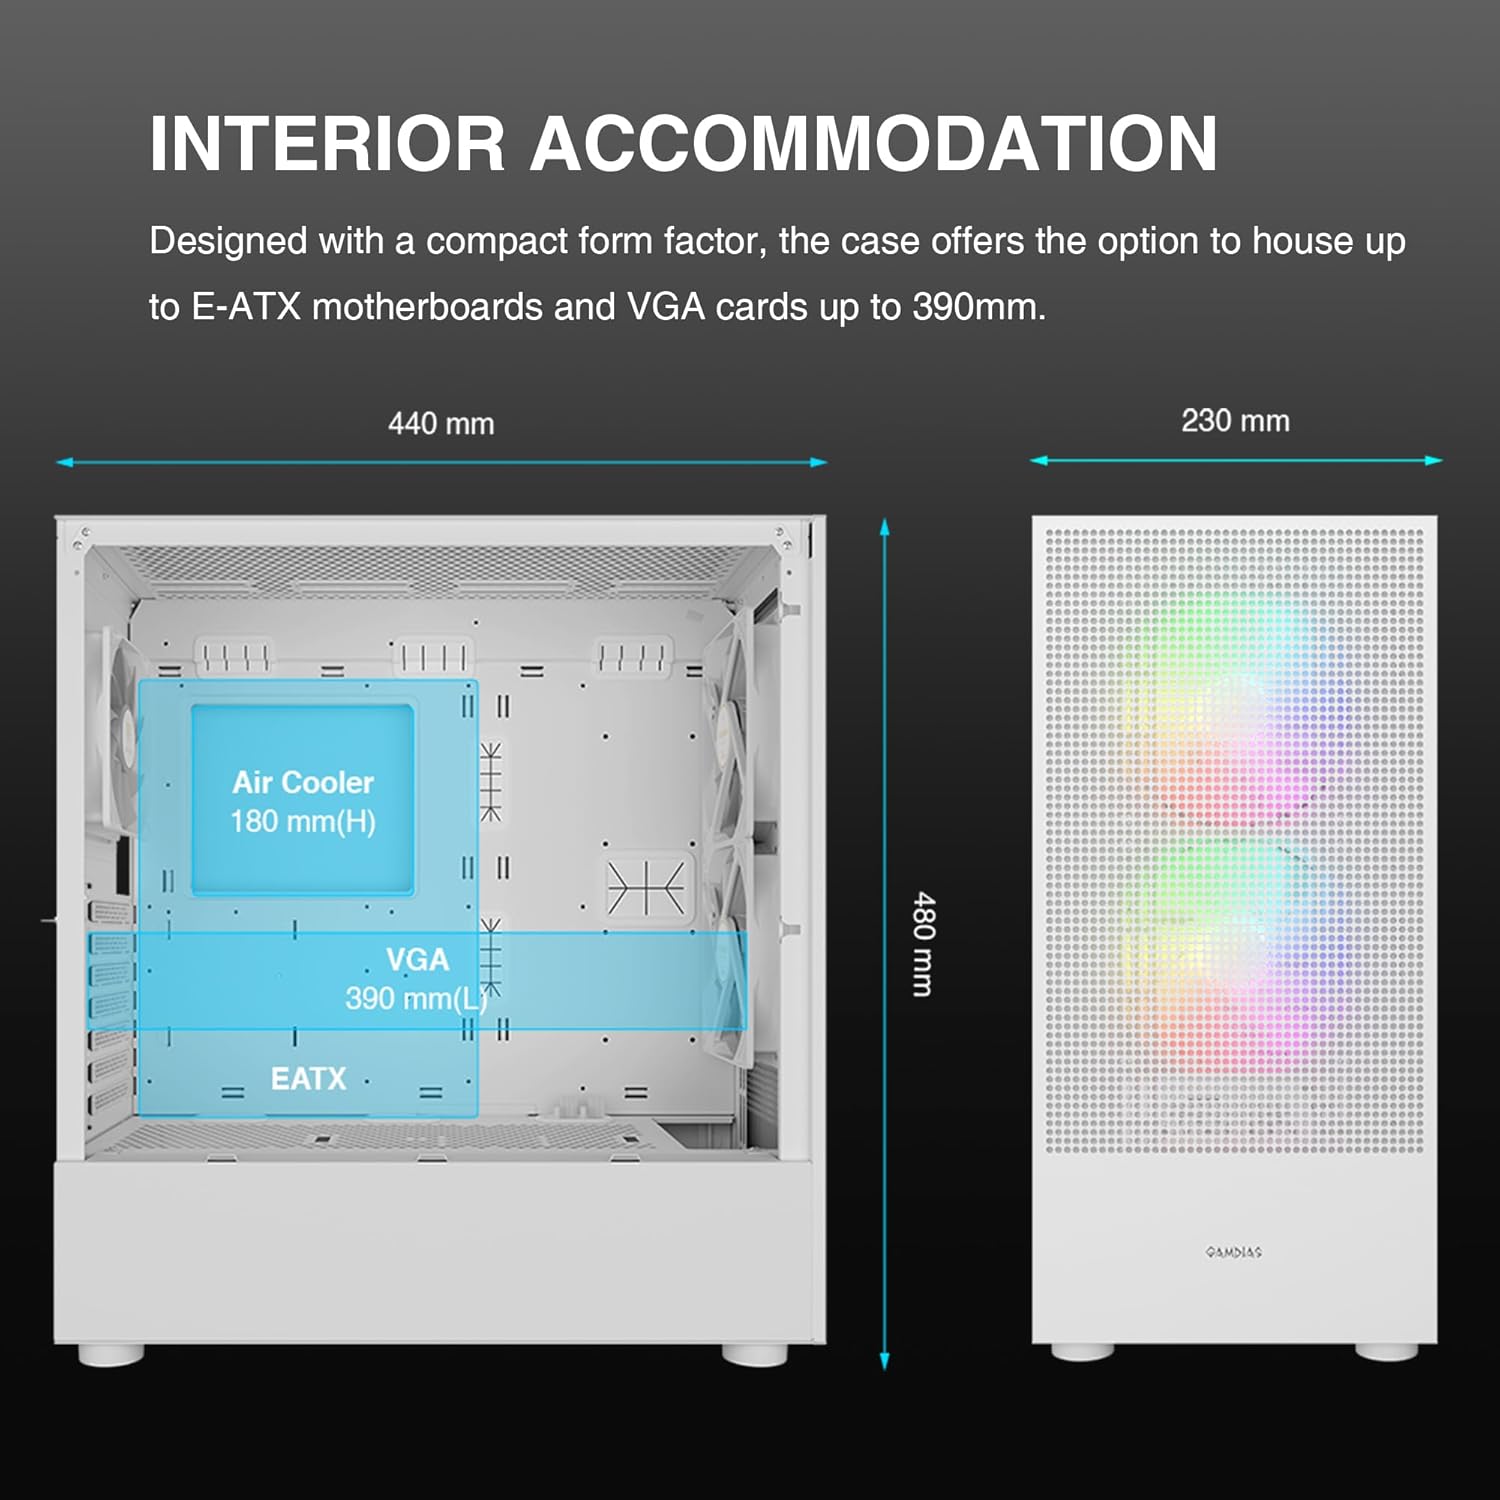
Figure 4.6: Internal view of the case showing space for E-ATX motherboards, VGA cards up to 390mm, and CPU coolers up to 180mm.
4.3.2. Storage Drive Installation
The case provides flexible options for installing SSDs and HDDs.

Figure 4.7: Internal layout highlighting flexible storage options for SSDs and HDDs, along with PSU length support up to 200mm.
4.3.3. Front I/O Panel Connections
Connect the front panel cables to your motherboard according to your motherboard's manual.
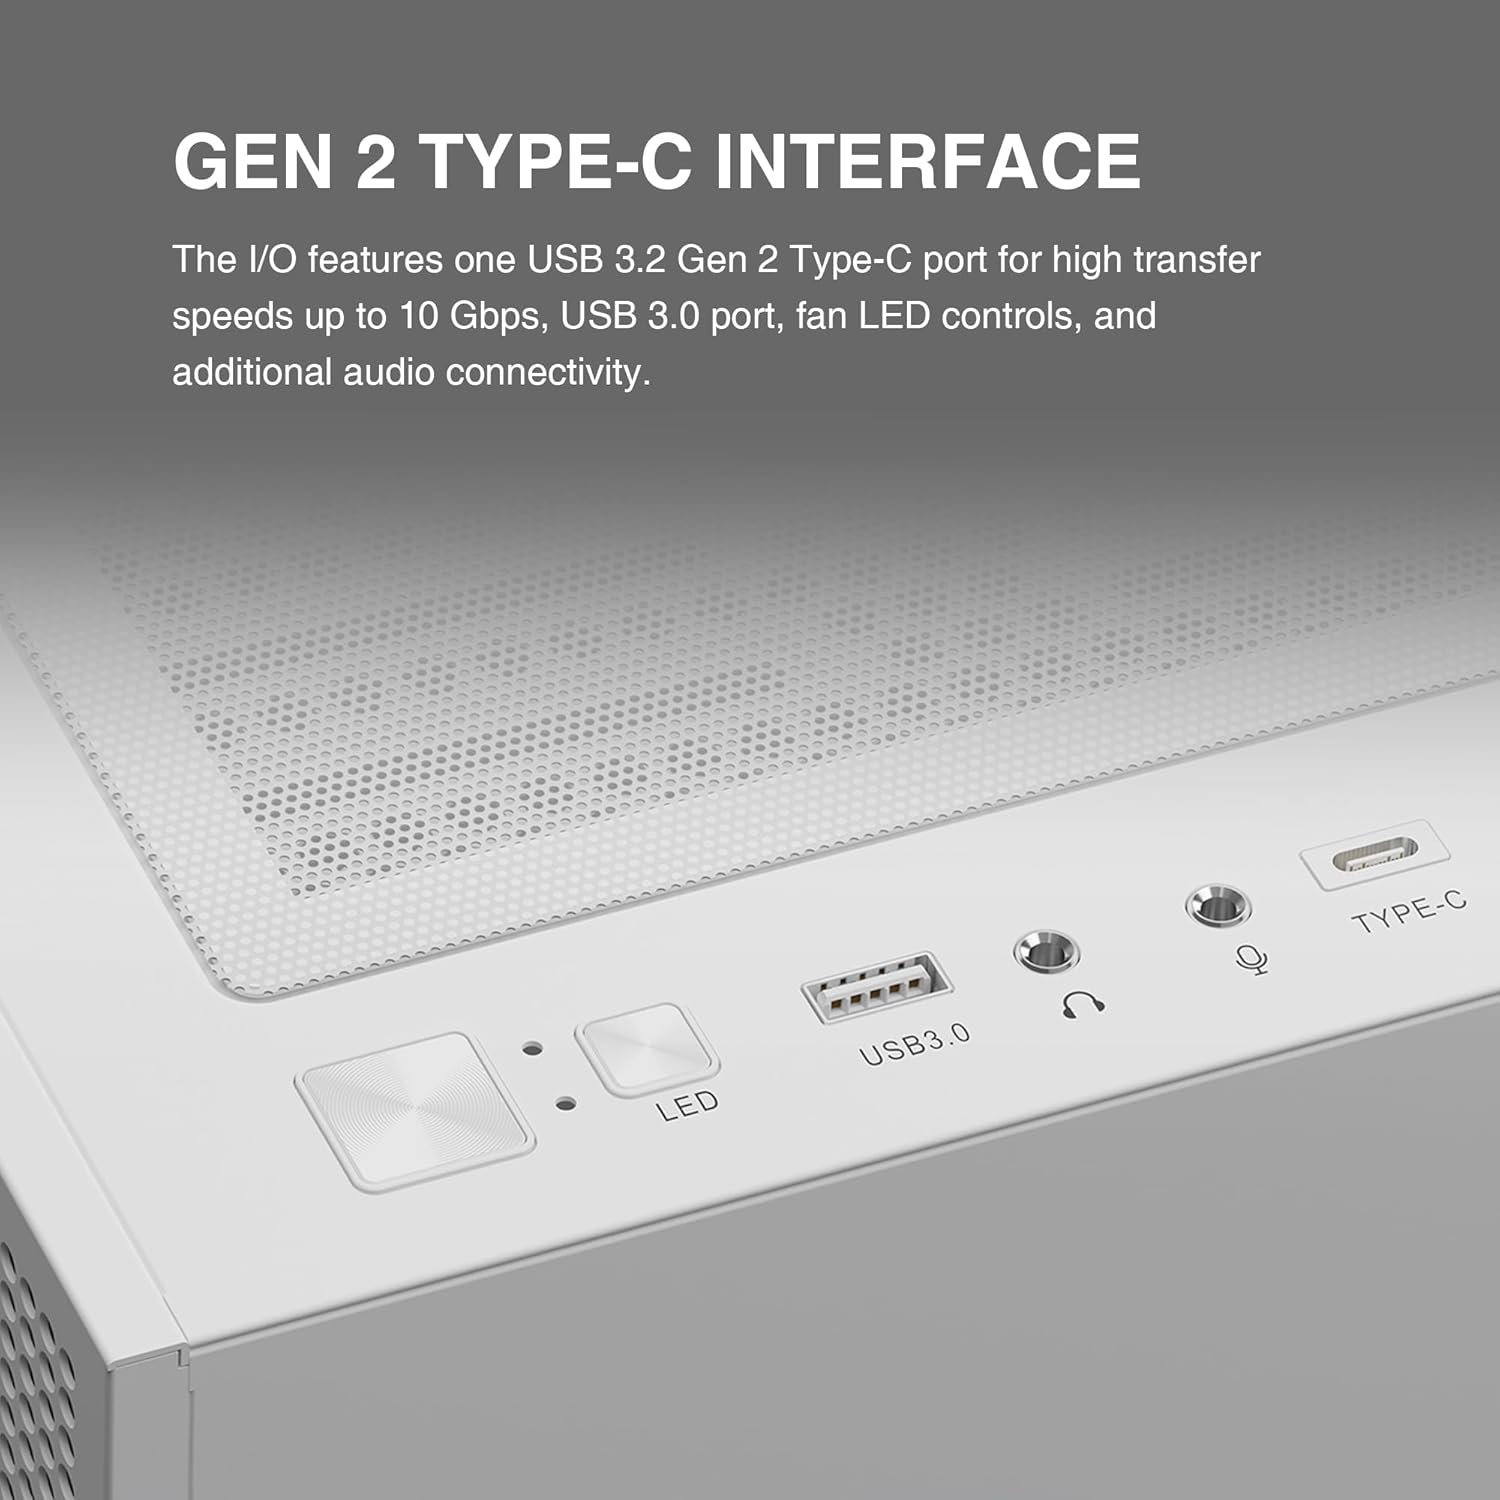
Figure 4.8: Close-up of the top I/O panel featuring a USB 3.2 Gen 2 Type-C port, USB 3.0 port, fan LED controls, and audio jacks.
5. Operating Instructions
Once all components are installed and connected, you can power on your system. The pre-installed ARGB fans can be controlled via the integrated fan hub and compatible motherboard software or the dedicated LED control button on the front I/O panel.
- Power Button: Press to turn the system on or off.
- LED Button: Press to cycle through various ARGB lighting effects for the pre-installed fans. Hold to sync with motherboard ARGB software (if supported).
- USB Ports: Use for connecting peripherals and external devices.
6. Maintenance
Regular maintenance helps ensure the longevity and performance of your PC case and components.
6.1. Cleaning
The TALOS M3 MESH WH features magnetic dust filters for easy cleaning.

Figure 6.1: Illustration showing the magnetic dust filters located on the top, front, and bottom of the case for easy cleaning.
- Dust Filters: Regularly remove and clean the magnetic dust filters located on the top, front, and bottom of the case. Use compressed air or a soft brush to remove accumulated dust.
- Exterior: Wipe the exterior surfaces with a soft, damp cloth. Avoid abrasive cleaners.
- Interior: Periodically use compressed air to clear dust from internal components and fan blades. Ensure the system is powered off and unplugged before cleaning the interior.
7. Troubleshooting
If you encounter issues, refer to the following common troubleshooting steps:
- System Not Powering On: Check all power connections, including the power supply unit (PSU) to the wall outlet, the PSU to the motherboard, and the front panel power switch cable to the motherboard.
- Fans Not Spinning/RGB Not Working: Verify that the fan cables are correctly connected to the fan hub and that the fan hub is powered. Ensure ARGB cables are properly connected to the motherboard or controller. Check motherboard software settings for fan and RGB control.
- USB Ports Not Functioning: Ensure the USB header cables from the front I/O panel are securely connected to the correct headers on your motherboard.
- Overheating: Confirm that all fans are spinning correctly and are oriented for proper airflow. Ensure dust filters are clean and there is adequate space around the case for ventilation.
8. Specifications
| Feature | Specification |
|---|---|
| Model Name | TALOS M3 MESH WH |
| Case Type | Mid Tower |
| Motherboard Compatibility | E-ATX, ATX, Micro ATX, Mini ITX |
| Dimensions (LxWxH) | 17.32 x 9.06 x 18.9 inches (440 x 230 x 480 mm) |
| Material | Metal, Tempered Glass |
| Pre-installed Fans | 2x 140mm PWM ARGB (Front), 1x 120mm PWM ARGB (Rear) |
| Radiator Support | Up to 360mm (Front), Up to 280mm (Top) |
| GPU Clearance | Up to 390mm |
| CPU Cooler Height | Up to 180mm |
| PSU Length | Up to 200mm |
| I/O Ports | 1x USB 3.2 Gen 2 Type-C, 2x USB 3.0, HD Audio, LED Control |
| Item Weight | 16.72 pounds |
9. Warranty and Support
GAMDIAS products are designed and manufactured to the highest quality standards. For warranty information and technical support, please refer to the official GAMDIAS website or contact their customer service.
For additional resources and user manuals, please visit the official GAMDIAS website:


