
1. Introduction
This manual provides detailed instructions for the VILTROX DC-X3 6-inch 4K Touchscreen HDMI/SDI IPS DSLR Camera Field Monitor. Please read this manual thoroughly before using the product to ensure proper operation and to maximize its performance and lifespan. Keep this manual for future reference.
2. Setup
2.1 Package Contents
Verify that all items are present in the package:
- VILTROX DC-X3 Monitor (1 unit)
- Hard-shell carry case
- Custom pan-tilt head
- NP-F550 battery
- Quick-detach sunshade
- Custom screen protector
- HDMI cable
- Mini HDMI cable
- Electronic manual (this document)
- Warranty card
- USB-C power cable

Image: VILTROX DC-X3 Monitor and its comprehensive set of accessories, including cables, battery, and sunshade.
2.2 Powering the Monitor
The DC-X3 monitor supports multiple power supply options:
- NP-F Series Lithium Batteries: Insert a compatible NP-F series battery into the battery slot on the rear of the monitor.
- DC IN 12-18V/2A: Connect the provided DC power adapter to the DC IN port.
- Type-C (≥9V/3A): Use a compatible USB-C power cable and power source (e.g., power bank) to the Type-C port.
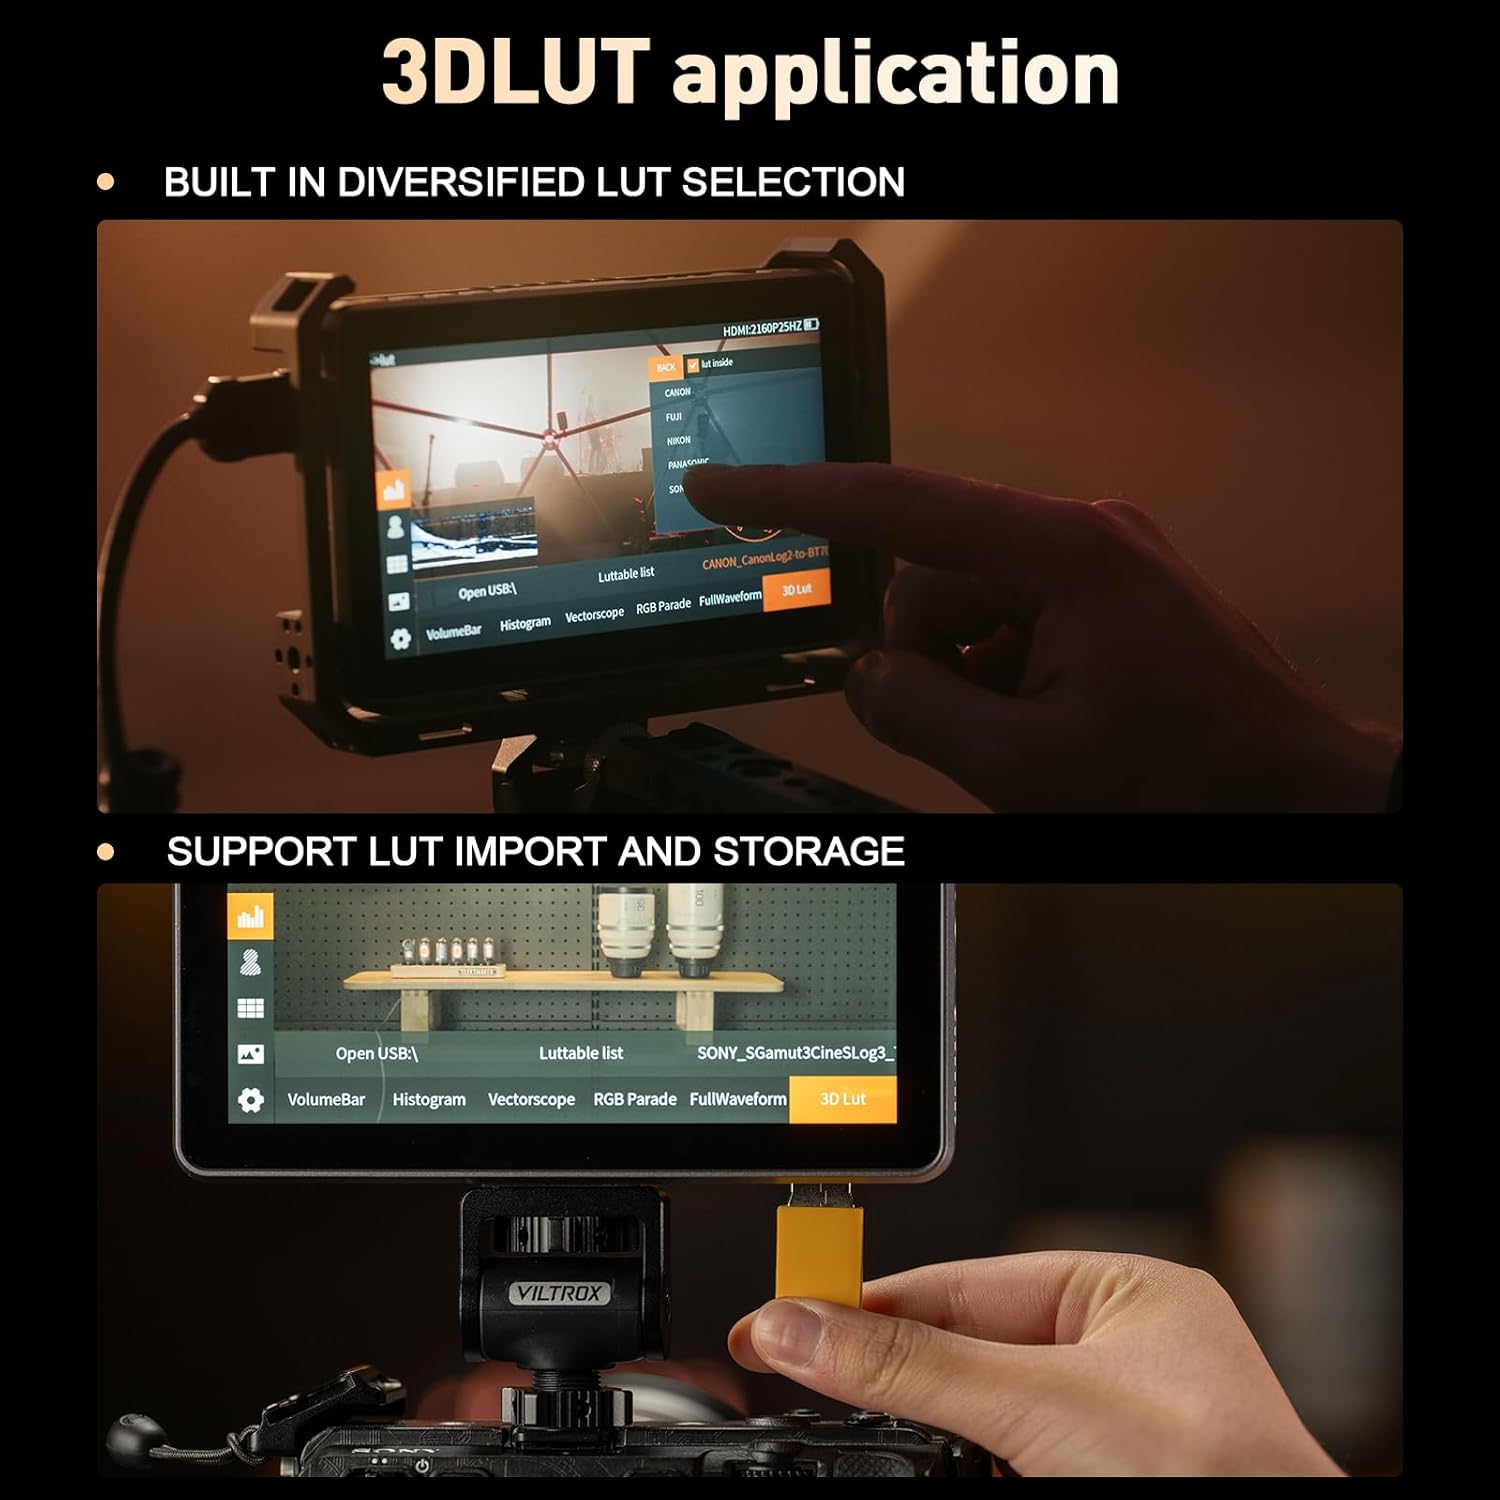
Image: Illustration of the various power input options for the VILTROX DC-X3 monitor, including Type-C, DC IN, and NP-F battery slot.
2.3 Connecting to a Camera
Connect your camera to the monitor using either the HDMI or SDI input ports. The monitor supports up to 4K 30Hz input/loop-through for high-definition transmission.
- HDMI Connection: Use the provided HDMI or Mini HDMI cable to connect your camera's HDMI output to the monitor's HDMI IN port.
- SDI Connection (DC-X3 only): Connect your camera's SDI output to the monitor's SDI IN port using an SDI cable.
2.4 Attaching the Sunshade Hood
The quick-detach sunshade hood can be easily attached to the monitor to reduce glare in bright outdoor conditions. Simply align the sunshade with the monitor's frame and press to secure it. To remove, gently pull it off. When closed, the sunshade provides protection for the screen.
2.5 Mounting the Monitor
Attach the custom pan-tilt head to the monitor's mounting points and then secure it to your camera rig or hot shoe. Ensure the monitor is securely fastened before use.
Video: This video demonstrates the unboxing and initial setup of the VILTROX DC-X2/X3 monitor, showing how to connect accessories and mount the device.
3. Operating the Monitor
3.1 Power On/Off
Press and hold the power button located on the side of the monitor to turn it on or off. The monitor will display the VILTROX logo upon startup.
3.2 Touchscreen Interface
The DC-X3 features an intuitive touchscreen interface for easy navigation and setting adjustments. Tap icons to select functions, swipe to navigate menus, and pinch/zoom for certain image analysis tools.
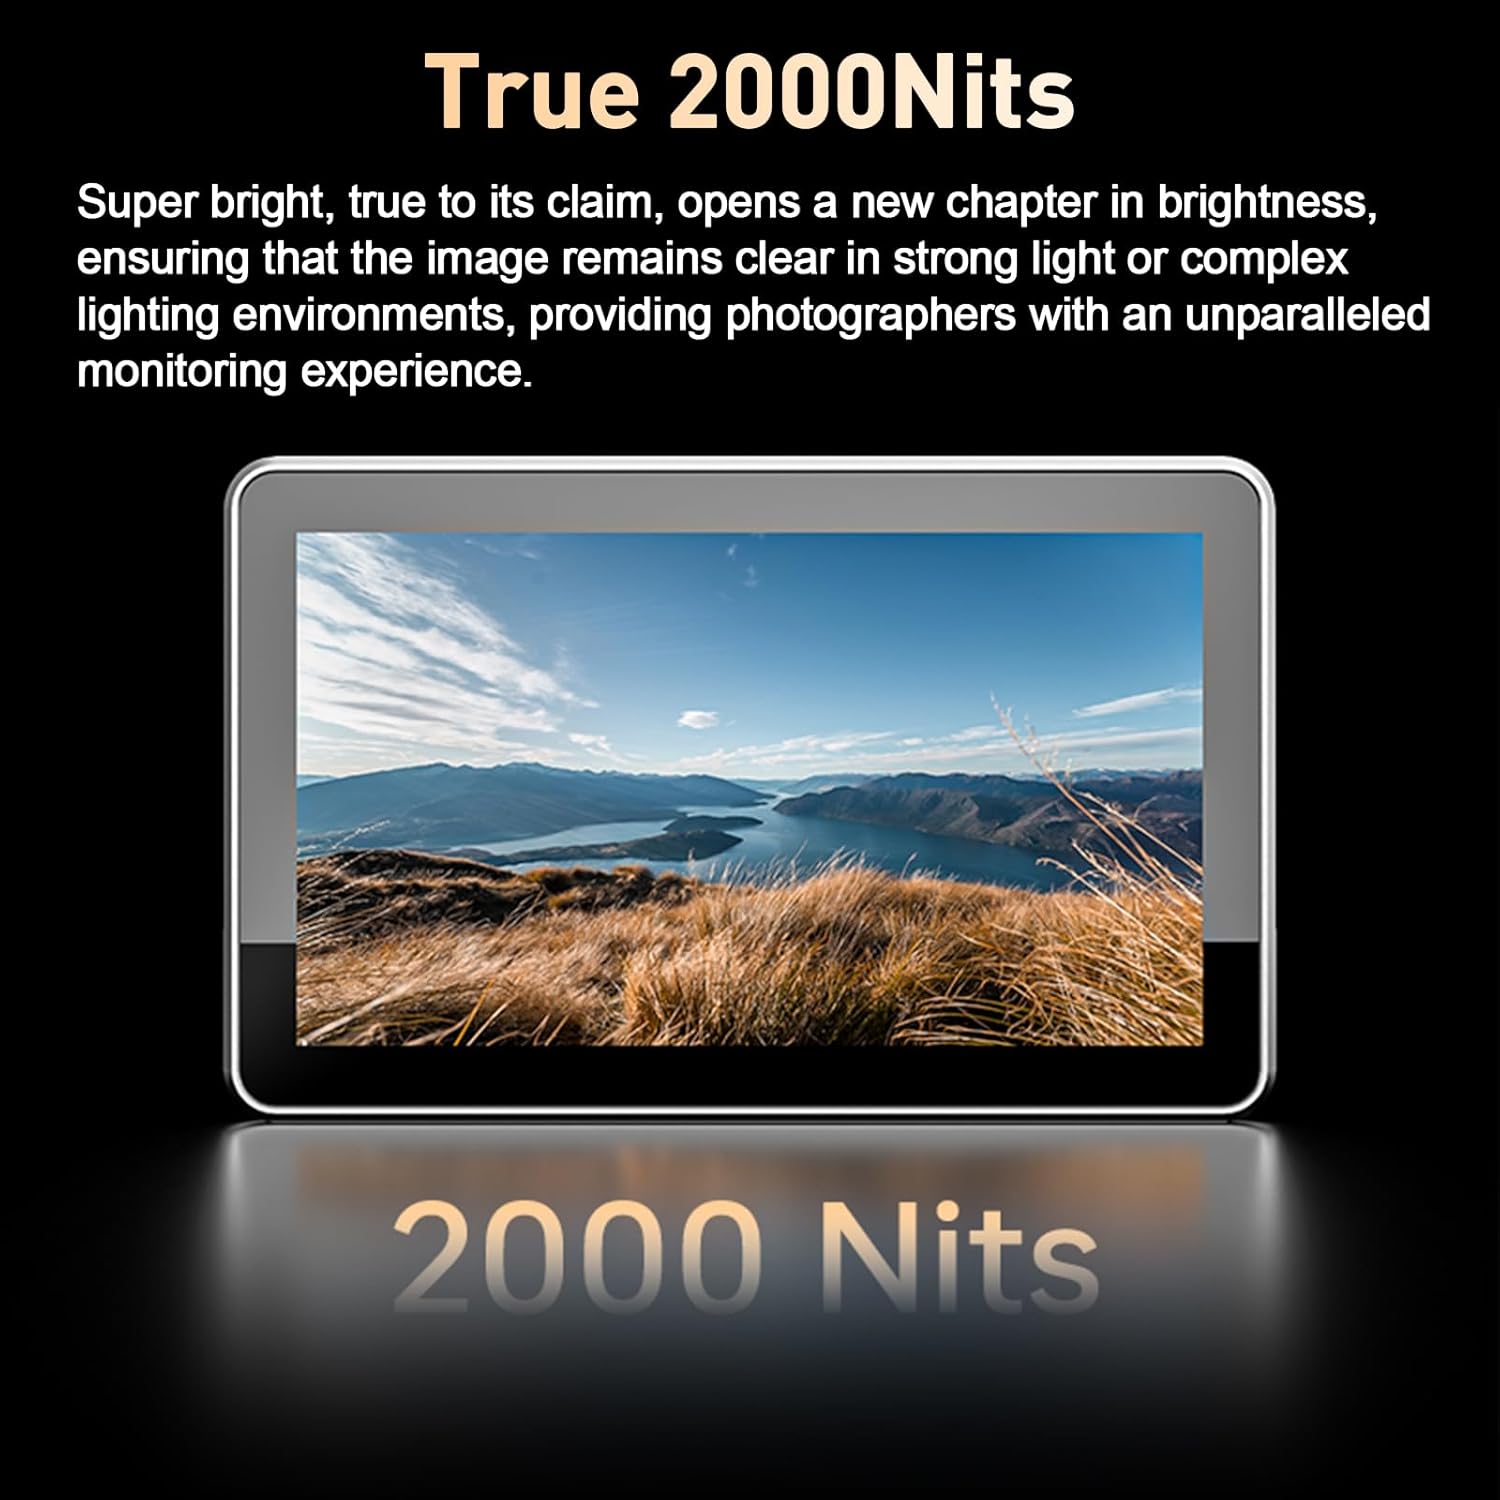
Image: The VILTROX DC-X3 monitor displaying its IPS high-definition screen with key specifications like 1920x1080 resolution and 160° viewing angle.
3.3 Customizable Shortcut Keys
The monitor is equipped with 4 customizable shortcut keys. These keys can be assigned to frequently used functions for quick access, enhancing shooting efficiency. Refer to the on-screen menu for customizing these keys.
3.4 Professional Monitoring Functions
The DC-X3 includes a suite of professional monitoring tools:
- Parade Waveform: Displays the luminance and chrominance levels of your video signal.
- Vector Graph: Shows the color information of your image.
- Brightness Histogram: Visualizes the tonal distribution of your image.
- Auxiliary Focus (Focus Peaking): Highlights in-focus areas for precise focusing.
- Audio Column: Displays audio levels.
- Image Flip: Flips the image horizontally or vertically.
- False Color: Helps in evaluating exposure by displaying different exposure levels as distinct colors.
- 3D LUT: Supports importing and storing custom 3D LUTs via a USB-A interface for color grading and monitoring.
- Zebra Crossing: Indicates overexposed areas.
- Monochrome: Displays the image in black and white.
- Image Freeze: Freezes the current frame.

Image: The VILTROX DC-X3 monitor in use, showcasing various professional monitoring functions such as waveform, histogram, and focus peaking.
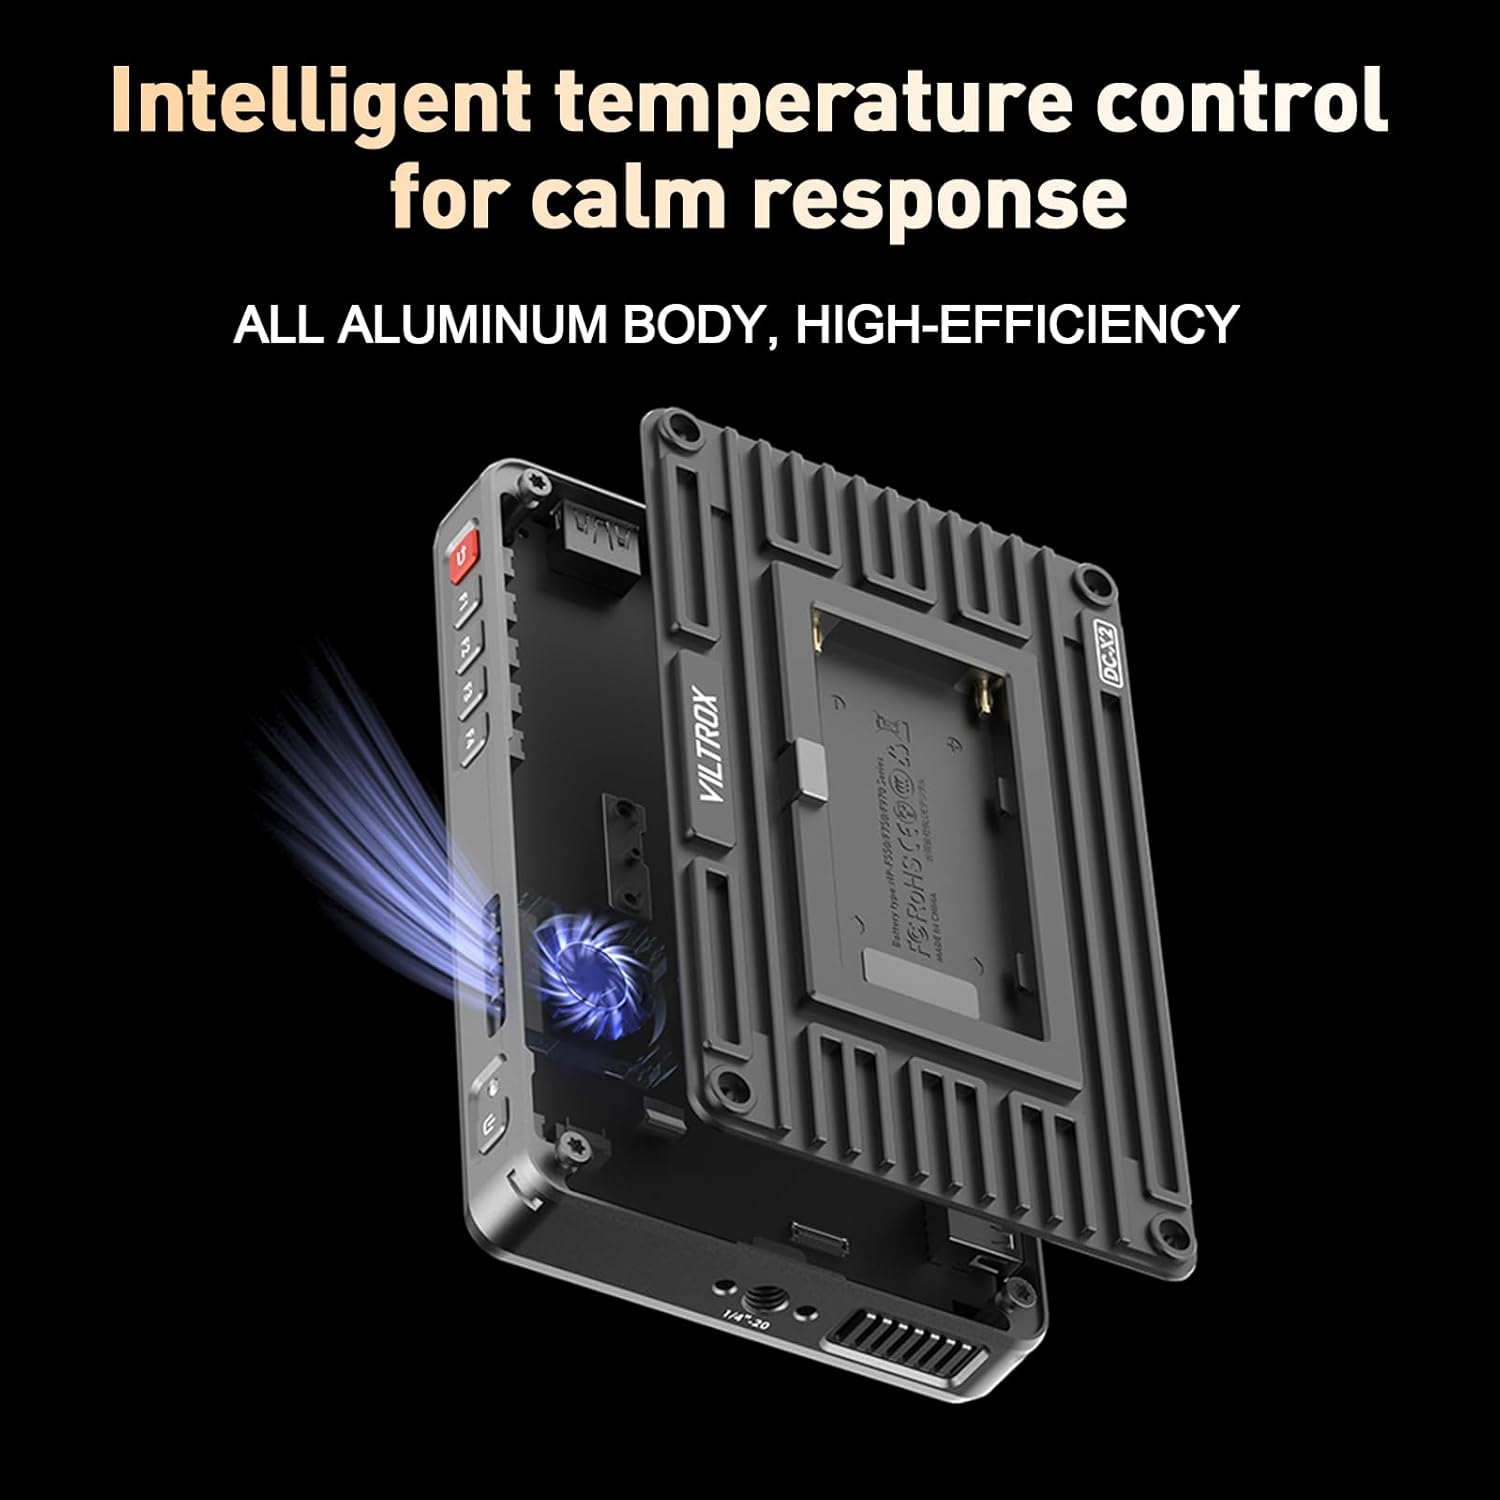
Image: Demonstrates the 3D LUT application on the VILTROX DC-X3, including built-in LUT selection and the process of importing custom LUTs via USB.
4. Maintenance
4.1 Cleaning the Monitor
To clean the monitor screen, use a soft, lint-free cloth. For stubborn smudges, lightly dampen the cloth with a screen-cleaning solution. Avoid using harsh chemicals or abrasive materials, which can damage the screen coating. Clean the body of the monitor with a dry, soft cloth.
4.2 Battery Care
To prolong battery life, store NP-F series batteries in a cool, dry place when not in use. Avoid fully discharging the battery frequently. If storing for extended periods, charge the battery to approximately 50% capacity.
4.3 Sunshade Protection
When the monitor is not in use, especially during transport, ensure the quick-detach sunshade is closed to protect the screen from scratches and impacts.
5. Troubleshooting
If you encounter issues with your VILTROX DC-X3 monitor, refer to the following common problems and solutions:
| Problem | Possible Cause | Solution |
|---|---|---|
| Monitor does not power on. | Low or depleted battery; power cable not connected properly; faulty power source. | Ensure battery is charged or replace with a charged one. Check power cable connections. Try a different power source. |
| No signal displayed. | Incorrect input source selected; cable not connected properly; camera output issue. | Verify the correct input (HDMI/SDI) is selected in the monitor settings. Check HDMI/SDI cable connections. Ensure camera is outputting video. |
| Image is distorted or flickering. | Faulty cable; incompatible resolution/frame rate; interference. | Try a different HDMI/SDI cable. Ensure camera output resolution/frame rate is supported by the monitor (up to 4K 30Hz). Move away from strong electromagnetic sources. |
| Touchscreen is unresponsive. | Software glitch; screen protector interference; dirty screen. | Restart the monitor. Ensure screen is clean and dry. If a screen protector is installed, check if it's properly applied or try removing it temporarily. |
| Monitor overheats. | Prolonged use in high ambient temperatures; blocked ventilation. | Ensure ventilation slots are not blocked. Operate in a well-ventilated area. The monitor features intelligent temperature control to manage heat. |
6. Specifications
Key technical specifications for the VILTROX DC-X3 Camera Field Monitor:
- Display Size: 6 Inches
- Screen Type: IPS Touchscreen
- Resolution: 1920 x 1080 (FHD 1080p)
- Image Brightness: 2000 nits
- Contrast Ratio: 1000:1
- Viewing Angle: 160°
- Refresh Rate: 60Hz
- Color Depth: 8 Bit
- Color Gamut: 100% ±3% sRGB/Rec.709
- Input Interface: HDMI IN, SDI IN
- Output Interface: HDMI OUT, SDI OUT
- Max Input Resolution: 4K 30Hz
- Audio Output: 3.5mm Headphone Jack
- USB Ports: 1 (for LUT import/storage)
- Cooling: Fan Included
- Power Input: DC 12-18V/2A, Type-C ≥9V/3A, NP-F Series Battery
- Product Dimensions: 12.01 x 2.95 x 6.89 inches
- Item Weight: 2.94 pounds
- Manufacturer: Viltrox
7. Warranty and Support
7.1 Warranty Information
Your VILTROX DC-X3 monitor comes with a warranty. Please refer to the included warranty card for specific terms, conditions, and duration of coverage. Retain your proof of purchase for warranty claims.
7.2 Customer Support
For technical assistance, product inquiries, or service requests, please contact VILTROX customer support through their official website or the contact information provided on your warranty card. Ensure you have your product model number and purchase details ready when contacting support.


