Introduction
The Shark S8201 Steam & Scrub Hard Floor Steam Mop is designed to clean and sanitize sealed hard floors using the power of steam. Its rotating pads and Steam Blaster Technology provide effective cleaning without the need for harsh chemicals. This manual provides essential information for the safe and efficient operation and maintenance of your steam mop.

Figure 1: Shark S8201 Steam & Scrub Mop
Important Safety Instructions
When using your Shark Steam & Scrub Mop, basic safety precautions should always be observed to reduce the risk of fire, electric shock, or injury. Read all instructions before using this appliance.
- Use the appliance only for its intended household use as described in this manual.
- Do not use the appliance outdoors or on wet surfaces.
- Do not leave the appliance unattended when plugged in. Unplug from outlet when not in use and before servicing.
- Do not allow children to use the appliance. Close attention is necessary when used near children, pets, or invalids.
- Use only distilled water in the water tank to prevent mineral buildup and ensure optimal performance.
- Do not add cleaning solutions, scented perfumes, or any other chemicals to the water tank, as this may damage the appliance or cause injury.
- Do not immerse the appliance in water or other liquids.
- Do not direct steam at people, animals, or electrical outlets.
- Always ensure the mop pads are properly attached before use.
- Store the appliance indoors in a cool, dry area.
Package Contents
Verify that all components are present in your package:
- Shark S8201 Steam & Scrub Mop Unit
- Microfiber Dirt Grip Soft Scrub Pads (2 pairs included)
- Filling Flask
Assembly
The Shark S8201 Steam & Scrub Mop is designed for quick and easy assembly.
- Insert the handle into the main body of the steam mop until it clicks securely into place.
- Attach the mop head to the main body by aligning the connection points and pushing until it locks.
- Place the Microfiber Dirt Grip Soft Scrub Pads onto the rotating discs on the mop head. The pads attach easily with a hook-and-loop system.
Operation
1. Filling the Water Tank
- Ensure the steam mop is unplugged from the electrical outlet.
- Open the water tank cap located on the main body.
- Use the provided filling flask to pour distilled water into the tank. Do not overfill; observe the MAX fill line.
- Close the water tank cap securely.
2. Selecting Steam Modes and Cleaning
The Shark S8201 features three steam modes and LED headlights for enhanced cleaning.
- Plug the power cord into a grounded electrical outlet. The LED headlights will illuminate.
- Step on the mop head to release the handle from the upright position.
- Press the MODE button on the main body to select your desired steam level:
- LIGHT: For quick cleanups and light dirt.
- NORMAL: For everyday cleaning and moderate messes.
- DEEP: For tough, stuck-on messes and sanitization.
- Allow approximately 30 seconds for the mop to heat up and produce steam.
- Begin cleaning by moving the mop forward and backward across your sealed hard floors. The rotating pads will scrub the surface while steam is released.
- To activate the Steam Blaster Technology for concentrated steam on tough stains, tilt the mop head back and press the Steam Blaster button.

Figure 2: Rotating pads radiate sanitizing steam.

Figure 3: Swivel Steering and LED Headlights for easy maneuverability.
3. Sanitization
To sanitize floors, ensure the mop is in DEEP mode. Move the mop slowly and evenly over the area to be sanitized, holding it over the spot for at least 30 seconds. Steam removes 99.9% of common household bacteria, providing a chemical-free cleaning solution.
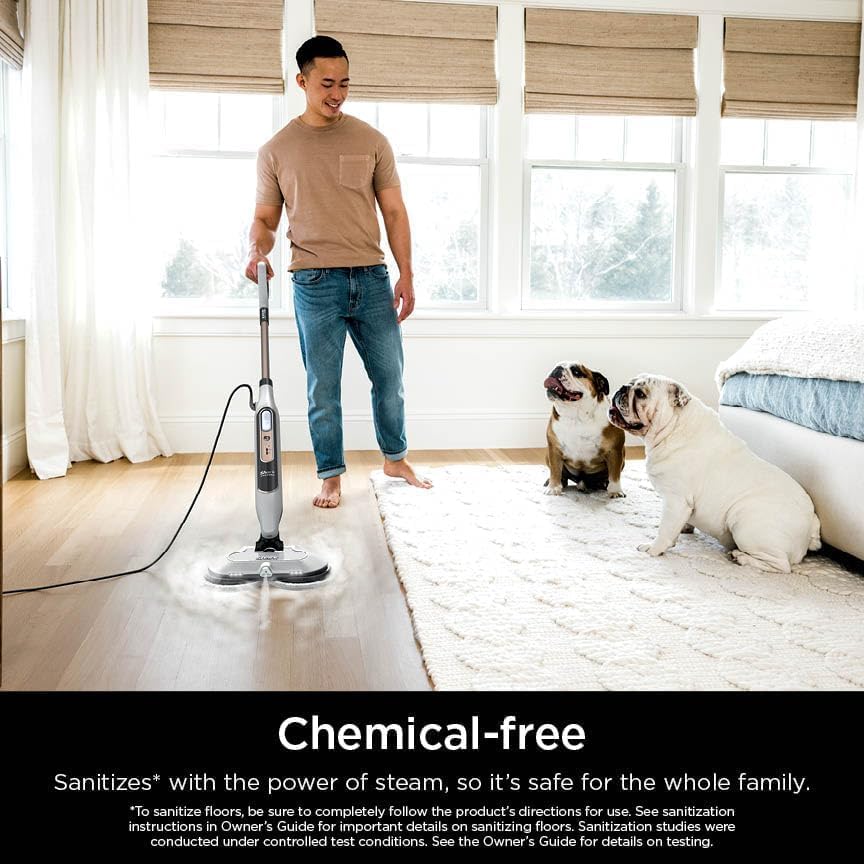
Figure 4: Chemical-free cleaning for a safe home environment.
4. Official Product Video
Video 1: Overview of the Shark Steam & Scrub with Steam Blaster Technology Steam Mop, demonstrating its features and cleaning capabilities.
Maintenance
1. Cleaning the Microfiber Pads
- After each use, allow the mop to cool down and carefully remove the microfiber pads from the mop head.
- Machine wash the pads separately with warm water using liquid detergent. Avoid bleach and fabric softeners, as these can damage the pads.
- Tumble dry on low setting or air dry.
- Replace pads when they become worn or lose their scrubbing effectiveness.
2. Storing the Mop
- Ensure the water tank is empty before storing.
- Wrap the power cord around the cord hooks for neat storage.
- Store the mop in an upright position in a cool, dry place.
Troubleshooting
If your Shark S8201 Steam & Scrub Mop is not performing as expected, consult the following common issues:
- No Steam: Ensure the water tank is filled with distilled water and the unit is properly plugged in. Allow sufficient time for heating.
- Pads Not Rotating: Check if the mop head is securely attached and the unit is powered on. Ensure no obstructions are preventing rotation.
- Reduced Steam Output: Mineral buildup can affect steam output. Use only distilled water. If buildup is suspected, consult the full user manual for descaling instructions.
- Streaking on Floors: Ensure pads are clean and properly attached. Avoid using excessive steam for prolonged periods on one spot.
For further assistance, refer to the complete user manual or contact Shark customer support.
Specifications
- Model: S8201
- Brand: Shark
- Special Features: Steam Blaster Technology, 3 Steam Modes (Light, Normal, Deep), LED Headlights, Rotating Pads
- Surface Recommendation: Sealed Hard Floors (Hardwood, Marble, Tile, Stone, Laminate, Vinyl)
- Wattage: 1120 watts
- Item Weight: 6.9 Pounds
- Tank Volume/Capacity: 11.83 Fluid Ounces
- Power Source: AC/DC
- Voltage: 120V
- Product Dimensions: 7.48 x 14.88 x 47.4 inches
- Manufacturer: SharkNinja

Figure 5: Suitable for various sealed hard floor surfaces.
Warranty and Support
The Shark S8201 Steam & Scrub Mop is covered by a manufacturer's warranty. Please refer to the warranty card included in your product packaging for specific terms and conditions. For technical support, replacement parts, or further inquiries, please visit the official SharkNinja website or contact their customer service department.


