
Introduction
This manual provides detailed instructions for the setup, operation, maintenance, and troubleshooting of your NiPoGi AK1PLUS Mini PC. Please read this manual thoroughly before using the device to ensure optimal performance and longevity.
The NiPoGi AK1PLUS Mini PC is equipped with the 12th Generation Intel Alder Lake N97 processor, 16GB DDR4 RAM, and a 512GB M.2 SSD. It is designed for various applications including office work, educational tasks, and multimedia entertainment, supporting 4K Ultra HD output and dual-monitor setups.

Image: Front view of the NiPoGi AK1PLUS Mini PC, showcasing its compact design and accessible ports.
Package Contents
Verify that all items listed below are included in your package:
- 1 x NiPoGi AK1PLUS Mini PC
- 1 x Power Adapter (EU plug)
- 1 x HDMI Cable
- 1 x VESA Mount
- 1 x User Manual
Product Overview
The NiPoGi AK1PLUS Mini PC is designed for efficiency and versatility. Below are the key features and interface details.
Key Features:
- Processor: 12th Gen Intel Alder Lake N97 (up to 3.6 GHz, 4 Cores/4 Threads, 6 MB Cache)
- Memory: 16GB DDR4 RAM (Expandable up to 32GB)
- Storage: 512GB M.2 SSD (Expandable up to 2TB with a 2.5-inch SSD/HDD, not included)
- Graphics: Intel UHD Graphics, supporting 4K Ultra HD output
- Connectivity: Dual Band WiFi (2.4G/5G), Bluetooth 5.2, Gigabit Ethernet (RJ45)
- Operating System: Pre-installed Windows 11
- Compact Design: Dimensions 12.8 x 12.8 x 2.5 cm, weight 386g
Processor Performance:
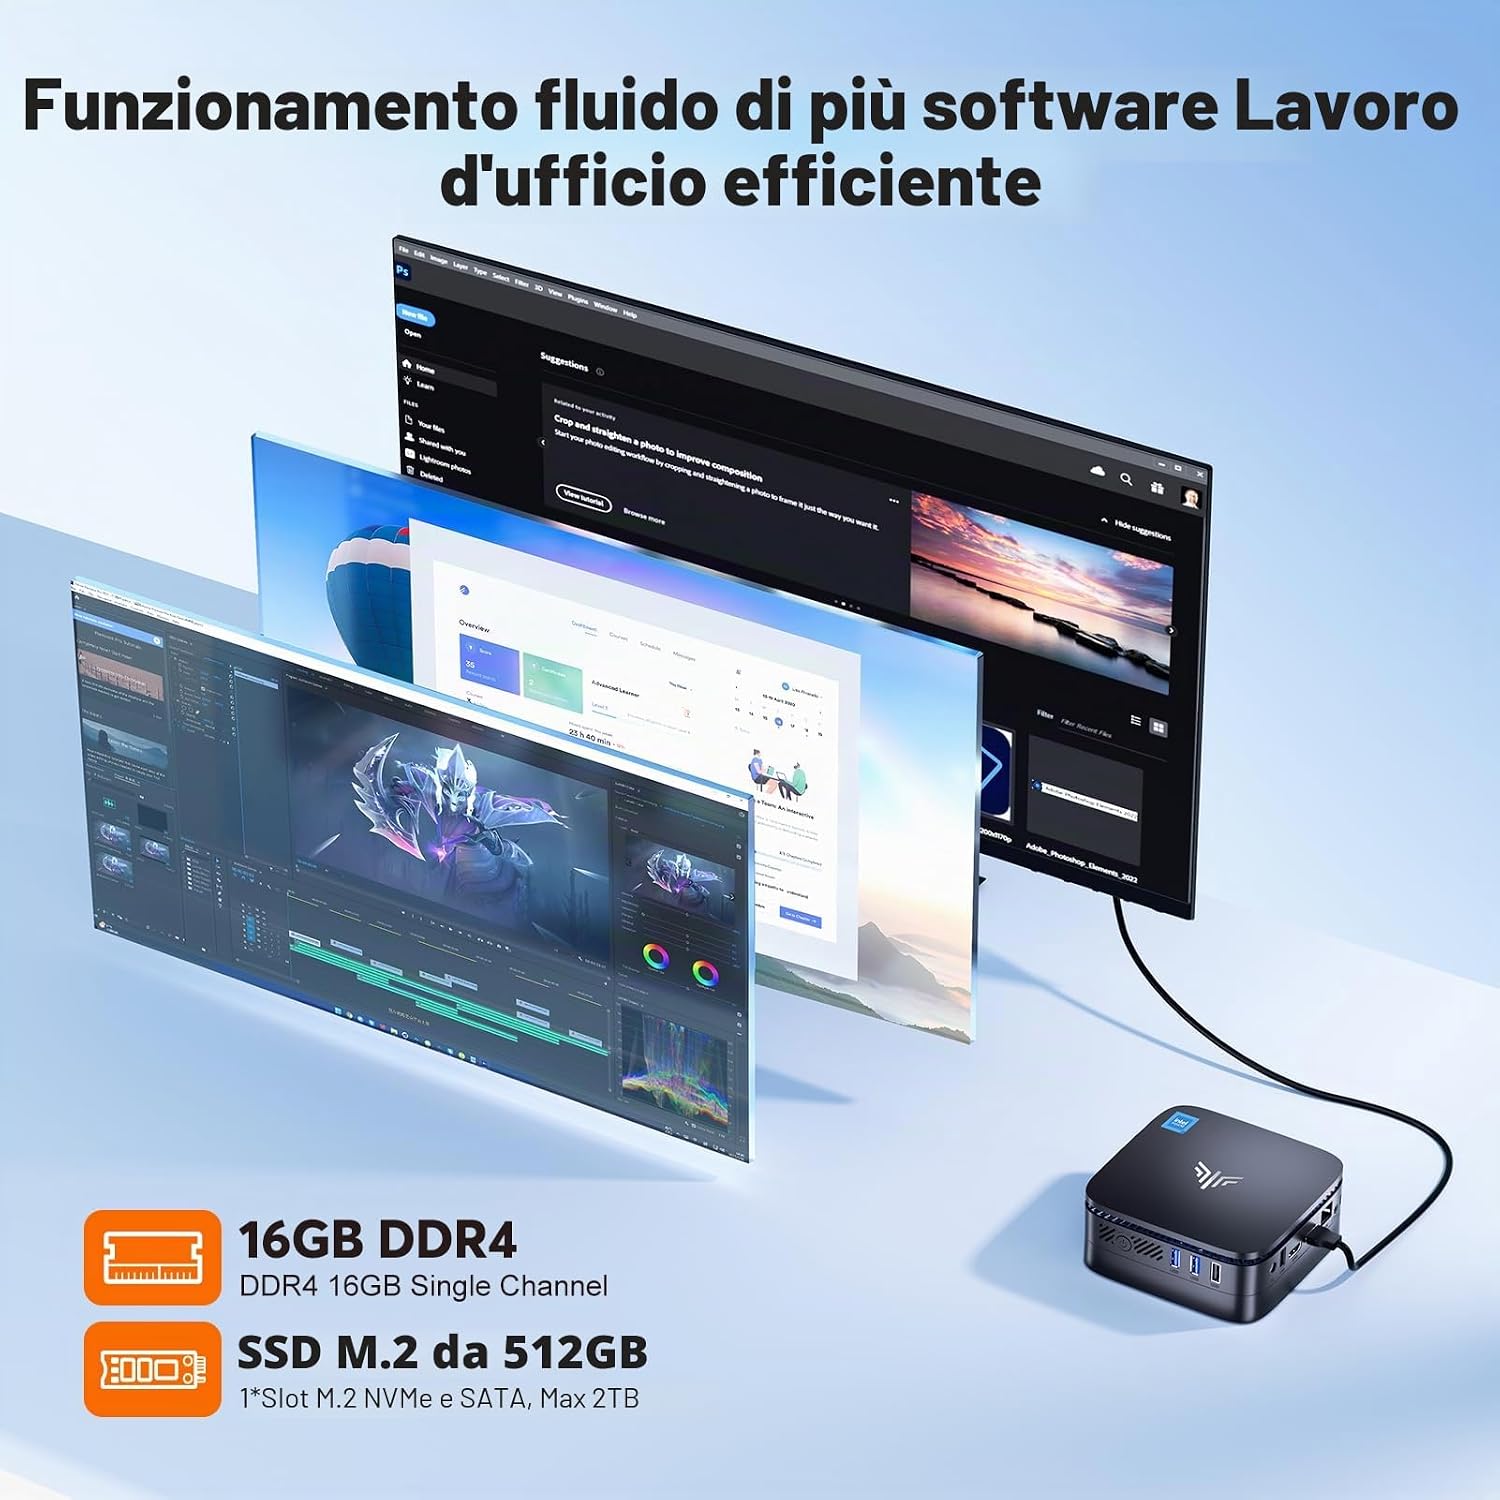
Image: A chart comparing the performance of the 12th Gen Intel Alder Lake-N97 processor against previous generations, highlighting its improved speed and efficiency.
Interface Ports:
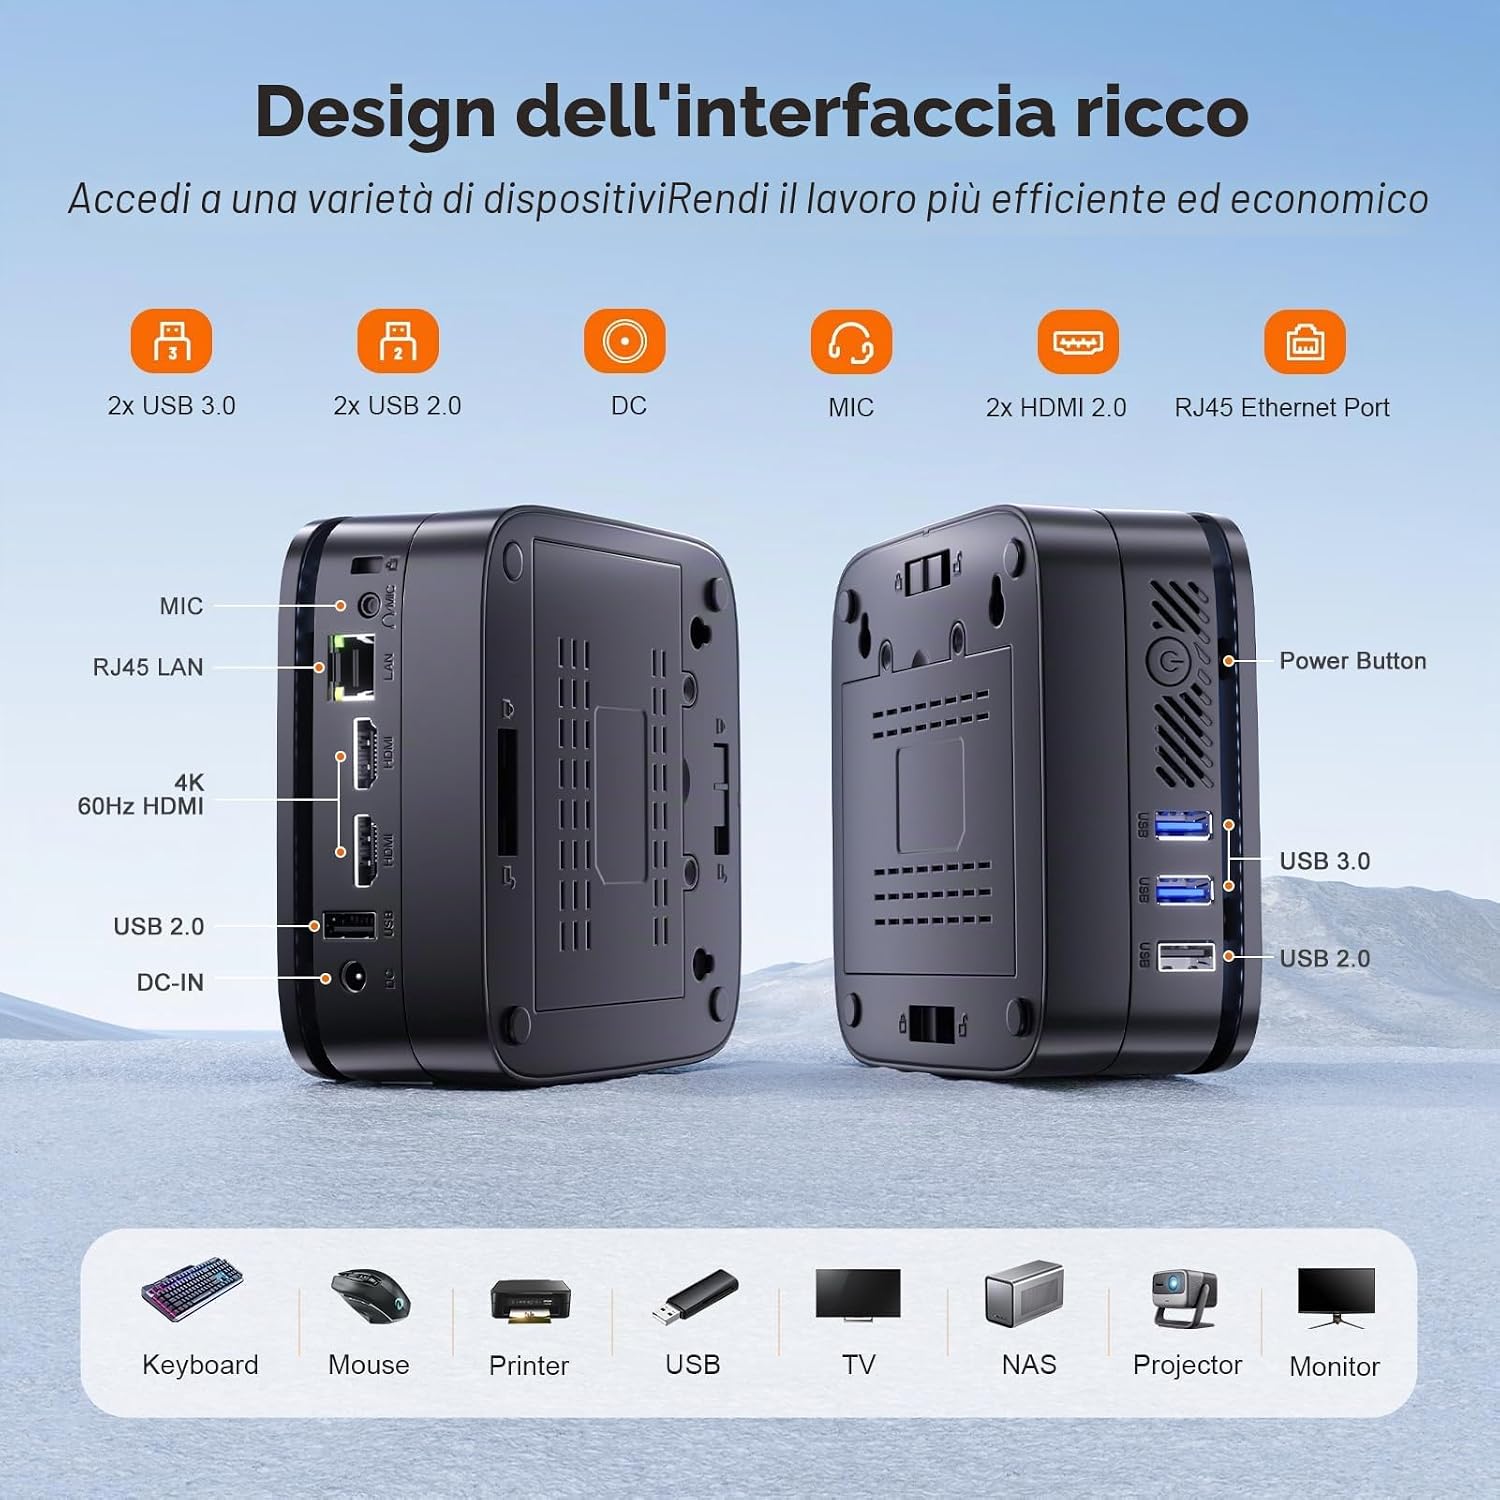
Image: Detailed diagram illustrating the various ports available on the NiPoGi AK1PLUS Mini PC, including USB, HDMI, Ethernet, and power input.
- 2 x USB 3.0 Ports
- 2 x USB 2.0 Ports
- 2 x HDMI Ports (supporting dual display and 4K output)
- 1 x RJ45 Gigabit Ethernet Port
- 1 x 3.5mm Audio Jack (MIC)
- 1 x DC Power Input
- 1 x Power Button
Setup Instructions
- Connect to Display: Connect the Mini PC to your monitor or TV using the provided HDMI cable. The device supports up to two displays simultaneously.
- Connect Peripherals: Connect your keyboard, mouse, and any other USB devices to the available USB 2.0 or USB 3.0 ports.
- Connect to Network: For a wired connection, connect an Ethernet cable to the RJ45 port. For wireless, the device will prompt you to set up Wi-Fi during the initial Windows setup.
- Connect Power: Plug the power adapter into the DC power input port on the Mini PC, then plug the adapter into a power outlet.
- Power On: Press the power button located on the device. The Mini PC will boot up, and you will see the Windows 11 setup screen. Follow the on-screen instructions to complete the initial setup.
- VESA Mount Installation (Optional): If you wish to mount the Mini PC behind a monitor or TV, use the included VESA mount and screws. Attach the VESA bracket to the back of your display, then slide the Mini PC onto the bracket.
Operating Instructions
Basic Operation:
- Power On/Off: Press the power button to turn on the device. To turn off, use the Windows shutdown option or press and hold the power button for 5 seconds.
- Restart: Use the Windows restart option.
- Sleep Mode: Use the Windows sleep option or briefly press the power button.
Connecting to Wi-Fi:
- Click the Wi-Fi icon in the system tray.
- Select your desired network from the list.
- Enter the network password and click "Connect".
Dual Display Setup:
The Mini PC supports connecting two monitors via its two HDMI ports for extended desktop or mirrored display modes.

Image: The NiPoGi AK1PLUS Mini PC connected to a 4K Ultra HD display, demonstrating its high-resolution output capability.
- Connect both monitors to the HDMI ports on the Mini PC.
- Right-click on the desktop and select "Display settings".
- Configure the display arrangement (Extend, Duplicate, etc.) as needed.
Storage Expansion:
The Mini PC includes an empty bay for a 2.5-inch SSD/HDD, allowing you to expand storage up to 2TB.

Image: A diagram illustrating various storage capacities and their suitability for different user needs, from 256GB to 2TB.
- Power off the Mini PC and disconnect all cables.
- Locate the removable bottom hard drive bay.
- Install a 2.5-inch SATA SSD or HDD (up to 2TB) into the bay.
- Secure the drive and reattach the bay.
- Power on the Mini PC. You may need to initialize and format the new drive through Windows Disk Management.
Usage Scenarios:
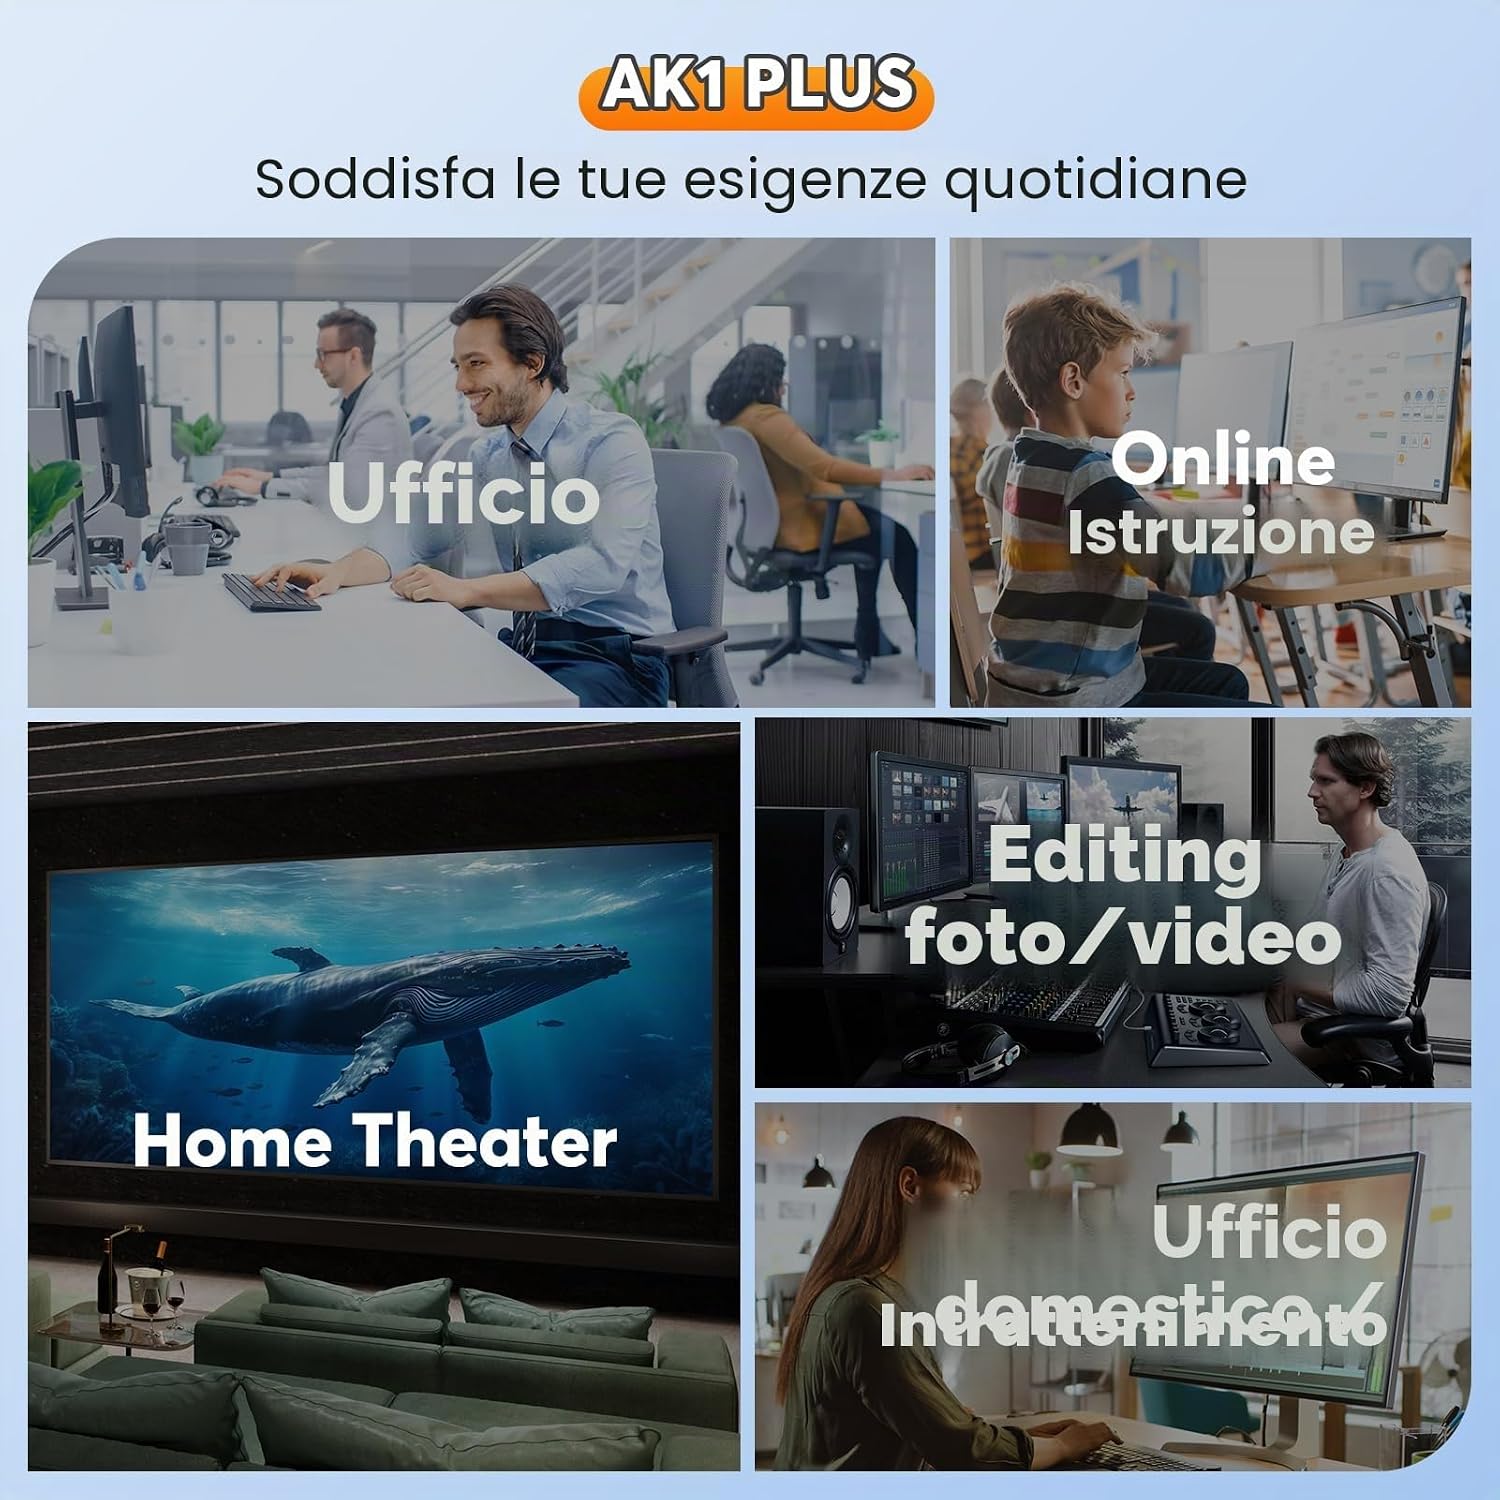
Image: Visual examples of how the AK1PLUS Mini PC can be utilized in different environments, such as office work, online learning, home entertainment, and creative tasks.
Maintenance
- Cleaning: Use a soft, dry cloth to clean the exterior of the Mini PC. Do not use liquid cleaners or sprays directly on the device.
- Ventilation: Ensure the ventilation holes are clear and not obstructed to prevent overheating.
- Software Updates: Regularly update your Windows operating system and drivers to ensure optimal performance and security.
- Data Backup: Periodically back up important data to an external storage device or cloud service.
- Power Off Properly: Always shut down the Mini PC through the operating system to prevent data corruption.
Troubleshooting
| Problem | Possible Cause | Solution |
|---|---|---|
| No power/Device does not turn on. | Power adapter not connected or faulty; power outlet issue. | Ensure power adapter is securely connected to both the Mini PC and a working power outlet. Try a different outlet. |
| No display on monitor. | HDMI cable loose or faulty; incorrect input selected on monitor. | Check HDMI cable connections. Ensure the monitor is set to the correct input source (e.g., HDMI 1, HDMI 2). Try a different HDMI cable or monitor. |
| Wi-Fi connection issues. | Incorrect Wi-Fi password; router issues; driver problems. | Verify Wi-Fi password. Restart your router. Check device manager for Wi-Fi driver status. |
| Slow performance. | Too many applications running; insufficient storage space; overheating. | Close unnecessary applications. Free up disk space. Ensure proper ventilation. Check for background processes. |
| USB devices not recognized. | Faulty USB port; driver issues; device compatibility. | Try a different USB port. Update USB drivers. Test the device on another computer. |
Specifications
| Feature | Detail |
|---|---|
| Brand | NiPoGi |
| Model | AK1PLUS |
| Operating System | Windows 11 (Pre-installed) |
| CPU | Intel Alder Lake N97 (12th Gen) |
| CPU Speed | Up to 3.6 GHz (Burst Frequency) |
| CPU Cores/Threads | 4 Cores / 4 Threads |
| Cache | 6 MB |
| Graphics | Intel UHD Graphics |
| RAM | 16GB DDR4 (Expandable up to 32GB) |
| Storage | 512GB M.2 SSD (Expandable up to 2TB via 2.5-inch SSD/HDD) |
| Wi-Fi | Dual Band (2.4G/5G) |
| Bluetooth | Version 5.2 |
| Ethernet | 1000 Mbit/s (Gigabit RJ45) |
| USB Ports | 2 x USB 3.0, 2 x USB 2.0 (Total 4) |
| Video Output | 2 x HDMI (Supports 4K Ultra HD, Dual Display) |
| Audio Port | 1 x 3.5mm Audio Jack |
| Power Input | DC Port |
| Power Consumption | 12 Watt |
| Dimensions (L x W x H) | 12.8 x 12.8 x 2.5 cm |
| Weight | 386 g |
| Cooling Method | Air Cooling |
| Compatible Devices | Monitors, Projectors, Keyboards, Mice, Printers, Speakers |
Warranty and Support
The NiPoGi AK1PLUS Mini PC comes with a one-year warranty from the date of purchase.
For technical support, troubleshooting assistance, or warranty claims, please contact NiPoGi customer service. Our dedicated support team is available to answer your questions professionally within 24 hours.
Please refer to the contact information provided on the official NiPoGi website or the documentation included in your package for the most up-to-date support channels.
Online Resources: For additional information, FAQs, and driver downloads, visit the official NiPoGi website: NiPoGi Official Store


