
Poolin EOC06
POOLIN EOC06 Embroidery Machine User Manual
Model: EOC06
Introduction
This manual provides essential information for the setup, operation, and maintenance of your POOLIN EOC06 Embroidery Machine. Please read this manual thoroughly before using the machine to ensure safe and efficient operation. The POOLIN EOC06 is a computerized embroidery machine designed for various fabric types, offering a large embroidery area and an intuitive touchscreen interface.
Setup
1. Unpacking and Component Identification
Carefully remove all components from the packaging. Verify that all parts listed in the packing list are present. The package includes the embroidery machine, multiple hoops, embroidery threads, stabilizer, and various tools.

Image: Overview of the POOLIN EOC06 Embroidery Machine along with its comprehensive set of included accessories, such as various hoops, thread spools, and essential tools for embroidery.
2. Hoop Installation
The POOLIN EOC06 comes with multiple hoop sizes to accommodate different project needs: two 5.5x5.5 inch hoops, one 8x8 inch hoop, and one 7.9x11 inch hoop. Select the appropriate hoop for your design and securely attach it to the machine's embroidery arm.

Image: The embroidery machine showcasing three different embroidery hoop sizes (5.5"x5.5", 7.9"x7.9", and 7.9"x11") attached, demonstrating the machine's versatility for various project dimensions.
3. Thread Setup
The machine includes a RICHWORD 800M 60-color polyester embroidery thread set. Refer to the machine's threading guide for proper upper thread and bobbin installation. Ensure the thread is correctly tensioned for optimal stitch quality.
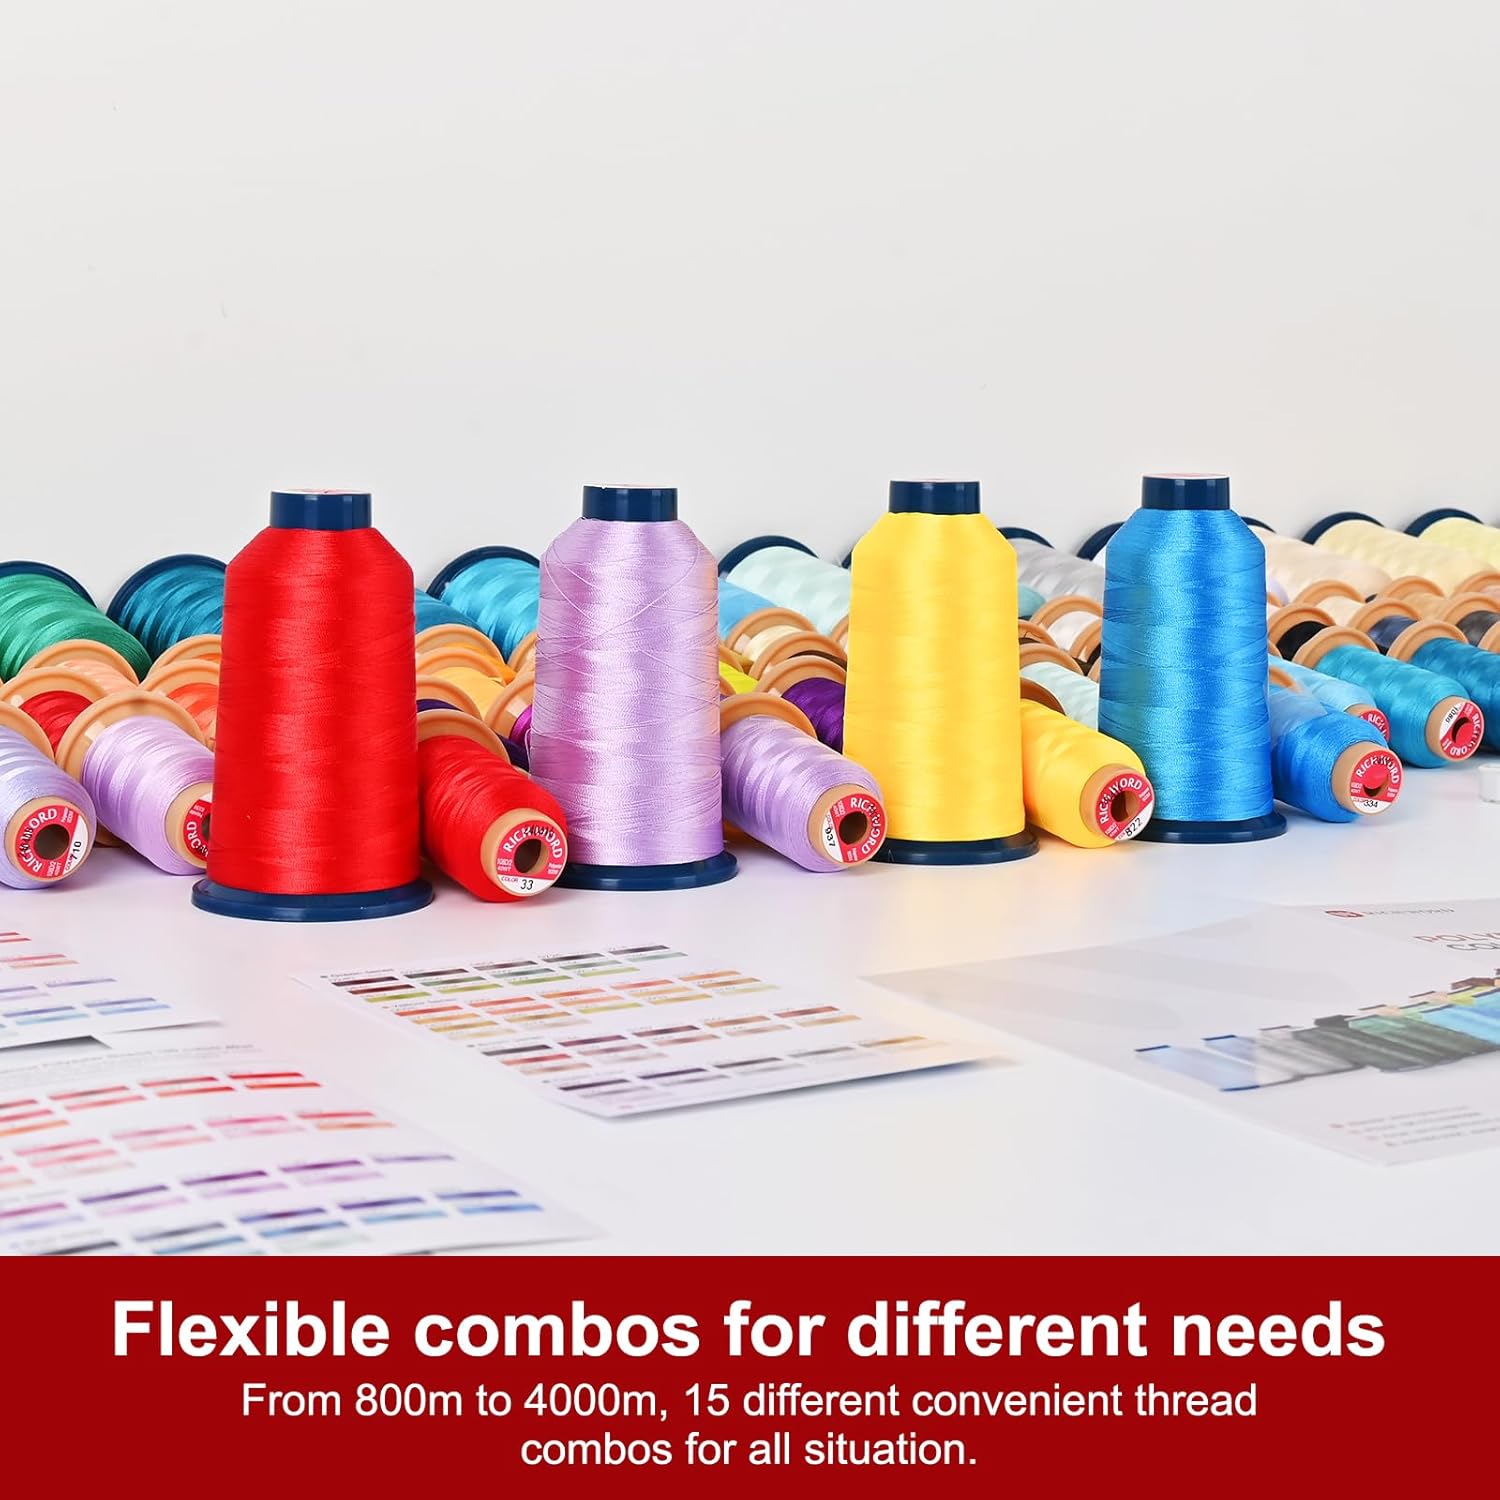
Image: A collection of colorful embroidery thread spools, illustrating the variety of thread options available for use with the machine.
4. Power Connection
Connect the power cord to the machine and then to a suitable electrical outlet. Turn on the machine using the power switch, typically located on the side or back of the unit.
Operating Instructions
1. Using the 7-inch LCD Touchscreen
The POOLIN EOC06 features a large 7-inch LCD touchscreen for easy navigation and control. You can drag, edit, and combine patterns directly on the screen, similar to operating a mobile phone.

Image: A detailed view of the 7-inch LCD touchscreen, showing a fox embroidery pattern being displayed and various control options for speed, needle position, and tension.
2. Pattern Selection and Editing
The machine comes with 156 built-in patterns. Navigate through the 'Pattern' menu to select a design. The touchscreen allows for various editing functions, including resizing, mirroring, rotating, and combining multiple patterns or letters. You can also save edited patterns for future use.

Image: Multiple views of the touchscreen interface, demonstrating the process of pattern selection, editing features like resizing and mirroring, and the ability to combine letters and patterns.
3. Importing Custom Designs
To use your own designs, you will need embroidery digital software to create patterns and export them in DST or DSB format. Once exported, plug a USB drive containing these files into the embroidery machine's USB port to import them.
4. Starting Embroidery
After selecting and positioning your design, ensure the fabric is properly hooped and the machine is threaded. Press the 'Ready' button on the touchscreen to begin the embroidery process. The machine will automatically stitch the design.

Image: Examples of embroidered designs on clothing, showcasing the machine's capability to create detailed patterns on various garments.
Maintenance
Regular maintenance ensures the longevity and optimal performance of your embroidery machine. Keep the machine clean by regularly dusting its exterior and removing lint from the bobbin case and needle plate area. Refer to the detailed cleaning instructions in the full manual for specific procedures. Lubricate moving parts as recommended by the manufacturer to reduce friction and wear.
Troubleshooting
If you encounter issues with your POOLIN EOC06 Embroidery Machine, consider the following common troubleshooting steps:
- Skipped Stitches: Check if the needle is bent or dull, replace if necessary. Ensure the needle is inserted correctly and fully. Verify that the thread is properly tensioned and threaded through all guides.
- Thread Breakage: Inspect the thread path for any snags or obstructions. Ensure the thread is not too old or brittle. Adjust thread tension if it is too tight. Check for burrs on the needle plate or bobbin case.
- Poor Stitch Quality: This can often be resolved by re-threading the machine completely, both upper thread and bobbin. Ensure the correct needle type and size are used for your fabric and thread. Adjust tension settings as needed.
- Machine Not Responding: Check power connections and ensure the machine is turned on. If the touchscreen is unresponsive, try restarting the machine.
For more complex issues, refer to the comprehensive troubleshooting guide in the complete product manual or contact customer support.
Specifications
| Model Number | EOC06 |
| Max Embroidery Area | 7.9 x 11 Inches |
| Hoop Sizes Included | 2x (5.5 x 5.5 inches), 1x (8 x 8 inches), 1x (7.9 x 11 inches) |
| Touchscreen Size | 7 Inches |
| Built-in Patterns | 156 |
| Supported File Formats | DST, DSB |
| Included Thread Set | RICHWORD 800M 60 Colors Embroidery Machine Thread, 40WT(108D/2) Polyester |
| Date First Available | July 16, 2024 |
Warranty and Support
For product support, including one-on-one assistance and tips, you are encouraged to join the "Poolin Sewing Users Group" on Facebook. This community provides a platform for users to share experiences and receive direct support from Poolin representatives.

Image: A tablet screen showing the "Poolin Embroidery Machine Group" on Facebook, highlighting the available online community and support resources.
Information regarding specific warranty terms and conditions can be found in the full product manual included with your machine or by contacting Poolin customer service directly.
Related documentsEOC06


Ask a question about this manual
Ask about setup, troubleshooting, compatibility, parts, safety, or missing instructions. Manuals+ will review the question and use this page’s manual context to help answer it.