
1. Introduction
Thank you for choosing the Yottamaster VN500C3 5-Bay DAS Enclosure. This device provides high-capacity external storage with 10Gbps USB 3.1 Gen2 connectivity, supporting up to five 2.5-inch or 3.5-inch SATA HDDs/SSDs. This manual will guide you through the setup, operation, and maintenance of your enclosure to ensure optimal performance and longevity.
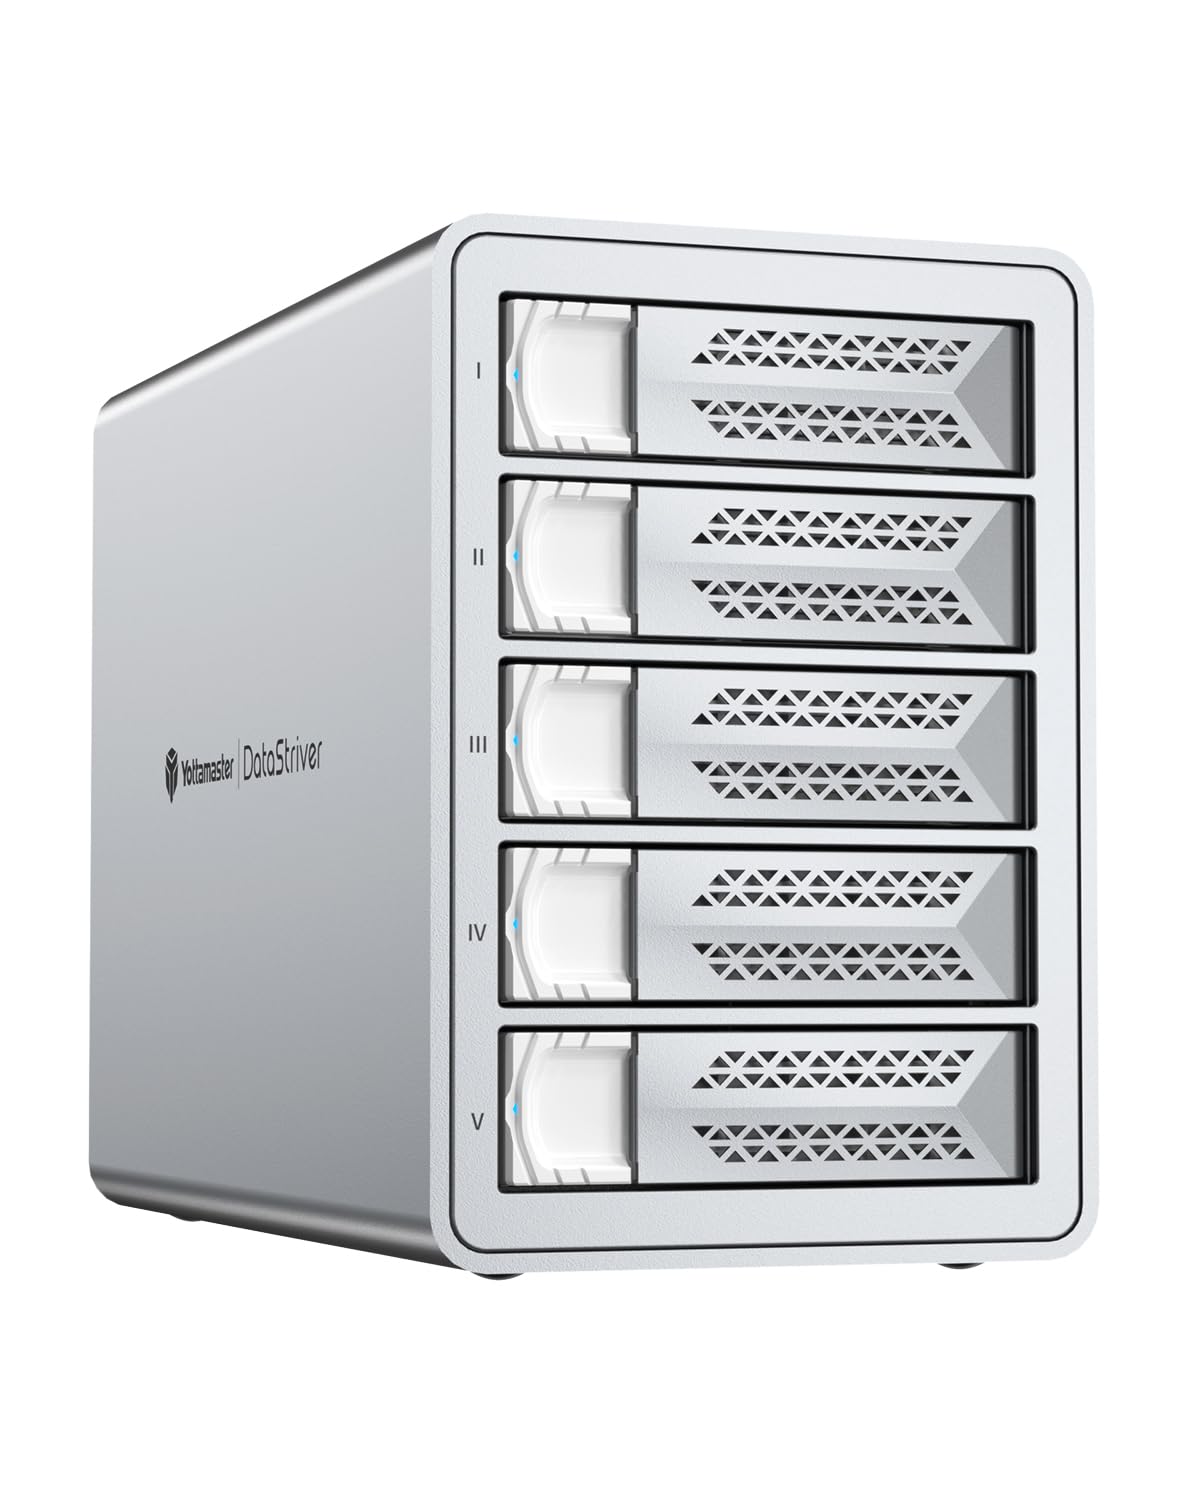
Image: The Yottamaster VN500C3 5-Bay DAS Enclosure, highlighting its 110TB external storage capacity and compatibility with 2.5-inch and 3.5-inch SATA HDDs/SSDs.
2. Safety Information
- Do not expose the device to water, moisture, or extreme temperatures.
- Avoid dropping or subjecting the device to strong impacts.
- Use only the provided power adapter and cables.
- Ensure proper ventilation to prevent overheating.
- Do not attempt to disassemble or repair the device yourself. Contact customer support for assistance.
- Keep out of reach of children.
3. Package Contents
Verify that all items are present in the package:
- Yottamaster VN500C3 5-Bay DAS Enclosure
- Power Cord
- 2-in-1 Data Cable (USB-C to USB-C/USB-A)
- Screws for drive installation
- Screwdriver
- User Manual (this document)

Image: A visual representation of the Yottamaster VN500C3 package contents, including the enclosure, power cable, data cable, screws, and screwdriver.
4. Product Overview
Key Features:
- High-Speed Data Transfer: Utilizes USB 3.1 Gen2 for up to 10Gbps transfer speeds.
- Large Capacity: Supports up to 110TB (5 x 22TB) with individual drives.
- Daisy Chain Functionality: Connect up to three VN500C3 units for a total capacity of 330TB.
- Wide Compatibility: Supports 2.5-inch and 3.5-inch SATA HDDs/SSDs.
- Hot-Swap Support: Allows for drive insertion/removal without powering down.
- Efficient Cooling: Aluminum casing and low-noise cooling fan with front and rear vents.
- Automatic Power-On: Restarts automatically after a power outage.
Component Identification:

Image: Detailed view of the Yottamaster VN500C3's features, including hard drive status indicators, removable metal trays, the door release button, and the dual 10Gbps USB-C ports.
- Hard Drive Indicators: Blue for normal operation, Red for drive abnormality.
- Metal Trays: Removable trays for secure drive installation.
- Door Button: Press and push left to open the drive bay door.
- Dual 10Gbps Type-C Ports: One main port for connection to PC/Laptop, one HUB port for daisy-chaining.
- Power Input: AC 100-240V.
- Power Button: To turn the device on/off.
5. Setup
5.1 Drive Installation
- Press the door button and push left to open the drive bay door.
- Pull out an empty metal drive tray.
- Attach your 2.5-inch or 3.5-inch SATA HDD/SSD to the tray using the provided screws and screwdriver. Ensure the drive's SATA connector aligns with the tray's connector.
- Slide the tray with the installed drive back into the enclosure until it clicks into place.
- Repeat for additional drives.

Image: The Yottamaster VN500C3 demonstrating compatibility with both 2.5-inch SSDs/HDDs and 3.5-inch HDDs, showing how they fit into the drive trays.
5.2 Power Connection
- Connect the provided power cord to the power input port on the rear of the enclosure.
- Plug the other end of the power cord into a wall outlet.

Image: The Yottamaster VN500C3 connected to a power source, illustrating its high-power 150W built-in power supply.
5.3 Data Connection
- Connect one end of the 2-in-1 data cable (USB-C) to the main USB-C port on the rear of the enclosure.
- Connect the other end of the data cable (USB-C or USB-A, depending on your computer's port) to your computer.
- Power on the enclosure by pressing the power button.
- Your computer should detect the drives automatically (Plug and Play). For new drives, you may need to initialize and format them through your operating system's disk management utility.

Image: The Yottamaster VN500C3 connected to a laptop via its USB 3.1 Gen2 Type-C port, demonstrating 10Gbps data transfer capabilities.
6. Operating Instructions
6.1 Power On/Off
- To power on, press the power button on the rear of the enclosure. The power indicator will light up.
- To power off, press and hold the power button until the device shuts down.
6.2 Drive Access
- Once connected and powered on, the installed drives will appear as individual disks on your computer.
- You can access, read, and write data to them like any other internal or external drive.
6.3 Hot-Swapping Drives
The VN500C3 supports hot-swapping. You can insert or remove drives without powering off the enclosure. Ensure that the drive is not actively being used by your computer before removal to prevent data loss.
6.4 Daisy Chain Connectivity
The enclosure features a HUB USB-C port for daisy-chaining. You can connect up to three VN500C3 units or other compatible USB-C devices (like PSSDs) to expand your storage capacity up to 330TB. Connect the main port of the first enclosure to your computer, then connect the HUB port of the first enclosure to the main port of the second, and so on.

Image: Multiple Yottamaster VN500C3 enclosures connected in a daisy-chain setup, illustrating how to achieve up to 330TB of storage through sequential connections.
7. Maintenance
7.1 Cleaning
- Ensure the device is powered off and unplugged before cleaning.
- Use a soft, dry cloth to wipe the exterior of the enclosure.
- Do not use liquid cleaners or aerosols.
7.2 Cooling System
The VN500C3 features an aluminum casing and a cooling fan for optimal heat dissipation. Ensure that the front and rear cooling vents are not obstructed to maintain proper airflow.

Image: An exploded view of the Yottamaster VN500C3's internal cooling system, highlighting the aluminum alloy casing, panel heat dissipation holes, aluminum trays, and the 80x80mm cooling fan for efficient heat management.
8. Troubleshooting
8.1 Device Not Detected
- Ensure the power cable is securely connected and the device is powered on.
- Check the data cable connection to both the enclosure and your computer. Try a different USB port on your computer.
- Test with a different USB cable if available.
- Verify that the drives are properly installed in their trays.
- For new drives, ensure they are initialized and formatted in your operating system's Disk Management (Windows) or Disk Utility (Mac).
8.2 Slow Transfer Speeds
- Ensure your computer's USB port supports USB 3.1 Gen2 (10Gbps). Connecting to a slower USB port will limit speeds.
- Check the condition of your drives. Older or fragmented HDDs may perform slower.
- Avoid running multiple demanding applications during large file transfers.
8.3 Drive Indicator is Red
- A red indicator typically signifies a drive abnormality.
- Try removing and reinserting the affected drive.
- Test the drive in another bay or another enclosure/computer to determine if the issue is with the drive itself.
- If the drive is faulty, replace it.
9. Specifications
| Feature | Specification |
|---|---|
| Model | VN500C3 (YM-VN500C3-SV-BP-US) |
| Drive Bays | 5 |
| Compatible Drives | 2.5-inch / 3.5-inch SATA HDD/SSD |
| Max Single Drive Capacity | 22TB |
| Max Total Capacity | 110TB (330TB with daisy chain) |
| Interface | USB 3.1 Gen2 Type-C (10Gbps) |
| Daisy Chain Support | Yes, up to 3 units |
| Hot-Swap | Supported |
| Power Supply | Built-in 150W |
| Material | Aluminum Alloy |
| Cooling System | 80x80mm Cooling Fan, Vents |
| Compatibility | Windows, Mac |
10. Warranty and Support
Yottamaster products come with a standard manufacturer's warranty. Please refer to the warranty card included in your package or visit the official Yottamaster website for detailed warranty terms and conditions.
For technical support, troubleshooting assistance, or any inquiries regarding your Yottamaster VN500C3, please contact our customer support team:
- Website: www.yottamaster.com
- Email: support@yottamaster.com
When contacting support, please have your product model (VN500C3) and purchase information ready.


