
1. Product Overview
The Elite Screens VMAX 3 series offers a motorized projector screen designed for various applications, including home theater, business presentations, and gaming. This model, VMAX125UWH3, features a 125-inch diagonal viewing area with a 16:9 aspect ratio. The screen material is MaxWhite FG, a 1.1 gain fiberglass-backed surface that provides a 180-degree wide viewing angle, ensuring clear and bright images from multiple seating positions. It is compatible with 4K Ultra HD and Active 3D projection, and is GreenGuard and GreenGuard Gold Certified for low chemical emissions, promoting a safe indoor environment.
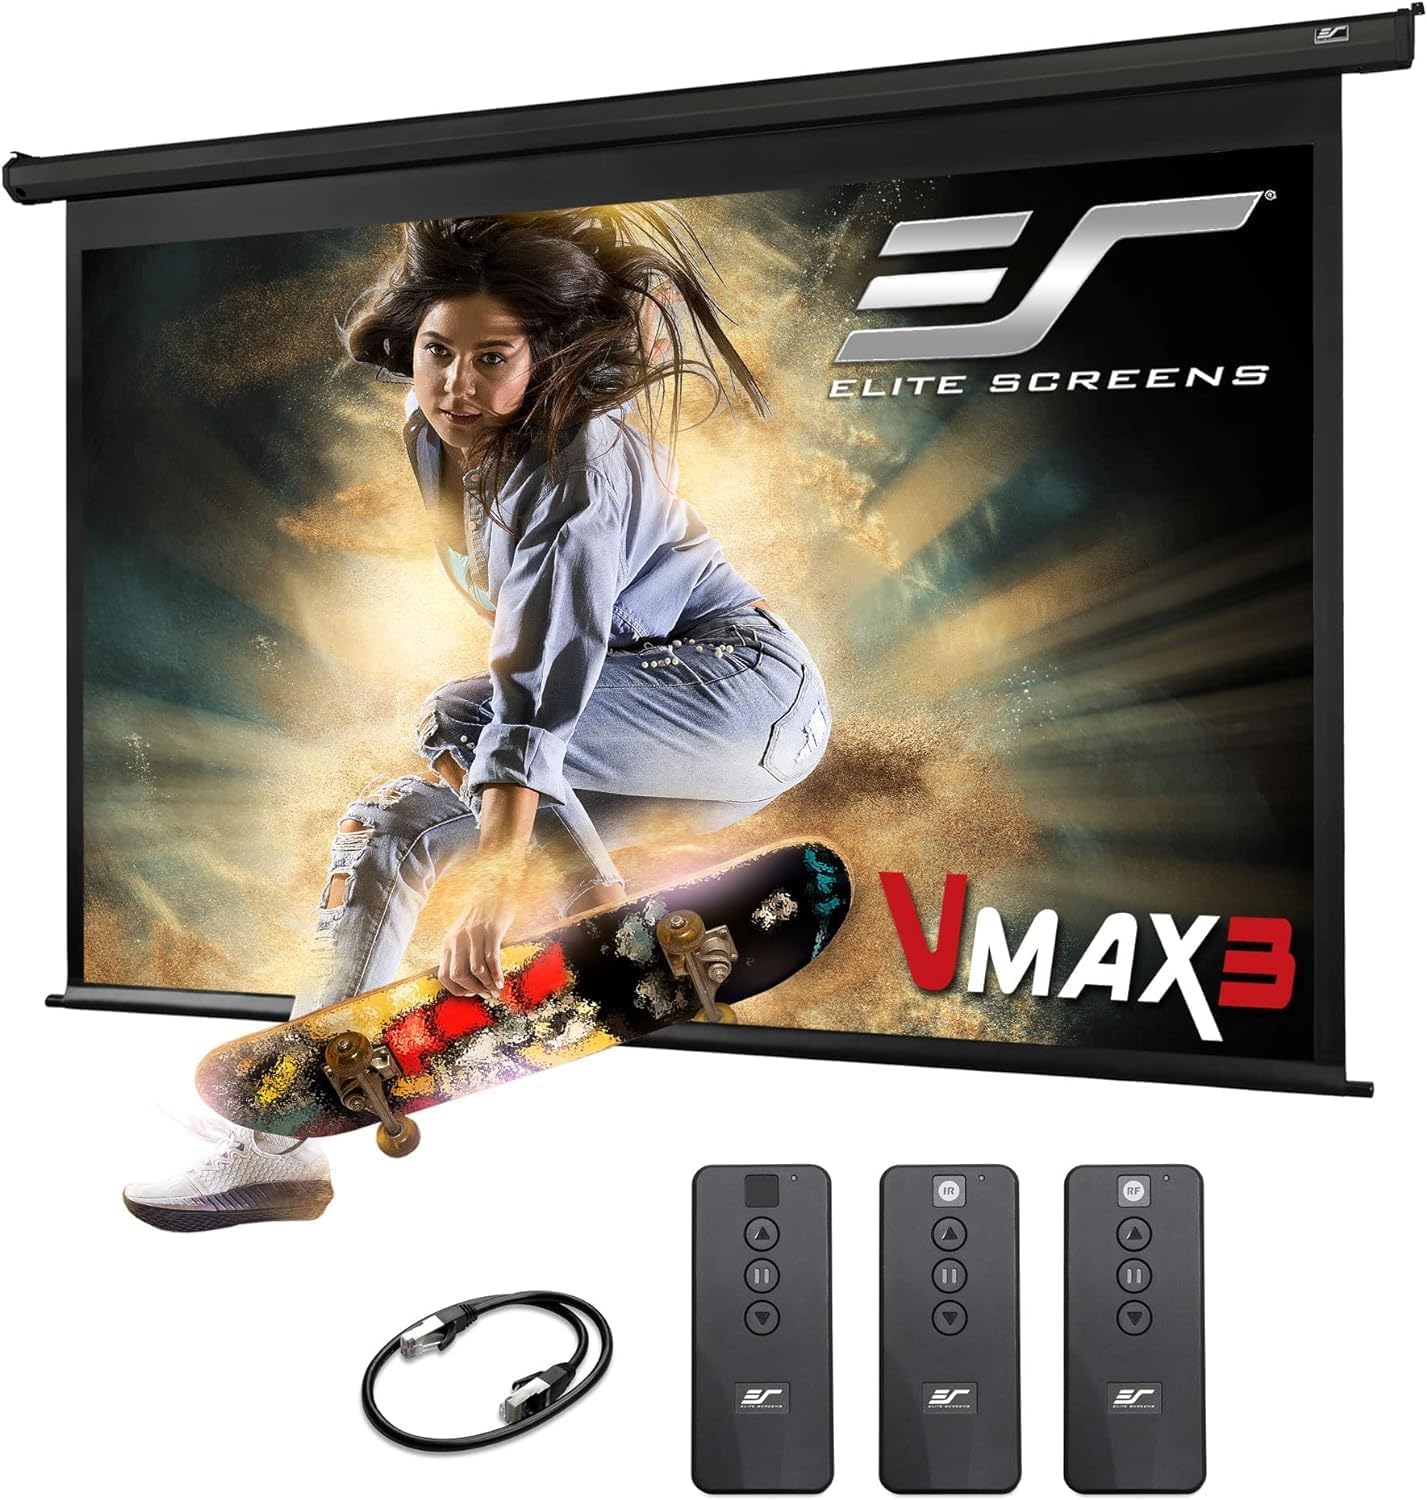
Image 1.1: Elite Screens VMAX 3 in use, showcasing its wide viewing angle and remote control.
Video 1.1: Official product overview of the Elite Screens VMAX 3 Series, demonstrating key features and functionality.
The screen is housed in a durable metal casing and features a synchronous motor for quiet and efficient operation. It includes a comprehensive control system with Infrared (IR) and Radio Frequency (RF) remotes, a wall box controller, and a 12-volt trigger feature for synchronized operation with your projector.

Image 1.2: GreenGuard and GreenGuard Gold certifications for the screen material.
2. Setup and Installation
The VMAX 3 screen is designed for easy installation on either a wall or ceiling. It arrives fully assembled, simplifying the setup process. Ensure you have appropriate mounting hardware for your chosen installation method (not included).
2.1 Mounting Options
The durable metal casing includes end caps that facilitate both wall and ceiling mount options. For a concealed in-ceiling installation, a universal ceiling trim kit is available as an optional accessory.

Image 2.1: Detail of the VMAX 3 casing with mounting brackets.
2.2 Connecting the Control System
Connect the wall box controller to the screen's RJ50 port. This controller has a built-in IR sensor. The system also includes IR and RF remotes for flexible control.
2.3 Programmable Vertical Drop Position
The screen features a user-friendly programmable vertical drop position. This allows you to set the desired lower limit for the screen, ensuring it drops to the perfect height for your viewing area. Refer to the operating section for instructions on programming this feature.
3. Operating Instructions
The VMAX 3 screen offers multiple control options for convenience.
3.1 Remote Controls
The screen comes with both Infrared (IR) and Radio Frequency (RF) remotes. The RF remote allows for control without direct line-of-sight, while the IR remote requires pointing towards the screen's IR sensor (located on the wall box controller).

Image 3.1: IR and RF remote controls with the wall box controller.
To operate the screen, use the 'Up' button to retract, 'Down' button to deploy, and 'Stop' button to pause the screen at any desired position.
3.2 Detachable Wall Box Controller
The wall box controller can be detached for a cleaner aesthetic while maintaining RF and IR operation. It provides direct control over the screen's movement.

Image 3.2: Detachable wall box controller for flexible placement.
3.3 12-Volt Trigger Feature
The screen includes a wired 12-volt trigger feature via an RJ50 port. This allows the screen's up/down operation to synchronize with your projector's power cycle. When the projector is turned on, the screen will deploy; when the projector is turned off, the screen will retract. A 3.5mm mono jack cable (not included) is required to connect the wall box controller to your projector's 12V trigger output.
3.4 RF Remote Channel Selection
The RF remote features built-in selectable channels. This allows for programming different RF remote codes, which is useful for controlling multiple screens in the same area and reducing potential electrical interference.
4. Maintenance
Proper maintenance ensures the longevity and optimal performance of your projector screen.
4.1 Screen Surface Cleaning
To clean the MaxWhite FG screen surface, use a soft, damp cloth with mild soap and water. Gently wipe the surface in a horizontal direction. Avoid using harsh chemicals, abrasive cleaners, or excessive pressure, as these can damage the screen material. Allow the screen to air dry completely before retracting.
4.2 Casing and Motor Care
Wipe the metal casing with a dry, soft cloth to remove dust. The synchronous motor is designed for low maintenance. Do not attempt to lubricate or disassemble the motor unit. If you experience any issues with the motor, refer to the troubleshooting section or contact customer support.
5. Troubleshooting
If you encounter any issues with your VMAX 3 projector screen, refer to the following common troubleshooting steps:
- Screen Does Not Respond to Remote:
- Check the batteries in the remote control and replace if necessary.
- Ensure the wall box controller is properly connected and powered.
- For IR remote, ensure there is a clear line of sight to the IR sensor on the wall box controller.
- For RF remote, check if the channels are correctly set to avoid interference.
- Screen Does Not Deploy/Retract Fully:
- Verify that the power cable is securely connected to the screen and a working power outlet.
- Check for any obstructions preventing the screen from moving freely.
- If the programmable vertical position is set, ensure it is not limiting the screen's travel. Reset if needed.
- Screen Appears Wrinkled or Uneven:
- Allow the screen to hang fully deployed for a few hours; minor wrinkles may smooth out over time.
- Ensure the screen is installed on a flat, even surface. Uneven mounting can cause distortion.
- 12V Trigger Not Working:
- Confirm the 3.5mm mono jack cable is correctly connected between the wall box controller and the projector's 12V trigger output.
- Check your projector's settings to ensure the 12V trigger output is enabled and functioning correctly.
If these steps do not resolve the issue, please contact Elite Screens customer support for further assistance.
6. Specifications
| Feature | Detail |
|---|---|
| Model Number | VMAX125UWH3 |
| Screen Dimensions (Diagonal) | 125 inches |
| Aspect Ratio | 16:9 |
| View Size (H x W) | 61" H x 109" W |
| Overall Size (H x W x D) | 76.6" H x 120.8" W x 3.1" D |
| Screen Material | MaxWhite FG (Fiberglass-backed) |
| Gain | 1.1 |
| Viewing Angle | 180 Degrees |
| Compatibility | 4K Ultra HD, Active 3D Projection |
| Certifications | GreenGuard, GreenGuard Gold |
| Casing Material | Metal |
| Operation Mode | Automatic (Motorized) |
| Control System | IR Remote, RF Remote, Wall Box Controller, 12V Trigger |
| Color | Black Casing |
| Item Weight | 29.6 Pounds |
| UPC | 848448030131 |

Image 6.1: Dimensional diagram of the VMAX 3 screen.
7. Warranty and Support
Elite Screens provides comprehensive support for its products.
7.1 Product Warranty
The VMAX 3 projector screen comes with a 2-year standard manufacturer's warranty. An extended 3-year ENR-G warranty may be available. Please refer to your purchase documentation or the Elite Screens website for specific warranty terms and conditions.
7.2 Technical Support
Elite Screens offers lifetime technical support via email, web chat, or toll-free phone calls. Their professional service team is available to assist with any questions or issues you may encounter.

Image 7.1: Elite Screens customer support and warranty information.


