
GarveeLife HJS-GarveeLife-POPUPCANOPNY-White
GarveeLife 10x10 Commercial Pop Up Canopy Instruction Manual
Model: HJS-GarveeLife-POPUPCANOPNY-White
1. Introduction
This manual provides comprehensive instructions for the assembly, operation, maintenance, and troubleshooting of your GarveeLife 10x10 Commercial Pop Up Canopy. Please read this manual thoroughly before initial use to ensure proper setup and safe operation.
1.1. Package Contents
Verify that all components listed below are present in your package. If any parts are missing or damaged, please contact customer support.
- 1 x Top Cover (Canopy Roof)
- 1 x 10x10 Pop-up Canopy Frame (Metal)
- 1 x Roller Bag (Wheeled Carry Bag)
- 4 x Sandbags (empty, for weight)
- 4 x Ropes
- 8 x Ground Nails (Stakes)
- 1 x Sidewall

Figure 1.1: Included Package Contents
This image displays the complete set of items you should find in your GarveeLife 10x10 Pop Up Canopy package, including the canopy top, the foldable steel frame, the wheeled roller bag for transport, four empty sandbags for stability, four ropes, and eight ground nails (stakes).
2. Important Safety Information
Adherence to the following safety guidelines is crucial for preventing damage to the canopy and ensuring user safety.
- Weather Conditions: Avoid using the canopy in strong winds, heavy rain, hail, or any inclement weather conditions. The canopy is designed for temporary shade and light weather protection, not severe weather.
- Immediate Storage: If adverse weather conditions are encountered, promptly disassemble and store the canopy. Ensure the canopy fabric is completely dry before packing it into the wheel bag to prevent mold or mildew.
- Anchoring: Always use the provided ropes, ground nails (stakes), and sandbags to properly secure the canopy to the ground. This prevents the canopy from lifting or moving due to wind.
- Assembly Personnel: The unique setup design requires two people for safe and efficient expansion and retraction of the canopy frame.
- Clearance: Ensure adequate clearance around the canopy during setup and use to avoid obstruction or damage to surrounding objects.
- Fire Safety: Keep the canopy away from open flames, heaters, and other heat sources. The fabric is not fireproof.
3. Setup Instructions
Follow these steps for a quick and easy assembly of your pop-up canopy. No tools are required for assembly.
- Step 1: Open Canopy Frame. With two people, grasp opposite ends of the folded frame. Slowly pull outwards to begin expanding the frame. Do not force the frame.
- Step 2: Position Canopy Top. Once the frame is partially open, drape the canopy top fabric over the frame. Align the corners of the fabric with the frame's corners.
- Step 3: Fully Expand and Lock Frame. Continue pulling the frame outwards until it is fully expanded. Push up on the central locking mechanism (if applicable) until it clicks into place, securing the frame in its open position.
- Step 4: Adjust Height and Lock Legs. Extend each leg to the desired height. Press the red adjustment buttons on each leg and slide the inner leg section upwards until the pin locks into one of the height adjustment holes. Ensure all four legs are set to the same height.
- Step 5: Attach Sidewall. Secure the sidewall to the desired side of the canopy using the attached hook-and-loop fasteners or clips.
- Step 6: Secure the Canopy. Fill the four sandbags with sand or other heavy material and attach them to the canopy legs for added stability. Use the provided ropes and ground nails (stakes) to anchor the canopy firmly to the ground, especially in breezy conditions.

Figure 3.1: Easy Assembly Steps
This diagram illustrates the four primary steps for assembling the canopy: expanding the frame, placing the canopy top, adjusting the leg height and locking the frame, and finally attaching the sidewall.

Figure 3.2: Key Frame Features
This image highlights important features of the canopy frame, such as the patented central lock for stability, adjustable legs for height customization, the ground stake fixing points, the vented top for improved airflow, UV protection of the fabric, and glide truss washers for smooth operation.
4. Operating the Canopy
Your GarveeLife Pop Up Canopy is designed to provide temporary shelter and shade for various outdoor activities.
4.1. Intended Use
This canopy is suitable for:
- Outdoor events and gatherings
- Family camping
- Friend parties
- Commercial use (e.g., market stalls, exhibitions)
- Providing temporary shade and protection from light rain.

Figure 4.1: Canopy Usage Scenarios
This image illustrates the versatility of the canopy, showing it being used for family camping, a friend's party, and as a commercial setup for business activities.
4.2. Fabric Features
The canopy roof and sidewall are constructed from 150D silver layer fabric, offering:
- UV Protection: Provides UPF 50+ protection against harmful ultraviolet rays.
- Waterproof Capability: Designed to be 100% waterproof, shielding from rain.
- Wind-proof: Offers resistance to wind when properly anchored.
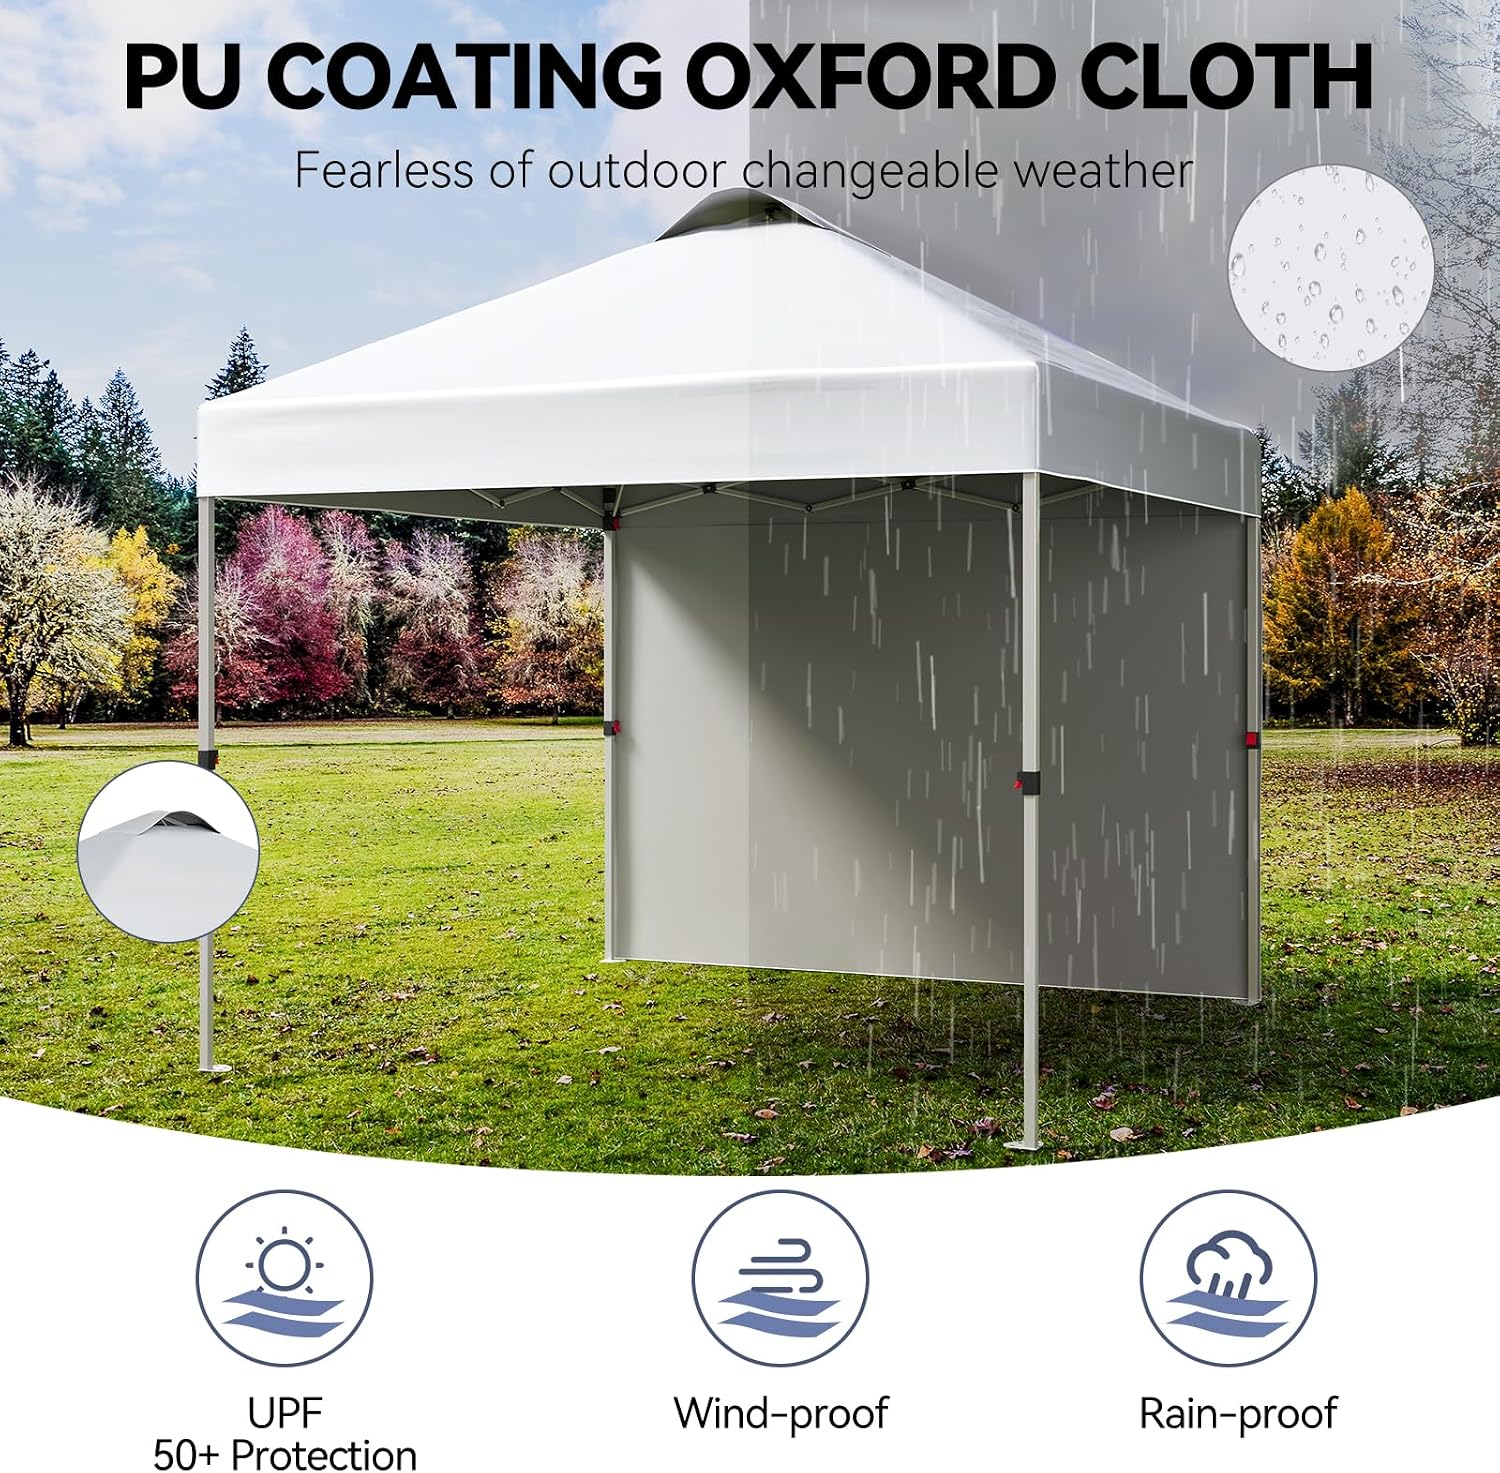
Figure 4.2: Fabric Features
This image details the protective qualities of the canopy's PU Coated Oxford Cloth, emphasizing its UPF 50+ protection against UV rays, wind-proof design, and rain-proof capabilities.
4.3. Sidewall Usage
The included sidewall can be installed on any side of the canopy to provide additional shade or privacy, and can be repositioned as the sun moves throughout the day.

Figure 4.3: Sidewall Positioning
This diagram illustrates how the sidewall can be adjusted and installed on different sides of the canopy to provide optimal shade as the sun changes position.
5. Maintenance
Proper care and maintenance will extend the life of your canopy.
5.1. Cleaning
- Clean the canopy fabric with mild soap and water. Do not use harsh detergents or abrasive cleaners.
- Rinse thoroughly with clean water and allow the fabric to air dry completely before folding and storing.
- Wipe down the metal frame with a damp cloth to remove dirt and debris.
5.2. Storage
- Ensure the canopy fabric and frame are completely dry before packing into the roller bag. Storing a damp canopy can lead to mold, mildew, and fabric degradation.
- Fold the canopy frame and fabric neatly to fit into the provided wheeled carry bag. The 600D Oxford cloth bag offers basic waterproofing and durability for transport and storage.
- Store the canopy in a cool, dry place, away from direct sunlight and extreme temperatures.

Figure 5.1: Wheeled Carry Bag
This image demonstrates the convenience of the wheeled carry bag, highlighting how easy it is to transport and store the folded canopy.
6. Troubleshooting
This section addresses common issues you might encounter with your canopy.
| Problem | Possible Cause | Solution |
|---|---|---|
| Canopy frame difficult to open or close. | Frame joints are stiff or misaligned. | Ensure two people are pulling/pushing simultaneously from opposite ends. Apply a silicone-based lubricant to joints if necessary. |
| Canopy unstable or swaying in light wind. | Not properly anchored; insufficient weight. | Always use all four sandbags (filled), ropes, and ground nails. Ensure legs are fully extended and locked. |
| Water pooling on canopy roof. | Improper setup or heavy rain. | Ensure the canopy top is taut and properly secured to the frame. Disassemble immediately in heavy rain to prevent damage. |
| Canopy fabric appears damaged after use. | Used in strong winds or extreme weather; improper storage. | Refer to safety guidelines. Avoid use in strong winds. Ensure canopy is dry before storage. |
7. Product Specifications
Key technical details for the GarveeLife 10x10 Commercial Pop Up Canopy.
| Feature | Detail |
|---|---|
| Brand | GarveeLife |
| Model Number | HJS-GarveeLife-POPUPCANOPNY-White |
| Product Dimensions (L x W x H) | 120"L x 120"W x 132"H (10ft x 10ft x 11ft) |
| Shade Area | 100 Square Feet |
| Occupancy | 6-10 People |
| Item Weight | 35.1 Pounds |
| Frame Material | Metal |
| Canopy Fabric Material | 150D Silver Layer Fabric (UV Protection, Waterproof) |
| Carry Bag Material | 600D Oxford Cloth |
| Water Resistance Level | Waterproof |
| Ultraviolet Light Protection | Yes (UPF 50+) |
| Assembly Required | Yes |
| Color | White |
| UPC | 198290951895 |

Figure 7.1: Canopy Dimensions
This image provides a visual representation of the canopy's dimensions when assembled (10ft x 10ft) and the compact size of the wheeled carry bag (47"L x 8.5"W x 8.5"H) for storage.
8. Warranty Information
GarveeLife stands behind the quality of its products. For specific warranty terms and conditions, please refer to the warranty card included with your product or visit the official GarveeLife website. Keep your purchase receipt as proof of purchase for any warranty claims.
Note: Protection plans may be available for purchase separately through retailers. These plans are distinct from the manufacturer's warranty.
9. Customer Support
If you have any questions, require assistance with assembly, or need to report a missing or damaged part, please contact GarveeLife customer support.
For the most up-to-date contact information, please visit the official GarveeLife website or refer to the contact details provided on your product packaging.
Online Resources:
- GarveeLife Official Website: Visit GarveeLife Store on Amazon
Ask a question about this manual
Ask about setup, troubleshooting, compatibility, parts, safety, or missing instructions. Manuals+ will review the question and use this page’s manual context to help answer it.