
ieGeek SC1 Pro
ieGeek 5MP Indoor Camera User Manual
Model: SC1 Pro
1. Introduction
This manual provides detailed instructions for the installation, operation, and maintenance of your ieGeek 5MP Indoor Camera. Please read this manual thoroughly before using the product to ensure proper functionality and safety. This camera is designed for indoor security, pet monitoring, and baby monitoring, offering advanced features such as 5MP Super HD resolution, dual-band Wi-Fi connectivity, pan/tilt functionality, motion detection with auto-tracking, two-way audio, and night vision.

Image: The ieGeek 5MP Indoor Camera, a white and gray dome-shaped camera, shown next to a smartphone displaying a live feed of a child holding a puppy, illustrating its use for home monitoring.
2. What's in the Box
Verify that all components are present in the package:
- 5MP 5Ghz WiFi Indoor Security Camera x1
- 5V/1A Charger x1
- USB-C Cable x1
- Camera Base x1
- User Manual x1

Image: A flat lay of the ieGeek 5MP Indoor Camera, its packaging box, a power adapter, a USB-C cable, and the user manual, laid out on a white and wooden tiered display.
3. Product Overview
The ieGeek 5MP Indoor Camera features a compact design with advanced functionalities. Key components include:
- Camera Lens: 5MP Super HD resolution for clear video.
- Infrared LEDs: For automatic night vision up to 50 feet.
- Microphone: For audio input and two-way communication.
- Speaker: For audio output and two-way communication.
- Status Indicator Light: Indicates camera status (e.g., connected, recording).
- Power Port (USB-C): For connecting the power adapter.
- Micro SD Card Slot: For local video storage (up to 256GB, not included).
- Reset Button: For factory reset (usually a small pinhole).

Image: An exploded view diagram illustrating the internal lens components of the ieGeek 5MP camera, highlighting its 5-megapixel resolution capability for ultra-clear images.
4. Setup Guide
4.1 App Installation
Download and install the ieGeek Cam application on your smartphone. The app is available for both iOS and Android devices.
- Search for "ieGeek Cam" in the Apple App Store (for iOS) or Google Play Store (for Android).
- Install the application and create an account if you are a new user.

Image: A smartphone displaying the ieGeek Cam application icon, indicating where to download the app.
4.2 Powering On
- Connect the provided USB-C cable to the camera's power port.
- Plug the other end of the USB-C cable into the 5V/1A charger.
- Plug the charger into a power outlet. The camera will power on, and the status indicator light will illuminate.
4.3 Network Connection
The ieGeek camera supports both 2.4GHz and 5GHz Wi-Fi networks for flexible and stable connectivity.
- Open the ieGeek Cam app and tap on "Add Device" or the "+" icon.
- Follow the on-screen instructions to select your Wi-Fi network (2.4GHz or 5GHz) and enter the password.
- The app will generate a QR code. Position your camera to scan this QR code from your phone screen. Ensure the camera lens is clean and the screen brightness is sufficient.
- Once the camera successfully scans the QR code, it will connect to your Wi-Fi network. A voice prompt will confirm successful connection.

Image: Two smartphone screens illustrating the WiFi connection process: one showing the connection progress and the other displaying a QR code for the camera to scan.

Image: The ieGeek camera with visual representations of 5GHz and 2.4GHz WiFi signals, emphasizing its dual-band capability for stronger network signal and longer transmission distance.
4.4 Mounting Options
The camera can be placed on a flat surface or mounted to a ceiling using the included camera base.
- Tabletop Placement: Simply place the camera on a stable, flat surface.
- Ceiling Mounting: Attach the camera base to the ceiling using screws (not included). Then, secure the camera to the base. Ensure the camera is oriented correctly in the app settings after mounting upside down.

Image: The ieGeek camera shown in various mounting positions: on a tabletop, mounted on a wall, and inverted on a ceiling, demonstrating its versatile placement options.
5. Operating Instructions
5.1 Live View and Pan/Tilt Control
Access the live video feed from your camera through the ieGeek Cam app. You can remotely control the camera's viewing angle.
- Open the ieGeek Cam app and select your camera from the device list.
- The live video feed will appear. Use the on-screen controls to pan (rotate horizontally 360°) and tilt (adjust vertically 55°) the camera lens.

Image: The ieGeek camera positioned on a table in a room, with a circular graphic indicating its 360-degree rotation capability, allowing users to 'tour rooms with one click'.
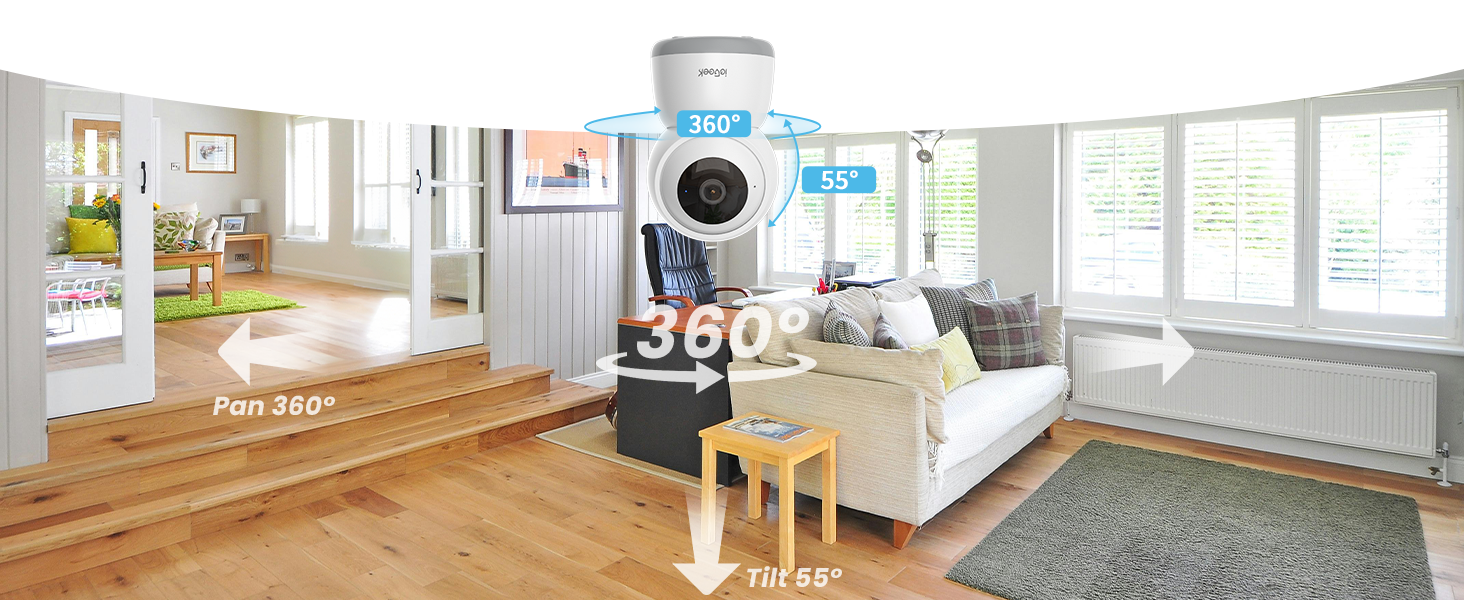
Image: A wide-angle view of a living room with the ieGeek camera centrally placed, illustrating its 360-degree pan and 55-degree tilt capabilities to cover a broad area.
5.2 Motion Detection and Auto Tracking
The camera can detect movement and automatically track subjects within its field of view, sending real-time alerts to your phone.
- Enable motion detection in the app settings.
- Activate the auto-tracking feature to allow the camera to follow detected movement horizontally (360°) and vertically (55°).
- Customize motion detection zones to focus on specific areas and reduce false alerts.
- Receive instant push notifications on your phone when motion is detected.

Image: The ieGeek camera positioned above a cat, with arrows indicating its 360-degree panoramic view and automatic tracking capability, ensuring no corner is missed.
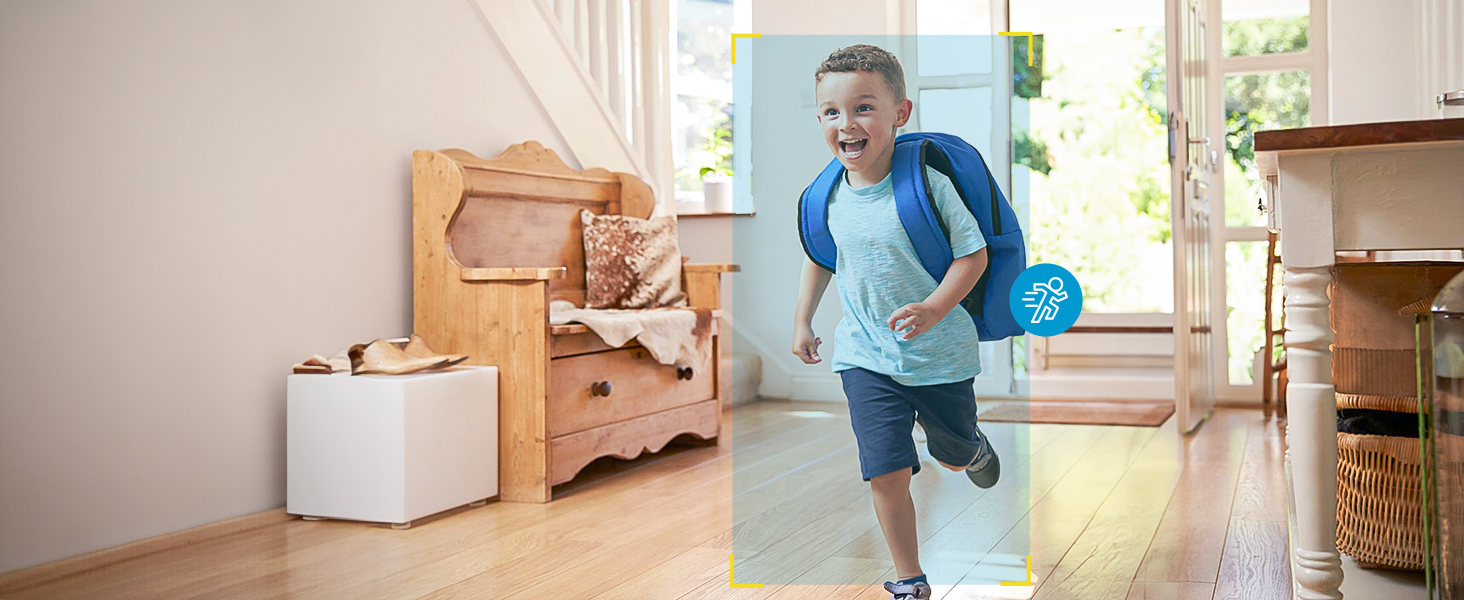
Image: A child running through a hallway, with a motion detection icon and highlight box indicating the camera's ability to detect and track movement.
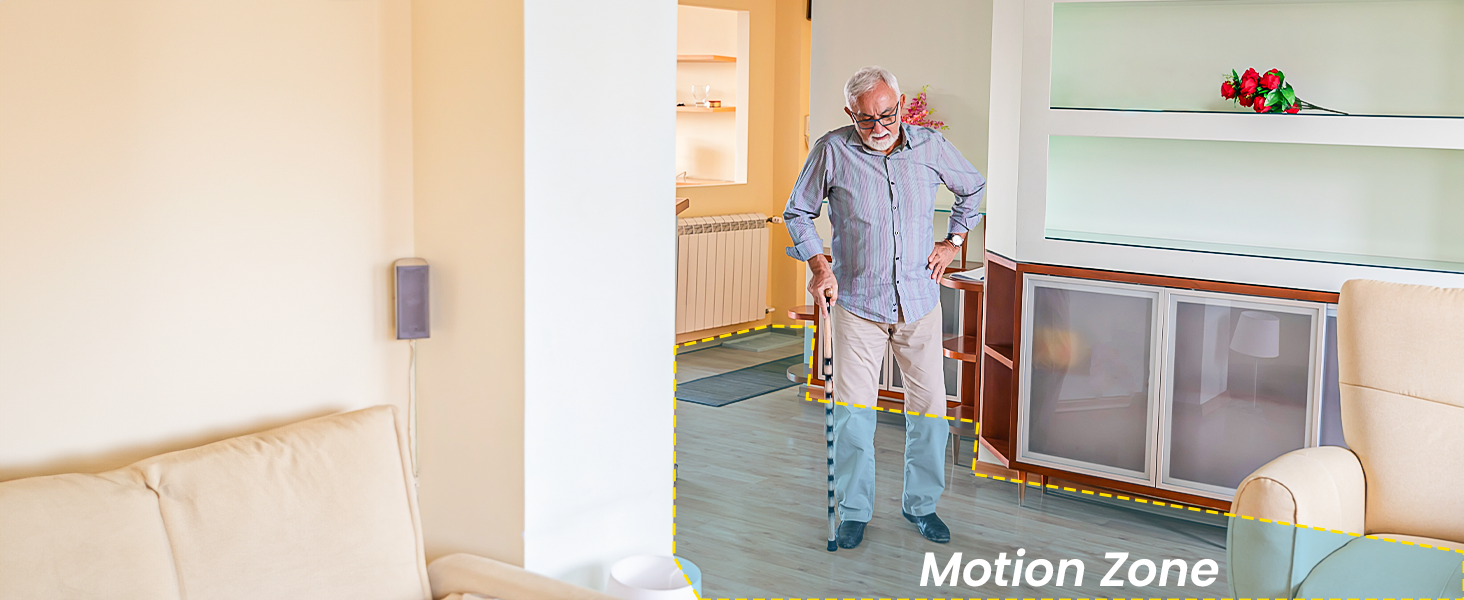
Image: An elderly person walking in a living room, with a highlighted 'Motion Zone' indicating how users can define specific areas for motion detection alerts.
5.3 Two-Way Audio and Noise Detection
Communicate through the camera and receive alerts for significant sounds.
- Two-Way Audio: Use the microphone icon in the app to speak through the camera's speaker. This allows you to communicate with pets, children, or visitors.
- Noise Detection: Enable noise detection in the app to receive alerts when the camera detects sounds like a baby crying or a dog barking.

Image: A smartphone held by hands, displaying a baby monitor interface with icons for two-way talk, infrared night vision, and noise detection, along with speech bubbles indicating communication.
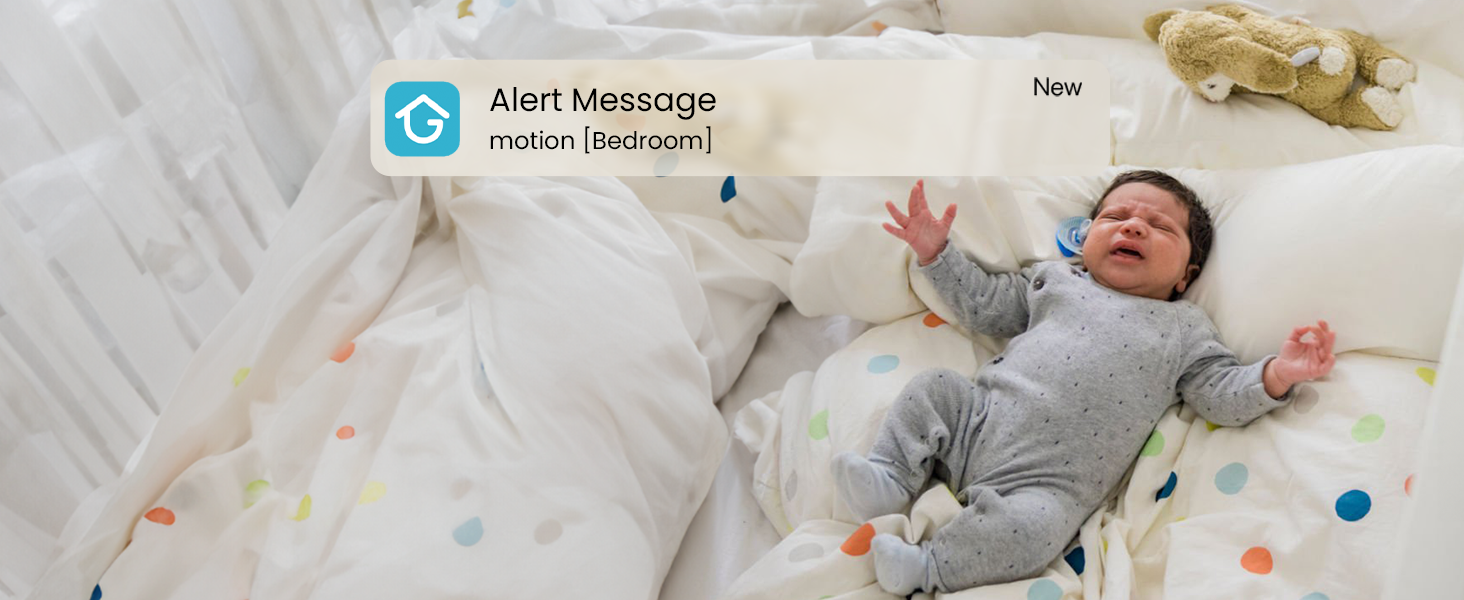
Image: A baby crying in a crib, with an 'Alert Message motion [Bedroom]' notification overlay, demonstrating the camera's noise detection and alert capabilities.
5.4 Night Vision
The camera automatically switches to infrared night vision in low-light conditions, providing clear black-and-white video.
- The built-in infrared LEDs enable night vision up to 50 feet.
- This feature activates automatically when ambient light is insufficient.
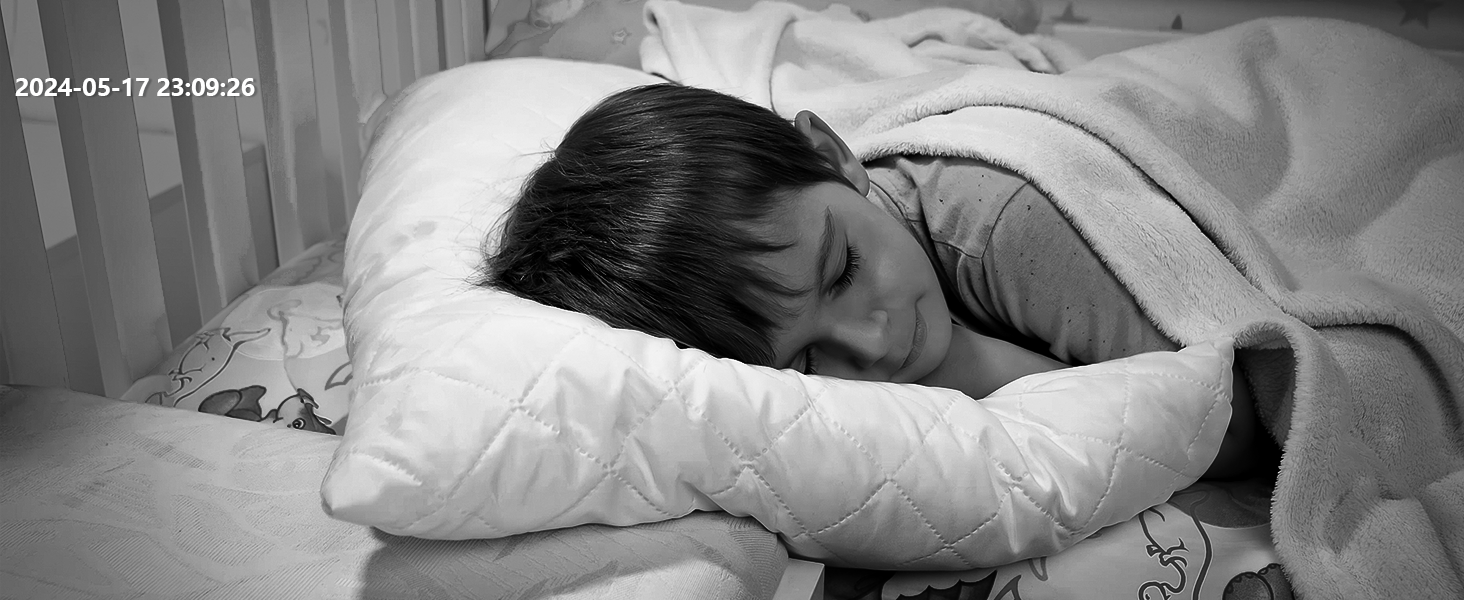
Image: A child sleeping peacefully in bed, captured in black and white, demonstrating the camera's clear night vision capabilities.
5.5 Storage Options
The camera offers flexible storage solutions for your video recordings.
- Micro SD Card: Insert a Micro SD card (up to 256GB, not included) into the camera's designated slot for continuous 24/7 local recording.
- Cloud Storage: The camera includes a free lifetime cloud storage base service, providing 6 seconds of recording and 7-day loop coverage. Paid cloud plans may offer extended storage.
- Access and playback recorded videos through the ieGeek Cam app.

Image: A smartphone displaying a video playback interface with a timeline, showing multiple video clips of a child and a dog, alongside icons for 6s free cloud storage and 256GB Micro SD card storage, indicating multiple storage options.
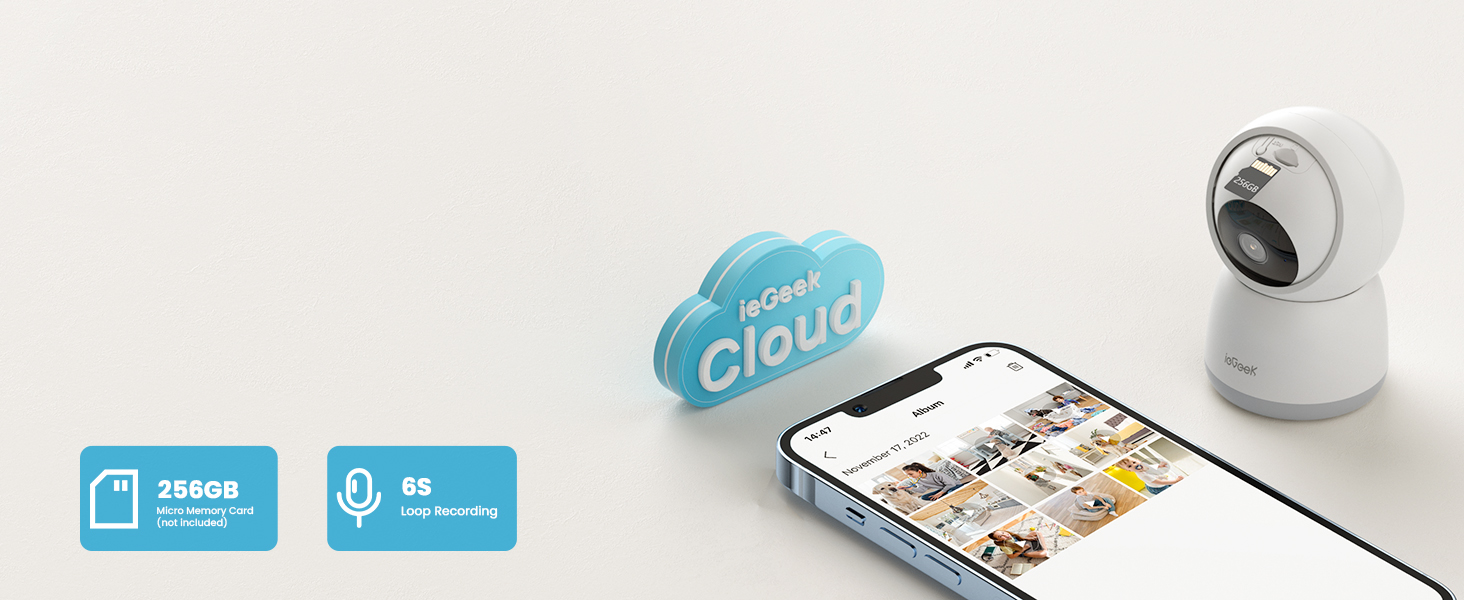
Image: The ieGeek camera next to a cloud icon labeled 'ieGeek Cloud' and icons for a 256GB Micro Memory Card and 6s Loop Recording, illustrating the available storage solutions.
5.6 Privacy Mode
Protect your privacy by activating the sleep privacy mode, which can disable the camera lens.
- Turn the camera on/off with one click in the ieGeek Cam app.
- Customize scheduled times for the camera to be active or inactive.
- The camera employs multiple authentication steps and ABS 128-bit encryption for enhanced privacy protection.

Image: A smartphone screen showing a 'lens is disabled' message, with a person sleeping in the background, illustrating the camera's sleep privacy mode feature.
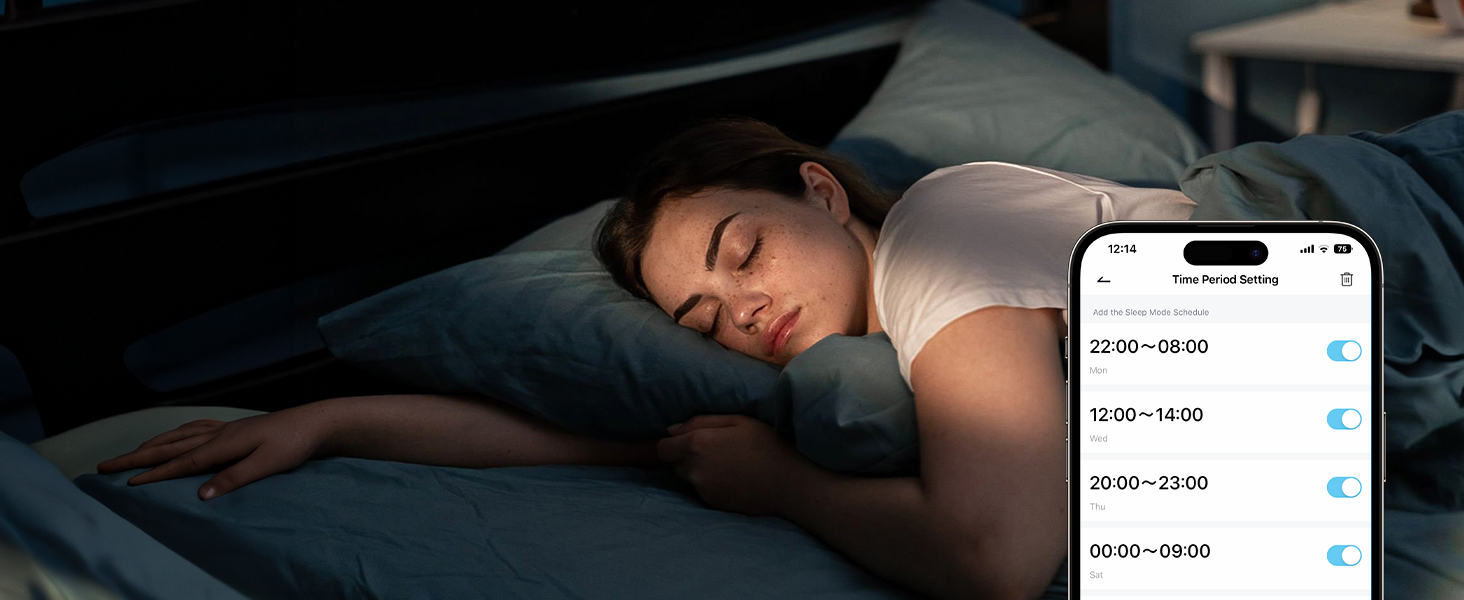
Image: A smartphone screen displaying 'Time Period Setting' for sleep mode, with toggle switches for different time slots, allowing users to schedule camera activity for privacy.
5.7 Device Sharing
Share access to your camera's live feed with family members.
- The ieGeek Cam app allows multiple users to watch the camera feed simultaneously on different devices (iPhone or Android).
- Invite family members through the app to share access.
5.8 Alexa Integration
Integrate your ieGeek camera with Amazon Alexa for voice control and viewing on compatible smart displays.
- Enable the ieGeek Cam skill in the Alexa app.
- Link your ieGeek Cam account with your Alexa account.
- Use voice commands to view the camera feed on an Echo Show or other compatible Alexa-enabled smart display.
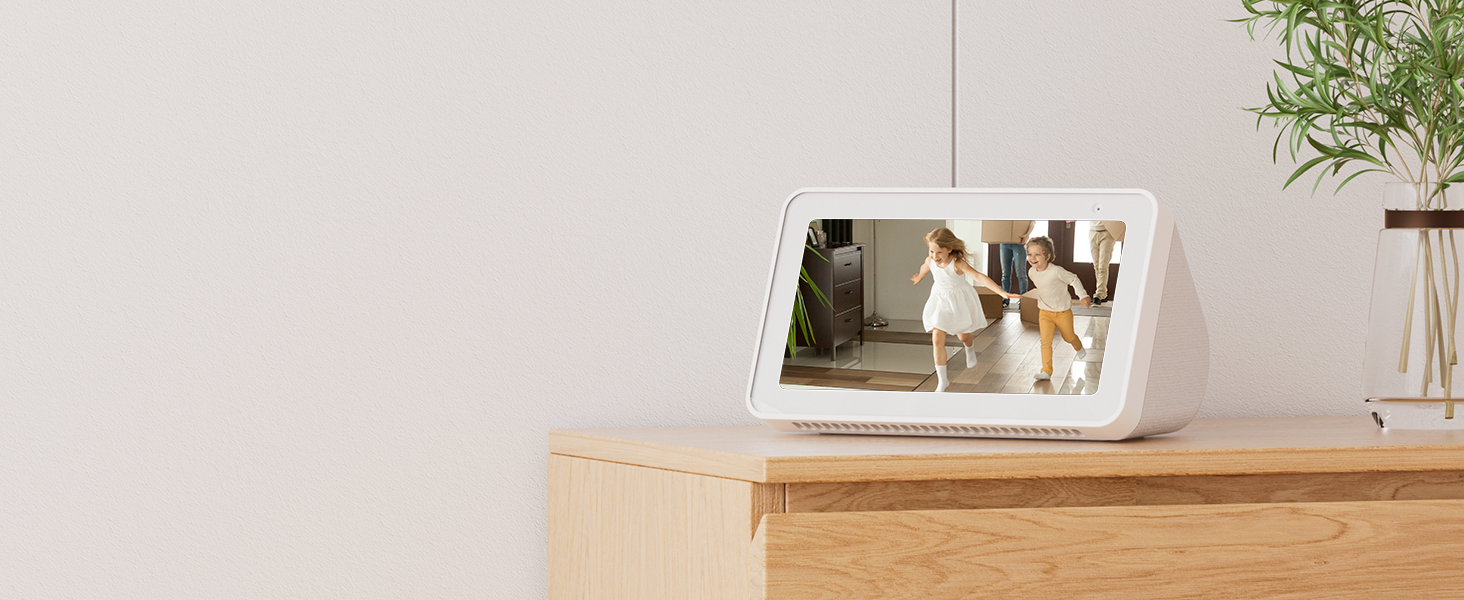
Image: An Amazon Echo Show displaying the live feed from an ieGeek camera, showing two children playing, demonstrating its compatibility with Alexa for smart home integration.
6. Maintenance
- Cleaning: Use a soft, dry cloth to clean the camera lens and body. Avoid using harsh chemicals or abrasive materials.
- Firmware Updates: Regularly check the ieGeek Cam app for available firmware updates. Keeping your camera's firmware up-to-date ensures optimal performance and security.
- Power Supply: Ensure the camera is always connected to the original 5V/1A charger and USB-C cable for stable operation.
7. Troubleshooting
| Problem | Possible Cause | Solution |
|---|---|---|
| Camera fails to connect to Wi-Fi. | Incorrect Wi-Fi password, weak signal, wrong frequency band (e.g., trying to connect to 5GHz on a 2.4GHz-only router, or vice-versa if not dual-band compatible). |
|
| No live video feed. | Camera offline, network issue, app malfunction. |
|
| Motion detection alerts are not received. | Motion detection disabled, app notifications off, incorrect sensitivity settings. |
|
| SD card not recording or recognized. | SD card full, corrupted, or incompatible format. |
|
8. Specifications
| Feature | Detail |
|---|---|
| Model Name | SC1 Pro |
| Video Capture Resolution | 1920p (5MP Super HD) |
| Indoor/Outdoor Usage | Indoor |
| Connectivity Technology | Wired (Power), Wi-Fi (Data) |
| Connectivity Protocol | Bluetooth, Wi-Fi (2.4GHz & 5GHz) |
| Power Source | Corded Electric (5V/1A) |
| Controller Type | ieGeek Cam App |
| Mounting Type | Tabletop Mount (with included Camera Base for ceiling mounting) |
| Pan/Tilt Range | Pan 360°, Tilt 55° |
| Night Vision | Infrared LEDs, up to 50 feet |
| Storage Options | Micro SD Card (up to 256GB, not included), Cloud Storage (6s recording, 7-day loop free base service) |
| Two-Way Audio | Supported |
| Motion Detection | Supported, with Auto Tracking and customizable zones |
| Noise Detection | Supported |
| Compatible Devices | Smartphone (iOS, Android), Amazon Alexa |
| Product Dimensions | 4.33 x 2.75 x 2.75 inches |
| Item Weight | 12.6 ounces |
| UPC | 734931731527 |
9. Warranty and Support
ieGeek provides a comprehensive warranty and customer support for your product.
- Warranty: This ieGeek 5MP Indoor Camera comes with a 2-year (730 days) warranty from the date of purchase. Please retain your proof of purchase for warranty claims.
- Customer Support: If you encounter any problems or have questions regarding your ieGeek camera, please contact ieGeek customer support. You can typically find contact information within the ieGeek Cam app or on the official ieGeek website.
- ieGeek Cam App: The customized "ieGeek Cam" APP offers a simpler, more intuitive interface and works with Alexa.
Related documentsSC1 Pro


Ask a question about this manual
Ask about setup, troubleshooting, compatibility, parts, safety, or missing instructions. Manuals+ will review the question and use this page’s manual context to help answer it.