
1. Introduction
This manual provides essential information for the safe and effective operation, maintenance, and troubleshooting of your ZLL Beast SG216MAX 1/16 Scale 4WD RC Drift Car. Please read this manual thoroughly before operating the vehicle to ensure proper function and to prevent damage.
The ZLL Beast SG216MAX is a 1/16 scale 4WD RC drift car designed for high-speed cornering and controlled sliding. It features a brushless 35A ESC and motor for responsive performance, a 3-channel proportional radio for precise control, and LED lights for visibility. The vehicle is constructed with a durable design and operates on a 2.4GHz radio frequency.
2. Safety Information
- Age Recommendation: This product is suitable for users aged 14 and up. Adult supervision is recommended for younger users.
- Operating Environment: Operate the RC car in open, clear areas away from people, pets, and obstacles. Avoid public roads, crowded areas, and wet conditions.
- Battery Safety: Use only the specified batteries and charger. Do not overcharge or short-circuit batteries. Dispose of batteries properly.
- Heat Warning: The motor and electronic speed controller (ESC) can become hot during operation. Avoid touching them immediately after use.
- Moving Parts: Keep fingers, hair, and loose clothing away from moving parts such as wheels and gears.
- Modifications: Do not modify the vehicle or its components. Unauthorized modifications may lead to malfunction and void the warranty.
- Storage: Store the vehicle and its components in a cool, dry place away from direct sunlight and extreme temperatures.
3. Package Contents
Verify that all items listed below are included in your package:
- ZLL Beast SG216MAX RC Drift Car
- 3-Channel Proportional Radio Transmitter
- Rechargeable Battery for Vehicle
- Battery Charger
- AAA Batteries for Transmitter (3 required, included)
- Mirrors (for optional installation)
- Instruction Manual (this document)
4. Setup
- Unpacking and Initial Inspection:
Carefully remove all components from the packaging. Inspect the vehicle for any signs of damage during transit. The vehicle body is shipped with a protective plastic wrapping. This wrapping can be removed to reveal the finished surface underneath. Alternatively, it can be left on, though the finish will not appear as shiny.
- Install Transmitter Batteries:
Open the battery compartment on the back of the radio transmitter. Insert 3 AAA batteries, ensuring correct polarity. Close the battery compartment.
- Charge Vehicle Battery:
Connect the vehicle's rechargeable battery to the provided charger. Follow the charger's instructions for charging time and indicators. Do not leave charging batteries unattended.
- Install Vehicle Battery:
Once fully charged, carefully install the battery into the vehicle's battery compartment. Ensure it is securely connected and positioned.
- Optional Mirror Installation:
The vehicle body has pre-drilled holes in the doors for installing the included mirrors. Carefully attach the mirrors if desired.
- Binding the Transmitter and Receiver:
Turn on the vehicle, then turn on the transmitter. The LED lights on the vehicle will flash and then become solid once connected to the remote control.
5. Operating Instructions
5.1 Basic Controls
- Steering: Use the steering wheel on the transmitter for proportional left and right control.
- Throttle: Use the trigger on the transmitter for proportional forward and reverse movement. Pull the trigger for forward, push for reverse/brake.
- Speed Adjustment: The brushless motor offers 3 speed settings. Refer to your transmitter's specific controls for adjusting these settings.
5.2 Driving Tips
- Drifting: The vehicle is designed for drifting. Practice smooth steering and throttle inputs to initiate and maintain drifts.
- Surface: Optimal performance for drifting is achieved on smooth, low-grip surfaces.
- LED Lights: The front and rear LED lights provide visibility and can be adjusted with six lighting modes.

Image: Speed comparison for brushless and carbon brush plate versions, highlighting full scale adjustment for faster and more stable performance.

Image: Front view of the ZLL Beast SG216MAX, showcasing the demon angel eyes headlights and turn signal flashing function. Six lighting modes are adjustable.

Image: View of the vehicle's underside, illustrating the difference between racing tires (for grip) and slick drift tires (for effortless drifting).

Image: Close-up of the wheel hub, showing how to remove the nut to replace the drift tire.
6. Maintenance
- Cleaning: After each use, clean the vehicle to remove dirt, dust, and debris. Use a soft brush or compressed air. Avoid water or harsh chemicals.
- Inspection: Regularly inspect the vehicle for loose screws, damaged parts, or worn tires. Replace any damaged components promptly.
- Battery Care: Always disconnect the battery from the vehicle when not in use. Store batteries in a cool, dry place.
- Tire Replacement: The vehicle supports self-replaceable tires. To replace a tire, remove the nut securing the wheel.

Image: Transparent view of the chassis, illustrating the internal body structure, motor, and cooling system. This design aims to protect the motor.

Image: Close-up of the independent spring shock absorber system, designed for smooth driving and effective shock absorption.
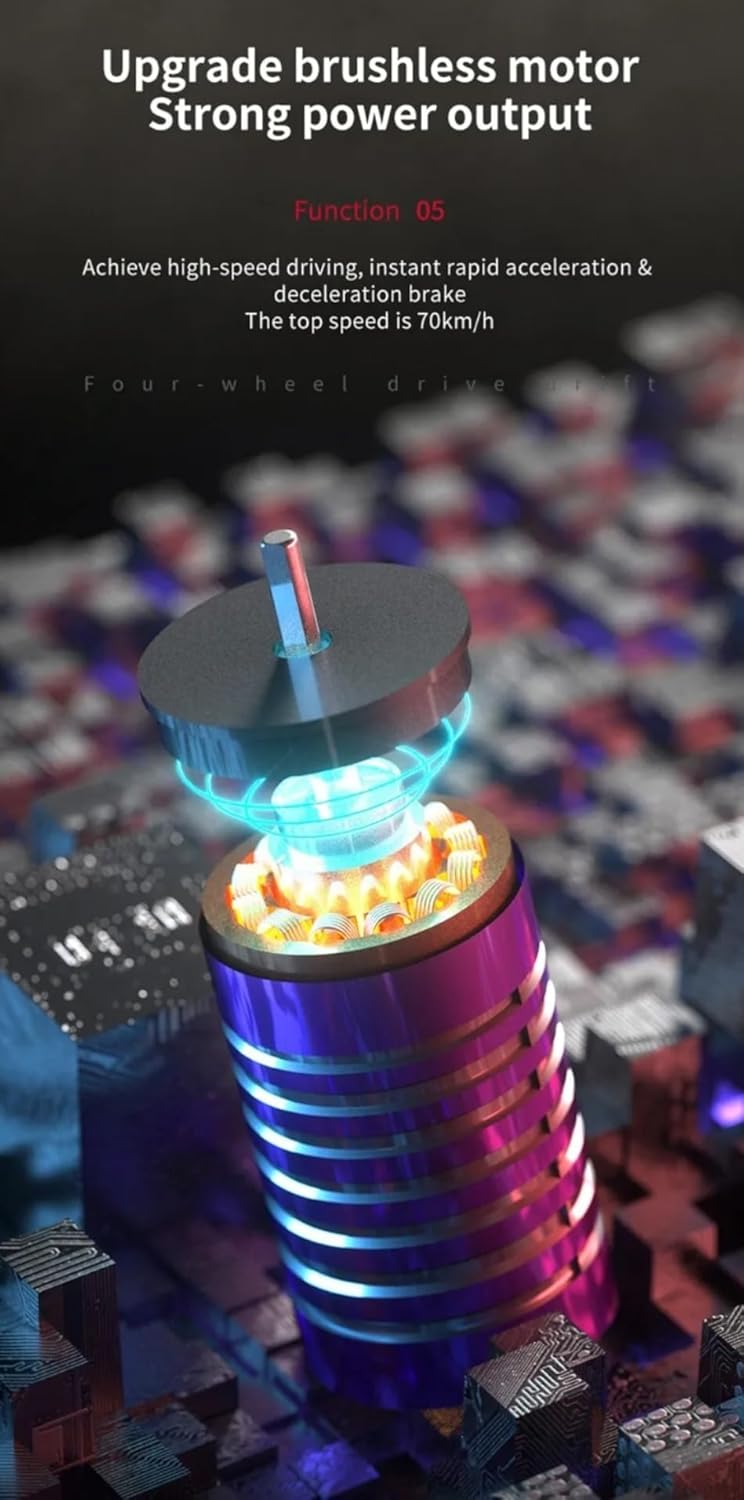
Image: Detailed view of the brushless motor, indicating its role in providing strong power output for high-speed driving and rapid acceleration/deceleration.
7. Troubleshooting
| Problem | Possible Cause | Solution |
|---|---|---|
| Vehicle does not respond to transmitter. |
|
|
| Vehicle runs slowly or inconsistently. |
|
|
| Steering is unresponsive or erratic. |
|
|
8. Specifications
- Model: SG216 MAX
- Scale: 1/16
- Drive System: 4WD
- Motor Type: Brushless
- ESC: 35A
- Radio System: 2.4GHz, 3-Channel Proportional
- Lighting: LED Headlights (6 adjustable modes), Turn Signal Flashing Function
- Dimensions (L x W x H): Approximately 15 x 12 x 10 inches
- Weight: Approximately 3.1 pounds
- Recommended Age: 14 years and up
- Transmitter Batteries: 3 x AAA (included)
9. Warranty and Support
For warranty information or technical support, please refer to the contact details provided with your purchase or visit the official ZLL website. Keep your proof of purchase for warranty claims.
Online Resources: For additional support, FAQs, and product updates, please visit www.zll.com (Note: This is a placeholder URL, please replace with the actual manufacturer's support page if available.)