
AOPICK 307C
AOPICK Digital Microscope
Model: 307C - User Manual
1. Safety Information
Please read all instructions carefully before using the AOPICK 307C Digital Microscope. Retain this manual for future reference.
- Do not disassemble or modify the device. Unauthorized modifications may void the warranty and pose safety risks.
- Keep the device away from water, moisture, and high temperatures.
- Use only the provided charging cable and adapter.
- Avoid direct exposure of the lens to strong light sources, as this may damage the sensor.
- Clean the lens and screen with a soft, lint-free cloth. Do not use abrasive cleaners.
- This device contains a rechargeable battery. Do not expose it to extreme heat or dispose of it in fire.
2. Package Contents
Verify that all items are present in your package:
- AOPICK 307C Digital Microscope
- Microscope Stand
- USB Charging Cable
- User Manual
3. Product Overview
The AOPICK 307C Digital Microscope is designed for detailed observation and analysis. It features a 4.3-inch IPS display, adjustable LED illumination, and PC compatibility.
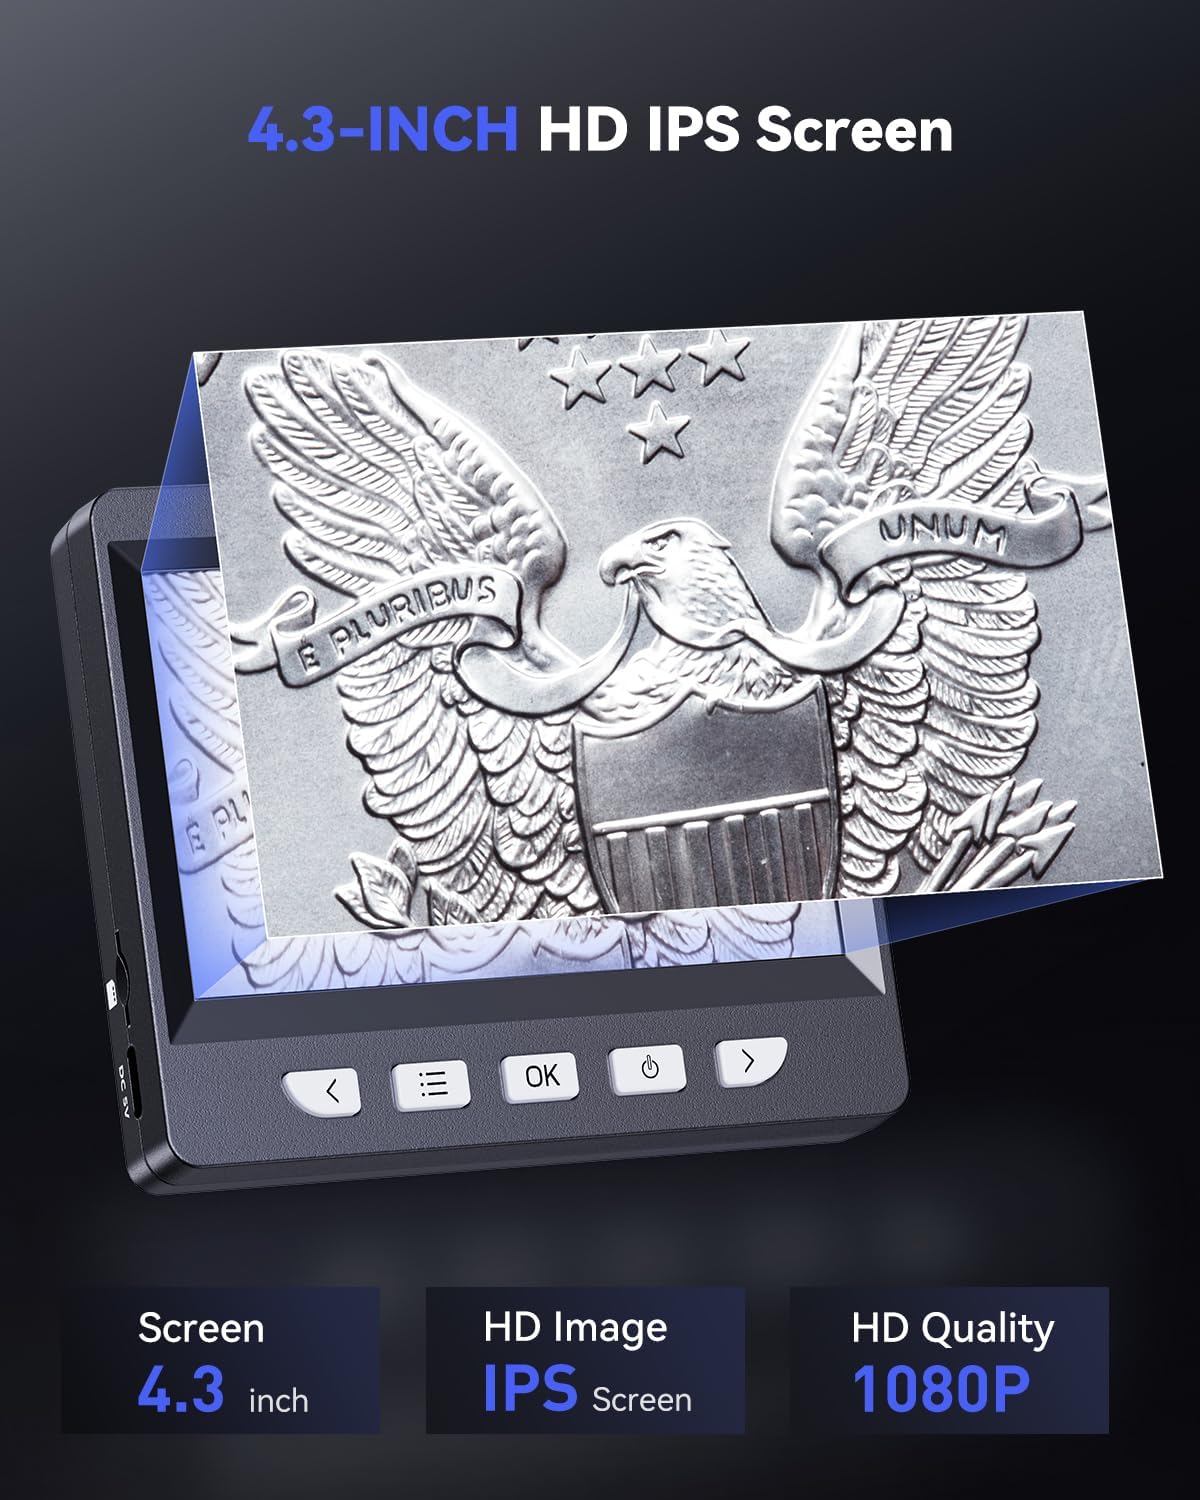
Figure 3.1: The AOPICK 307C Digital Microscope featuring its 4.3-inch HD IPS screen, displaying a magnified coin image. The screen offers 1080P HD quality for clear viewing.
Key Features:
- 4.3-inch 1080P HD IPS Display: Experience clear real-time images and videos, ideal for education, coin inspection, and repair work.
- 50X to 1000X Magnification: Enlarge fine details of various objects such as coins, jewelry, stamps, and watches. Actual magnification varies based on screen size and object distance.
- MacOS & Windows Compatible: Connect to both MacOS and Windows computers for a larger viewing experience. Capture photos and videos of your observations (TF card not included).
- 8 Adjustable LED Lights: Built-in LED lights ensure clear observation. Adjust brightness as needed to illuminate subjects with vivid detail.
- Rechargeable & Portable: Powered by a rechargeable battery, offering up to 3 hours of operating time. Fully charges in approximately 2 hours, making it suitable for outdoor activities and on-the-go exploration.
- Versatile & Educational: Perfect for circuit board inspection, skin examination, textile industry, biological observation (not suitable for cells), QC inspection, and enhancing interactive learning.
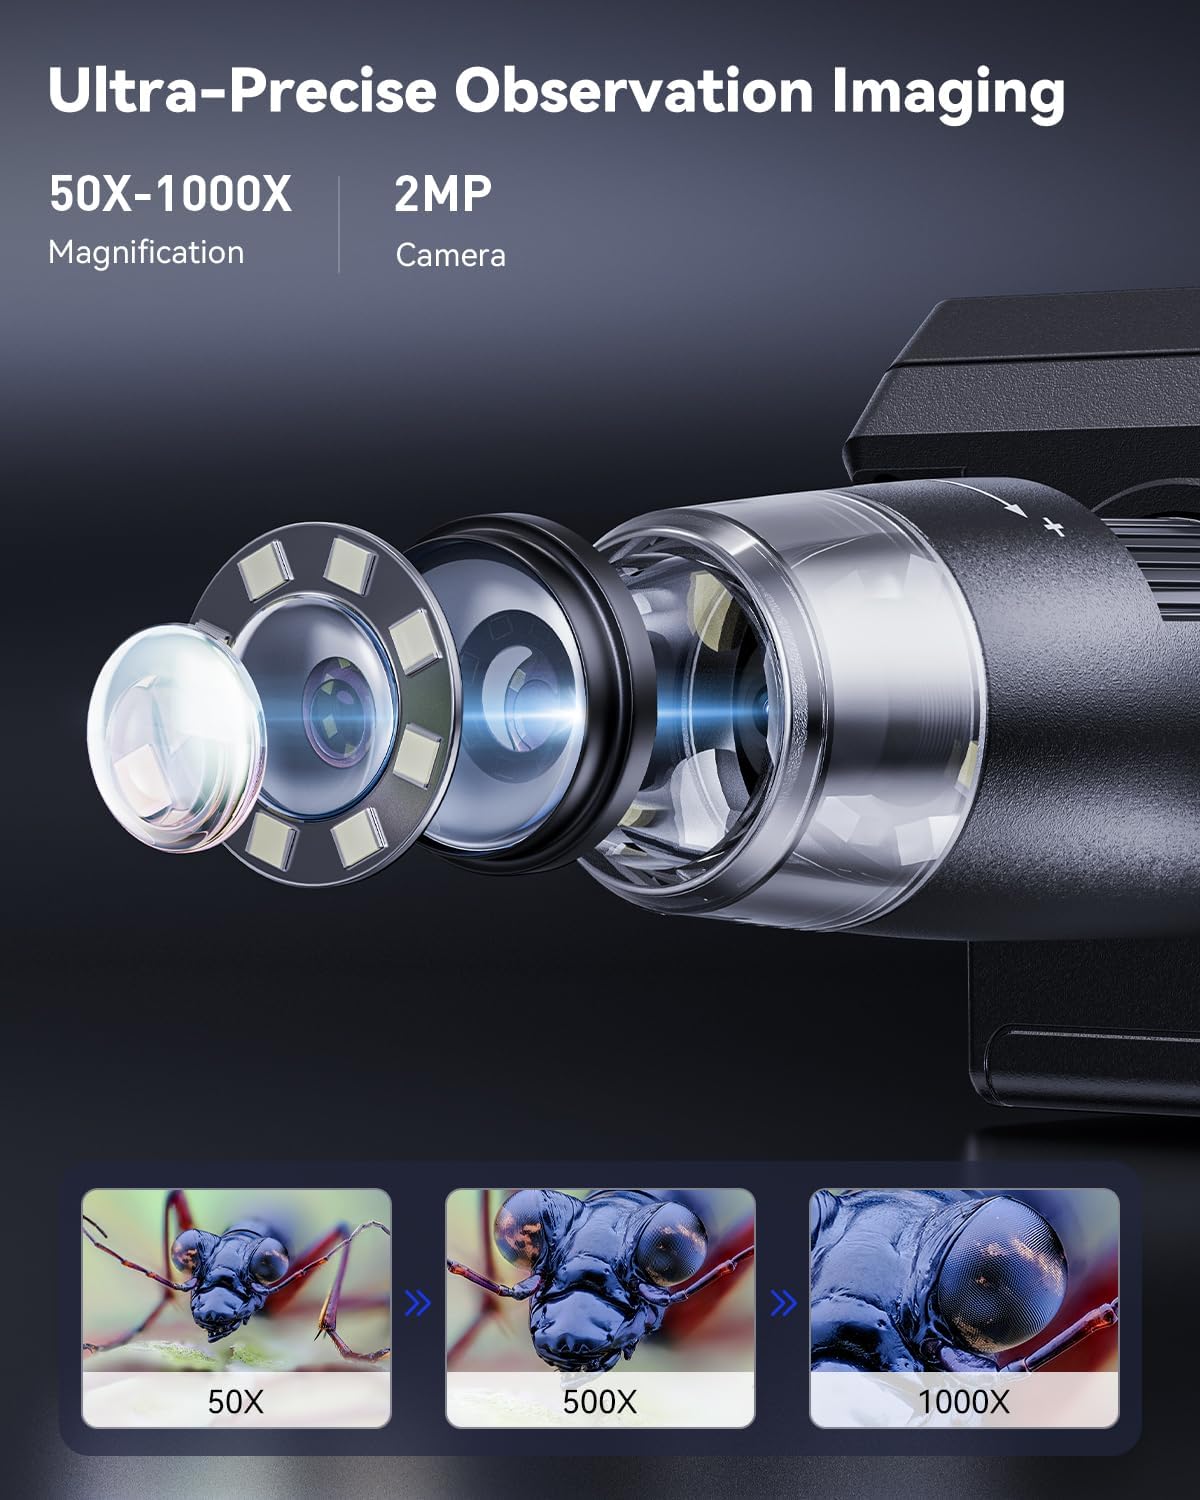
Figure 3.2: Illustration of the microscope's magnification capabilities, showing examples of 50X, 500X, and 1000X views of a small insect, highlighting the ultra-precise observation imaging.
Component Identification:

Figure 3.3: Detailed diagram illustrating the various button functions and adjustable parts of the AOPICK 307C Digital Microscope, including brightness adjustment, height adjustment, 8 LED lights, TF card slot, and multiplier adjustment.
- Brightness Adjustment: Control the intensity of the LED lights.
- Height Adjustment Knob: Adjust the distance between the lens and the object for focusing.
- 8 LED Lights: Provide illumination for clear viewing.
- TF Card Mounting Place: Slot for inserting a TF (MicroSD) card for photo and video storage (card not included).
- Multiplier Adjustment: Fine-tune the magnification level.
4. Setup
4.1 Assembling the Microscope Stand
- Attach the microscope unit to the adjustable arm of the stand. Ensure it is securely fastened.
- Place the assembled microscope on a stable, flat surface.
4.2 Initial Charging
Before first use, fully charge the microscope's internal battery.
- Connect the USB charging cable to the microscope's charging port.
- Connect the other end of the USB cable to a 5V/1A USB power adapter (not included) or a computer's USB port.
- The charging indicator light will illuminate. Charging typically takes about 2 hours.
- Once fully charged, the indicator light may change color or turn off. Disconnect the charging cable.
4.3 Inserting a TF Card (Optional)
To save photos and videos, a TF (MicroSD) card is required (not included).
- Locate the TF card slot on the microscope unit (refer to Figure 3.3).
- Gently insert the TF card into the slot with the metal contacts facing down until it clicks into place.
- To remove, push the card in slightly until it springs out.
5. Operating Instructions
5.1 Powering On/Off
- To Power On: Press and hold the Power button (usually marked with a power symbol) for a few seconds until the screen illuminates.
- To Power Off: Press and hold the Power button again until the screen turns off.
5.2 Adjusting Magnification and Focus
- Place the object you wish to observe on the base plate of the stand.
- Use the Height Adjustment Knob on the stand to move the microscope unit up or down, bringing the object into approximate focus.
- Rotate the Multiplier Adjustment ring on the microscope lens to fine-tune the magnification.
- Adjust the focus further by slightly moving the microscope unit or rotating the focus ring on the lens until the image on the screen is clear.
5.3 Adjusting LED Brightness

Figure 5.1: The microscope's ring fill lights are steplessly dimmable, controlled by a slider for brightness adjustment, allowing users to set minimum to maximum illumination.
The microscope features 8 adjustable LED lights to illuminate your subject.
- Locate the Brightness Adjustment control (often a slider or dial) on the microscope unit (refer to Figure 5.1).
- Slide or rotate the control to increase or decrease the LED brightness until optimal illumination is achieved for your observation.
5.4 Taking Photos and Recording Videos

Figure 5.2: The AOPICK 307C Digital Microscope is capable of recording both pictures and videos, capturing every detail of observations like circuit boards and plant leaves.
Ensure a TF card is inserted before attempting to record.
- To Take a Photo: While observing, press the Photo button (usually marked with a camera icon). The screen may flash briefly to indicate a photo has been taken.
- To Record a Video: Press the Video button (usually marked with a video camera icon) to start recording. Press it again to stop recording. A recording indicator (e.g., a red dot or timer) will typically appear on the screen.
- Captured files are saved to the TF card.
5.5 Connecting to PC/Laptop

Figure 5.3: The AOPICK 307C Digital Microscope connected to a laptop, demonstrating its compatibility with both Mac and Windows operating systems for real-time and lag-free viewing.
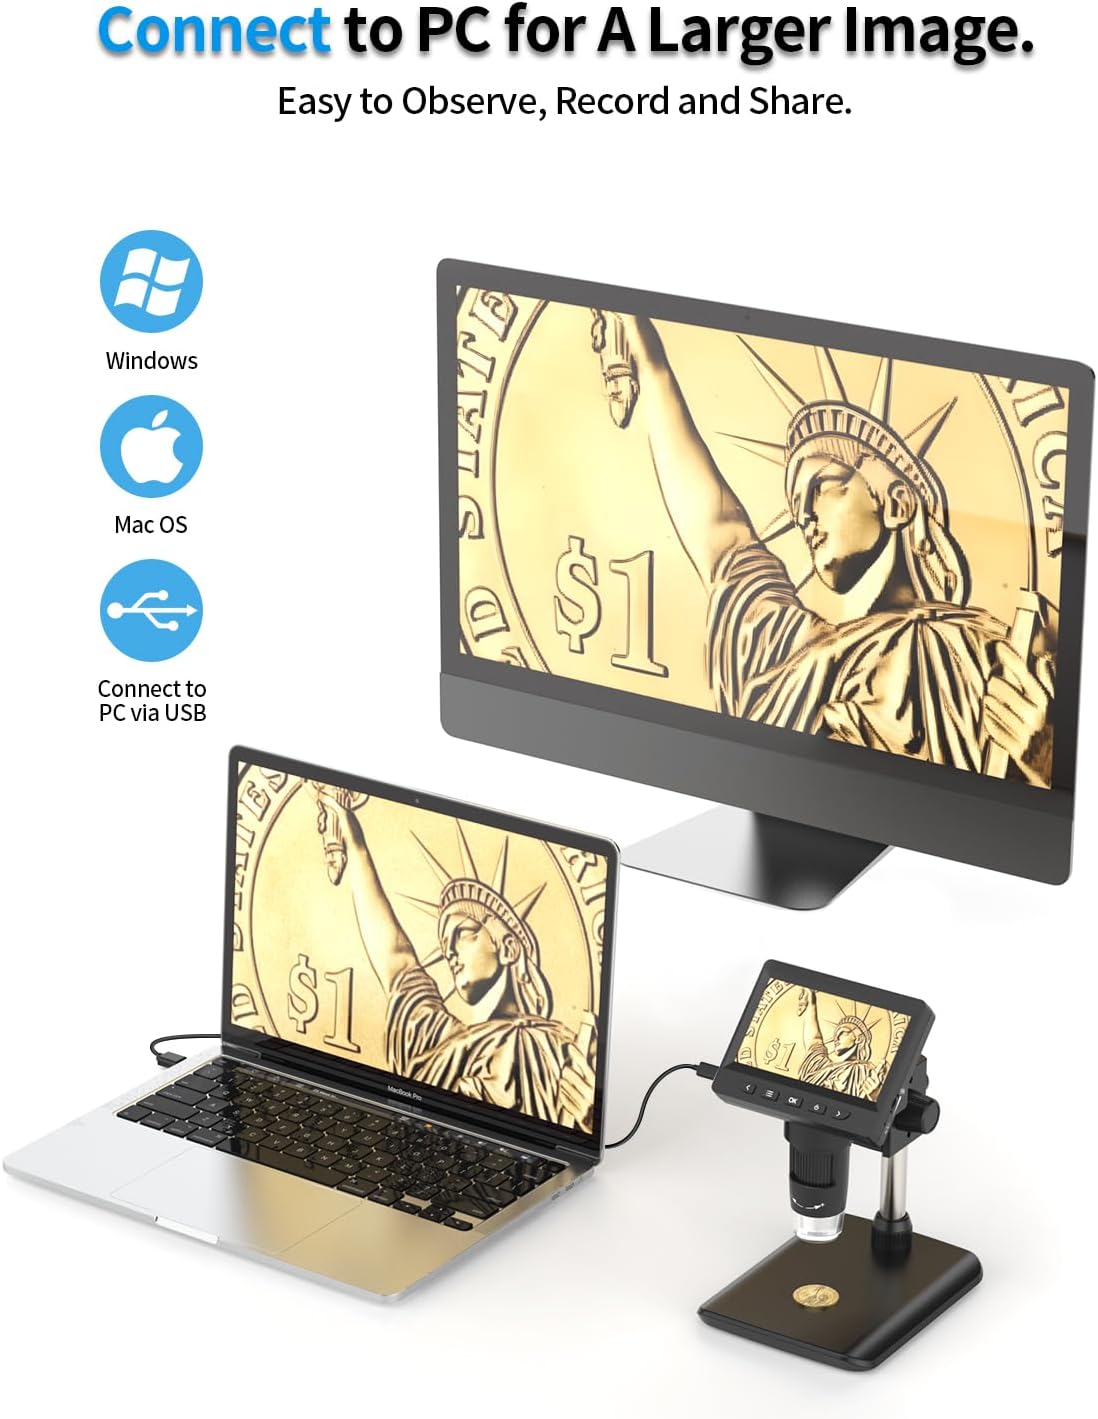
Figure 5.4: The microscope connected to both a PC monitor and a laptop, illustrating how to connect via USB for a larger image, making observation, recording, and sharing easier.
The microscope can be connected to a computer for a larger viewing experience.
- Connect the microscope to your PC or Mac using the provided USB cable.
- The microscope should be recognized as a webcam or imaging device.
- Open a compatible camera application (e.g., Photo Booth on Mac, Camera app on Windows, or third-party microscope software) to view the live feed.
- You can then use your computer's software to capture images or videos.
6. Maintenance
6.1 Cleaning the Device
- Lens: Use a soft, clean, lint-free cloth (e.g., microfiber cloth) specifically designed for optical lenses. Gently wipe the lens to remove dust or smudges. For stubborn marks, a small amount of lens cleaning solution can be applied to the cloth, not directly to the lens.
- Screen: Wipe the LCD screen with a soft, dry cloth. Avoid pressing too hard.
- Body: Use a slightly damp cloth to wipe the body of the microscope. Ensure no liquid enters any openings.
6.2 Battery Care
- To prolong battery life, avoid fully discharging the battery frequently.
- If storing the microscope for an extended period, charge it to about 50% every few months.
- Do not expose the battery to extreme temperatures.
6.3 Storage
- Store the microscope in a cool, dry place, away from direct sunlight and dust.
- Use the original packaging or a protective case to prevent damage.
7. Troubleshooting
| Problem | Possible Cause | Solution |
|---|---|---|
| Microscope does not power on. | Battery is discharged. | Charge the microscope for at least 2 hours. |
| Image is blurry. | Incorrect focus or magnification. | Adjust the Height Adjustment Knob and Multiplier Adjustment ring until the image is clear. Ensure the object is within the working distance. |
| Screen is too dark/bright. | LED brightness setting is incorrect. | Adjust the Brightness Adjustment control. |
| Cannot save photos/videos. | No TF card inserted or card is full/corrupted. | Insert a TF card. Check if the card has sufficient space or try formatting it (this will erase all data). |
| Cannot connect to PC. | Incorrect USB cable or port, or driver issue. | Ensure you are using the correct USB cable. Try a different USB port on your computer. Restart both the microscope and computer. Check your computer's device manager for driver issues. |
8. Specifications
| Feature | Detail |
|---|---|
| Model Name | 307C |
| Brand | AOPICK |
| Display | 4.3-inch IPS LCD |
| Resolution | 1080P HD |
| Magnification | 50X - 1000X |
| Light Source Type | LED (8 adjustable lights) |
| Material | Plastic |
| Color | Black |
| Actual Angle of View | 30 degrees |
| Compatible Devices | PC (Windows, MacOS) |
| Objective Lens Description | Achromatic |
| Power Source | Battery Powered (Rechargeable) |
| Included Components | Microscope Stand |
9. Warranty and Support
AOPICK products are designed and manufactured to the highest quality standards. For warranty information or technical support, please refer to the contact details provided with your purchase or visit the official AOPICK website.
Please retain your proof of purchase for any warranty claims.
Related documents307C

Ask a question about this manual
Ask about setup, troubleshooting, compatibility, parts, safety, or missing instructions. Manuals+ will review the question and use this page’s manual context to help answer it.