1. Important Safety Information
Please read this entire manual before assembling or operating your Wenoker 312FRB Exercise Bike. Keep this manual for future reference.
- Consult your physician before starting any exercise program.
- Keep children and pets away from the equipment.
- Place the exercise bike on a flat, stable surface with adequate clearance around it.
- Inspect the bike for loose or worn parts before each use. Do not use if damaged.
- Wear appropriate exercise clothing and footwear.
- The maximum user weight capacity is 160 kg (350 lbs).
- The emergency brake stops the flywheel immediately. Use it if you need to stop quickly.
2. Product Overview
The Wenoker 312FRB Exercise Bike is designed for effective indoor cycling with a focus on quiet operation and adjustable resistance.

Figure 2.1: Overall view of the Wenoker 312FRB Magnetic Resistance Exercise Bike, showcasing its robust frame, adjustable components, and integrated LCD display and tablet holder.
Key Features:
- Magnetic Resistance System: Provides smooth, quiet, and consistent resistance without physical contact, minimizing wear and noise.
- Heavy Flywheel: Ensures a stable and fluid pedaling experience.
- Adjustable Seat and Handlebars: Allows for customization to fit various user heights (1.4m - 1.93m) and preferences.
- LCD Display: Tracks essential workout data including time, speed, distance, odometer, and calories burned.
- Tablet/Phone Holder: Integrated into the handlebars for entertainment during workouts.
- Emergency Brake: For immediate stopping of the flywheel.
- Transport Wheels: For easy relocation of the bike.
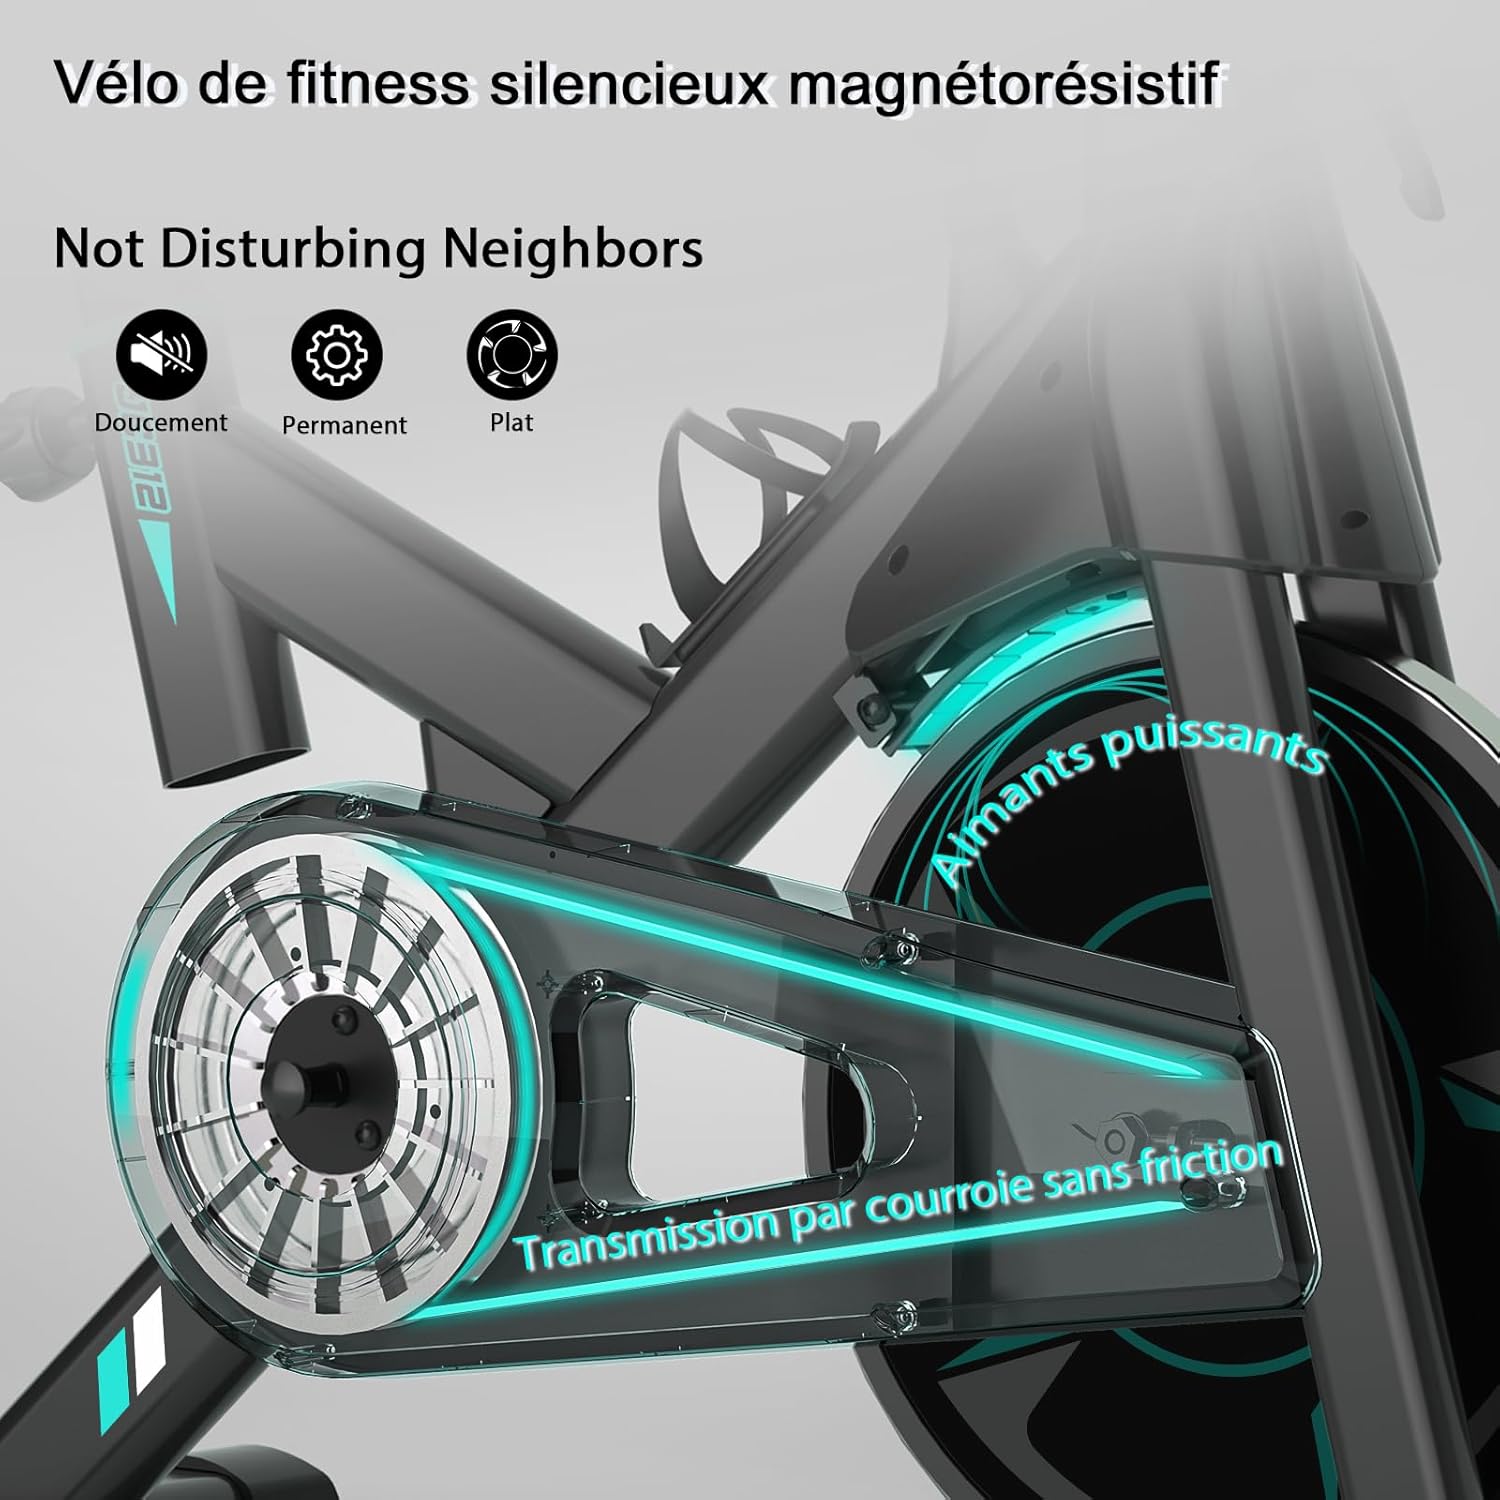
Figure 2.2: Close-up view of the magnetic resistance system and belt drive, highlighting the quiet and smooth operation without disturbing others.
3. Setup and Assembly
Follow these steps to assemble your Wenoker 312FRB Exercise Bike. It is recommended to have two people for some assembly steps.
- Unpack Components: Carefully remove all parts from the packaging. Place them on a clean, flat surface. Verify all parts are present against the included parts list.
- Attach Stabilizers: Secure the front and rear stabilizer bars to the main frame using the provided bolts and washers. Ensure they are tightened securely for stability.
- Install Pedals:
- Identify the Left (L) and Right (R) pedals.
- The Right pedal (R) threads clockwise into the crank arm.
- The Left pedal (L) threads counter-clockwise into the crank arm.
- Tighten both pedals firmly with a wrench to prevent loosening during use.
- Attach Seat Post and Seat: Insert the seat post into the frame and secure it at your desired height. Attach the seat to the seat post.
- Install Handlebar Post and Handlebars: Insert the handlebar post into the frame. Attach the handlebars to the post and secure them.
- Connect LCD Display: Connect the sensor wires from the main frame to the LCD display. Mount the LCD display onto the handlebar assembly.
- Final Check: Ensure all bolts and nuts are securely tightened. Check the bike's stability before first use.

Figure 3.1: Illustrative image showing various components of the exercise bike, which are assembled during the setup process.
4. Operating Instructions
4.1 Adjusting Seat and Handlebars
Proper adjustment ensures comfort and effective workout posture.
- Seat Height: Loosen the adjustment knob on the vertical seat post. Raise or lower the seat until your leg has a slight bend at the knee when the pedal is at its lowest point. Tighten the knob securely.
- Seat Forward/Backward: Loosen the adjustment knob under the seat. Slide the seat forward or backward to align your knees properly over the pedals. Tighten the knob securely.
- Handlebar Height: Loosen the adjustment knob on the handlebar post. Raise or lower the handlebars to a comfortable position that allows for a slight forward lean without straining your back. Tighten the knob securely.
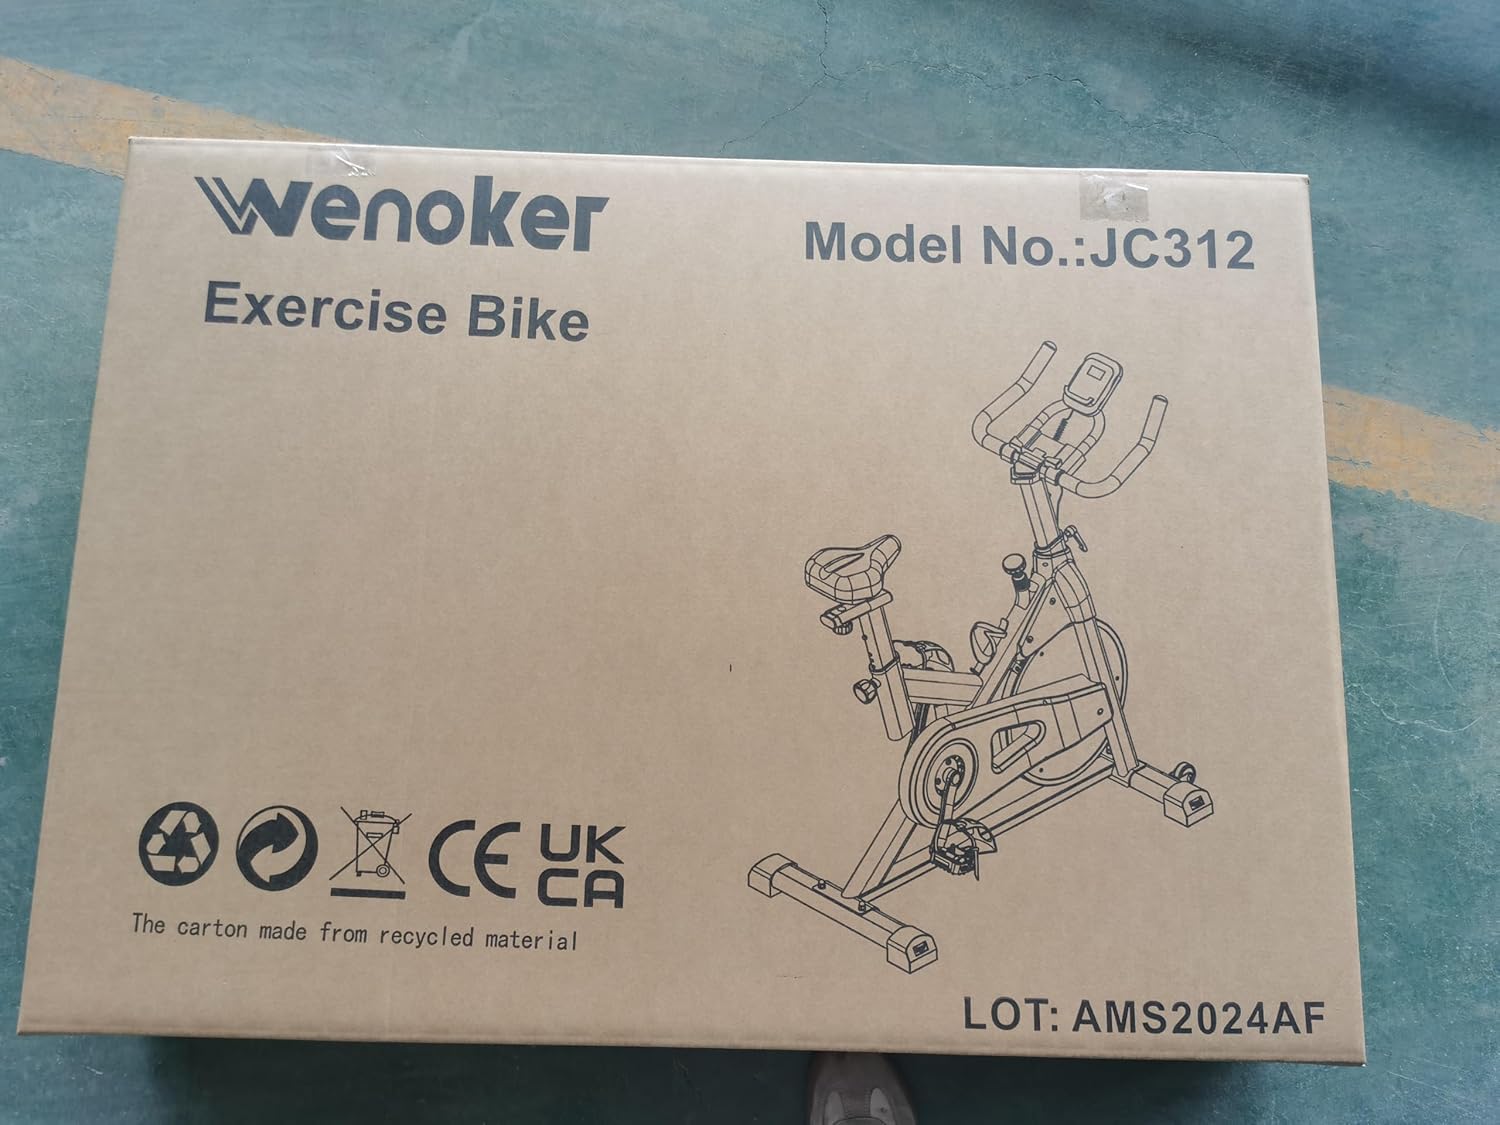
Figure 4.1: Diagram illustrating the adjustable range for the seat (up/down, forward/backward) and handlebars (up/down) to accommodate various user heights.
4.2 Adjusting Resistance
The resistance level is controlled by the red knob located on the main frame.
- Increase Resistance: Turn the knob clockwise (+) to increase the magnetic resistance, making pedaling harder.
- Decrease Resistance: Turn the knob counter-clockwise (-) to decrease the magnetic resistance, making pedaling easier.
- Emergency Stop: Press down firmly on the resistance knob to engage the emergency brake and stop the flywheel immediately.
Figure 4.2: Close-up of the resistance adjustment knob, showing the '+' and '-' indicators for increasing and decreasing resistance, and its function as an emergency stop.
4.3 Using the LCD Display
The LCD display tracks your workout progress.
- Functions: The display typically shows Time, Speed, Distance, Odometer, and Calories Burned.
- Mode Button: Press the "MODE" button to cycle through the different display functions.
- Scan Function: If available, select "SCAN" to automatically cycle through all functions every few seconds.
- Reset: Press and hold the "MODE" button (or "RESET" if present) to clear all workout data.
- Battery: The display is battery-powered. Replace batteries when the display becomes dim or unresponsive.
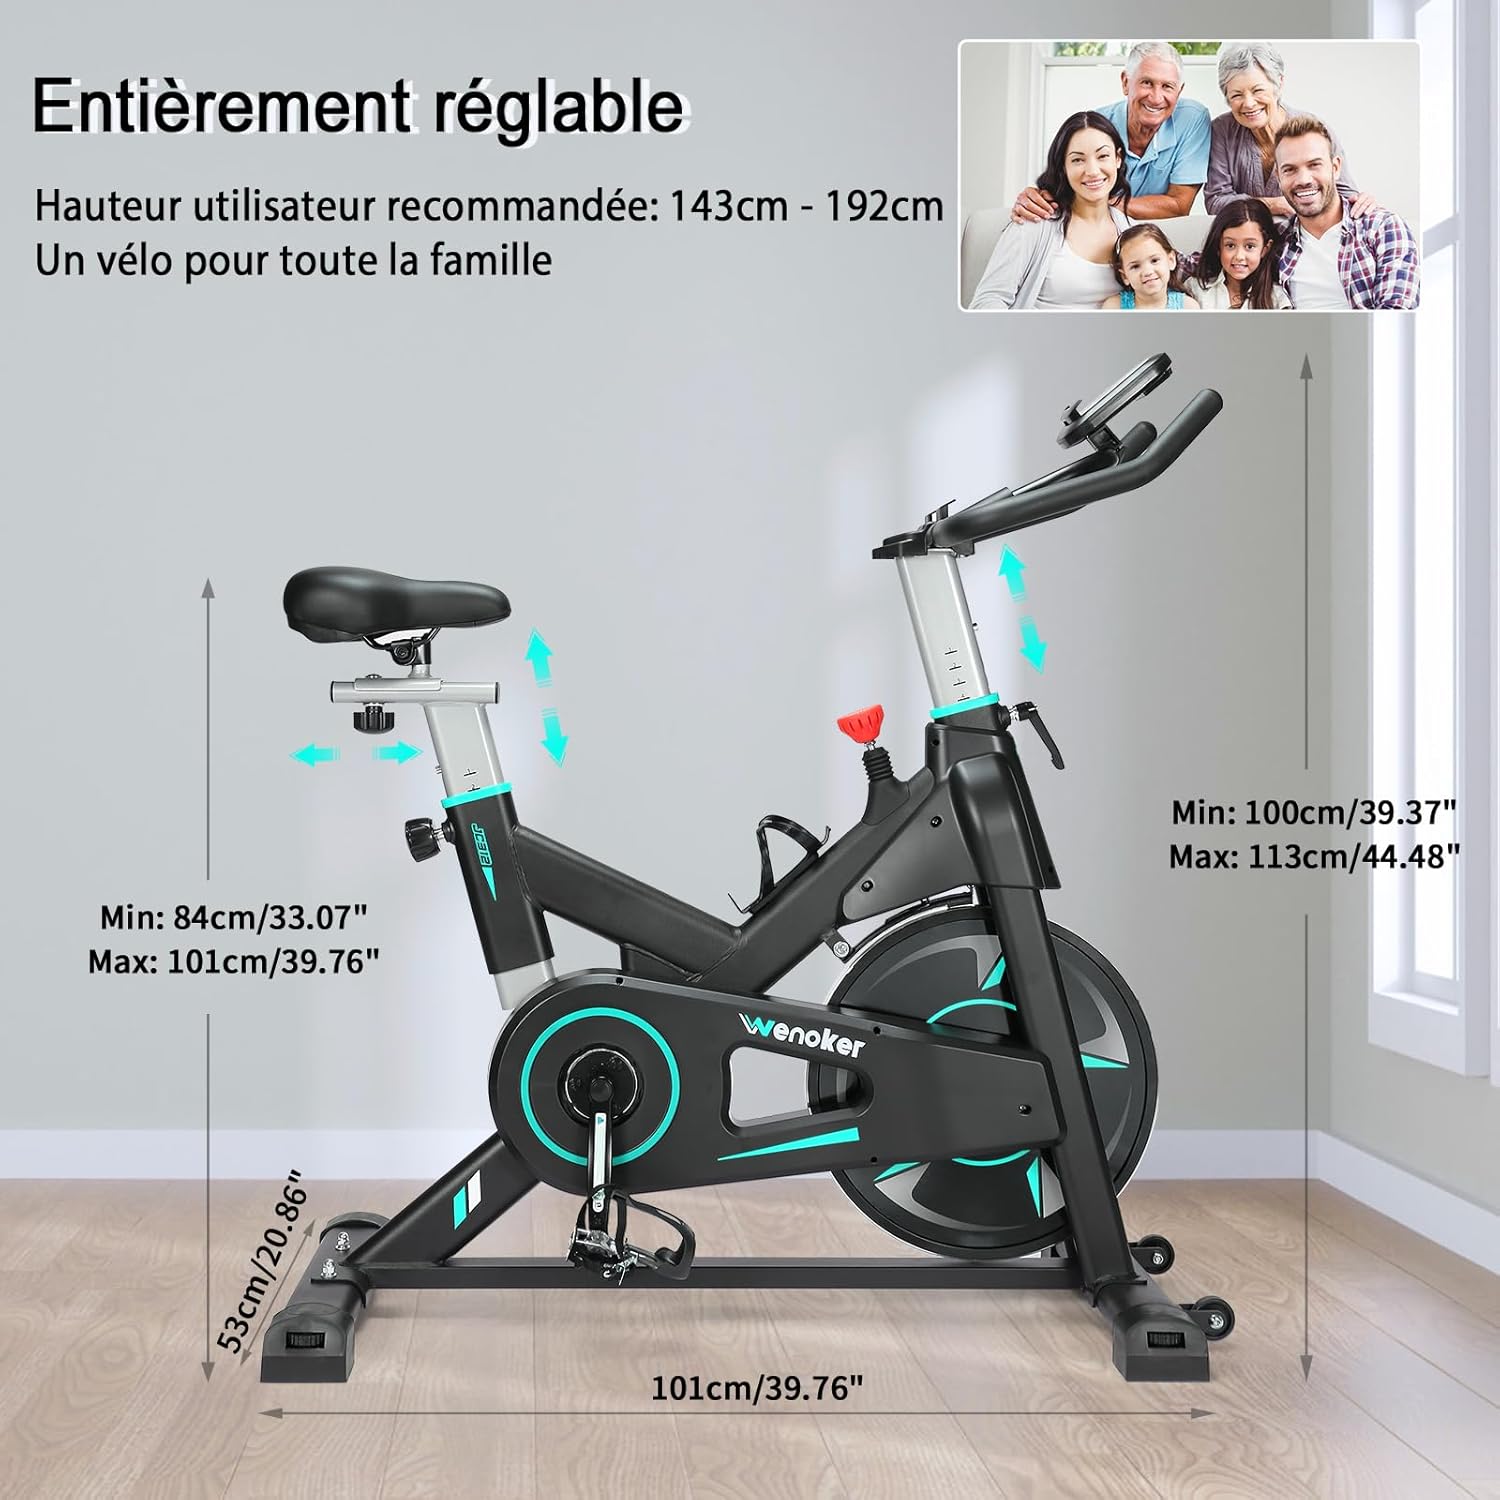
Figure 4.3: View of the LCD display and the integrated tablet/phone holder, showing the various metrics tracked during a workout.
5. Maintenance
Regular maintenance ensures the longevity and safe operation of your exercise bike.
- Cleaning: Wipe down the bike with a damp cloth after each use to remove sweat and dust. Avoid abrasive cleaners.
- Check Fasteners: Periodically check all bolts, nuts, and screws to ensure they are tight. Tighten any loose fasteners.
- Lubrication: The magnetic resistance system is generally maintenance-free. However, if you notice any squeaking from moving parts (e.g., seat post, handlebar post), apply a small amount of silicone-based lubricant.
- Storage: Store the bike in a dry, cool place away from direct sunlight and extreme temperatures.
6. Troubleshooting
| Problem | Possible Cause | Solution |
|---|---|---|
| Bike is unstable or wobbles. | Loose stabilizer bolts; uneven floor. | Ensure all stabilizer bolts are tightened. Adjust the leveling feet on the stabilizers if your floor is uneven. |
| Pedaling is noisy (squeaking/grinding). | Loose pedals; dry moving parts; internal issue. | Check and tighten pedals (remember left-hand thread for left pedal). Apply lubricant to seat/handlebar posts if they are the source. If noise persists, contact customer support. |
| Resistance not changing or too weak/strong. | Resistance knob not fully engaged; internal mechanism issue. | Ensure the resistance knob is turned fully in both directions to test range. If no change, contact customer support. |
| LCD display not working or dim. | Dead batteries; loose connection. | Replace the batteries in the LCD display. Check that the sensor wire connection to the display is secure. |
7. Specifications
| Feature | Detail |
|---|---|
| Model Number | 312FRB |
| Brand | Wenoker |
| Resistance Mechanism | Magnetic |
| Drive System | Belt Drive (for quiet operation) |
| Material | Alloy Steel |
| Maximum User Weight | 160 kg (350 lbs) |
| Recommended User Height | 140 cm - 193 cm (4'7" - 6'4") |
| Product Dimensions (L x W x H) | Approx. 101 cm x 53 cm x 113 cm (40" x 21" x 44") |
| Power Source (Display) | Battery Powered (Batteries not included) |
| Features | Adjustable Footstrap, LCD Display, Tablet Holder, Transport Wheels |
8. Warranty and Support
Wenoker is committed to providing quality products. For any questions, concerns, or warranty claims, please contact our customer support team through your purchase platform. Please have your model number (312FRB) and purchase details ready.
Note: Specific warranty terms may vary by region and retailer. Refer to your purchase documentation for detailed warranty information.


