
1. Introduction
Thank you for choosing the OFANTOP 60-inch Smart Ceiling Fan with Light. This manual provides detailed instructions for the safe installation, operation, and maintenance of your new ceiling fan. Please read this manual thoroughly before installation and keep it for future reference.
This modern ceiling fan features a quiet DC motor, dimmable LED light with adjustable color temperature, and multiple control options including remote, app, and voice control. Its reversible function allows for year-round comfort.
2. Safety Information
- Always turn off power at the circuit breaker before installation or maintenance.
- All wiring must be in accordance with national and local electrical codes. If you are unfamiliar with wiring, consult a qualified electrician.
- Ensure the installation site can support the fan's weight (approximately 26.4 lbs).
- Do not bend the blade holders during installation, balancing, or cleaning.
- Keep children away from the fan during operation.
- Do not insert objects into the fan blades while the fan is operating.
3. Package Contents
Verify that all components are present before beginning installation:
- Fan Motor Assembly
- Fan Blades (8 pieces)
- LED Light Kit
- Remote Control with Wall Mount
- Downrods (5-inch and 10-inch options)
- Mounting Bracket
- Hardware Pack (screws, washers, wire nuts, safety cable)
- Canopy
- Receiver
4. Specifications
| Feature | Specification |
|---|---|
| Model Number | 60YFT-1083WG |
| Dimensions | 60"D x 60"W x 17.8"H |
| Motor Type | DC Motor |
| Number of Blades | 8 |
| Fan Speeds | 6 |
| Air Flow Capacity | 4830-6335 CFM |
| Light Wattage | 20 Watts |
| Color Temperature | 3000K-4500K-6000K (Adjustable) |
| Dimmable Light | 0%-100% |
| Control Methods | Remote Control, Smart App, Voice Control (Alexa, Google Assistant) |
| Voltage | 120 Volts |
| Indoor/Outdoor Use | Indoor |
| Mounting Type | Downrod Mount, Angled Mount (max 20°) |
| Material | Acrylonitrile Butadiene Styrene, Metal |
5. Installation
Follow these steps to install your OFANTOP 60-inch Smart Ceiling Fan. For a visual guide, please refer to the installation video provided below.
5.1 Pre-Installation Steps
- Turn off Power: Ensure the power supply to the ceiling fan location is turned off at the circuit breaker.
- Prepare Mounting Location: Install the mounting bracket securely to the ceiling junction box. Ensure the junction box is rated for ceiling fan support.
5.2 Assembling the Fan
- Attach Blades: Secure each of the eight fan blades to the motor housing using the provided screws. Ensure they are tightened firmly.
- Install Light Kit: Remove the light cover from the LED light kit. Connect the light kit wires to the corresponding wires on the fan motor assembly. Secure the LED light kit to the fan motor assembly with screws. Twist the light cover onto the light plate as tightly as possible to prevent noise.

Image: The fan's light kit offers adjustable color temperatures and dimming capabilities.
5.3 Downrod and Wiring
- Prepare Downrod: Select the desired downrod (5-inch or 10-inch). Route the fan wires and safety cable through the downrod.
- Attach Downrod: Insert the downrod into the fan motor assembly's collar. Secure it with the provided pin and screw. Tighten the set screws on the downrod collar.
- Connect Receiver: Connect the receiver wires to the fan motor wires according to the color-coded diagram.
5.4 Mounting the Fan
- Hang Fan: Carefully lift the fan assembly and place the downrod ball into the mounting bracket's opening. Rotate the fan until the notch on the downrod ball engages the ridge on the mounting bracket.
- Electrical Connections: Connect the fan's electrical wires (hot, neutral, ground) to the house wiring, ensuring secure connections with wire nuts. Connect the receiver wires to the corresponding house wires.
- Secure Receiver: Tuck the receiver and excess wires into the mounting bracket.
- Install Canopy: Slide the canopy up to the ceiling and secure it to the mounting bracket with screws.

Image: Fan dimensions and suitable mounting options for various room sizes.
5.5 Installation Video Guide
For a step-by-step visual demonstration of the installation process, please watch the official OFANTOP installation video:
Video: Official OFANTOP Smart Ceiling Fan with Light Installation Guide. This video demonstrates the assembly and mounting process for the ceiling fan, including blade attachment, light kit installation, downrod assembly, wiring connections, and final canopy placement.
6. Operation
Your OFANTOP Smart Ceiling Fan offers multiple control methods for convenience.
6.1 Remote Control
The included remote control allows you to manage all fan and light functions:
- Power ON/OFF: Turn the fan and light on or off.
- Fan Speed: Select from 6 different fan speeds.
- Light Control: Turn the light on/off, adjust brightness (dimming 0-100%), and change color temperature (3000K Warm White, 4500K Natural White, 6000K Cool White). The light has a memory function, retaining the last setting.
- Reverse Function: Switch between summer mode (forward rotation for cooling) and winter mode (reverse rotation for circulating warm air).
- Timer: Set a shutdown timer for 1 hour, 4 hours, or 8 hours.
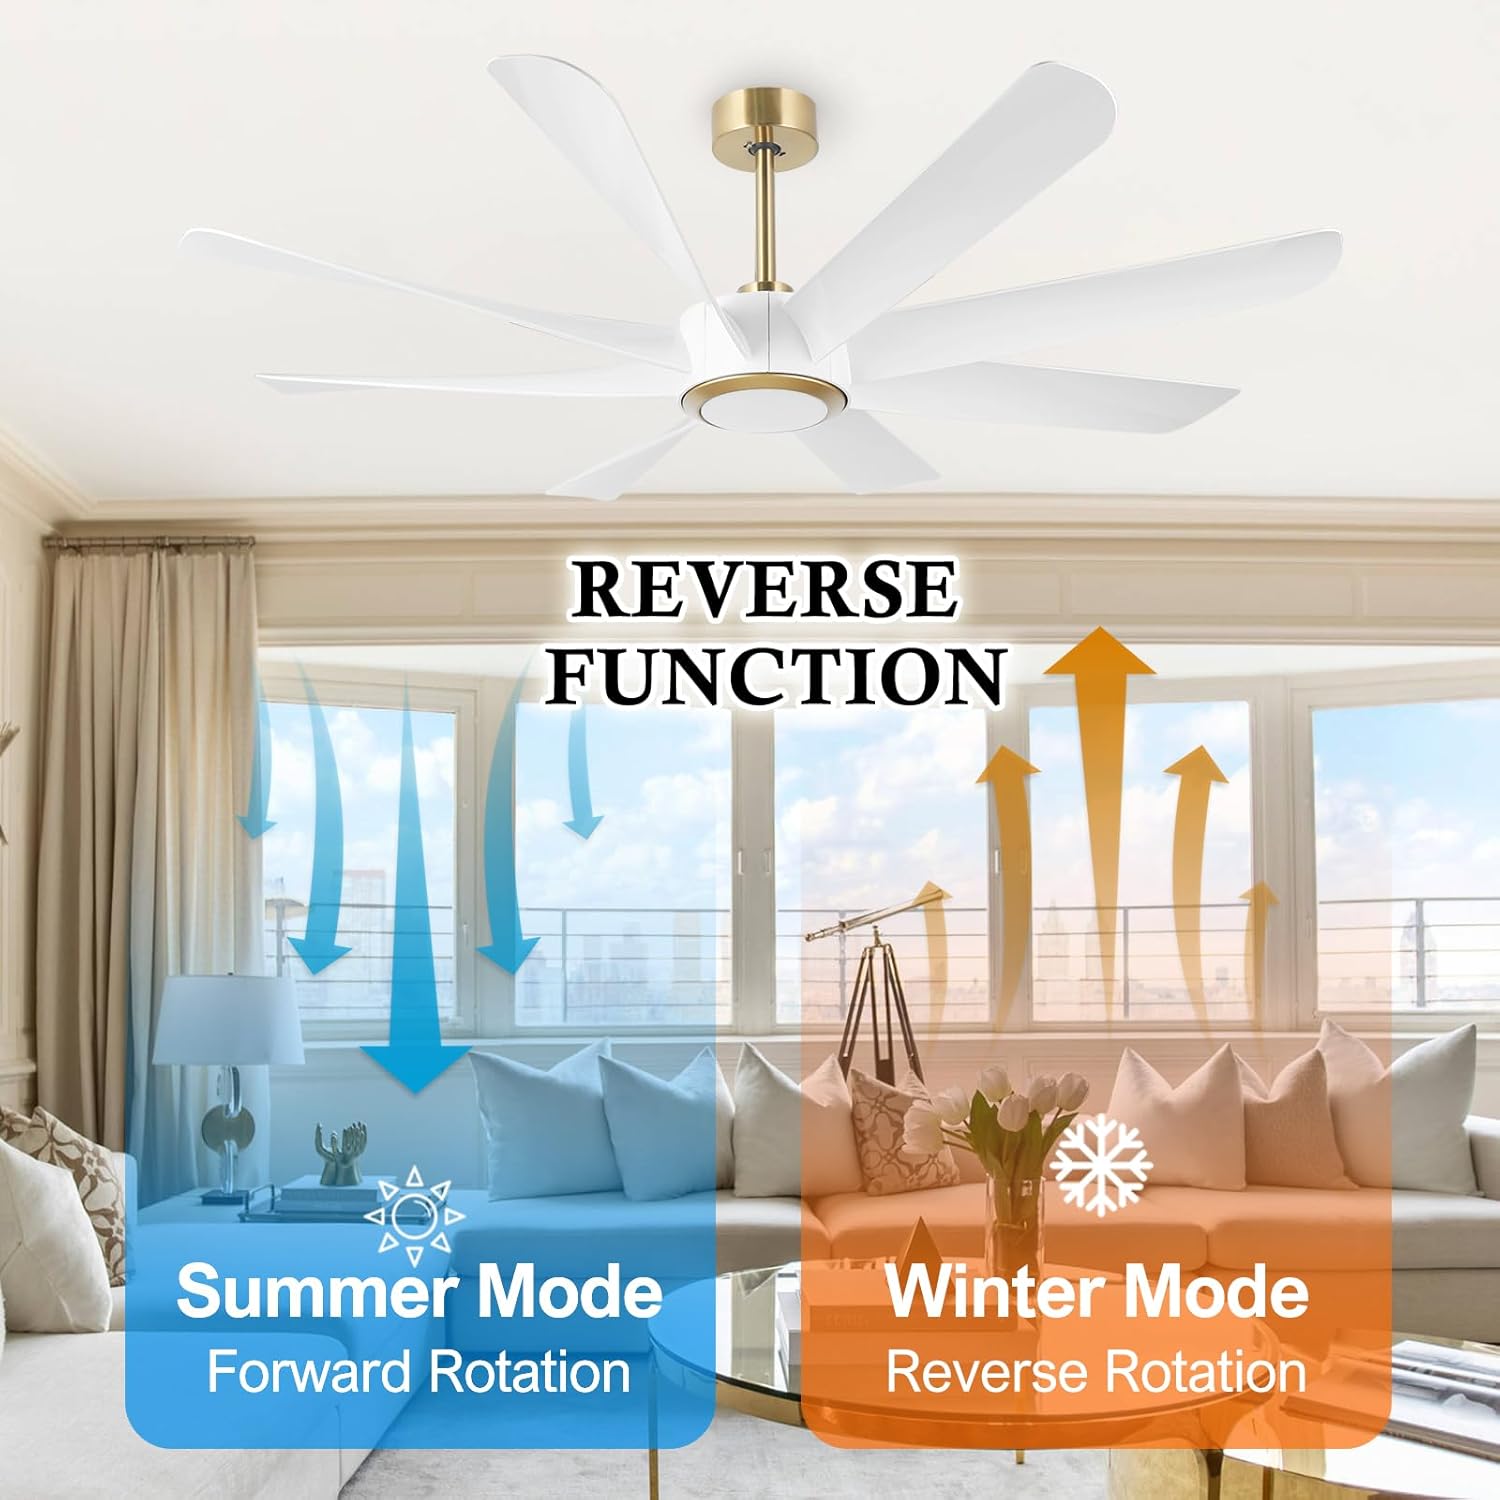
Image: The fan's reversible function for year-round use.
6.2 Smart App Control
Download the compatible smart app (e.g., Smart Life) to control your fan from your smartphone or tablet. The app provides comprehensive control over all fan and light features, including scheduling and advanced settings.
6.3 Voice Control
Integrate your fan with voice assistants like Amazon Alexa or Google Assistant for hands-free operation. Follow the instructions in your smart app to connect your fan to your preferred voice assistant.

Image: Smart home control options for the OFANTOP ceiling fan.
7. Maintenance
Regular maintenance ensures optimal performance and longevity of your ceiling fan.
- Cleaning: Use a soft, damp cloth to clean the fan blades and motor housing. Do not use abrasive cleaners or solvents.
- Dusting: Regularly dust the fan to prevent buildup that can affect performance.
- Tighten Screws: Periodically check and tighten all screws on the fan blades and mounting hardware to ensure secure operation.
- Light Board Replacement: The LED light board is replaceable. If replacement is needed, contact customer support for guidance.
8. Troubleshooting
If you encounter issues with your fan, refer to the following common problems and solutions:
| Problem | Possible Cause | Solution |
|---|---|---|
| Fan does not start | No power supply; Loose wire connections; Remote control battery low. | Check circuit breaker; Verify all wire connections are secure; Replace remote control batteries. |
| Fan makes noise | Loose screws on blades or mounting; Light cover not twisted tightly. | Tighten all screws; Ensure light cover is securely twisted. |
| Light does not work | Loose wire connection; Faulty LED light board. | Check light kit wiring; Contact customer support for light board replacement. |
| Remote control not working | Low battery; Not paired with receiver. | Replace batteries; Refer to remote pairing instructions (usually involves pressing a button on the remote within a few seconds of turning on power to the fan). |
| App/Voice control issues | Wi-Fi connectivity issues; Incorrect app setup. | Ensure stable Wi-Fi connection; Re-configure the fan in the smart app. |
9. Warranty & Support
OFANTOP provides customer support for its products. For warranty information, technical assistance, or replacement parts, please contact OFANTOP customer service through the retailer where the product was purchased or visit the official OFANTOP website. Please have your model number (60YFT-1083WG) and purchase date available when contacting support.
