
Introduction
This manual provides comprehensive instructions for the Smart Tech 24-inch (60 cm) HD LED TV, model 24HN01VC. It includes details on setup, operation, maintenance, and troubleshooting to ensure optimal performance and longevity of your television. This model features Dolby Audio 2*3 watts and comes with a 12-volt vehicle charger, making it suitable for various environments, including caravanning.
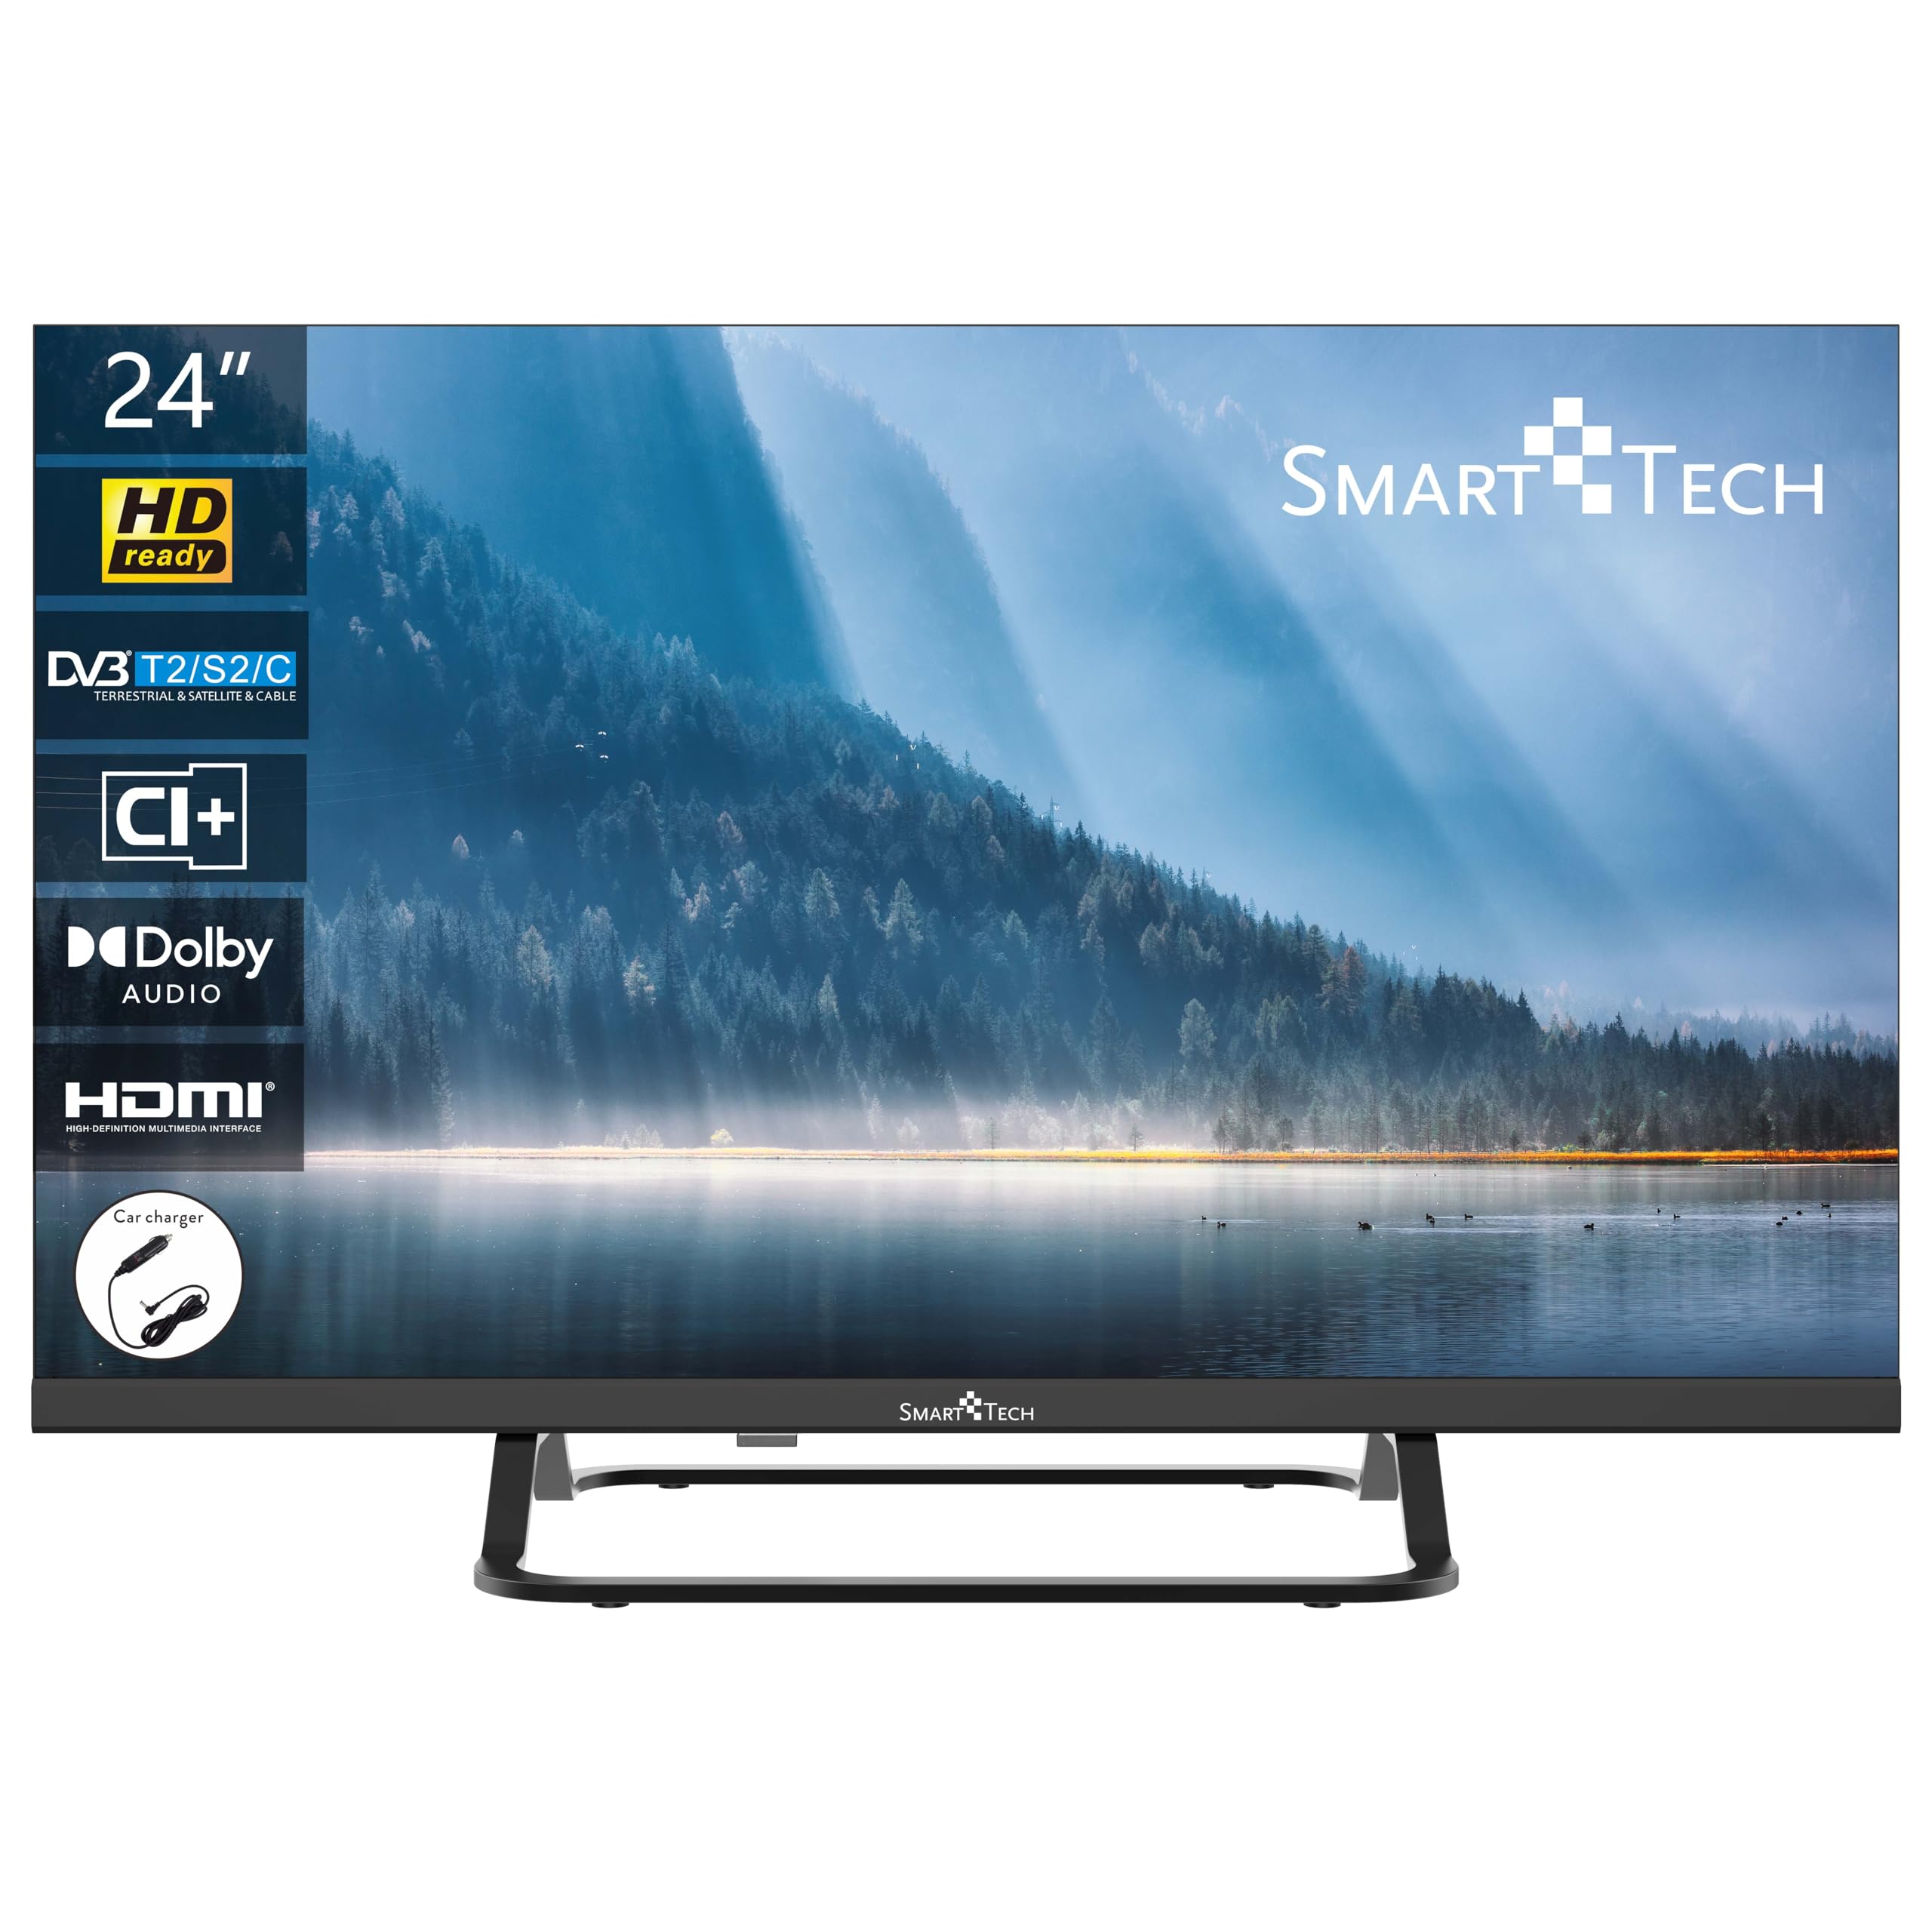
Image: Front view of the Smart Tech 24-inch HD LED TV on its stand, displaying a vibrant mountain landscape.
Safety Information
Please read and follow these safety guidelines to prevent damage to your TV and ensure your safety:
- Read all instructions before operating the TV.
- Keep the TV away from heat sources and direct sunlight.
- Do not expose the TV to rain or moisture.
- Ensure proper ventilation around the TV; do not block ventilation openings.
- Use only the provided power adapter and accessories.
- Disconnect the power cord during lightning storms or when unused for long periods.
- Refer all servicing to qualified personnel.
Package Contents
Please check that all items are present and in good condition upon unpacking:
- Smart Tech 24-inch HD LED TV
- Remote Control
- AAA Batteries (2x) for Remote Control
- TV Stand (Base and Screws)
- 12V Vehicle Charger
- User Manual (this document)
- AC/DC Power Adapter
Setup
Attaching the Stand
To attach the stand to your TV:
- Carefully place the TV face down on a soft, clean surface to prevent screen damage.
- Align the stand base with the mounting holes on the bottom of the TV.
- Secure the stand using the provided screws. Ensure it is firmly attached.
Wall Mounting (Optional)
This TV is compatible with VESA 100x100 wall mounts.

Image: Rear view of the Smart Tech 24-inch TV, highlighting the VESA 100x100 wall mount screw holes and the arrangement of input/output ports.
Follow the instructions provided with your wall mount kit. Ensure the wall mount can support the weight of the TV.
Connecting Power
Your TV can be powered by either the included AC/DC power adapter or the 12V vehicle charger.
Using the AC/DC Power Adapter
- Connect the AC/DC power adapter to the DC IN port on the TV.
- Plug the other end of the adapter into a standard wall outlet.
Using the 12V Vehicle Charger

Image: The included 12V vehicle charger, designed for powering the TV in vehicles or caravans.
- Connect the 12V vehicle charger to the DC IN port on the TV.
- Insert the cigarette lighter plug into your vehicle's 12V power socket.
Connecting External Devices
The TV features multiple ports for connecting external devices:
- HDMI Ports (3): For connecting high-definition devices like Blu-ray players, game consoles, or set-top boxes.
- USB Ports (2): For connecting USB storage devices to play media files.
- DVB-T/T2 (Antenna In): For connecting a terrestrial antenna.
- DVB-S/S2 (Satellite In): For connecting a satellite dish.
- AV IN: For connecting older devices with composite video and stereo audio outputs.
- COAXIAL: Digital audio output.
- EARPHONE OUT: For connecting headphones.
- CI Slot: For Common Interface modules (e.g., for pay-TV).
Operating
Remote Control

Image: Side view of the Smart Tech 24-inch TV, accompanied by its remote control, illustrating the TV's dimensions.
Insert the two AAA batteries into the remote control, observing the correct polarity (+/-).
Basic functions include:
- Power: Turns the TV on/off.
- Volume Up/Down: Adjusts the sound level.
- Channel Up/Down: Changes TV channels.
- Source: Selects input source (HDMI, USB, AV, DVB-T/T2, DVB-S/S2).
- Menu: Accesses the TV's settings menu.
- Navigation Buttons (Up/Down/Left/Right/OK): Navigates through menus and confirms selections.
- Exit: Exits the current menu.
- Mute: Mutes or unmutes the sound.
Initial Setup
Upon first power-on, the TV will guide you through the initial setup process, including language selection, country, and channel scanning.
- Select your preferred language.
- Choose your country/region.
- Select your tuner type (Antenna or Satellite) and initiate channel scanning.
- Follow on-screen prompts to complete the setup.
Media Playback via USB
Insert a USB storage device into one of the USB ports. The TV's media player will typically detect the device and allow you to browse and play compatible audio, video, and image files.
Maintenance
Cleaning the TV
To clean the screen and cabinet:
- Disconnect the power cord before cleaning.
- Use a soft, dry, lint-free cloth to gently wipe the screen. For stubborn marks, slightly dampen the cloth with water or a specialized screen cleaner (do not spray directly onto the screen).
- Wipe the cabinet with a soft, dry cloth. Avoid using abrasive cleaners or solvents.
Storage
If storing the TV for an extended period, disconnect it from power, remove batteries from the remote, and store it in a cool, dry place, preferably in its original packaging.
Troubleshooting
| Problem | Possible Cause | Solution |
|---|---|---|
| No power | Power cord not connected; no power from outlet/12V socket. | Check power connections. Test outlet/12V socket with another device. |
| No picture, but sound is present | Incorrect input source selected; faulty cable connection. | Press the "Source" button on the remote to select the correct input. Check HDMI/AV cable connections. |
| No sound, but picture is present | Volume muted or too low; external audio system issue. | Press "Mute" or increase volume. Check connections to external audio devices. |
| Remote control not working | Batteries depleted or incorrectly inserted; obstruction between remote and TV. | Replace batteries, ensure correct polarity. Remove obstructions. Point remote directly at the TV's IR sensor. |
| Poor picture quality | Weak antenna signal; incorrect resolution setting; faulty cable. | Adjust antenna position. Check signal strength in TV menu. Ensure external device output resolution matches TV capabilities. Replace cables if damaged. |
Specifications
| Feature | Detail |
|---|---|
| Brand | Smart Tech |
| Model Number | 24HN01VC (Note: Some documentation may refer to 32HN01V as a series model) |
| Screen Size | 24 Inches (60 cm) |
| Display Technology | LED |
| Resolution | 1366 x 768 (720p HD) |
| Refresh Rate | 60 Hz |
| Aspect Ratio | 16:9 |
| Connectivity Technology | HDMI |
| HDMI Ports | 3 |
| USB Ports | 2 |
| Special Features | Flat screen, Triple Tuner (DVB-T/T2, DVB-S/S2), 12V Vehicle Charger Included |
| Audio Output | Dolby Audio 2*3 watts, Earphone Out, Coaxial |
| Color | Black |
| Product Dimensions (L x W x H) | 57 cm x 20 cm x 37 cm (with stand) |
| VESA Wall Mount | 100 x 100 mm |
| Manufacturer | Express Luck |
| Spare Parts Availability | 11 Years |
| Energy Efficiency Class (SDR) | E |
| On Mode Power (SDR) | 17.3 W |
| EPREL Product Information Sheet | View EPREL Sheet |

Image: The Smart Tech 24-inch TV showcasing a high-definition image of a mountain landscape, emphasizing its display capabilities.
Warranty and Support
For warranty information and technical support, please refer to the contact details provided with your purchase documentation or visit the official Smart Tech website.
- Minimum guaranteed product support: 8 Years.
- Minimum duration of the general guarantee offered by the supplier: 1 Year.


