
Introduction
This manual provides detailed instructions for the setup, operation, and maintenance of your ATTACK SHARK X3 Lightweight Wireless Gaming Mouse. Please read this manual thoroughly before using the product to ensure optimal performance and longevity.
Setup
Package Contents
- ATTACK SHARK X3 Wireless Gaming Mouse
- USB-C Charging Cable
- 2.4G USB Receiver
- Grip Tape (6 pieces)
- User Manual
Initial Charging
Before first use, connect the mouse to your computer using the provided USB-C cable. The mouse will begin charging. A full charge is recommended for optimal wireless performance.
Applying Grip Tape
The X3 mouse includes self-adhesive grip tape for enhanced control and comfort. Carefully peel the backing from the grip tape pieces and apply them to the designated areas on the mouse (left click, right click, and sides) as shown in the diagram below. Ensure the surfaces are clean and dry before application.

Image: Diagram for applying self-adhesive grip tape to the mouse. The image shows the top and side views of the orange mouse with sections marked for grip tape application, along with outlines of the grip tape pieces themselves.

Image: A close-up view of the orange ATTACK SHARK X3 mouse with a piece of anti-slip grip tape being applied to its surface. The tape features a distinct pattern for improved grip.
Operation
Connectivity Modes
The ATTACK SHARK X3 supports three connection modes: 2.4G Wireless, Bluetooth 5.2, and USB-C Wired. A switch on the bottom of the mouse allows you to select the desired mode.
- 2.4G Wireless Mode: Insert the 2.4G USB receiver into an available USB port on your computer. Switch the mouse to 2.4G mode. The mouse should connect automatically.
- Bluetooth 5.2 Mode: Switch the mouse to Bluetooth mode. On your computer or device, search for Bluetooth devices and select "ATTACK SHARK X3" to pair.
- USB-C Wired Mode: Connect the mouse to your computer using the provided USB-C cable. The mouse will function as a wired mouse and charge simultaneously.
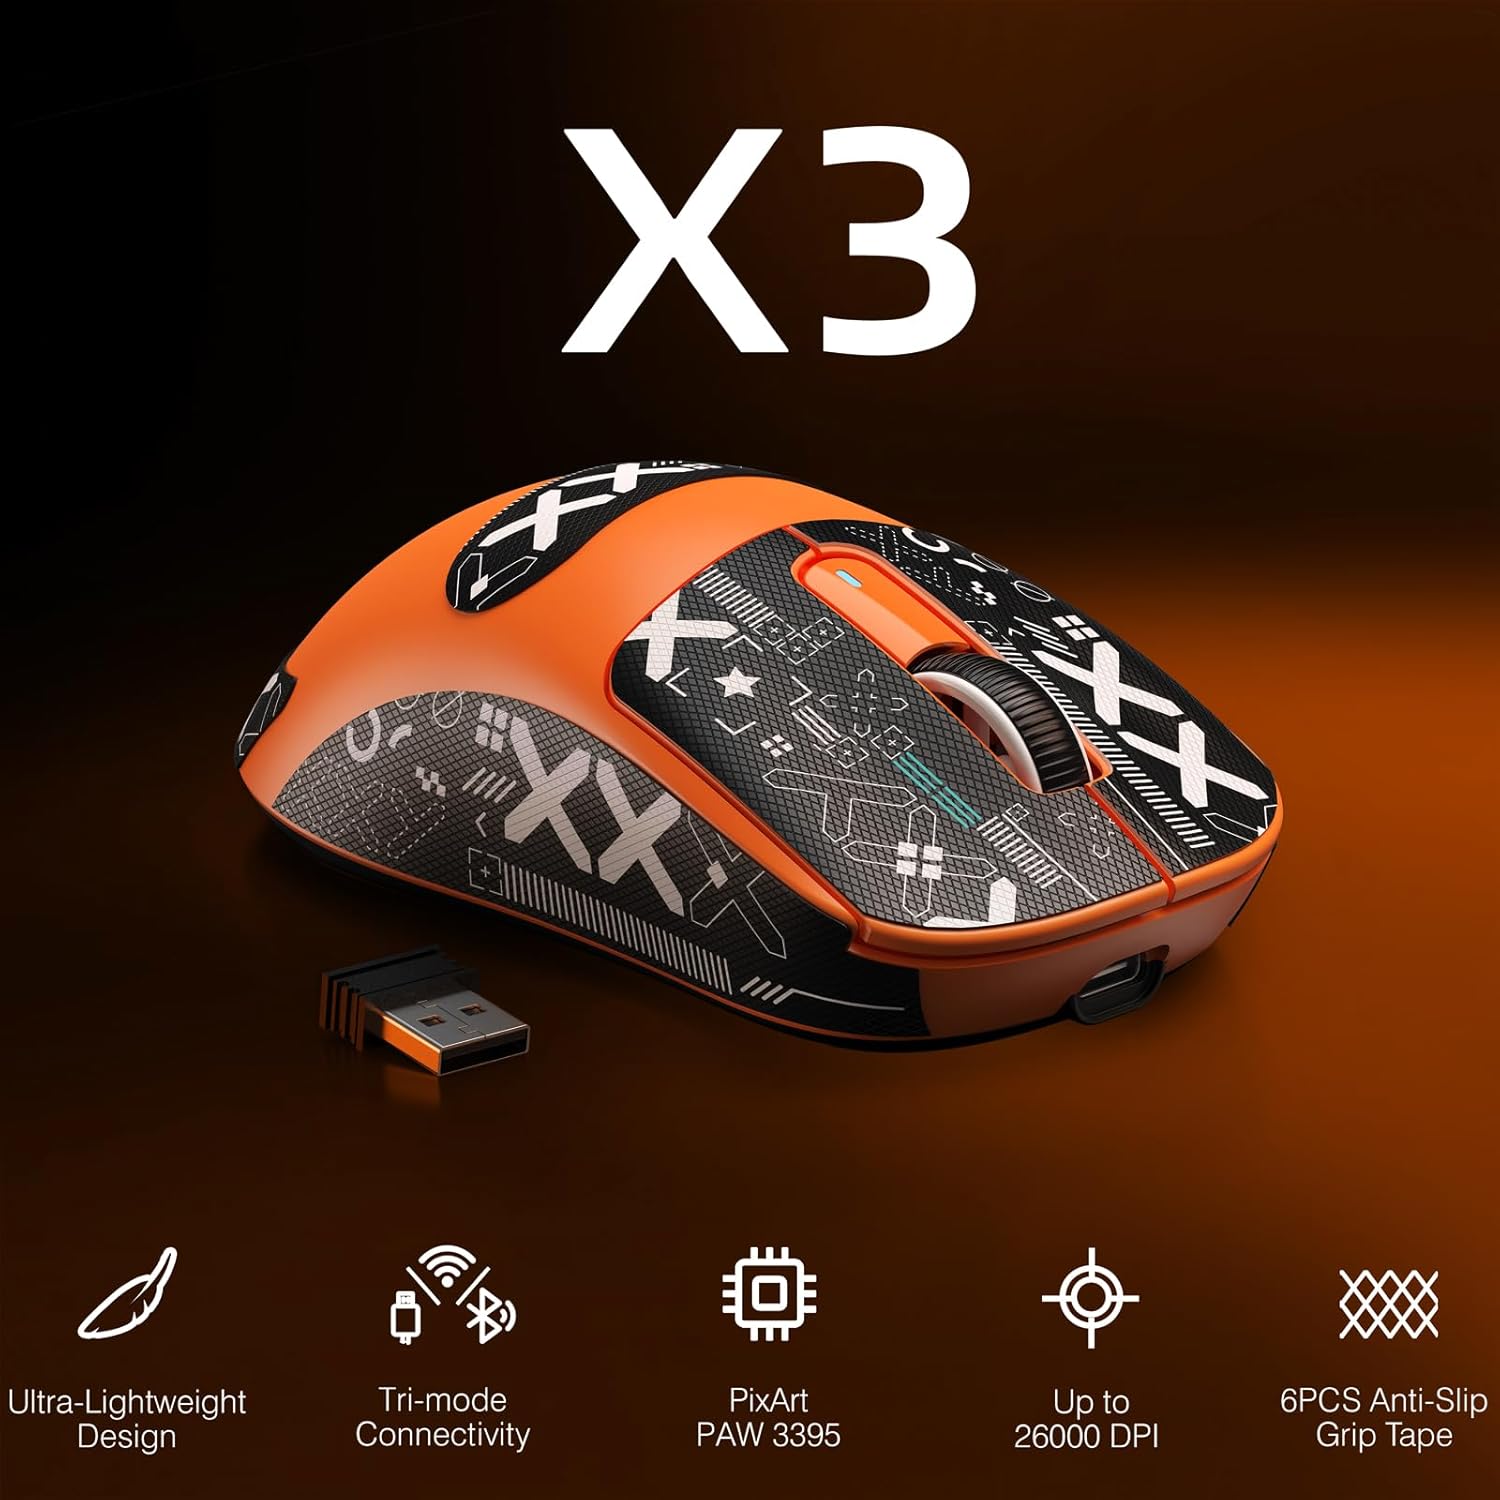
Image: The orange ATTACK SHARK X3 mouse displayed with its USB receiver, illustrating its key features including tri-mode connectivity.
Video: An official product video demonstrating the ATTACK SHARK X3 Lightweight Wireless Gaming Mouse, showcasing its features and usage.
DPI Adjustment
The mouse features a dedicated DPI button, typically located on the bottom or top of the mouse, to cycle through preset DPI levels (800/1600/2400/3200/5000/26000). The DPI indicator light will change to reflect the current setting.
Programmable Buttons
The X3 mouse has 5 programmable buttons. To customize button functions, DPI settings, polling rate, and lift-off distance, download and install the official ATTACK SHARK driver software from the manufacturer's website. This software allows you to create macros and save them to the mouse's onboard memory.

Image: The ATTACK SHARK X3 mouse alongside a screen displaying its customization software, illustrating the options for programming buttons and adjusting performance settings.
Maintenance
Cleaning
To clean your mouse, use a soft, dry cloth. For stubborn dirt, a slightly damp cloth with mild soap can be used, ensuring no liquid enters the mouse. Avoid harsh chemicals or abrasive materials.
Storage
When not in use, store the mouse in a cool, dry place away from direct sunlight and extreme temperatures. The 2.4G USB receiver can be stored in the dedicated compartment on the underside of the mouse.

Image: The underside of the ATTACK SHARK X3 mouse, showing the PTFE feet, mode switch, DPI button, and the storage slot for the USB receiver.
Troubleshooting
Mouse Not Responding
- Ensure the mouse is charged. Connect it via USB-C cable to charge.
- Check the mode switch on the bottom of the mouse. Ensure it is set to the correct mode (2.4G, BT, or Wired).
- For 2.4G mode, ensure the USB receiver is securely plugged into a working USB port. Try a different USB port.
- For Bluetooth mode, ensure Bluetooth is enabled on your device and the mouse is paired correctly. Try re-pairing the mouse.
- Try connecting the mouse in wired mode to rule out wireless connectivity issues.
Cursor Movement is Erratic
- Clean the optical sensor on the bottom of the mouse with a soft, dry cloth.
- Ensure you are using the mouse on a suitable surface (e.g., a mouse pad). Reflective or uneven surfaces can affect tracking.
- Adjust the DPI setting to a lower value if the cursor is too sensitive.
Connectivity Issues (Interference)
- Move the mouse closer to the 2.4G USB receiver or Bluetooth device.
- Avoid placing the receiver near other wireless devices or large metal objects that could cause interference.
Specifications
| Brand | ATTACK SHARK |
| Model Name | ATTACK SHARK X3 |
| Connectivity Technology | Bluetooth, USB (2.4G Wireless, USB-C Wired, Bluetooth 5.2) |
| Movement Detection Technology | Optical (Pixart PAW3395 Sensor) |
| DPI Levels | 800/1600/2400/3200/5000/26000 (Adjustable) |
| Tracking Speed | 650 IPS |
| Acceleration | 50G |
| Polling Rate | 1000Hz |
| Switches | Kailh GM8.0 Micro Switches (80 million click lifespan) |
| Encoder | TTC Scroll Wheel Encoder |
| Buttons | 5 programmable buttons |
| Weight | Approximately 49g (excluding receiver) |
| Feet Material | 100% Virgin Grade PTFE |
| Compatible Devices | PC, Mac |
| Power Source | Battery Powered (Up to 200 hours continuous use) |
Warranty & Support
Warranty Information
The ATTACK SHARK X3 Lightweight Wireless Gaming Mouse comes with a standard manufacturer's warranty. Please refer to the warranty card included in your package or visit the official ATTACK SHARK website for detailed warranty terms and conditions. Keep your proof of purchase for warranty claims.
Customer Support
For technical assistance, troubleshooting, or product inquiries, please contact ATTACK SHARK customer support. You can find contact information on the official ATTACK SHARK website: ATTACK SHARK Official Store.


