
1. Introduction
Thank you for choosing the AIKE Automatic Wall Mount Liquid Soap Dispenser, Model AK1213-1. This manual provides essential information for the proper installation, operation, and maintenance of your new soap dispenser. Please read these instructions thoroughly before use and retain them for future reference.
This automatic dispenser is designed for hygienic and convenient dispensing of liquid soap in home and commercial bathroom environments. Its IPX7 waterproof rating ensures reliable performance in humid conditions.
2. What's Included
Verify that all components are present in the package:
- Soap Dispenser (x1)
- Mounting Plate (x1)
- Nail-free Glue (x1)
- Wall Anchor (x2)
- Screw (x2)
- User Manual (x1)

Image: Package contents of the AIKE AK1213-1 Automatic Wall Mount Liquid Soap Dispenser.
3. Safety Information
- This dispenser is designed for liquid soap only. Do not use with foaming soap, granular soap, or highly viscous liquids.
- Requires 4 AA batteries (not included). Ensure correct battery polarity during installation.
- Do not immerse the entire unit in water, despite its IPX7 rating. The IPX7 rating applies to temporary immersion under specific conditions.
- Keep out of reach of children.
- Avoid direct sunlight or strong artificial light on the sensor, as this may affect its performance.
- Do not attempt to disassemble or repair the unit yourself. Contact customer support for assistance.
Video: Demonstration of the AK1213-1 soap dispenser's IPX7 waterproof capability.
4. Setup & Installation
4.1. Choose Installation Location
Select a suitable wall location. Ensure there are no obstructions beneath the dispenser to allow for proper sensing and dispensing. Recommended installation heights:
- For ordinary countertops: >20 cm (8 inches)
- For reflective countertops: >30 cm (12 inches)
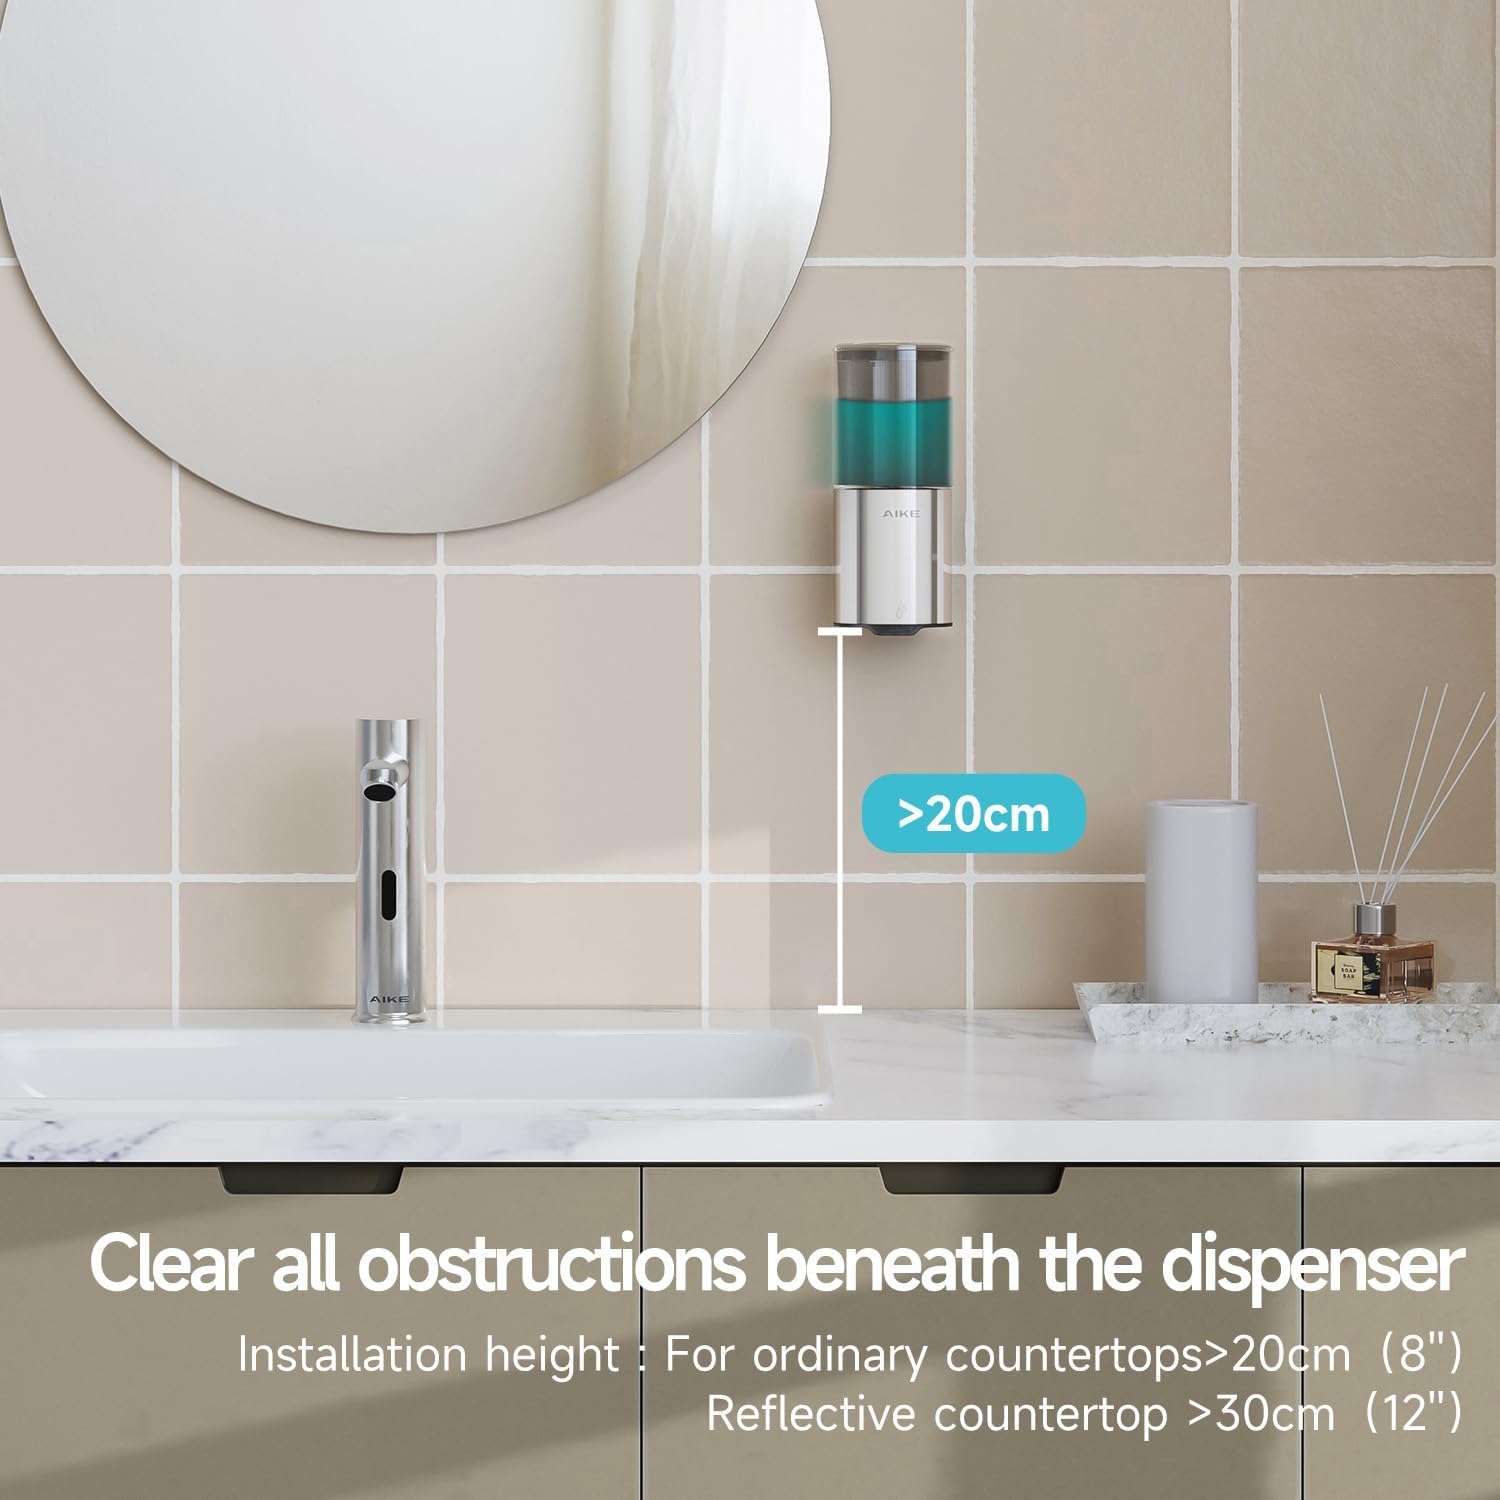
Image: Recommended installation height for the dispenser.
4.2. Battery Installation
Open the battery compartment at the bottom of the dispenser. Insert 4 AA batteries, ensuring correct polarity. Close the compartment securely to maintain the watertight seal.

Image: Battery installation and watertight gasket.
4.3. Mounting Options
The dispenser offers two installation methods: nail-free glue or screw installation.
4.3.1. Nail-Free Glue Installation
- Clean and dry the wall surface thoroughly where the mounting plate will be attached.
- Apply the provided nail-free glue to the back of the mounting plate.
- Press the mounting plate firmly against the wall for 10 seconds.
- Allow the glue to cure for at least 48 hours before hanging the dispenser. This ensures maximum adhesion.
4.3.2. Screw Installation
- Determine the installation location and mark the drill holes using the mounting plate as a template.
- Drill holes in the wall at the marked locations.
- Insert the hollow wall anchors into the drilled holes.
- Secure the mounting plate to the wall using the provided screws.

Image: Nail-free glue and screw installation diagrams.
4.4. Attaching the Dispenser
Once the mounting plate is securely installed (after 48 hours for glue method), slide the soap dispenser onto the mounting plate until it clicks into place.
Video: Step-by-step installation guidance for the AK1213-1 soap dispenser.
5. Operation
5.1. Filling the Dispenser
Remove the top cover of the dispenser. Pour liquid soap into the transparent reservoir. The wide opening facilitates easy refilling. Monitor the fluid levels through the transparent container. Replace the top cover securely after filling.

Image: Easy filling with wide opening and transparent reservoir.
5.2. Dispensing Soap
Place your hand beneath the sensor. The dispenser will automatically dispense a preset amount of liquid soap. Remove your hand to stop dispensing.
5.3. Adjusting Dispense Volume (5 Levels)
The dispenser features 5 precise dispensing levels. To adjust the volume, locate the control button (usually near the sensor or on top) and press it repeatedly to cycle through the levels. Each press will increase or decrease the dispensed amount. The current level may be indicated by an LED light or a subtle change in dispensing duration.

Image: 5 Levels Precise Dispense for various needs.
6. Maintenance
6.1. Cleaning
To clean the exterior of the dispenser, wipe it with a soft, damp cloth. Do not use abrasive cleaners or solvents. Avoid getting water into the battery compartment or directly onto the sensor.
6.2. Battery Replacement
When the dispenser's performance diminishes or the indicator light signals low battery, replace all 4 AA batteries simultaneously. Ensure the battery compartment is dry before opening and that the watertight gasket is properly seated when closing.
7. Troubleshooting
| Problem | Possible Cause | Solution |
|---|---|---|
| Dispenser does not activate. | Low or dead batteries; incorrect battery installation; sensor obstruction. | Replace batteries; check battery polarity; clean sensor area. |
| No soap dispensed. | Empty reservoir; soap too thick; dispensing nozzle clogged. | Refill with liquid soap; dilute thick soap with a small amount of water; clean the dispensing nozzle. |
| Soap dispenses inconsistently. | Low batteries; sensor interference; soap consistency issue. | Replace batteries; ensure no strong light or reflective surfaces interfere with the sensor; adjust soap consistency. |
| Dispenser falls off the wall (glue installation). | Insufficient curing time for glue; improper wall surface preparation. | Ensure wall is clean, dry, and flat. Allow at least 48 hours for glue to cure before hanging. Consider screw installation for added security. |
8. Specifications
| Feature | Detail |
|---|---|
| Model Number | AK1213-1 |
| Material | Stainless Steel, ABS |
| Liquid Volume | 400 Milliliters (13.5 oz) |
| Product Dimensions | 3.2"L x 3.7"W x 7.5"H |
| Power Source | 4 x AA Batteries (not included) |
| Waterproof Rating | IPX7 |
| Dispense Levels | 5 Precise Levels |
| Installation Type | Wall Mount (Nail-free glue or Screw) |
9. Warranty & Support
9.1. Manufacturer Warranty
The AIKE Automatic Wall Mount Liquid Soap Dispenser (Model AK1213-1) comes with a 1-year manufacturer warranty from the date of purchase. This warranty covers defects in materials and workmanship under normal use.
The warranty does not cover damage caused by misuse, accident, unauthorized modification, or failure to follow the instructions in this manual.
9.2. Customer Support
If you encounter any issues with your dispenser or have questions not addressed in this manual, please contact AIKE customer support. Our dedicated team is available to assist you.
Please have your product model number (AK1213-1) and proof of purchase ready when contacting support.
