
AVIDEONE PTZ-20XPB
AVIDEONE PTZ Camera User Manual
Model: PTZ-20XPB
1. Introduction
Thank you for choosing the AVIDEONE PTZ Camera. This manual provides detailed instructions for the setup, operation, and maintenance of your PTZ-20XPB camera. This camera is designed for professional video applications, offering 20X optical zoom, 1080p 60fps video output, and multiple connectivity options including HDMI, 3G-SDI, and PoE IP live streaming. It supports various control protocols, making it suitable for diverse environments such as church services, educational institutions, and corporate events.
2. Safety Information
Please read all safety instructions carefully before operating the camera. Retain this manual for future reference.
- Power Supply: Use only the specified power adapter. Ensure the power source matches the camera's voltage requirements.
- Installation: Install the camera on a stable surface or mount it securely to prevent accidental falls. Avoid placing the camera in direct sunlight, near heat sources, or in environments with high humidity or dust.
- Cleaning: Disconnect power before cleaning. Use a soft, dry cloth. Do not use liquid or aerosol cleaners.
- Servicing: Do not attempt to open or service the camera yourself. Refer all servicing to qualified personnel.
- Ventilation: Ensure proper ventilation around the camera to prevent overheating. Do not block ventilation openings.
- Lightning: Unplug the camera during lightning storms or when unused for long periods.
3. Product Overview
3.1 Package Contents
Verify that all items are present in the package:
- AVIDEONE PTZ Camera (PTZ-20XPB)
- Power Adapter
- IR Remote Control
- User Manual (this document)
- RS232 Cable
3.2 Camera Components
The AVIDEONE PTZ Camera features a robust design with key components for high-quality video capture and control.

Figure 3.2.1: Front and Rear View of AVIDEONE PTZ Camera with Remote Control. This image displays the main camera unit from the front and rear, highlighting its compact design and the various ports on the back panel. The included remote control is also shown.
- Lens: High-quality optical lens with 20X optical zoom capability.
- Pan/Tilt Mechanism: Allows for smooth and precise horizontal (pan) and vertical (tilt) movement.
- Status Indicators: LED lights indicating power, network activity, and operational status.
- Rear Panel Ports: Includes various input/output ports for connectivity.
3.3 Rear Panel Connections
Familiarize yourself with the connection ports on the rear panel of the camera.

Figure 3.3.1: Connectivity Diagram of AVIDEONE PTZ Camera. This diagram illustrates the various input and output ports on the camera's rear panel, including HDMI, 3G-SDI, LAN (PoE), RS232/RS485, and audio input, along with examples of connected devices and streaming platforms.
- DC 12V Power Input: For connecting the external power adapter.
- LAN (RJ45) Port: For IP streaming, control, and Power over Ethernet (PoE).
- HDMI Output: For connecting to an HDMI display or video switcher.
- 3G-SDI Output: For connecting to SDI-compatible devices, supporting 1080p60.
- RS232/RS485 Ports: For serial control using VISCA, PELCO-D, or PELCO-P protocols.
- Audio Input: For connecting an external microphone.
4. Setup
4.1 Physical Installation
Proper placement is crucial for optimal performance.
- Placement: Place the camera on a flat, stable surface, or mount it using a compatible bracket (not included) to a wall or ceiling. Ensure the camera has a clear line of sight to the desired capture area.
- Environment: Avoid locations with excessive vibration, direct sunlight, or extreme temperatures.
4.2 Connecting the Camera
Follow these steps to connect your AVIDEONE PTZ Camera:
- Power Connection:
- If using the included power adapter, connect it to the DC 12V input port on the camera and then to a power outlet.
- If using Power over Ethernet (PoE), connect an Ethernet cable from a PoE-enabled switch or injector to the LAN port on the camera. The camera will receive power and data through this single cable.
- Video Output Connection:
- For HDMI output, connect an HDMI cable from the camera's HDMI port to an HDMI input on your display, video switcher, or capture card.
- For 3G-SDI output, connect an SDI cable from the camera's 3G-SDI port to an SDI input on your video switcher or recorder.
- Network Connection (for IP Streaming/Control): Connect an Ethernet cable from the camera's LAN port to your network switch or router.
- Serial Control Connection (Optional): If using external serial control, connect the RS232 or RS485 cable from the camera to your control device (e.g., joystick controller, PC with serial interface).
- Audio Input Connection (Optional): Connect an external microphone to the audio input port if external audio is required.
5. Operating Instructions
5.1 Powering On/Off
Once connected to power, the camera will automatically power on. To power off, disconnect the power supply.
5.2 Basic Camera Control (Pan, Tilt, Zoom)
The camera offers precise control over its pan, tilt, and zoom functions.

Figure 5.2.1: AVIDEONE PTZ Camera Pan and Tilt Movement. This image visually represents the camera's ability to pan horizontally and tilt vertically, indicating its flexible movement capabilities.

Figure 5.2.2: AVIDEONE PTZ Camera 20X Optical Zoom Demonstration. This image shows the camera's lens and provides a visual comparison of 1x zoom versus 20x optical zoom, demonstrating the camera's powerful magnification capability.
- Pan: Rotate the camera horizontally (left/right).
- Tilt: Adjust the camera vertically (up/down).
- Zoom: Adjust the focal length to zoom in (telephoto) or zoom out (wide-angle). The camera features 20X optical zoom.
5.3 Using the IR Remote Control
The included IR remote control allows for convenient operation of the camera's functions.
- Directional Buttons: Use to pan and tilt the camera.
- Zoom Buttons: Control the optical zoom (Tele/Wide).
- Preset Buttons: Save and recall camera positions (pan, tilt, zoom settings). Refer to the remote control's specific instructions for setting and recalling presets.
- Menu Button: Access the camera's on-screen display (OSD) menu for advanced settings.
5.4 Web Interface Control
The camera can be controlled via a web browser, offering comprehensive settings and real-time video preview.
- Connect the camera to your network.
- Find the camera's IP address (refer to your network's DHCP server or use a network scanning tool).
- Open a web browser and enter the camera's IP address in the URL bar.
- Log in using the default username and password (refer to the camera's documentation for default credentials).
- From the web interface, you can control pan, tilt, zoom, focus, exposure, color settings, and manage network configurations.
5.5 Control Protocols
The AVIDEONE PTZ Camera supports industry-standard control protocols for integration with various systems:
- VISCA: A widely used protocol for PTZ camera control, often used with joystick controllers and software.
- PELCO-D / PELCO-P: Common protocols for controlling surveillance and PTZ cameras.
- IP Control: Control via network using ONVIF or proprietary IP commands.
5.6 Live Streaming Setup
The camera supports IP live streaming, making it ideal for broadcasting events.
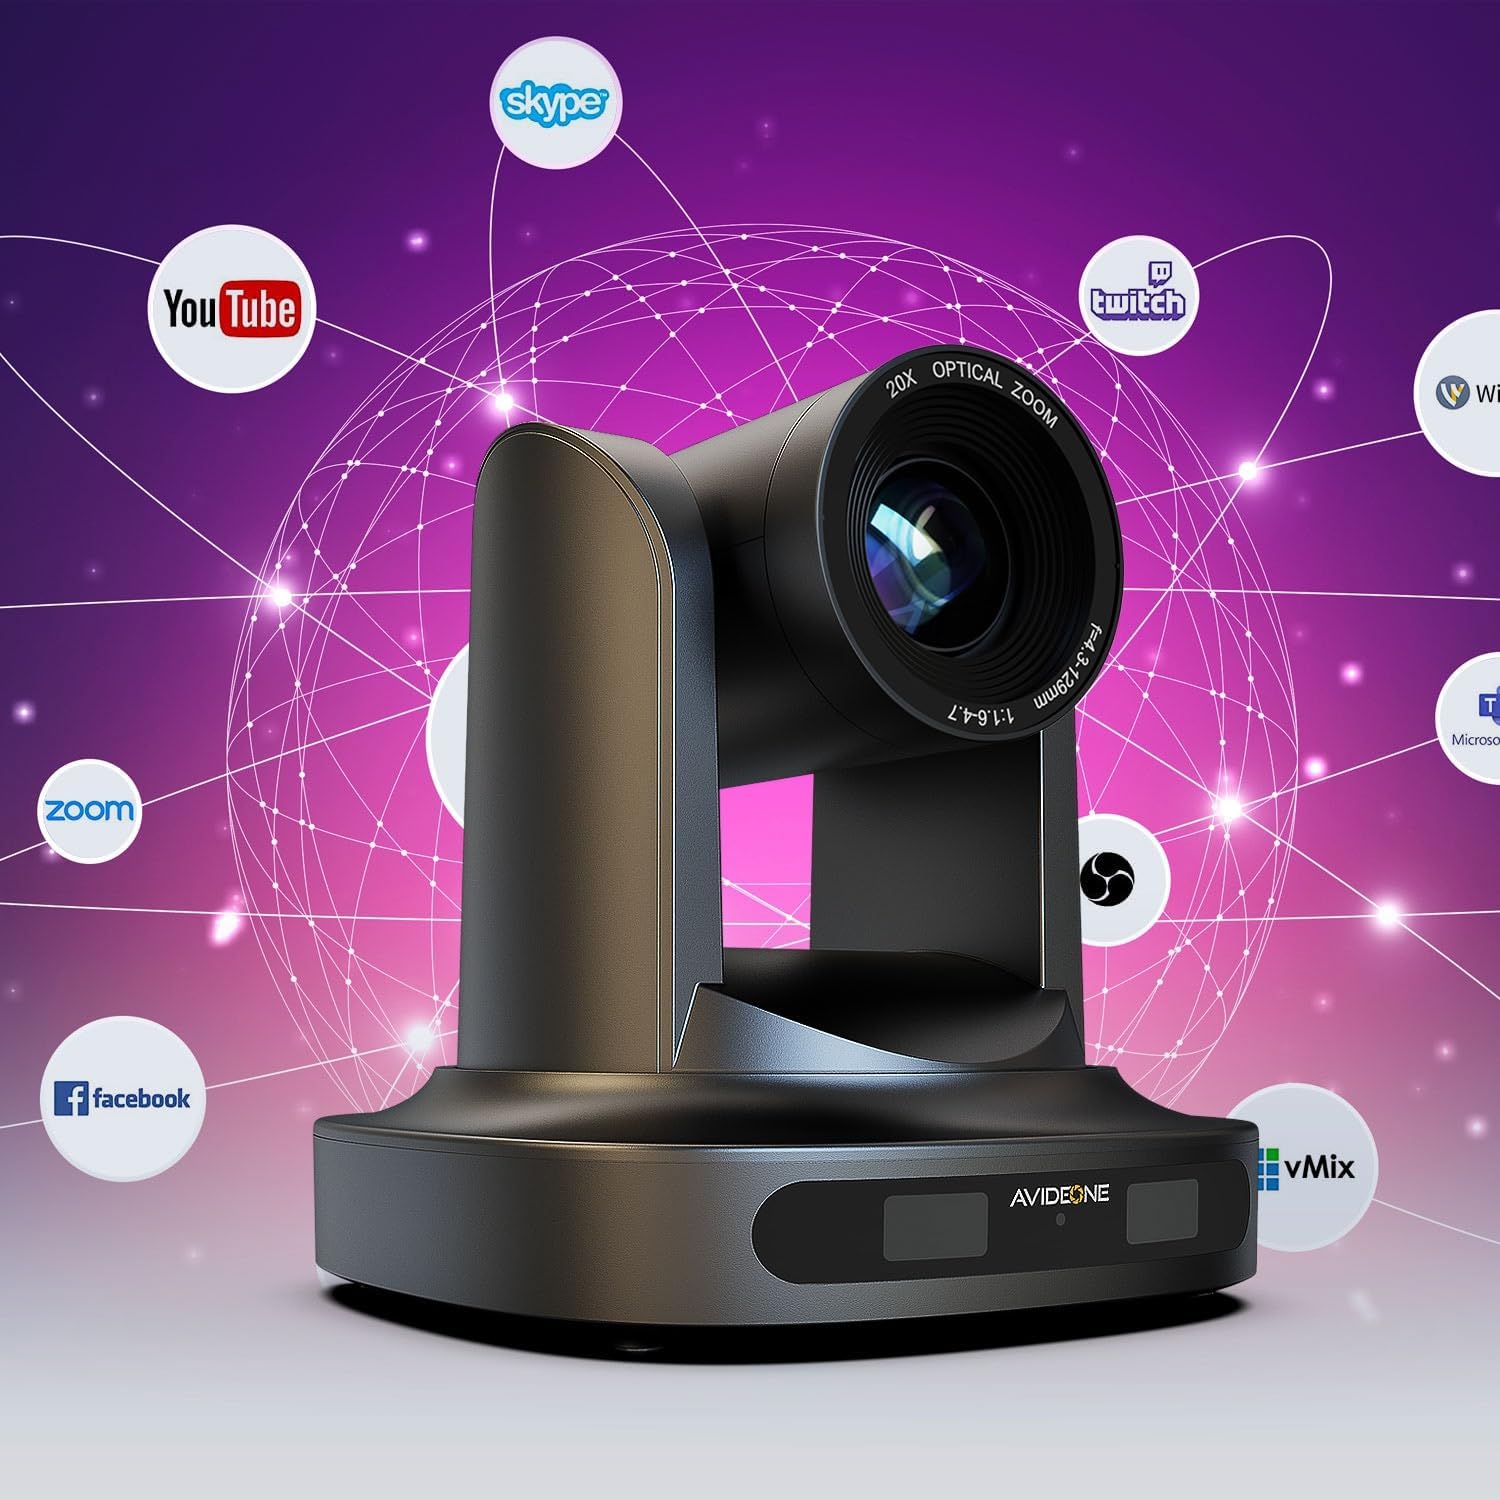
Figure 5.6.1: AVIDEONE PTZ Camera Compatibility with Live Streaming Platforms. This image displays various logos of popular streaming and video conferencing platforms such as YouTube, Facebook, Zoom, Twitch, Skype, Microsoft Teams, vMix, and Wirecast, indicating the camera's broad compatibility for live broadcasts.
The camera can output video streams compatible with various platforms and software. Configuration typically involves:
- Accessing the camera's web interface.
- Navigating to the "Network" or "Streaming" settings.
- Configuring streaming protocols (e.g., RTMP, RTSP) and entering server URLs/stream keys provided by your streaming platform (e.g., YouTube, Facebook Live, Twitch).
- Adjusting video resolution, frame rate, and bitrate as needed for your network and platform requirements.
The camera is suitable for applications in:

Figure 5.6.2: AVIDEONE PTZ Camera Applications. This image highlights common use cases for the camera, including church services, educational settings, and broadcast environments, demonstrating its versatility.
6. Maintenance
6.1 Cleaning
- Always disconnect the power before cleaning.
- Use a soft, dry cloth to wipe the camera body.
- For the lens, use a lens cleaning cloth and specialized lens cleaning solution. Avoid touching the lens surface directly.
- Do not use strong detergents, abrasive cleaners, or organic solvents.
6.2 Firmware Updates
Periodically check the AVIDEONE official website for firmware updates. Firmware updates can improve performance, add new features, or fix bugs. Follow the instructions provided with the firmware update package carefully.
6.3 Storage
When not in use for extended periods, store the camera in a cool, dry place, away from direct sunlight and dust. It is recommended to use the original packaging for storage.
7. Troubleshooting
This section addresses common issues you might encounter. If the problem persists, contact customer support.
| Problem | Possible Cause | Solution |
|---|---|---|
| No Power | Power adapter not connected or faulty; PoE not active. | Check power cable connection. Ensure power outlet is working. Verify PoE switch/injector is active. |
| No Video Output | Incorrect cable connection; wrong input selected on display; resolution mismatch. | Check HDMI/SDI cable connections. Ensure display is on the correct input. Verify camera output resolution is supported by the display. |
| Camera Not Responding to Remote Control | Batteries low/dead; IR sensor blocked; remote not paired (if applicable). | Replace remote batteries. Ensure no obstructions between remote and camera's IR sensor. |
| Cannot Access Web Interface | Incorrect IP address; network cable disconnected; IP address conflict. | Verify camera's IP address. Check network cable connection. Ensure no other device on the network has the same IP. |
| Poor Image Quality | Lens dirty; lighting conditions; incorrect camera settings. | Clean the lens. Adjust lighting. Check camera settings (exposure, white balance, focus) via OSD or web interface. |
8. Specifications
Technical specifications for the AVIDEONE PTZ-20XPB Camera:
| Feature | Detail |
|---|---|
| Model Number | PTZ-20XPB |
| Optical Zoom | 20X |
| Sensor | 1/2.8" HD CMOS Sensor |
| Video Resolution | 1080p (up to 60fps) |
| Video Outputs | HDMI, 3G-SDI, LAN (IP Streaming) |
| Control Protocols | VISCA, PELCO-D, PELCO-P, IP Control |
| Connectivity Technology | Ethernet |
| Power Supply | DC 12V or PoE (Power over Ethernet) |
| Product Dimensions | 17.02 x 18.03 x 17.02 cm |
| Weight | 2.2 kg |
| Manufacturer | AVIDEONE |
9. Warranty & Support
9.1 Warranty Information
AVIDEONE products are covered by a limited warranty against defects in materials and workmanship. Please refer to the warranty card included with your product or visit the official AVIDEONE website for detailed warranty terms and conditions. Keep your purchase receipt as proof of purchase for warranty claims.
9.2 Customer Support
If you encounter any issues or have questions regarding your AVIDEONE PTZ Camera that are not covered in this manual, please contact AVIDEONE customer support. You can typically find contact information (email, phone, or support portal) on the AVIDEONE official website or on your product packaging.
For the latest information, drivers, and firmware updates, please visit the official AVIDEONE website.
Related documentsPTZ-20XPB

Ask a question about this manual
Ask about setup, troubleshooting, compatibility, parts, safety, or missing instructions. Manuals+ will review the question and use this page’s manual context to help answer it.