
1. Introduction
This manual provides detailed instructions for the installation, operation, and maintenance of your VINGLI 8' x 7' Retractable Awning. Please read this manual thoroughly before installation and use to ensure proper function and safety. Keep this manual for future reference.
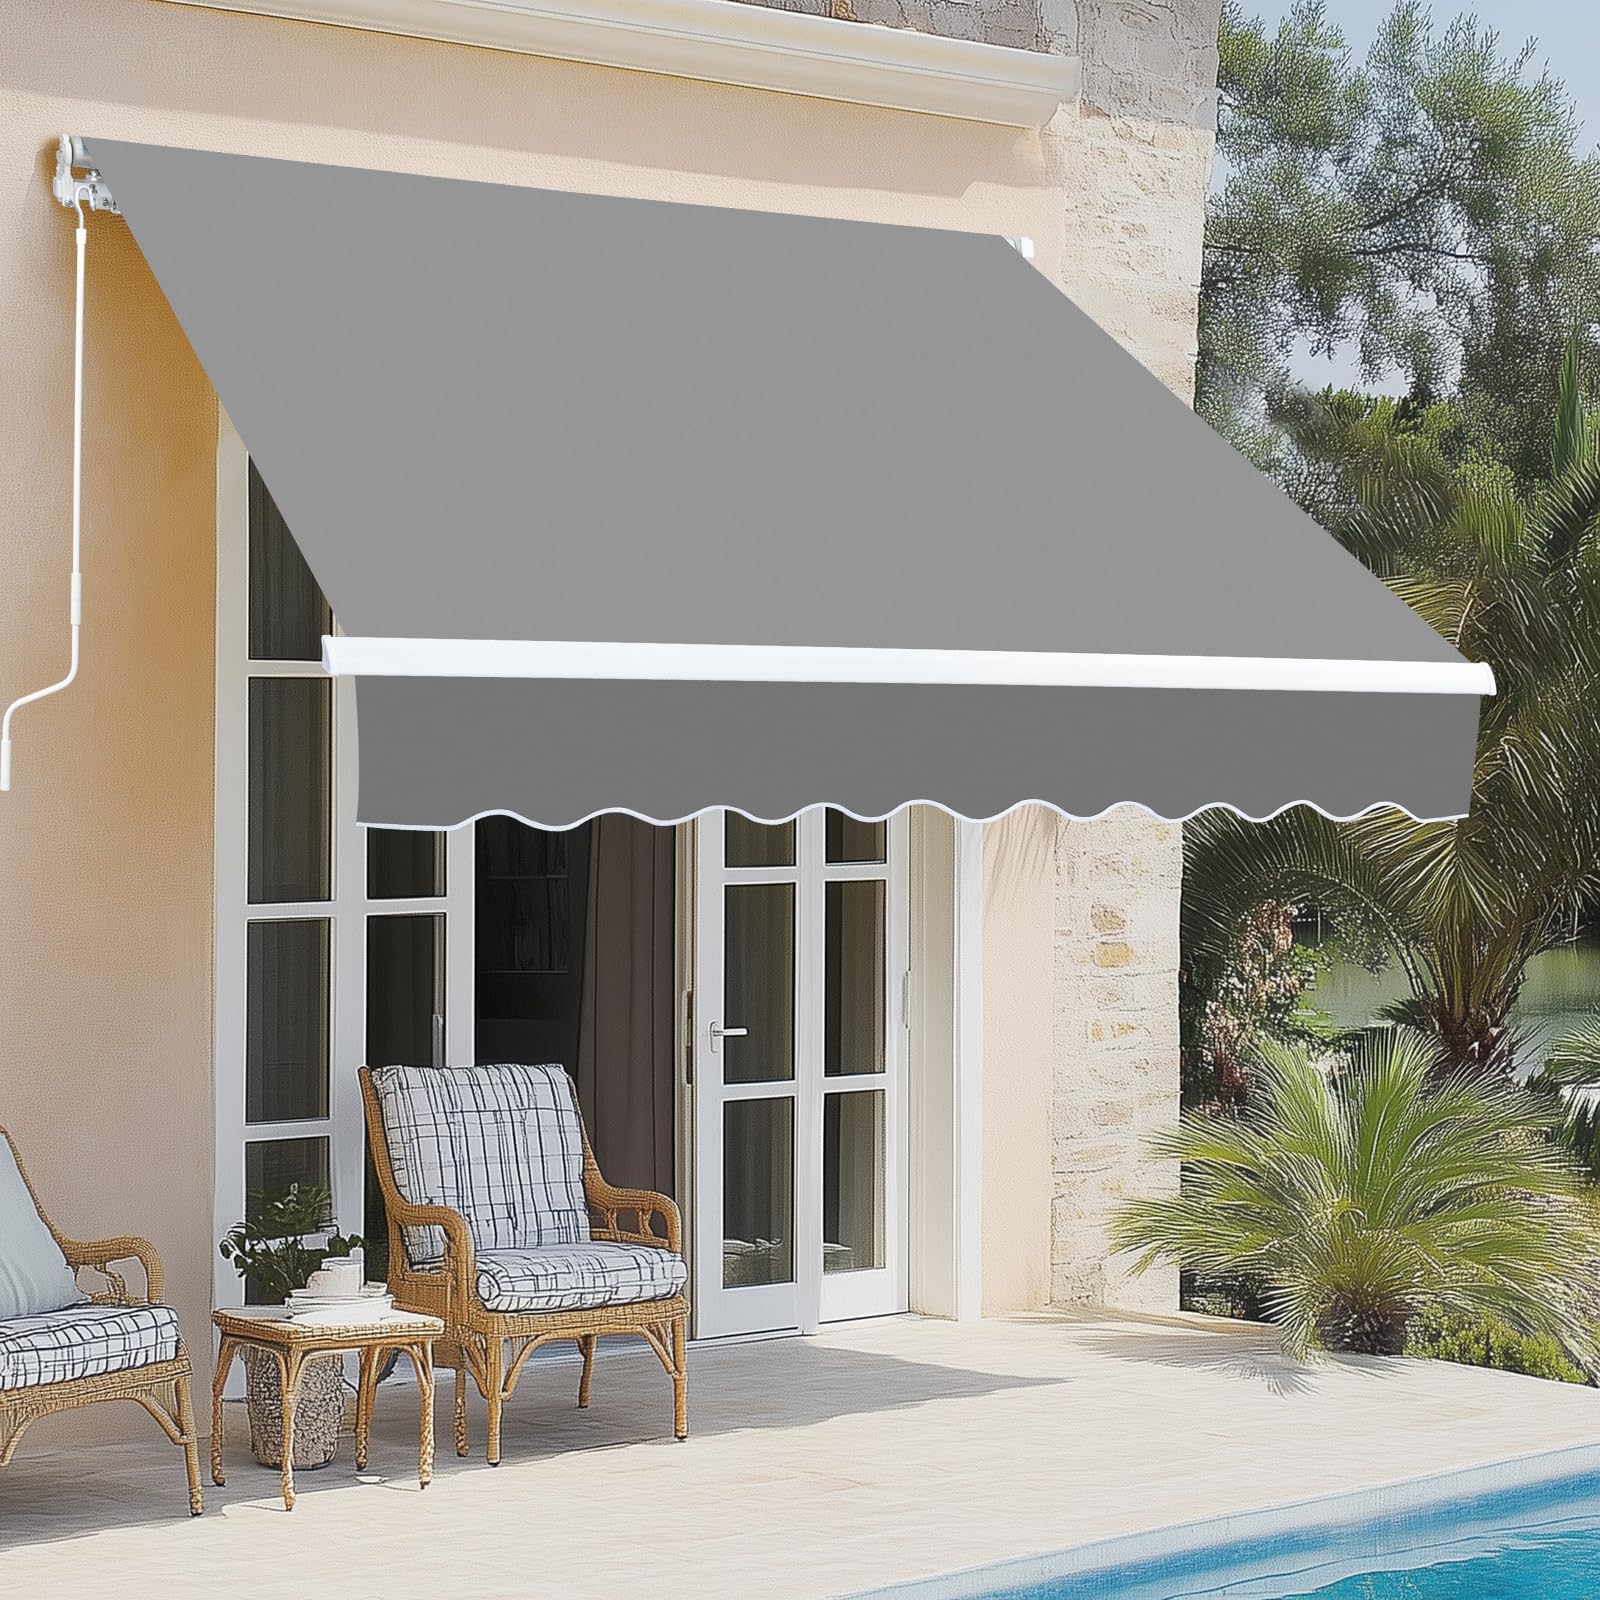
Image 1.1: The VINGLI 8' x 7' Retractable Awning providing shade over a patio area.
2. Safety Information
Always follow these safety guidelines to prevent injury or damage to the awning:
- Follow all installation instructions carefully.
- Use appropriate tools for installation.
- Ensure the awning is securely fastened to the wall structure.
- Allow for sufficient clearance above doors or windows to prevent obstruction or injury.
- Do not operate the awning if it is damaged or not functioning properly.
- Keep children and pets away from moving parts during operation.
- Retract the awning during strong winds, heavy rain, or snow to prevent damage.
3. Product Components and Features
The VINGLI Retractable Awning is designed with durable materials for outdoor use.
3.1. Material Quality
The awning features a robust aluminum alloy frame and 280gsm polyester fabric. The fabric is PU coated, offering water resistance, fade resistance, and UV50+ sun protection.

Image 3.1: Illustration of the awning's fabric properties, highlighting its water-resistant and UV50+ sun protection capabilities.
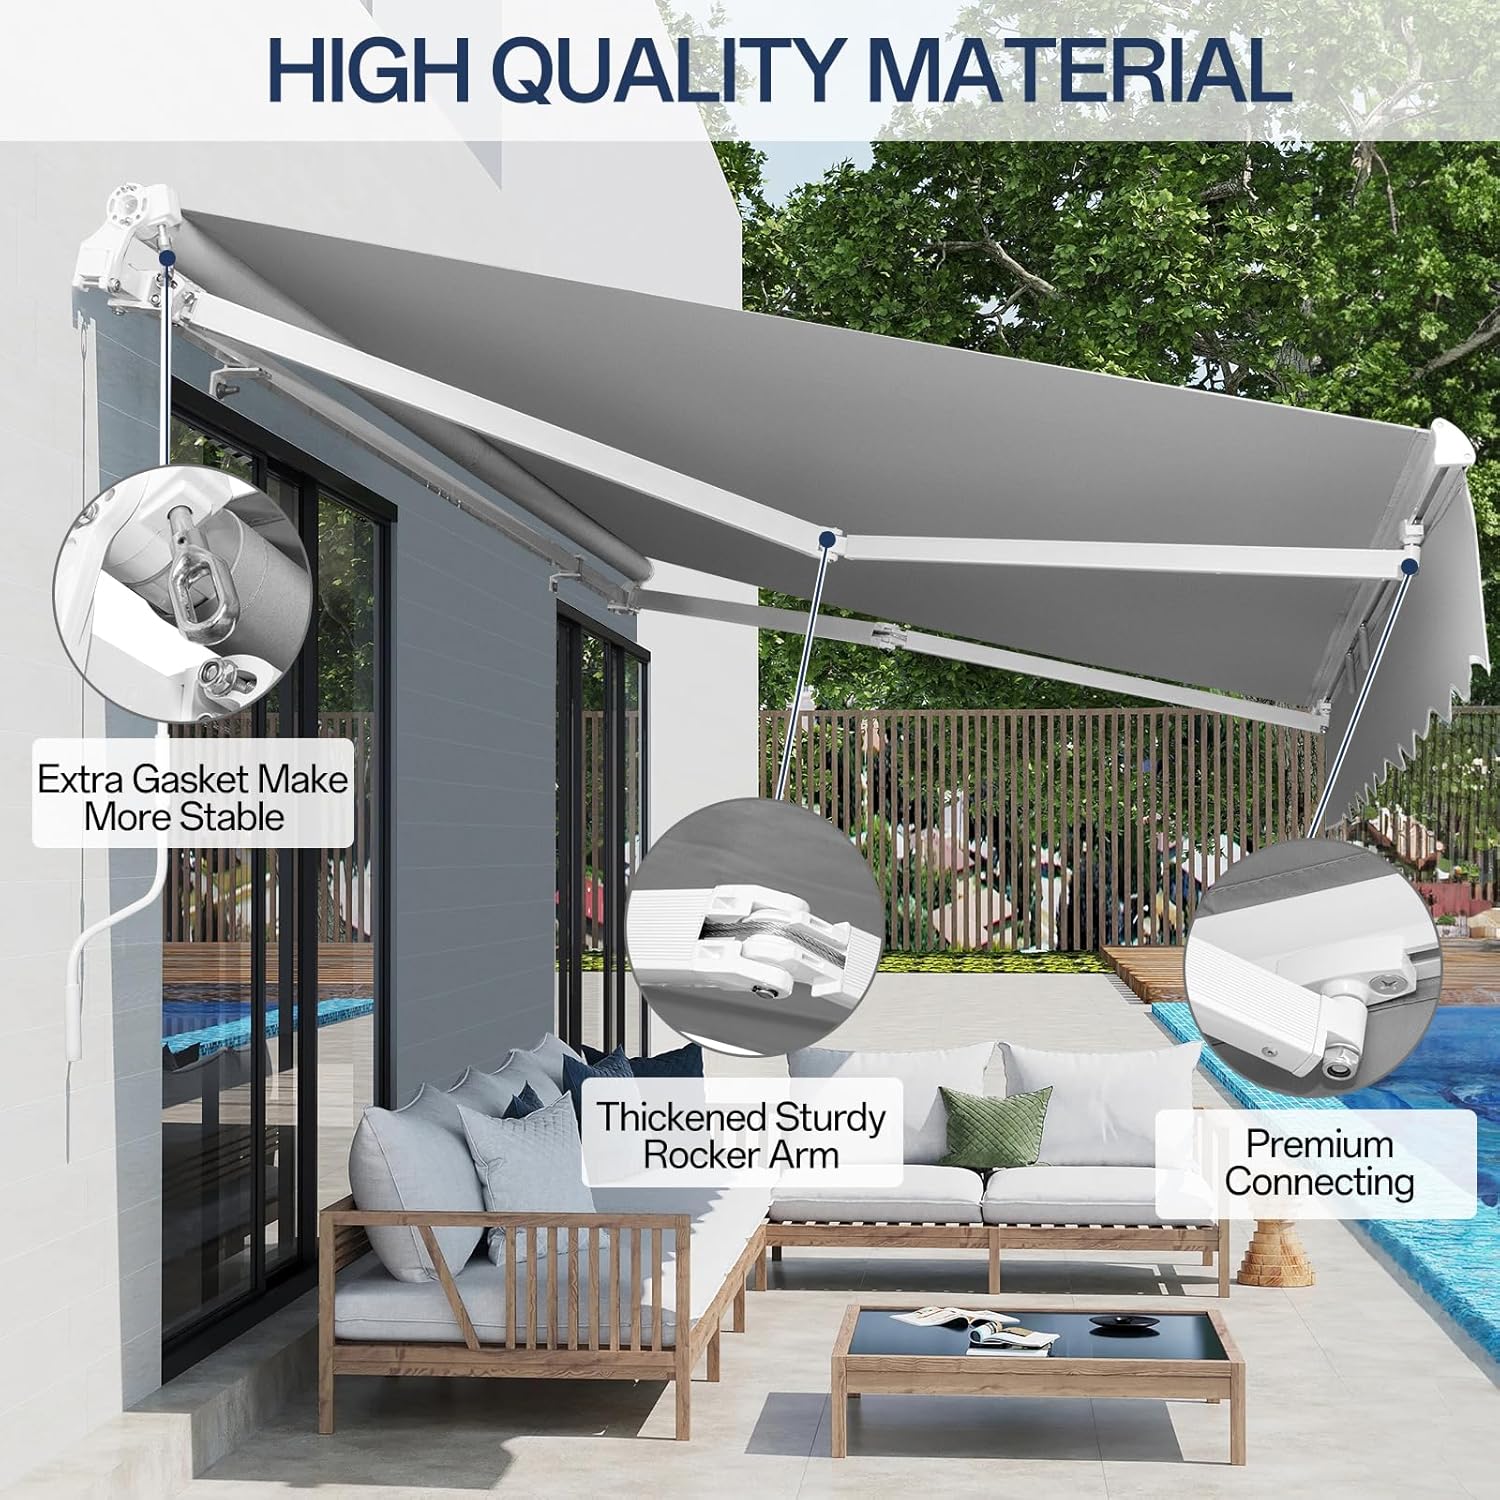
Image 3.2: Detailed view of the awning's construction, showing the extra gasket for stability, thickened sturdy rocker arm, and premium connecting components.
3.2. Dimensions and Coverage
This 8x7 FT model provides a significant shade area. The recommended installation height is above 8 feet.

Image 3.3: Dimensional diagram of the 8x7 FT awning, indicating a width of 8.2 feet, a projection of 6.5 feet, and a drop of 59.6 inches.
4. Setup and Installation
Proper installation is crucial for the awning's stability and longevity. A team of three people is recommended for assembly.
4.1. Pre-Installation Requirements
- Tools Required (Not Provided): Drill (with appropriate drill bits), tape measure, wrench.
- Installation Surface: Suitable for balcony brick walls, concrete walls, or wooden walls adjacent to patios.
- Recommended Installation Height: Between 8 feet and 12 feet.
- Clearance: When installing above a door or window, allow for an extra 11.75 inches of clearance above the structure.

Image 4.1: Installation guidelines illustrating the recommended height (above 8 FT) and the necessary 12-inch clearance above windows or doors.
4.2. Installation Steps
Refer to the detailed assembly instructions provided in the packaging for step-by-step guidance. Ensure all mounting brackets are securely fastened to a structurally sound surface.
5. Operating Instructions
Your VINGLI Retractable Awning operates manually using a crank handle.
5.1. Extending and Retracting the Awning
- To extend the awning, insert the manual crank handle into the designated loop and turn it clockwise.
- To retract the awning, turn the crank handle counter-clockwise.
- Operate the crank smoothly and avoid excessive force.
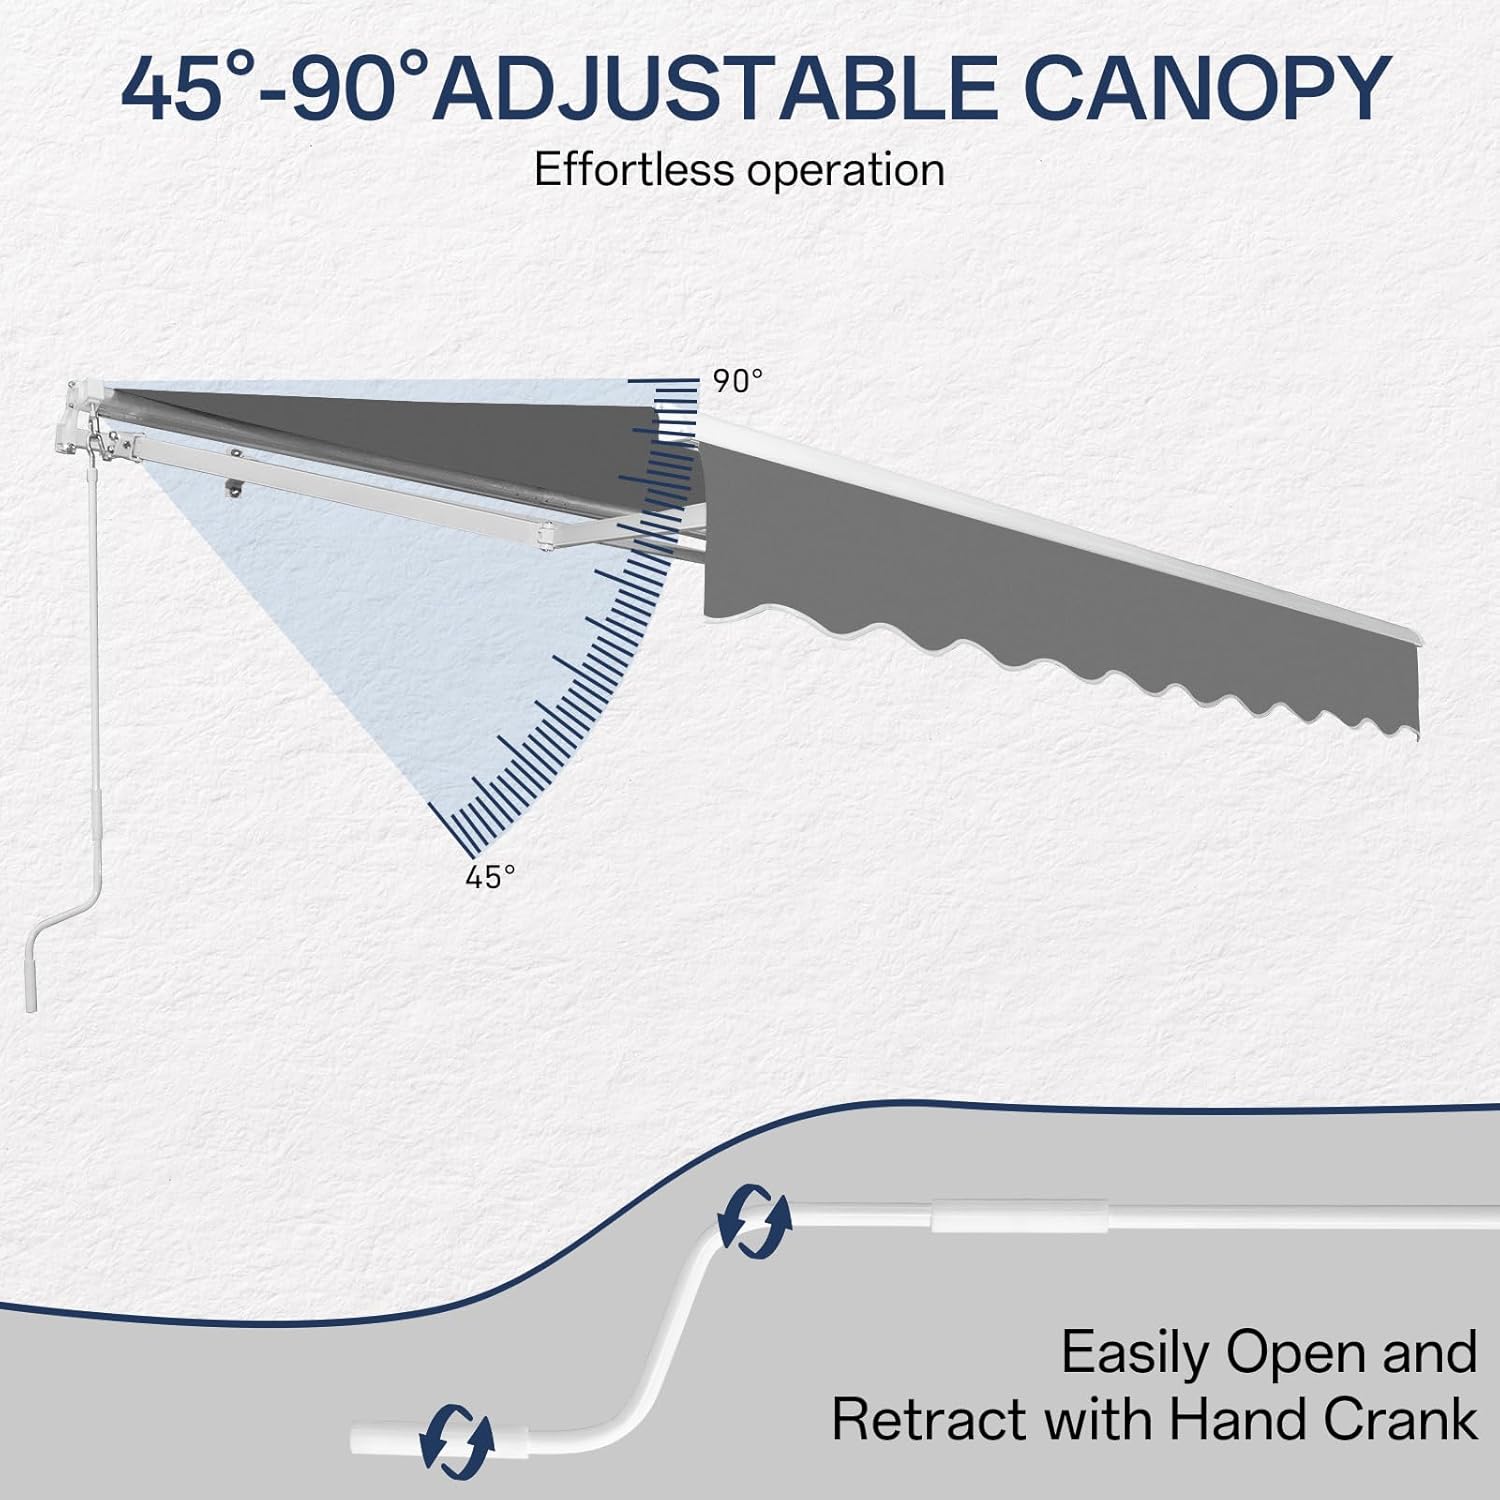
Image 5.1: Illustration of the manual crank handle for easy opening and retracting, along with the adjustable canopy angle from 45 to 90 degrees.
5.2. Adjusting the Awning Angle
The awning's tilt can be adjusted from 45 to 90 degrees to customize your shaded area throughout the day.
- The angle adjustment mechanism is typically located on the support arms. Consult the assembly diagram for precise location.
- Loosen the adjustment knobs or bolts, set the desired angle, and then securely tighten them.

Image 5.2: Visual representation of the awning's adjustable angle feature, allowing for inclination between 45 and 90 degrees.
6. Maintenance
Regular maintenance will extend the life of your awning.
- Cleaning the Fabric: Clean the awning fabric periodically with mild soap and water. Use a soft brush or cloth. Rinse thoroughly and allow to air dry completely before retracting. Do not use harsh chemicals or abrasive cleaners.
- Frame Inspection: Regularly inspect the aluminum frame, mounting brackets, and moving parts for any signs of wear, damage, or loose fasteners. Tighten any loose bolts or screws.
- Lubrication: Periodically lubricate moving joints and the crank mechanism with a silicone-based spray to ensure smooth operation.
- Winter Storage: In areas with heavy snow or ice, it is recommended to retract the awning completely during winter months to prevent damage.
7. Troubleshooting
This section addresses common issues you might encounter.
| Problem | Possible Cause | Solution |
|---|---|---|
| Awning does not extend/retract smoothly | Mechanism is dry or obstructed; bent arm. | Lubricate moving parts with silicone spray. Check for obstructions and clear them. Inspect arms for damage. |
| Awning sags or is uneven | Loose mounting brackets; uneven installation. | Check and tighten all mounting bolts. Ensure the installation surface is level. |
| Water pooling on fabric | Insufficient slope; fabric stretched. | Adjust the awning's angle to a steeper incline to allow for proper water runoff. |
8. Specifications
| Feature | Detail |
|---|---|
| Brand | VINGLI |
| Model Number | 87GR |
| Size | 8x7 FT (98.4"W x 78"D) |
| Color | Gray |
| Material | Aluminum, Polyester |
| Fabric Type | PU Coated Polyester |
| UV Protection | UV50+ |
| Water Resistance | Yes |
| Wind Resistance Rating | 4 |
| Operation Mode | Manual Crank |
| Adjustable Angle | 45° to 90° |
| Minimum Clearance Required | 11.75 Inches (above door/window) |
| Required Assembly | Yes (3 people recommended) |
9. Warranty and Support
For warranty information or technical support, please refer to the documentation included with your purchase or contact VINGLI customer service directly. Keep your purchase receipt as proof of purchase.
Contact Information: Please visit the official VINGLI website or refer to your product packaging for the most current customer support contact details.