
1. Introduction and Overview
Thank you for choosing the Memphis Audio PRX800.5V2 5-Channel Amplifier. This amplifier is designed to deliver powerful and clear audio performance for your car audio system. It features a versatile 5-channel configuration, providing 100 Watts RMS x 4 channels for speakers and 400 Watts RMS x 1 channel for a subwoofer at 2-ohm. This manual provides essential information for proper installation, operation, and maintenance to ensure optimal performance and longevity of your amplifier.
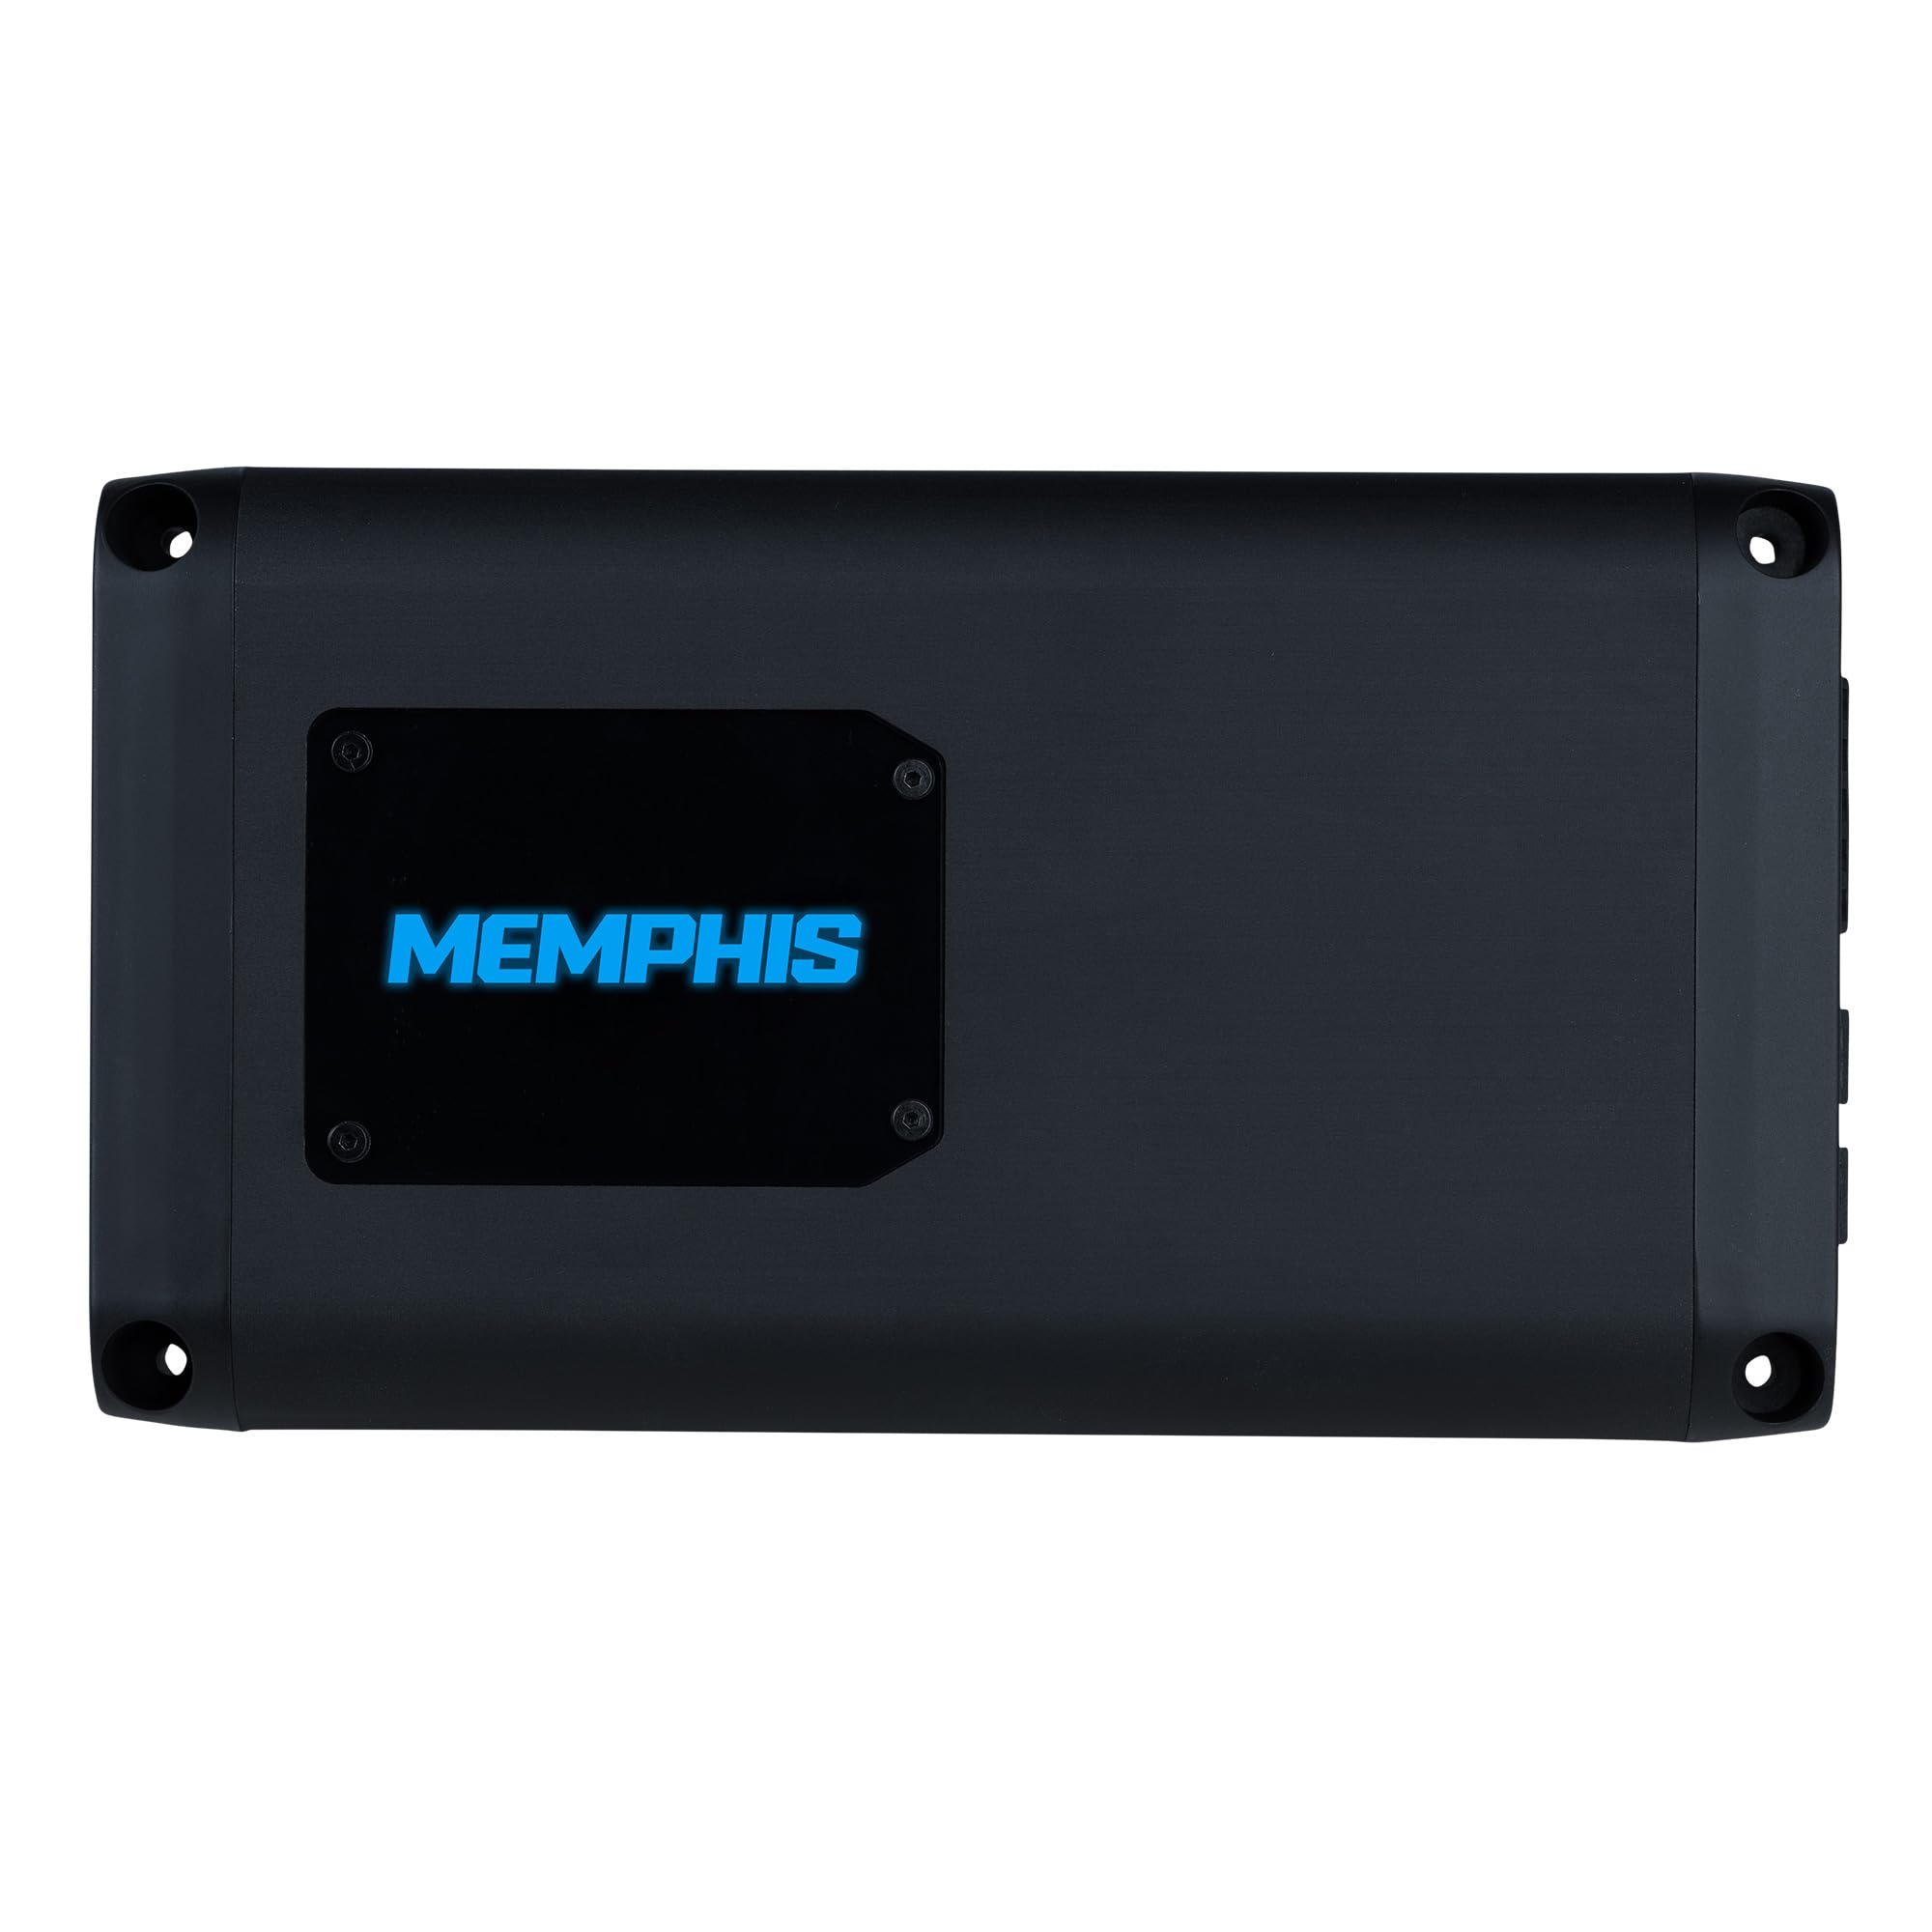
Figure 1: Memphis Audio PRX800.5V2 5-Channel Amplifier, top-down view.
2. Safety Information
Please read all instructions carefully before installing and operating your amplifier. Failure to do so may result in personal injury or damage to the amplifier or vehicle. Keep this manual for future reference.
- Professional Installation Recommended: Installation of car audio components can be complex. If you are unsure about any part of the installation process, seek assistance from a qualified professional installer.
- Power Connections: Always disconnect the vehicle's negative battery terminal before making any power connections to prevent electrical shorts.
- Wiring: Use appropriate gauge wiring for power, ground, and speaker connections as specified in this manual. Improper wiring can lead to overheating and damage.
- Mounting: Mount the amplifier securely in a dry, well-ventilated area, away from direct sunlight, heat sources, and moisture. Ensure adequate airflow around the amplifier for cooling.
- Volume Levels: Prolonged exposure to high volume levels can cause hearing damage. Adjust volume to a safe and comfortable level.
3. Package Contents
Upon unpacking your Memphis Audio PRX800.5V2 amplifier, please verify that all items are present and in good condition. If any items are missing or damaged, contact your authorized Memphis Audio dealer immediately.
- Memphis Audio PRX800.5V2 5-Channel Amplifier
- Mounting Hardware (screws, washers)
- User Manual
4. Amplifier Features and Controls
Familiarize yourself with the various inputs, outputs, and controls on your PRX800.5V2 amplifier.
4.1 Input and Control Panel

Figure 2: Rear view of the amplifier showing RCA inputs (CH1-CH6), input level controls, REM/DC/AUDIO switch, and remote port.
- RCA Inputs (CH1-CH6): Connect your head unit's RCA pre-outs to these inputs. Channels 1-4 are for front/rear speakers, and channels 5-6 are for the subwoofer.
- REM/DC/AUDIO Switch: Selects the remote turn-on method. REM for standard remote wire, DC for DC offset sensing, AUDIO for audio signal sensing.
- Input Level (2CH/5CH, LOW/HI): Adjusts the input sensitivity. Use 2CH or 5CH depending on your head unit's output. LOW/HI selects between low-level (RCA) and high-level (speaker) inputs.
- REMOTE Port: Connects to an optional wired remote level control for the subwoofer channel.
4.2 Power and Speaker Terminal Panel
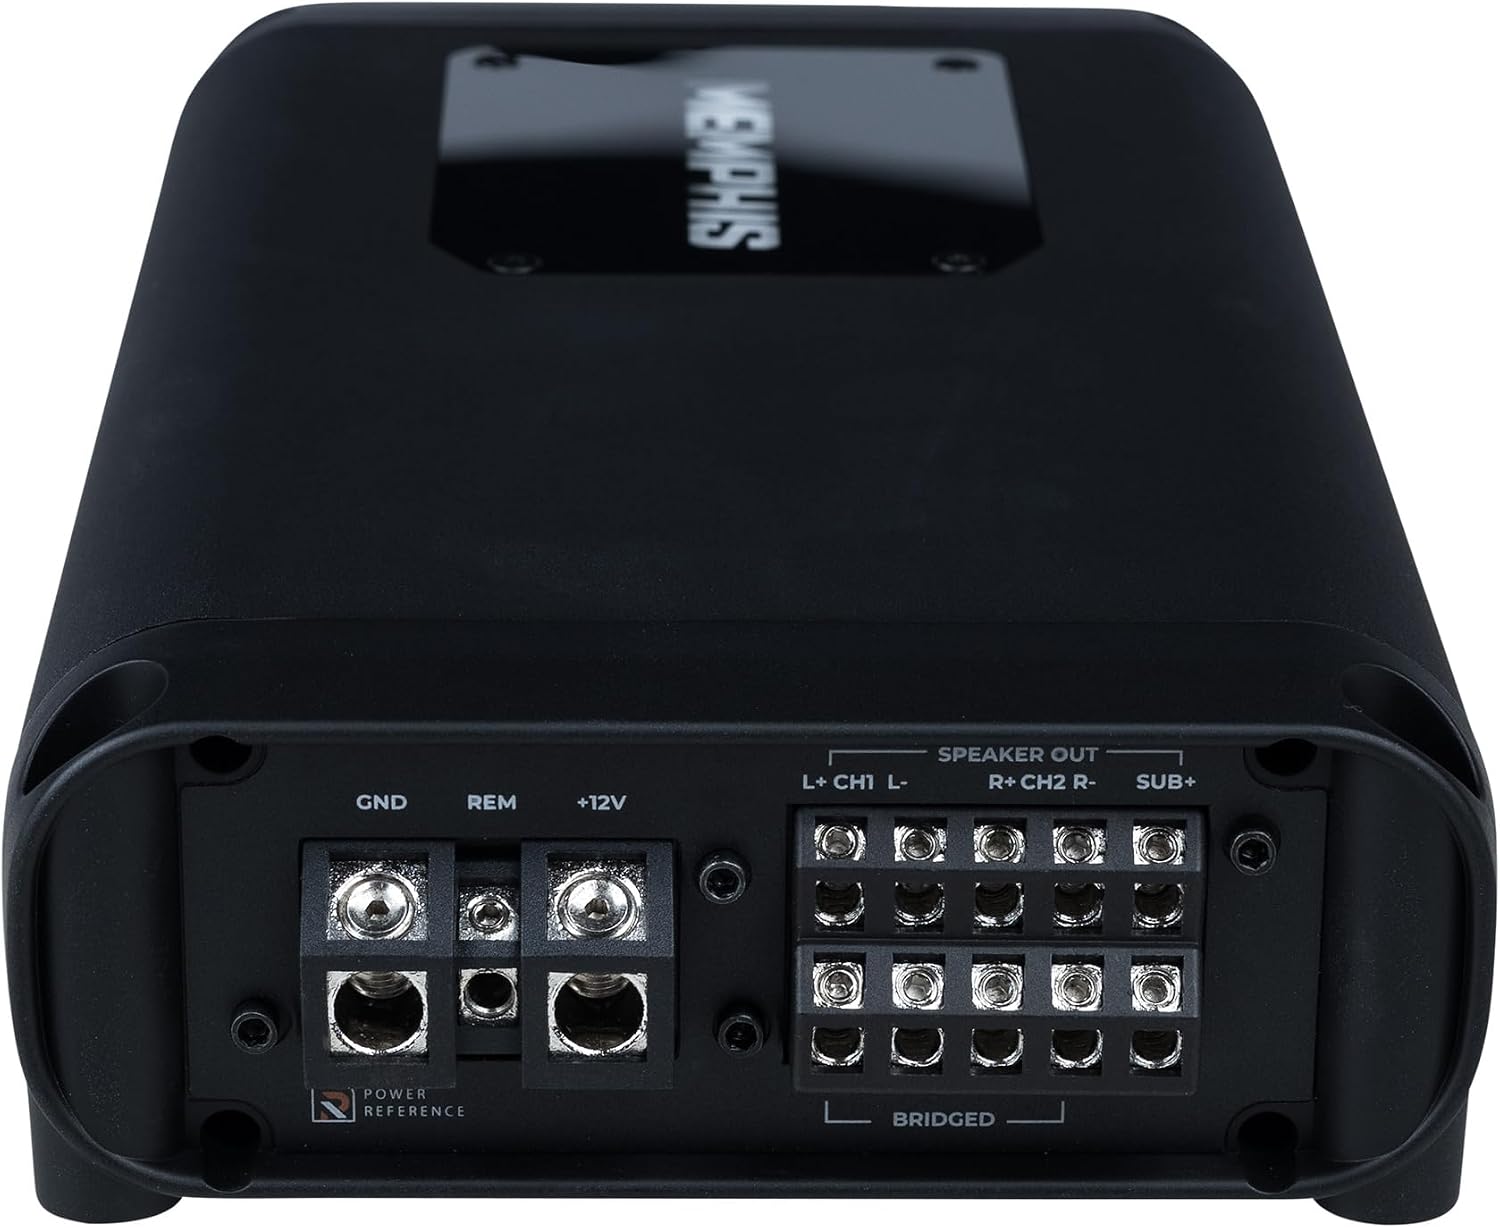
Figure 3: Close-up view of the power and speaker output terminals, including bridged connection options.
- GND (Ground): Connect to a clean, solid chassis ground point in the vehicle.
- REM (Remote Turn-On): Connect to the remote output of your head unit (if using REM turn-on mode).
- +12V (Power): Connect directly to the positive terminal of the vehicle's battery via an inline fuse.
- Speaker Out (CH1-CH4, SUB+): Connect your speakers and subwoofer to these terminals. Observe correct polarity. Channels 1-4 are for full-range speakers, and SUB+ is for the subwoofer. Bridged connections are available for channels 1/2 and 3/4.
4.3 Top Control Panel (Under Cover)

Figure 4: Top view of the amplifier with the protective cover removed, revealing the gain, crossover, and bass boost controls.
- GAIN Controls (CH1/2, CH3/4, CH5/6): Adjusts the input sensitivity to match the output of your head unit.
- HI-PASS/FULL/LOW-PASS Crossover Switches (CH1/2, CH3/4): Selects the crossover mode for channels 1-4.
- Crossover Frequency Controls (CH1/2, CH3/4, SUB): Adjusts the cutoff frequency for the selected crossover mode.
- SUBSONIC Filter (SUB): Filters out ultra-low frequencies below the audible range for the subwoofer channel.
- BASS BOOST (SUB): Provides an adjustable bass boost for the subwoofer channel.
5. Setup and Installation
Proper installation is crucial for the performance and safety of your amplifier. Follow these general guidelines.
5.1 Mounting the Amplifier
- Choose a mounting location that is dry, well-ventilated, and secure. Avoid areas exposed to direct sunlight, excessive heat, or moisture.
- Ensure there is sufficient space around the amplifier for proper airflow and cooling.
- Use the provided mounting hardware to securely fasten the amplifier to a solid surface in your vehicle.
5.2 Wiring Connections
Before making any connections, disconnect the vehicle's negative battery terminal.
- Power Wire (+12V): Run a heavy-gauge power wire (e.g., 4 AWG or larger) from the vehicle's positive battery terminal to the amplifier's +12V terminal. Install an inline fuse (appropriate amperage, typically 80A for this amplifier) within 18 inches of the battery.
- Ground Wire (GND): Run a heavy-gauge ground wire (same gauge as power wire) from the amplifier's GND terminal to a clean, solid, unpainted metal point on the vehicle's chassis. The ground wire should be as short as possible (less than 3 feet).
- Remote Turn-On Wire (REM): Connect a smaller gauge wire (e.g., 18 AWG) from the head unit's remote output to the amplifier's REM terminal. If your head unit lacks a remote output, use the DC or AUDIO turn-on mode and switch the REM/DC/AUDIO switch accordingly.
- RCA Input Cables: Connect RCA cables from your head unit's pre-outs to the amplifier's RCA inputs (CH1-CH6). Ensure correct channel assignment (e.g., front left/right to CH1/2, rear left/right to CH3/4, subwoofer to CH5/6).
- Speaker Wires: Connect your speakers and subwoofer to the amplifier's speaker output terminals. Pay close attention to polarity (+ to + and - to -). For bridged connections, refer to the markings on the amplifier's terminal block.
6. Operating Instructions
Once the amplifier is installed and wired, you can power it on and adjust its settings for optimal sound.
- Initial Power-Up: Reconnect the vehicle's negative battery terminal. Turn on your head unit. The amplifier should power on, indicated by its illuminated logo.
- Gain Adjustment: Set all amplifier gain controls to their minimum (fully counter-clockwise) position. Play a familiar music track at about 75% of your head unit's maximum volume. Slowly increase the amplifier's gain control until you hear distortion, then back off slightly. Repeat for all channels.
- Crossover Settings:
- For full-range speakers (CH1-CH4), set the crossover switch to FULL.
- For component speakers or coaxial speakers, you may use HI-PASS and set the frequency (e.g., 80Hz-120Hz) to filter out low bass.
- For the subwoofer channel (CH5/6), set the crossover switch to LOW-PASS and adjust the frequency (e.g., 80Hz-100Hz) to blend with your main speakers.
- Subsonic Filter (SUB): If using a ported subwoofer enclosure, set the subsonic filter slightly below the port tuning frequency to protect the subwoofer from over-excursion. For sealed enclosures, it can typically be set to minimum or off.
- Bass Boost (SUB): Use the bass boost sparingly. Start at minimum and increase slowly if more bass impact is desired. Excessive bass boost can cause distortion and damage.
- Remote Level Control (Optional): If connected, the remote level control allows convenient adjustment of the subwoofer output level from the driver's seat.
7. Maintenance
Your Memphis Audio PRX800.5V2 amplifier requires minimal maintenance to ensure long-term performance.
- Cleaning: Periodically wipe the amplifier's exterior with a soft, dry cloth to remove dust and dirt. Do not use harsh chemicals or abrasive cleaners.
- Ventilation: Ensure that the amplifier's cooling fins are free from obstructions to maintain proper heat dissipation.
- Connections: Occasionally check all wiring connections (power, ground, remote, RCA, speaker) to ensure they are secure and free from corrosion.
8. Troubleshooting
If you experience issues with your amplifier, refer to the following troubleshooting guide before contacting support.
| Problem | Possible Cause | Solution |
|---|---|---|
| Amplifier does not turn on | No power, poor ground, no remote signal, blown fuse | Check +12V, GND, and REM connections. Verify inline fuse. Check REM/DC/AUDIO switch setting. |
| No sound output | No input signal, incorrect gain, speaker wires disconnected, amplifier in protect mode | Check RCA inputs. Adjust gain. Verify speaker connections. Check for protect light (if applicable). |
| Distorted sound | Gain set too high, poor ground, damaged speakers, incorrect crossover settings | Reduce gain. Check ground connection. Inspect speakers. Adjust crossover frequencies. |
| Amplifier overheats | Insufficient ventilation, improper impedance load, gain too high | Ensure adequate airflow. Verify speaker impedance matches amplifier's capabilities. Reduce gain. |
| Engine noise/whine | Poor ground, RCA cables too close to power wires, faulty head unit | Improve ground connection. Reroute RCA cables away from power wires. Consider a ground loop isolator. |
9. Specifications
Detailed technical specifications for the Memphis Audio PRX800.5V2 amplifier.
| Feature | Specification |
|---|---|
| Model Number | PRX800.5V2 |
| Total Power | 800 Watts |
| RMS Power (4 Channels) | 100 Watts RMS x 4 at 2-Ohm |
| RMS Power (Subwoofer) | 400 Watts RMS x 1 at 2-Ohm |
| Item Weight | 6.1 pounds |
| Package Dimensions | 12.3 x 7.6 x 4.2 inches |
| ASIN | B0CX9VBWMC |
| Date First Available | February 27, 2024 |
10. Warranty and Support
The Memphis Audio PRX800.5V2 amplifier comes with a 1-Year Manufacturer Warranty. This warranty covers defects in materials and workmanship under normal use.
For warranty claims, technical support, or further assistance, please contact your authorized Memphis Audio dealer or visit the official Memphis Audio website for contact information and support resources. Keep your purchase receipt as proof of purchase for warranty validation.
Memphis Audio Store: Visit the Memphis Store on Amazon


