
Introduction
This manual provides essential information for the safe and efficient operation, setup, and maintenance of your OMTech Maker 100W CO2 Laser Engraver. Please read all instructions carefully before using the machine to ensure proper functionality and to prevent injury or damage.

1. Setup
1.1 Unpacking and Placement
Carefully unpack all components. Ensure the machine is placed on a stable, level surface in a well-ventilated area. Maintain adequate clearance around the machine for air circulation and access.
1.2 Connecting the Water Chiller
The OMTech Maker 100W CO2 Laser Engraver requires a water chiller for consistent laser performance. Connect the provided CW-5200 industrial water chiller to the laser tube according to the chiller's instructions. Ensure the chiller is filled with distilled water or appropriate coolant before operation.
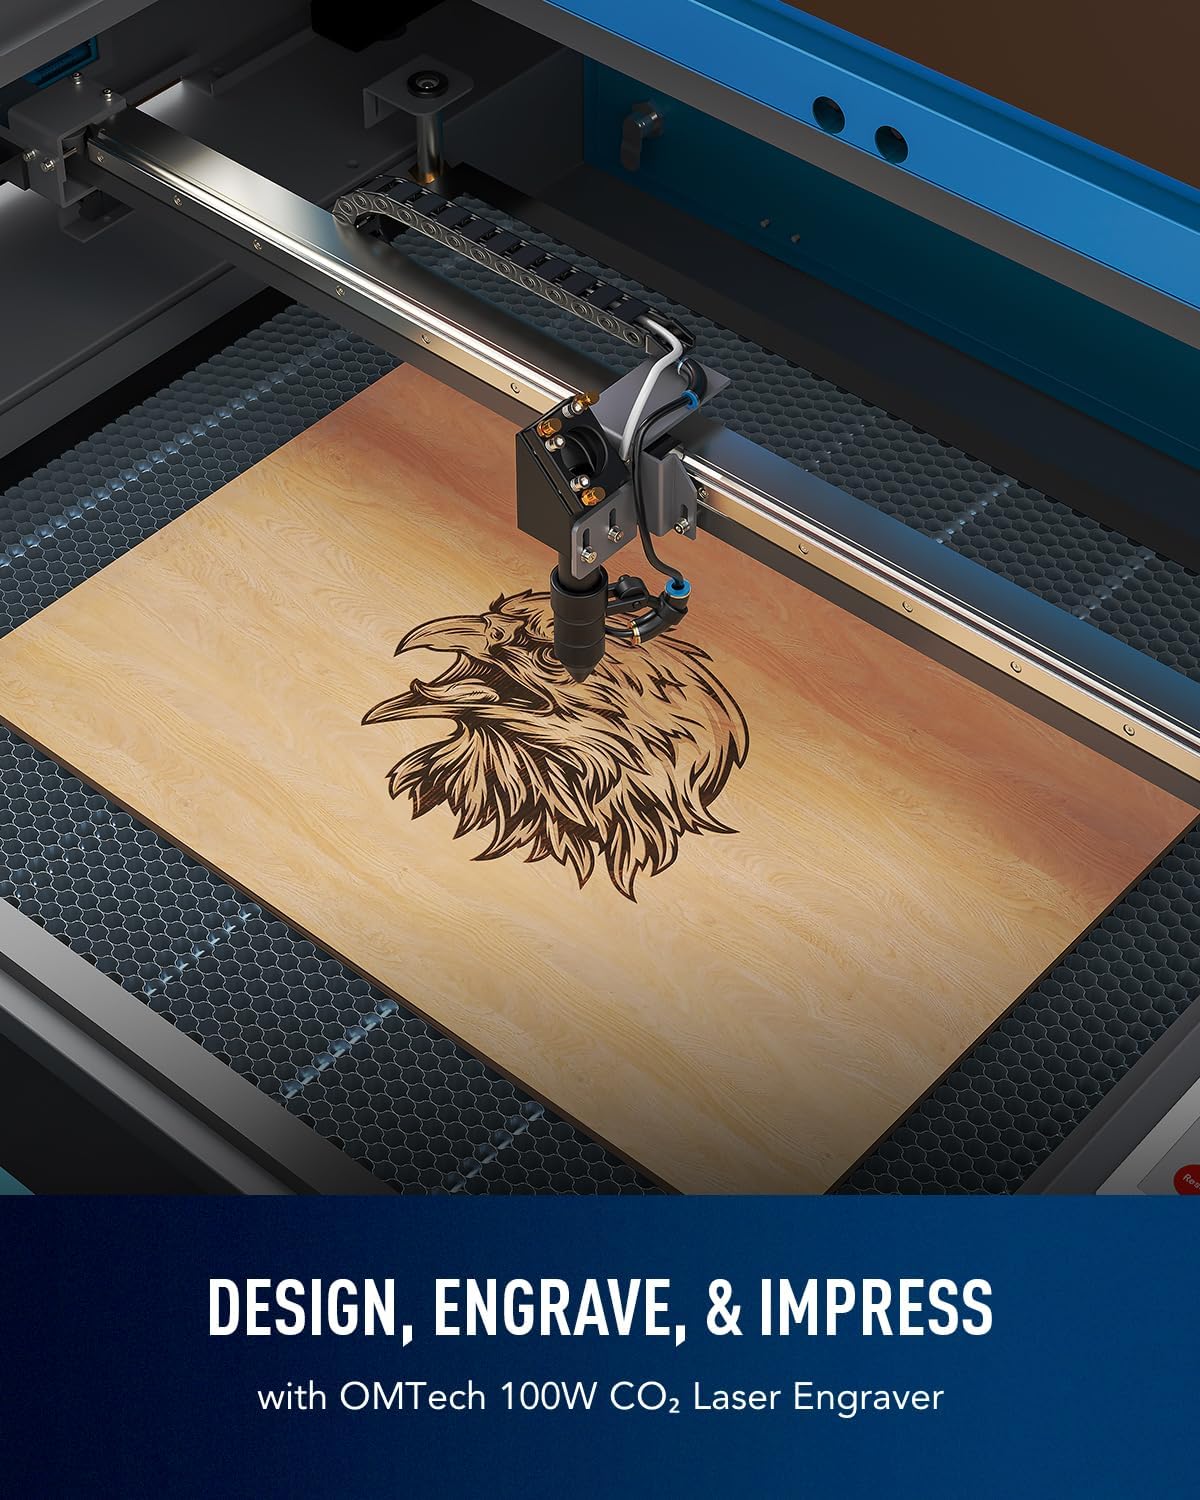
1.3 Software Installation (LightBurn)
The laser engraver is compatible with LightBurn software. Install LightBurn on your computer following the provided software instructions. This software allows for intuitive design and control of your engraving and cutting projects.
1.4 Initial Power-Up and Calibration
After all connections are secure, power on the machine. Perform initial calibration steps, including mirror alignment and focus adjustment, as detailed in the comprehensive user manual (not included in this summary) to ensure optimal laser beam path and engraving quality.
For a visual guide on setting up your OMTech laser, refer to the video below:
An introductory video from OMTech, providing an overview of their laser products and services.
2. Operating Instructions
2.1 Material Loading
Place your material onto the honeycomb or aluminum blade workbed. The 20"x28" work area accommodates most projects. For larger items, utilize the four-way pass-through doors.

2.2 Design and Parameter Settings
Use LightBurn software to create or import your design. Adjust engraving and cutting parameters such as speed (up to 600 mm/s) and power based on the material type and desired depth. The machine can engrave as deep as 0.4" (10 mm) on various non-metallic materials.

2.3 Starting the Engraving/Cutting Process
Once parameters are set, initiate the job from LightBurn or the machine's digital control panel. The widened viewing window, made from flame-retardant material, allows for safe observation of the process. A cover interlock automatically cuts the laser beam if the window is opened during operation, enhancing safety.

Watch these videos for demonstrations of laser engraving and cutting:
An instructional video demonstrating the process of laser engraving a photo using an OMTech CO2 laser engraver.
A video tutorial showcasing laser engraving and cutting techniques on acrylic mirror material for a DIY project.
A video discussing the suitability and features of the OMTech laser engraver for a general user base.
3. Maintenance
3.1 Laser Tube Care
The Yongli H4 tube has a lifespan of up to 8,000 hours. Consistent use at lower power settings can extend its operational life. Regularly inspect the laser tube for any signs of wear or damage.
3.2 Water Chiller Maintenance
Periodically check the water level and quality in the CW-5200 water chiller. Replace the coolant as recommended by the chiller manufacturer to ensure efficient cooling and prevent damage to the laser tube. Using appropriate laser coolant is crucial.

3.3 Cleaning Optics and Work Area
Regularly clean the laser lenses and mirrors with appropriate optical cleaning supplies to maintain beam quality. Keep the work area and honeycomb/blade beds free of debris and residue to ensure optimal performance and safety.
4. Troubleshooting
4.1 Smoke Leakage
If smoke is observed leaking from the machine during operation, ensure that the exhaust system is properly connected and functioning. Verify that all seals and covers are securely closed. Consider upgrading to a more powerful exhaust fan if the issue persists, especially in enclosed spaces.
4.2 Poor Engraving/Cutting Quality
Check laser focus and mirror alignment. Ensure the material is flat on the workbed. Verify that power and speed settings in LightBurn are appropriate for the material being processed. A dirty lens or mirror can also degrade quality.
4.3 Machine Not Responding
Confirm that the machine is properly powered on and connected to the computer. Check emergency stop buttons and safety interlocks. Restart the machine and software if necessary.
5. Specifications
| Feature | Detail |
|---|---|
| Laser Power | 100W |
| Max. Engraving Speed | 600 mm/s (23.6 ips) |
| Work Area | 28" x 20" |
| Max. Engraving Depth | 0.4" (10 mm) on non-metallic materials |
| Pass-Through Doors | 4-way |
| Laser Tube Lifespan | Up to 8,000 hours (Yongli H4) |
| Safety Features | Flame-retardant viewing window, cover interlock |
| Software Compatibility | LightBurn, RDWorks, CorelDRAW, AutoCAD |
| Product Dimensions | 65 x 34.3 x 36.6 inches |
| Item Weight | 251 pounds |
| Laser Class | Class 2, 0.827 mW output power |
6. Warranty
The OMTech Maker 100W CO2 Laser Engraver comes with a two-year support period. For specific warranty terms and conditions, please refer to the official warranty documentation provided with your purchase or contact OMTech customer service.
7. Support
For technical assistance or customer service inquiries, OMTech provides U.S.-based technical support and 24/7 online customer service. You can also visit an OMTech Demo Room for local support and hands-on assistance.

Contact information can be found on the official OMTech website or in your product packaging.

