
1. Introduction
This manual provides essential information for the safe installation, operation, and maintenance of your PARTPHONER Outdoor Wall Lights. Please read these instructions thoroughly before installation and retain them for future reference.
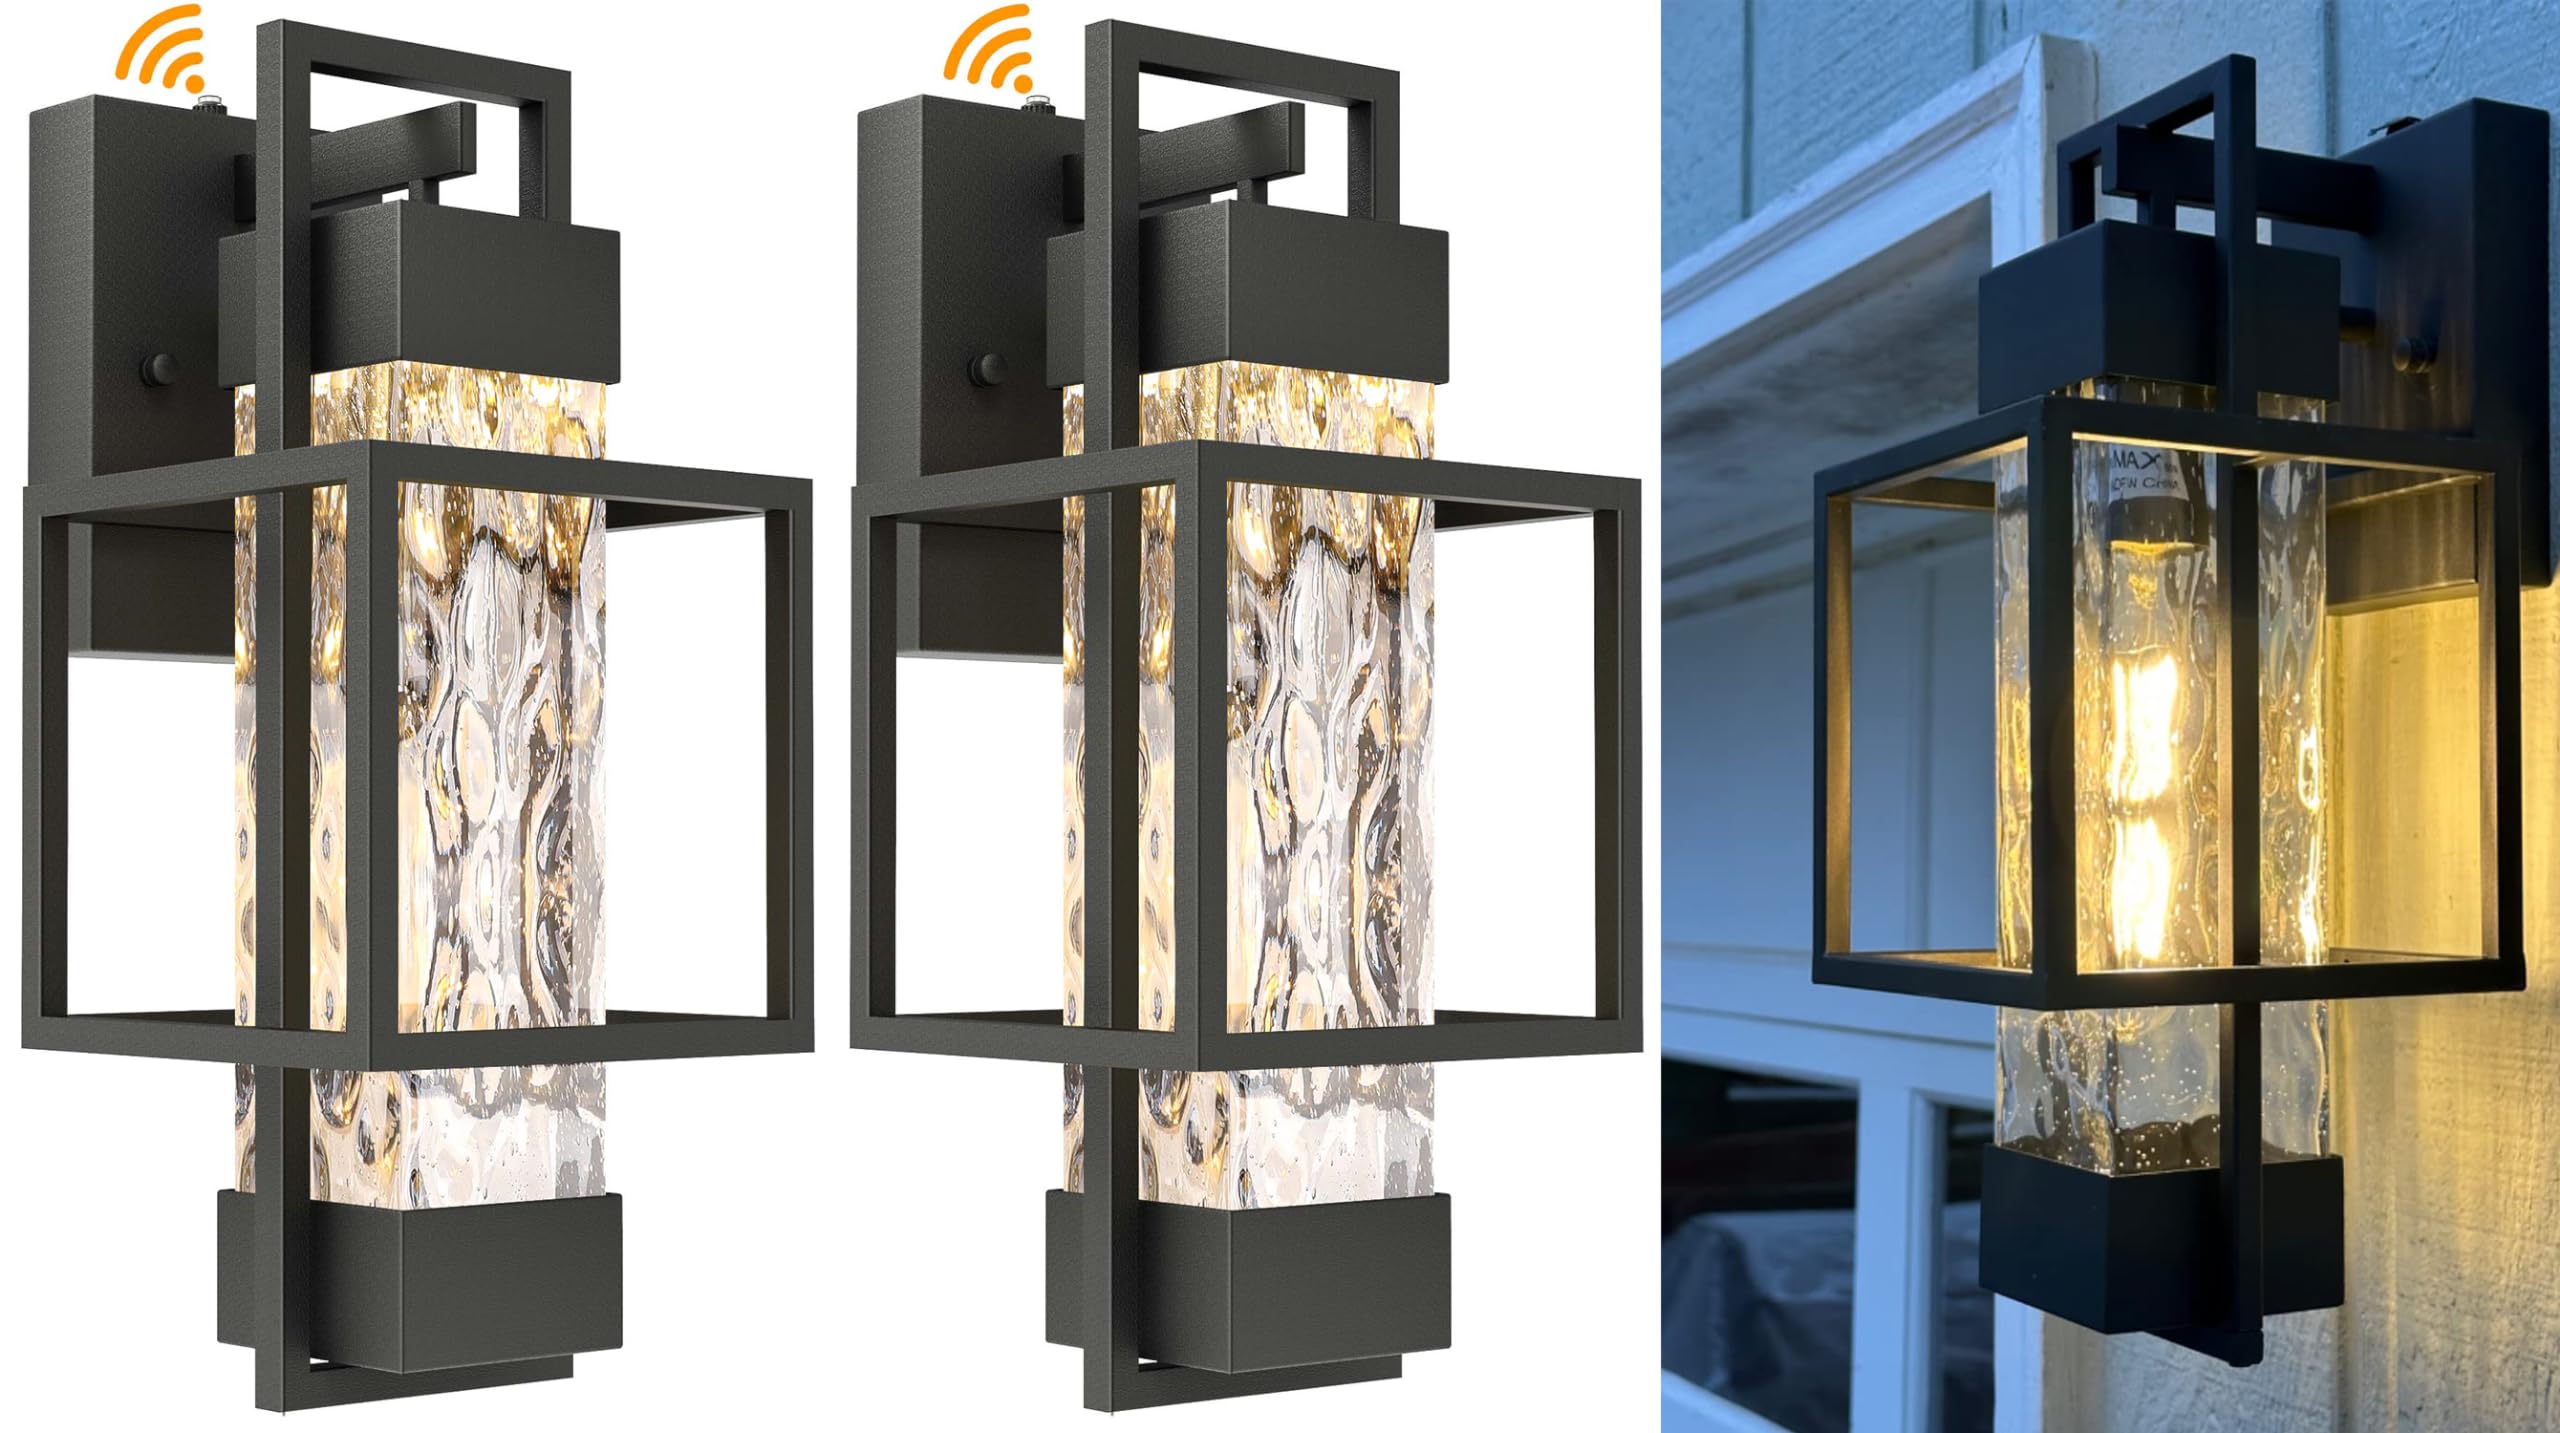
Image 1.1: PARTPHONER Outdoor Wall Light with integrated dusk to dawn sensor.
2. Safety Information
WARNING: To avoid electric shock, fire, or serious injury, always turn off power at the circuit breaker or fuse box before installation, servicing, or removing the fixture.
- All electrical connections must be in accordance with local codes and ordinances, and the National Electric Code (NEC).
- Consult a qualified electrician if you are unsure about the installation process.
- Do not install this fixture on a wet surface or near standing water.
- Ensure all wiring connections are secure and properly insulated.
- Do not exceed the maximum wattage specified for the bulb.
3. Package Contents
Verify that all components are present before beginning installation:
- Outdoor Wall Light Fixture (2 or 1 unit, depending on package)
- T10 LED Bulb (6W, 2700K, Dimmable)
- Mounting Hardware (screws, wire nuts, mounting plate)
- Instruction Manual
4. Product Features
- Dusk to Dawn Sensor: Built-in IC light sensor automatically turns the light on at night and off during the day, optimizing energy use.
- Bubble Water Glass Design: Features a unique water-seeded glass shade that diffuses light evenly, creating an appealing visual effect.
- Bulb Included: Comes with a 6W, 2700K, dimmable T10 LED bulb with an E26 base, supporting up to 60W.
- Weather Resistant: Constructed from solid water glass and anti-rust metal, designed to withstand various weather conditions including rain, snow, wind, and sun.
- Wide Application: Suitable for various outdoor spaces such as porches, garages, courtyards, hallways, entryways, and patios.

Image 4.1: The fixture is designed to be windproof, sunproof, snowproof, and rainproof.

Image 4.2: Detail of the sturdy metal structure and decorative water glass shade.
5. Specifications
| Attribute | Value |
|---|---|
| Brand | PARTPHONER |
| Model Number | 09e0e44b-41ba-4d0b-a7fe-70f2fcae8dc2 |
| Color | Black |
| Material | Glass, Metal |
| Light Fixture Form | Wall |
| Indoor/Outdoor Usage | Outdoor |
| Power Source | Corded Electric |
| Installation Type | Wall-mount |
| Special Feature | Dimmable (with compatible bulb) |
| Light Source Type | LED |
| Finish Type | Textured |
| Shade Material | Glass |
| Number of Light Sources | 1 per fixture |
| Light Color | Warm White (2700K with included bulb) |
| Wattage | Max 60 watts (E26 base) |
| Bulb Base | E26 |
| Water Resistance Level | Water Resistant |
| Brightness | 450 lumen (with included bulb) |
| Light Output Maximum | 450 Lumens |
| Assembly Required | No |

Image 5.1: Dimensional drawing of the PARTPHONER Outdoor Wall Light.
6. Setup and Installation
Before you begin: Ensure the power is turned off at the circuit breaker. It is recommended to have a second person assist with installation.
- Prepare the Mounting Surface: Ensure the wall surface is clean, dry, and structurally sound to support the fixture.
- Attach Mounting Plate: Secure the mounting plate to the junction box using the provided screws. Ensure the plate is level.
- Wire Connections: Connect the fixture's wires to your household electrical wires. Match the wires:
- Black (Live) to Black (Live)
- White (Neutral) to White (Neutral)
- Green or Bare Copper (Ground) to Green or Bare Copper (Ground)
- Mount the Fixture: Carefully align the fixture with the mounting plate and secure it with the provided screws. Ensure no wires are pinched.
- Install Bulb: Screw the included T10 LED bulb into the E26 socket. Do not overtighten.
- Restore Power: Turn the power back on at the circuit breaker.
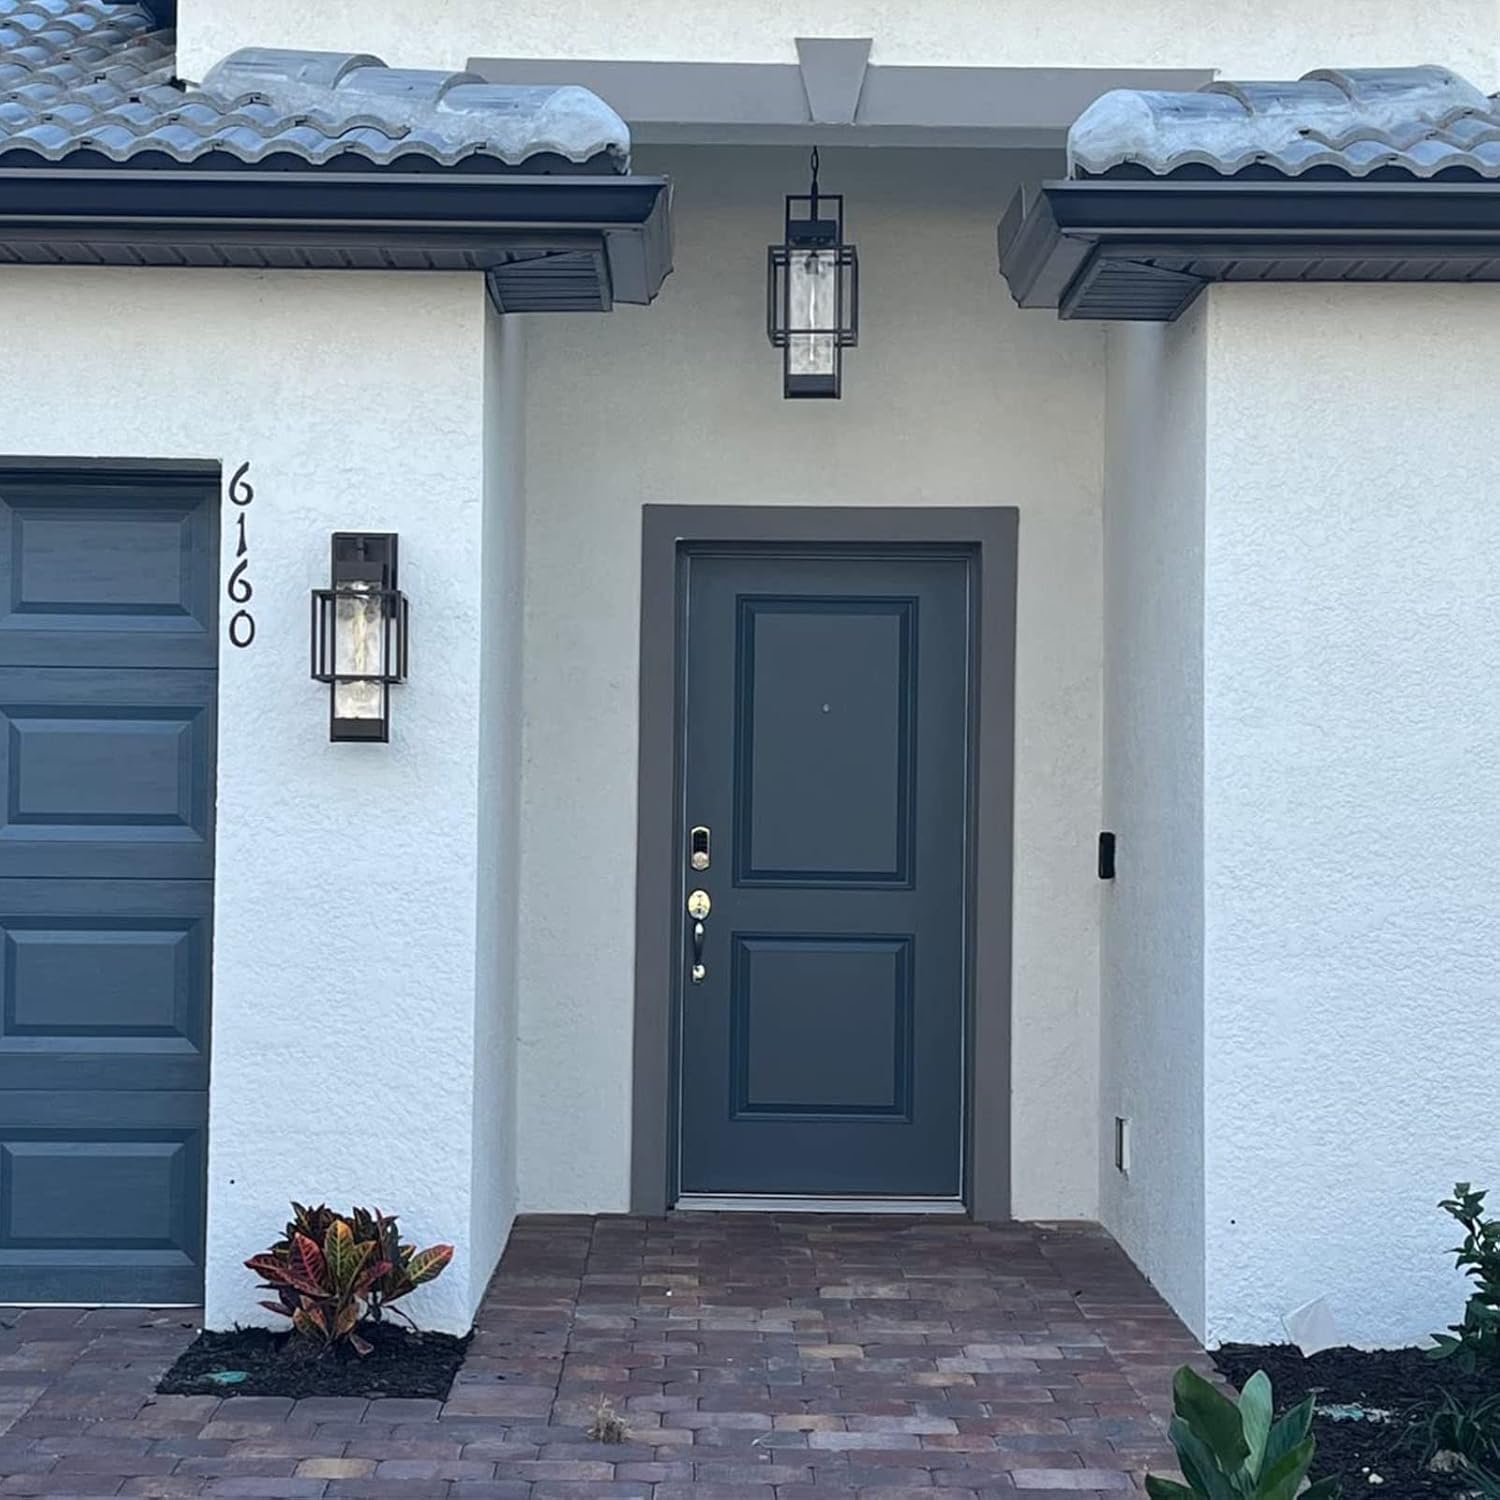
Image 6.1: Example of the outdoor wall light installed on a residential exterior.
7. Operating Instructions
The PARTPHONER Outdoor Wall Light features a built-in dusk to dawn sensor for automatic operation.
- Automatic On/Off: The integrated IC light sensor detects ambient light levels. The fixture will automatically turn on when the surrounding brightness is less than approximately 10 Lux (at dusk) and turn off when brightness exceeds approximately 200 Lux (at dawn).
- Dimmable Functionality: The included T10 LED bulb is dimmable. To utilize dimming, the fixture must be connected to a compatible external dimmer switch (not included).

Image 7.1: Explanation of the smart sensor's automatic on/off thresholds based on ambient light.
8. Maintenance
Regular maintenance ensures optimal performance and longevity of your outdoor wall lights.
- Cleaning: Periodically wipe the fixture with a soft, damp cloth to remove dust and dirt. Do not use abrasive cleaners or solvents, as these can damage the finish or glass. Ensure power is off before cleaning.
- Bulb Replacement: If the bulb needs replacement, ensure power is off at the circuit breaker. Allow the bulb to cool completely before unscrewing it. Replace with an E26 base bulb, not exceeding 60 watts.
- Inspection: Annually inspect the wiring and mounting for any signs of wear, damage, or loosening. Address any issues promptly.
9. Troubleshooting
If you encounter issues with your PARTPHONER Outdoor Wall Lights, refer to the following common problems and solutions:
| Problem | Possible Cause | Solution |
|---|---|---|
| Light does not turn on. | No power to the fixture. Bulb is faulty or loose. Dusk to dawn sensor detects too much light. | Check circuit breaker. Ensure bulb is screwed in tightly; replace if necessary. Cover the sensor temporarily to test if it turns on. |
| Light stays on during the day. | Dusk to dawn sensor is obstructed or faulty. Sensor is installed in a shaded area. | Ensure sensor is clean and unobstructed. Relocate fixture to an area with adequate daylight exposure. |
| Light flickers. | Loose wiring connection. Faulty bulb. Incompatible dimmer switch (if applicable). | Turn off power and check all wire connections. Replace the bulb. Ensure dimmer switch is compatible with LED bulbs. |
10. Warranty and Support
PARTPHONER products are manufactured to high-quality standards. For warranty information or technical support, please refer to the product packaging or contact PARTPHONER customer service through their official channels. You can visit the PARTPHONER store for more information: PARTPHONER Store on Amazon.