
Important Safety Information
- Read all instructions carefully before using the product.
- Keep this manual for future reference.
- Do not expose the device to moisture or extreme temperatures.
- Use only the provided power adapter.
- Avoid placing the frame near heat sources or in direct sunlight.
- Do not attempt to disassemble or repair the device yourself. Contact customer support for assistance.
1. Setup
1.1 Package Contents
Verify that all items are present in the package:
- NexFoto 32-inch Digital Picture Frame
- Remote Control
- 64GB USB Flash Drive
- Wall Adapter (with US plug)
- Rotatable Wall Mount (100x100 VESA Compatible)
- User Manual & Quick Start Guide

NexFoto 32-inch Digital Picture Frame package contents including frame, remote, USB drive, wall adapter, and user manual.
1.2 Physical Setup
The NexFoto digital picture frame offers versatile placement options:
- Kickstand: The frame includes a built-in kickstand for tabletop or shelf placement. This allows for both vertical and horizontal orientation.
- Wall Mount: For a gallery-like experience, use the included VESA-compatible wall mount. The frame features pre-drilled holes for easy installation.

NexFoto 32-inch Digital Picture Frame mounted on a wall, showing its sleek profile.

Rear view of the NexFoto 32-inch Digital Picture Frame, highlighting the kickstand and wall mounting holes.
1.3 Initial Power On
- Connect the power adapter to the DC IN port on the back of the frame.
- Plug the power adapter into a wall outlet. The frame will automatically power on.
- Follow the on-screen prompts to select your language and time zone.
1.4 Network Connection
Connect your frame to a Wi-Fi network for photo sharing and smart features:
- Navigate to the 'Settings' menu on the frame.
- Select 'Wi-Fi' and choose your desired network (supports 2.4GHz and 5GHz).
- Enter the Wi-Fi password using the on-screen keyboard and remote control.

Image showing the NexFoto Digital Picture Frame connected to both 2.4GHz and 5GHz Wi-Fi networks.
1.5 App Installation
Download the companion app to easily manage and share photos:
- Search for the 'Vphoto' app in your smartphone's app store (iOS or Android).
- Download and install the app.
- Follow the in-app instructions to pair your smartphone with the NexFoto frame.

Illustration of a hand downloading the Vphoto app to a smartphone.
2. Operating Instructions
2.1 Remote Control Functions
The included remote control allows for easy navigation and control of the frame's features:
- Navigation Buttons: Use the arrow keys to move through menus and select options.
- OK Button: Confirms selections.
- Back Button: Returns to the previous screen.
- Power Button: Turns the frame on or off.
- Volume Buttons: Adjusts audio volume for videos or music.

Hand holding the remote control for the NexFoto Digital Picture Frame, pointing towards the screen.
2.2 Uploading Photos and Videos
You can add media to your frame using the following methods:
- Via Vphoto App: Share photos and videos directly from your smartphone to the frame using the Vphoto app. This allows family and friends to share memories remotely.
- Via USB Flash Drive: Insert a USB flash drive into the Type-C port (an external adapter may be required, not included) to transfer media. The frame has 64GB of internal memory and supports up to 64GB expansion via USB or Micro SD card.

A smartphone screen showing photos being shared to the NexFoto Digital Picture Frame via an app.
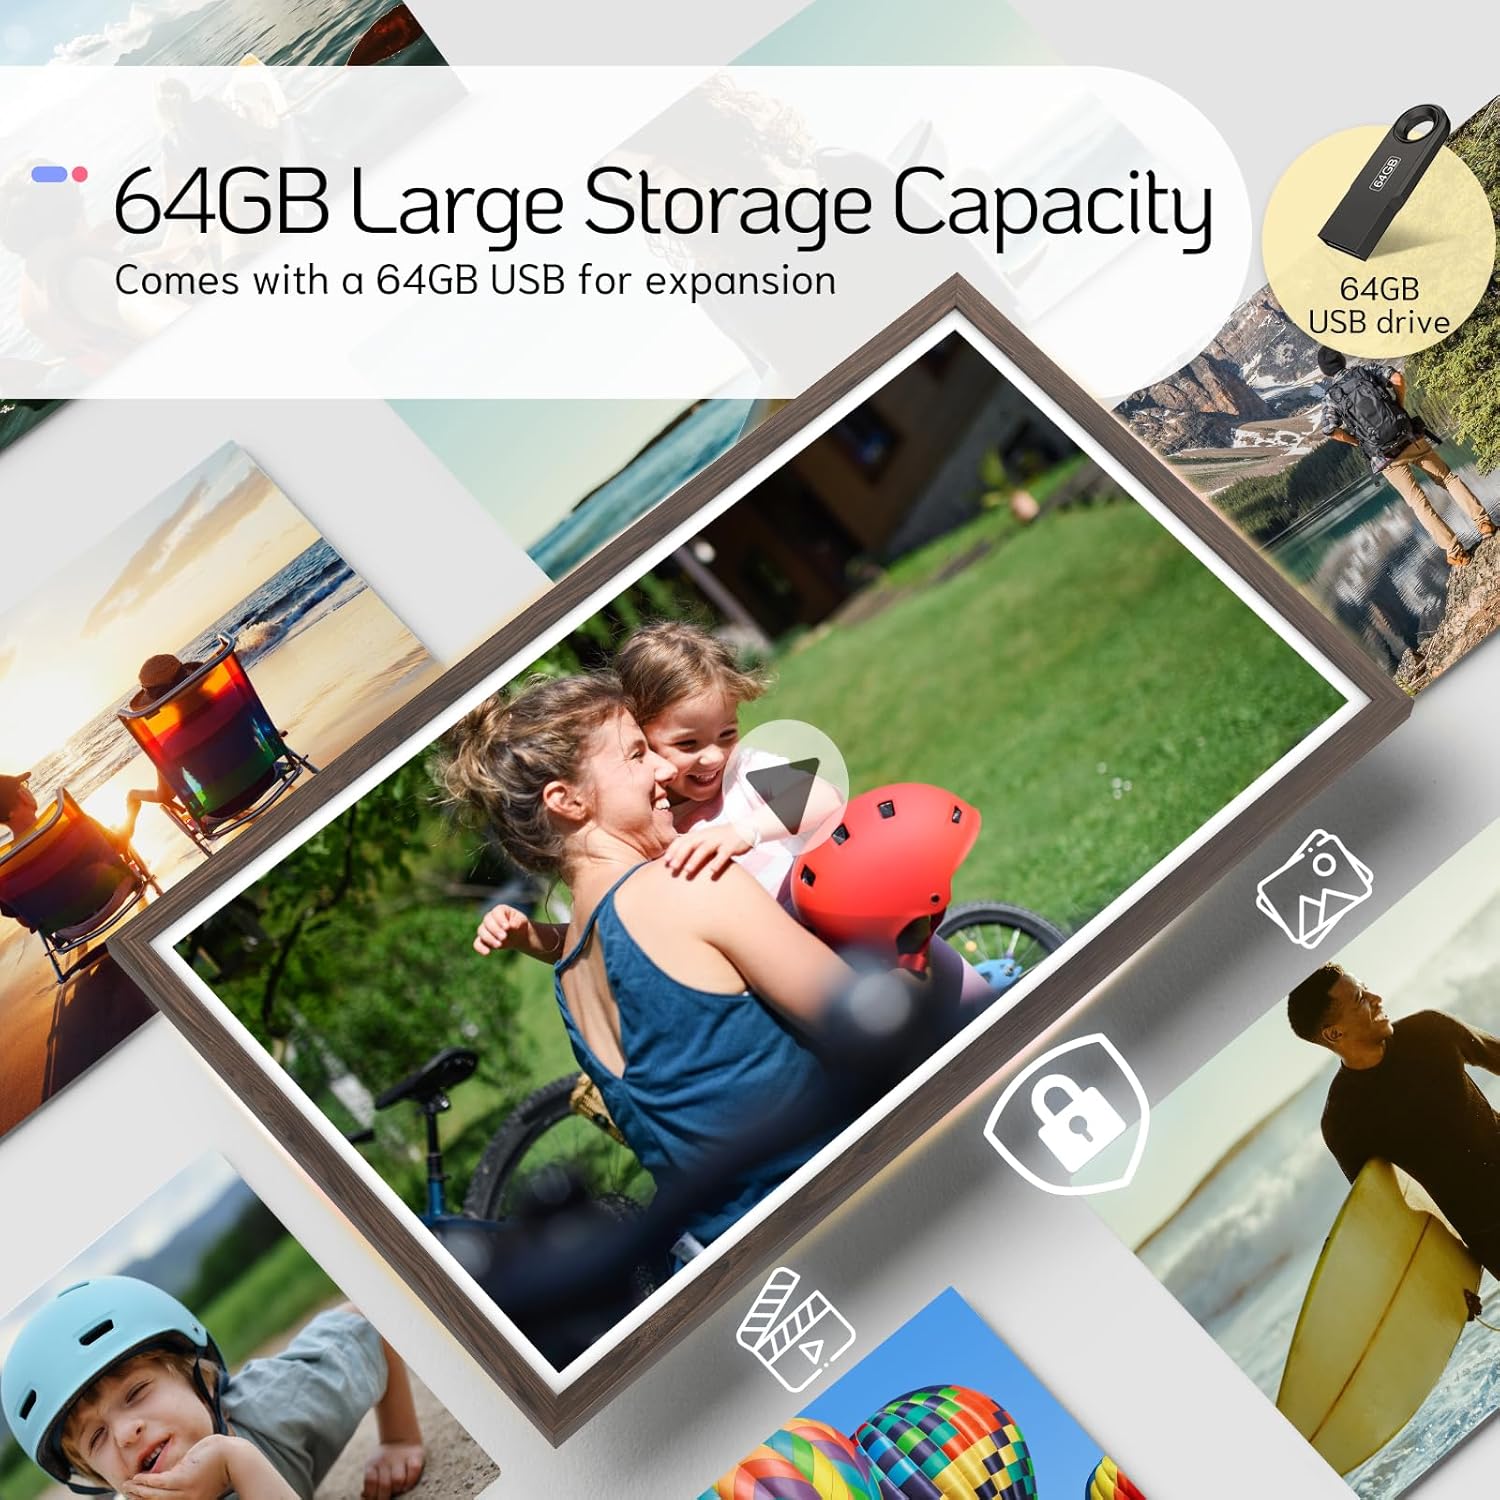
NexFoto Digital Picture Frame displaying photos, with a USB flash drive icon indicating external storage.
2.3 Slideshow Settings
Customize your slideshow experience:
- Access 'Slideshow Settings' in the main menu.
- Adjust photo display intervals.
- Select transition effects.
- Choose playback order (sequential, random).
2.4 Display Modes
The frame supports both vertical and horizontal display, with an auto-rotate function:
- The frame automatically adjusts the orientation of photos and videos based on its physical position.
- Ensure the auto-rotate feature is enabled in settings for seamless transitions.
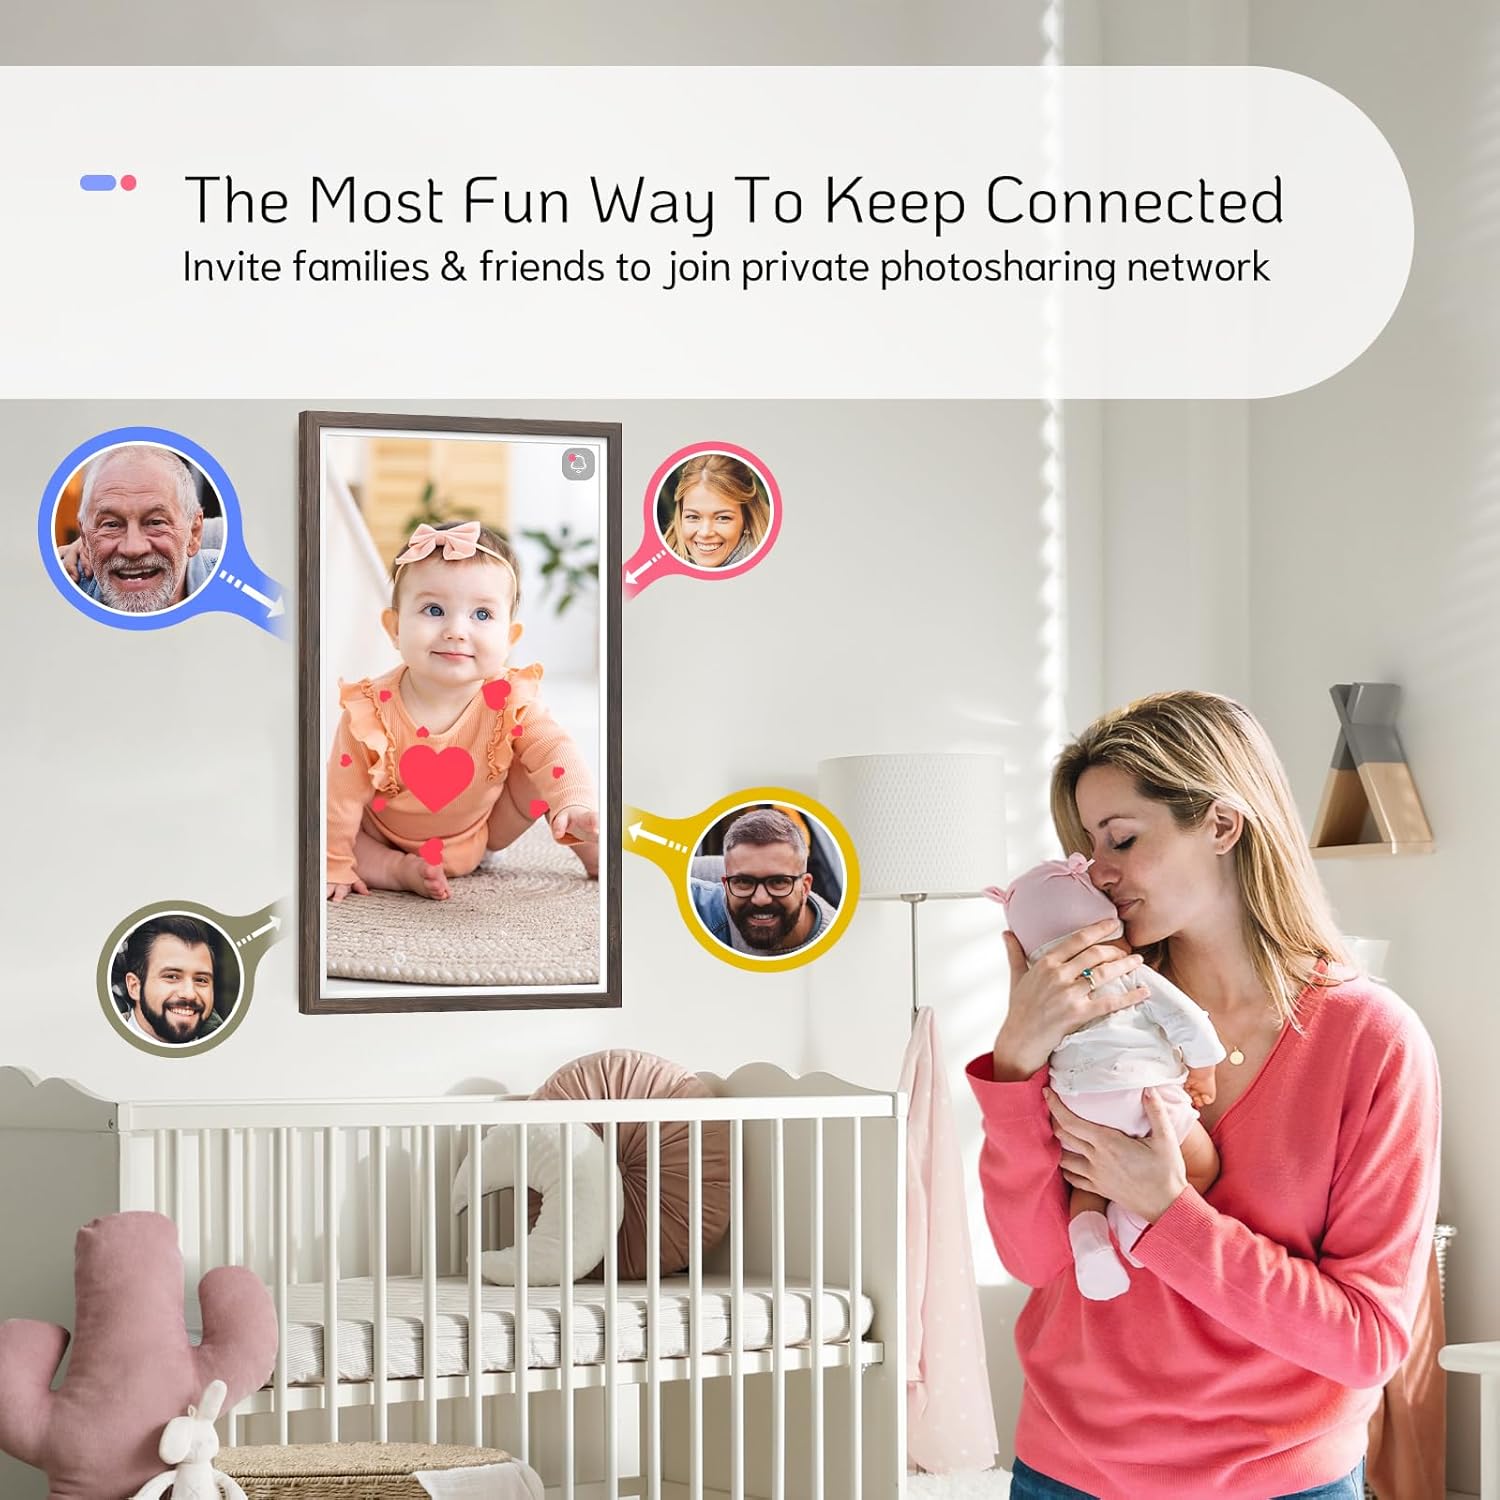
NexFoto Digital Picture Frame displaying a vertical image of a baby, positioned vertically on a surface.

NexFoto Digital Picture Frame displaying a horizontal image of a family, positioned horizontally on a surface.
3. Additional Features
Beyond displaying photos, the NexFoto frame includes several smart functions:
- Weather: Displays current weather conditions and forecasts.
- Calendar: Provides a digital calendar view.
- Clock: Shows the current time.
- Alarm: Set alarms for reminders.
- Bluetooth Speaker: Connect to external Bluetooth audio devices.

Graphic illustrating the various smart features of the NexFoto Digital Picture Frame, including Bluetooth Speaker, Calendar, Clock, Alarm, Weather, and Slideshow.
4. Maintenance
To ensure the longevity and optimal performance of your NexFoto Digital Picture Frame, follow these maintenance guidelines:
- Cleaning: Use a soft, dry cloth to clean the screen and frame. Avoid abrasive cleaners or solvents.
- Software Updates: Periodically check for and install software updates through the settings menu to ensure the best performance and access to new features.
- Storage: If storing the frame for an extended period, disconnect it from power and store it in a cool, dry place.
5. Troubleshooting
If you encounter issues with your NexFoto Digital Picture Frame, refer to the following troubleshooting steps:
5.1 No Power
- Ensure the power adapter is securely connected to both the frame and a working electrical outlet.
- Verify that the power outlet is functional by plugging in another device.
- If the frame does not power on using the power button or remote, try unplugging and replugging the power adapter.
5.2 Wi-Fi Connection Problems
- Check if your Wi-Fi router is working correctly and within range.
- Re-enter your Wi-Fi password to ensure it is correct.
- Restart the frame and your Wi-Fi router.
- Ensure the frame is not too far from the router or obstructed by thick walls.
5.3 Image Display Issues
- If images appear pixelated, ensure the original image resolution is high enough for the 1920x1080 FHD display.
- Check the image file format; the frame supports common formats like JPEG, PNG, and MP4.
- Adjust display settings (brightness, contrast) in the 'Settings' menu.
5.4 Remote Control Not Responding
- Ensure there are no obstructions between the remote and the frame's IR receiver.
- Replace the batteries in the remote control.
5.5 Resetting the Frame
If the frame is unresponsive or experiencing persistent software issues, a reset may resolve the problem:
- Locate the small reset hole on the back of the photo frame (often near the charging port).
- Gently insert a thin object, such as a needle or paperclip, into the reset hole and press firmly until you feel a click.
- The frame will restart, and you may need to reconfigure initial settings.
6. Specifications
| Brand | NexFoto |
| Model Number | W320D |
| Screen Size | 32 Inches |
| Resolution | 1920x1080 (FHD) |
| Aspect Ratio | 16:9 |
| Memory Storage Capacity | 64 GB (expandable up to 64GB via USB/Micro SD) |
| Connectivity Technology | Wi-Fi (2.4GHz and 5GHz) |
| Control Method | Remote Control |
| Frame Material | Plastic |
| Power Source | Corded Electric |
7. Warranty and Customer Support
NexFoto is committed to providing quality products and support.
- Warranty: This product comes with a one-year warranty from the date of purchase.
- Customer Support: For any questions, technical assistance, or warranty claims, please contact NexFoto customer support. Refer to the contact information provided in your Quick Start Guide or on the official NexFoto website.
8. Product Video
Official video showcasing the NexFoto Digital Picture Frame as an art decor piece, highlighting its aesthetic integration into various home settings.


