
1. Introduction
Thank you for choosing the AOPICK Endoscope Inspection Camera. This device is designed for detailed visual inspection in hard-to-reach areas. Featuring a 4.3-inch IPS screen, 1080p HD resolution, IP67 waterproof rating, and 8 adjustable LED lights, it provides clear real-time images for various applications. This manual provides essential information for the safe and effective operation, maintenance, and troubleshooting of your inspection camera.
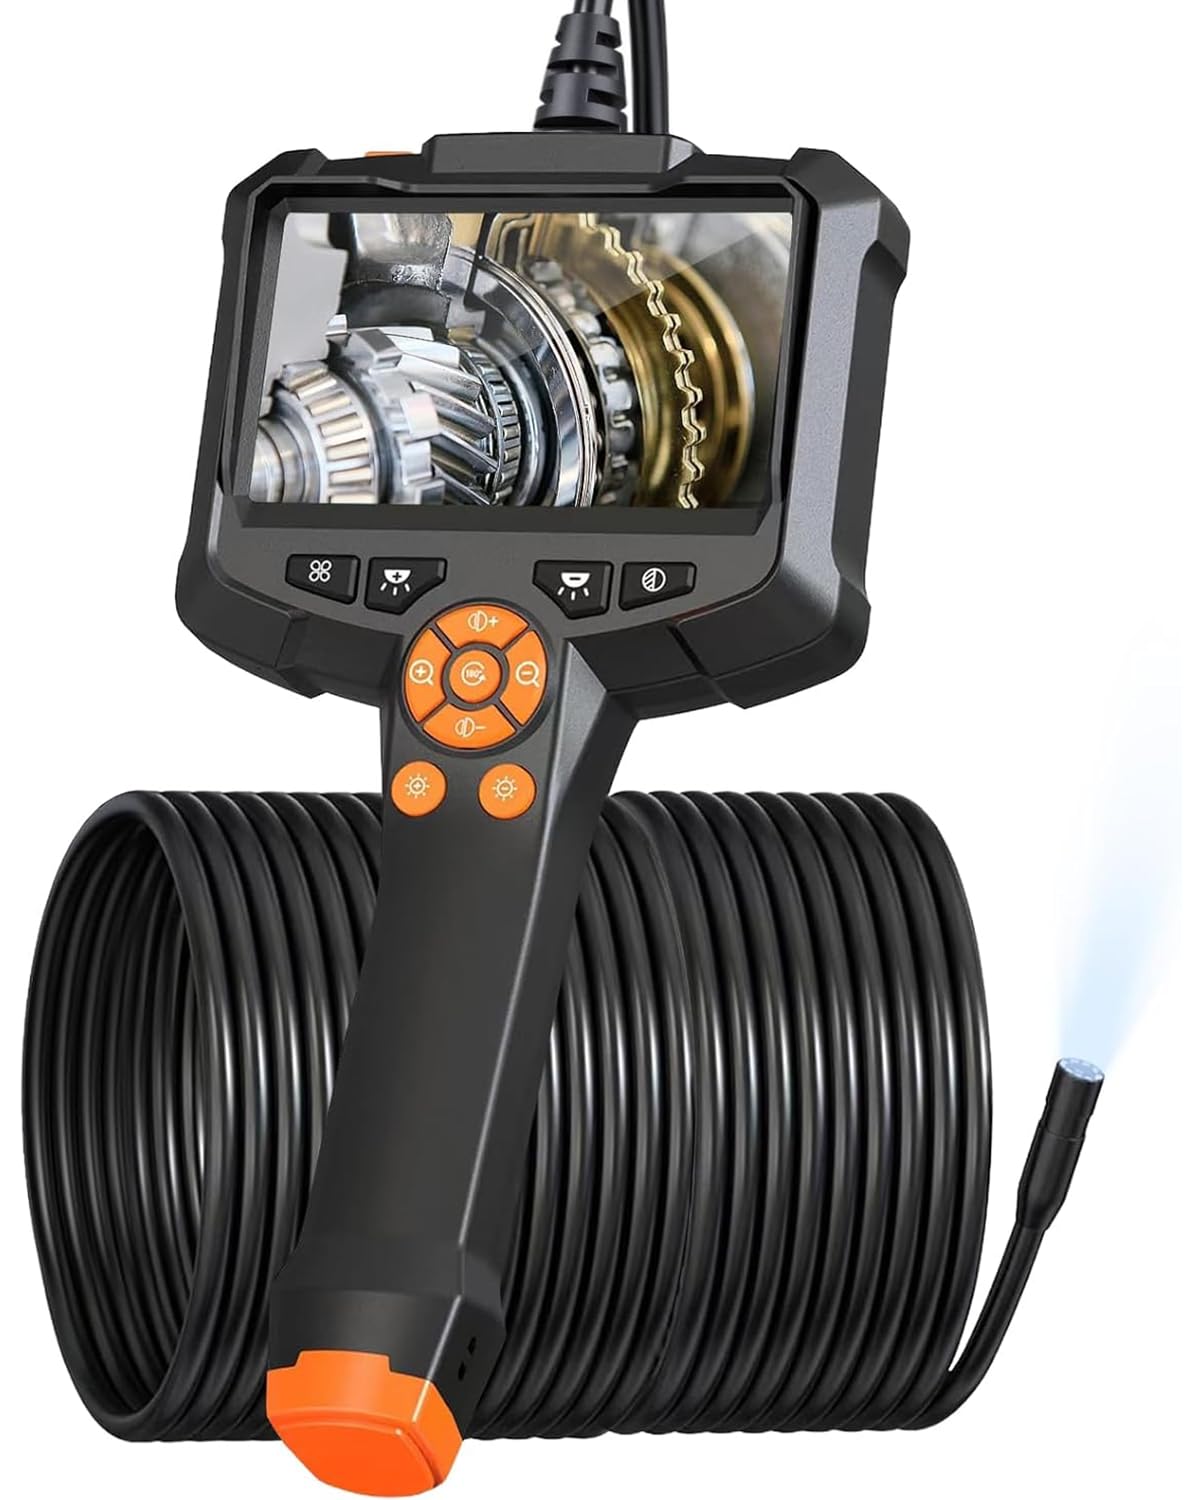
Figure 1: AOPICK Endoscope Inspection Camera
2. Package Contents
Please check the package contents upon receipt to ensure all items are present:
- AOPICK Endoscope Inspection Camera (with 20m semi-rigid cable)
- User Manual
- Type-C Charging Cable
- Accessories:
- 1 x Hook
- 1 x Magnet
- 1 x Side Mirror
- 3 x Fixing Buckles
3. Product Overview
The AOPICK Endoscope Inspection Camera consists of a main display unit, a flexible semi-rigid cable, and an 8mm camera head with integrated LED lights. The display unit features a 4.3-inch IPS screen for real-time viewing and control buttons for operation.

Figure 2: 1080P HD Lens with 2-10cm Focal Length
The camera features a 1080P HD lens, providing sharp images and videos. The optimal focal length for clear viewing is between 2 to 10 centimeters.

Figure 3: IP67 Waterproof Camera Head with 8 Adjustable LED Lights
The camera head is IP67 waterproof, allowing operation in wet environments up to 1 meter deep for 30 minutes. It is equipped with 8 adjustable LED lights to illuminate dark inspection areas.

Figure 4: Rechargeable Battery
The device is powered by a 2000mAh rechargeable Lithium-ion battery, providing approximately 3.5 hours of continuous operation on a full charge.
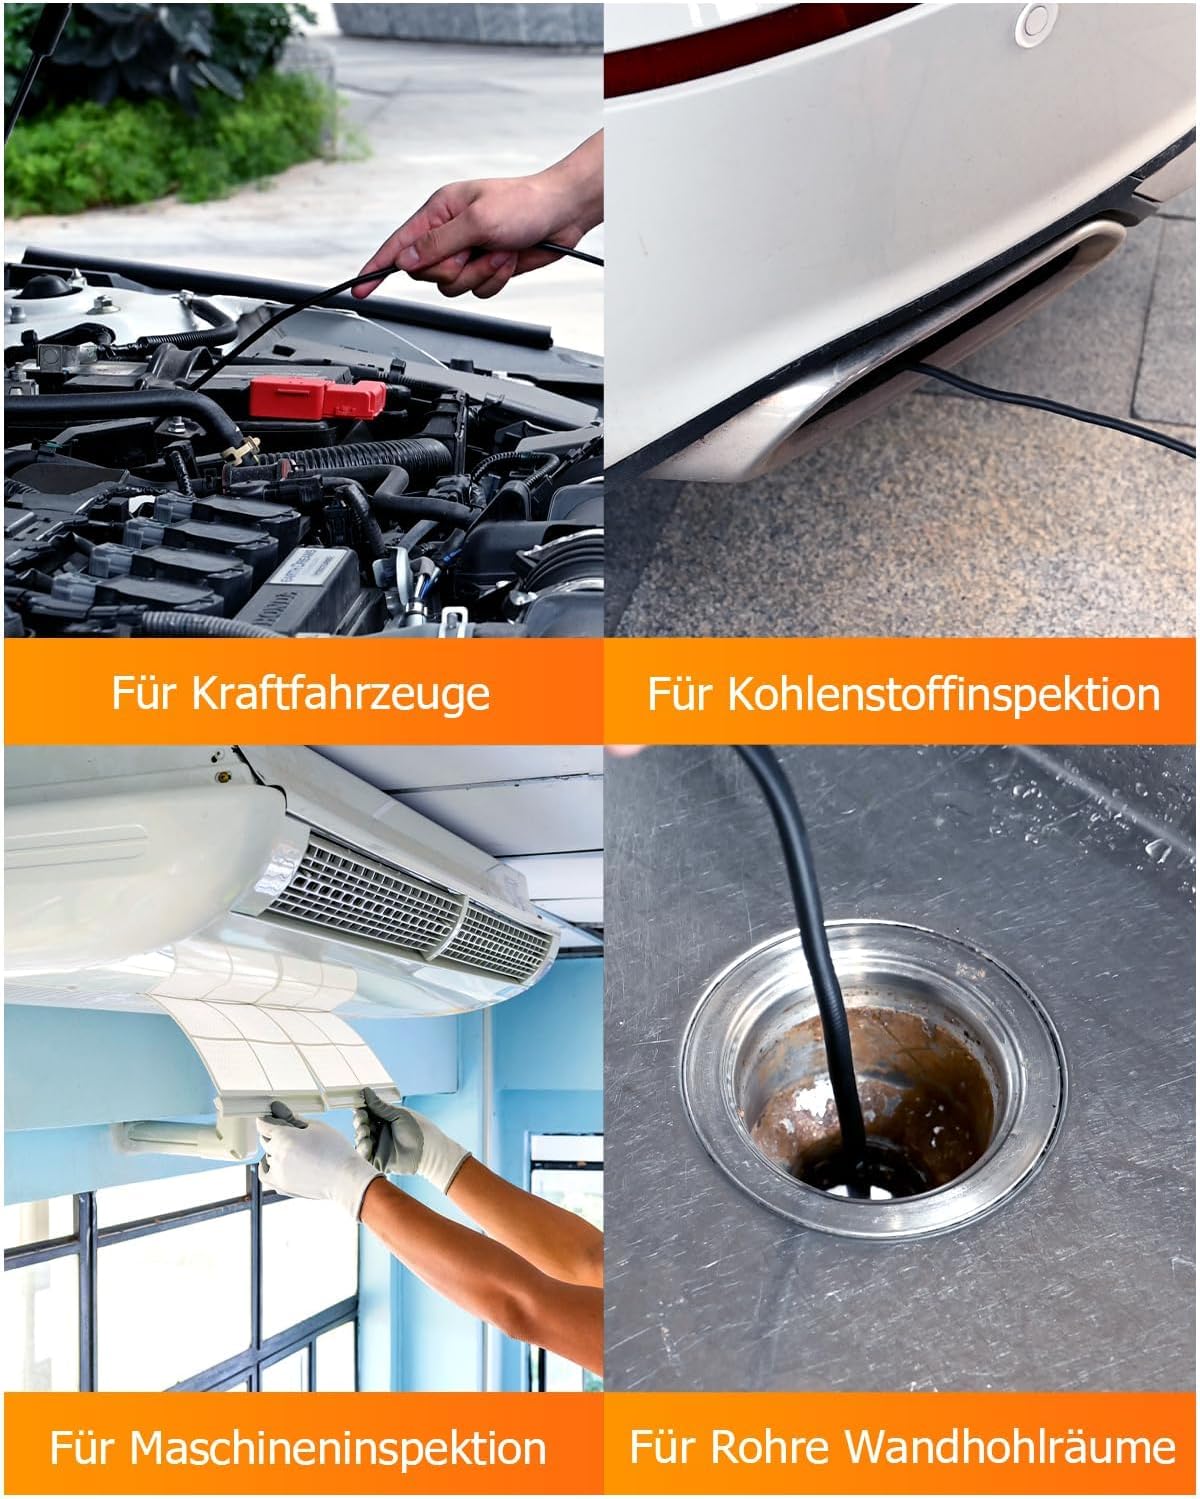
Figure 5: Typical Application Scenarios
The endoscope camera is suitable for a wide range of applications, including automotive repairs, mechanical inspections, home appliance repairs, and inspecting pipes, drains, and wall cavities.
4. Setup
4.1 Charging the Device
- Connect the provided Type-C charging cable to the charging port on the display unit.
- Connect the other end of the cable to a standard USB power adapter (not included).
- Allow the device to charge fully before first use. A full charge typically provides up to 3.5 hours of continuous operation.
4.2 Attaching Accessories
The camera comes with several accessories that can be attached to the camera head for specific tasks:
- Hook: Useful for retrieving small objects.
- Magnet: For picking up metallic items.
- Side Mirror: Provides a side view for inspecting walls of pipes or tight spaces.
To attach an accessory, carefully slide it onto the camera head until it is securely in place. Use the fixing buckles to secure the accessories if needed.
5. Operating Instructions
5.1 Powering On/Off
- To power on the device, press and hold the power button located on the display unit.
- The 4.3-inch IPS screen will activate, displaying the live camera feed.
- To power off, press and hold the power button again until the screen turns off.
5.2 Adjusting LED Brightness
The camera head is equipped with 8 adjustable LED lights. Use the dedicated brightness control buttons on the display unit to increase or decrease the illumination as required for optimal viewing in dark environments.
5.3 Maneuvering the Camera
The 20-meter semi-rigid cable can be bent and shaped to navigate through various obstacles and tight spaces. Gently guide the camera head into the area you wish to inspect. The cable retains its shape, allowing for precise positioning.
5.4 Important Notes
- This device does not require an application download or Wi-Fi connection for operation. It functions as a standalone unit.
- The camera does not support video recording or photo taking. It provides a live view only.
- The optimal focal distance for clear images is between 2 to 10 centimeters from the object.
6. Maintenance
6.1 Cleaning
- After each use, especially in dirty or wet environments, clean the camera head and cable with a soft, damp cloth.
- Ensure no debris obstructs the camera lens or LED lights.
- Do not use abrasive cleaners or solvents on any part of the device.
6.2 Storage
- Store the endoscope camera in a cool, dry place, away from direct sunlight and extreme temperatures.
- Gently coil the semi-rigid cable for storage to prevent kinks or damage.
- Keep the device out of reach of children.
7. Troubleshooting
| Problem | Possible Cause | Solution |
|---|---|---|
| Device does not power on. | Low battery or no charge. | Charge the device fully using the provided Type-C cable. |
| Image on screen is unclear or blurry. | Incorrect focal distance; dirty lens; insufficient lighting. | Adjust the camera's distance to the object (optimal 2-10cm). Clean the camera lens. Increase LED brightness. |
| Device feels warm during operation. | Normal operating temperature. | This is normal and does not affect performance or lifespan. |
| Camera cable gets stuck in pipes. | Pipe diameter too small (e.g., 40mm pipes with tight bends). | Exercise caution when inserting into narrow or complex pipe systems. The 8mm camera head may get stuck in very tight bends. |
8. Specifications
- Model: 20M Single Lens
- Screen: 4.3-inch IPS Color Display
- Camera Resolution: 1920 x 1080p (2.1 Megapixels)
- Camera Diameter: 8mm
- Cable Length: 20 meters
- Focal Length: 2-10 cm
- LED Lights: 8 adjustable LEDs
- Waterproof Rating: IP67 (camera head and cable, up to 1 meter for 30 minutes)
- Battery: 2000mAh Lithium-ion
- Battery Life: Approximately 3.5 hours
- Charging Port: USB Type-C
- Connectivity: Auxiliary, USB
- Color: Black
- Package Weight: Approximately 970 grams
- Features: No Wi-Fi, No App required, No Photo/Video Recording
9. Warranty and Support
Specific warranty information is not provided in this manual. For warranty claims, technical support, or any questions regarding your AOPICK Endoscope Inspection Camera, please refer to the purchase documentation or contact the retailer/manufacturer directly. Keep your proof of purchase for any warranty-related inquiries.


