Introduction
This manual provides instructions for the safe and efficient installation, operation, and maintenance of your WALI Laptop Mount (Model GSMP001LP). This versatile desk mount is designed to elevate your laptop and/or monitor, optimizing your workspace and improving ergonomics.
Safety Information
- Read all instructions carefully before installation and use.
- Do not exceed the maximum weight capacity of 19.8 lbs per arm.
- Ensure the mount is securely fastened to the desk using either the C-clamp or grommet base.
- Keep children and pets away during installation.
- Use appropriate tools and follow all steps to prevent injury or damage.
Package Contents
- WALI Single Monitor Desk Mount with Laptop Tray (Black) x 1
- Mounting Hardware Kit
- User Manual
Specifications
| Feature | Detail |
|---|---|
| Laptop Compatibility | 10-15.6 inches |
| Monitor Compatibility | 17-34 inches |
| Weight Capacity | Up to 19.8 lbs per arm |
| Mounting Plate (VESA) | 75x75mm and 100x100mm |
| Arm Extension | Up to 18.1 inches |
| Height Adjustment | Up to 16 inches on a 16-inch pole |
| Tilt | +/-90° |
| Swivel | +/-90° |
| Rotation | 360° |
| C-clamp Desk Thickness | 0.39"-3.1" |
| Grommet Base Desk Thickness | 0.39"-1.77" |
| Material | Metal |
| Color | Black |
| Item Weight | 8.84 pounds |
| Product Dimensions | 14.27 x 9.35 x 6.2 inches |
Setup and Installation
The WALI Laptop Mount offers flexible installation options: C-clamp or Grommet Base. The assembly process is designed to be completed efficiently.
Step 1: Choose Your Mounting Option
Decide between the C-clamp for desks with edges or the grommet base for desks with existing holes or where a hole can be drilled.

Image description: A black WALI laptop mount with its arm extended, showing both the C-clamp and grommet base options for desk attachment.
Step 2: Secure the Base
Follow the instructions in the included Mounting Hardware Kit to securely attach the chosen base to your desk. Ensure the base is tightened firmly to prevent movement.

Image description: A diagram illustrating the compatible desk thickness for both C-clamp (0.39"-3.1") and Grommet Base (0.39"-1.77") installations.
Step 3: Attach the Arm and Tray
Connect the gas spring arm to the secured base. Then, attach the laptop tray to the arm. The mounting plate is detachable for easier installation.
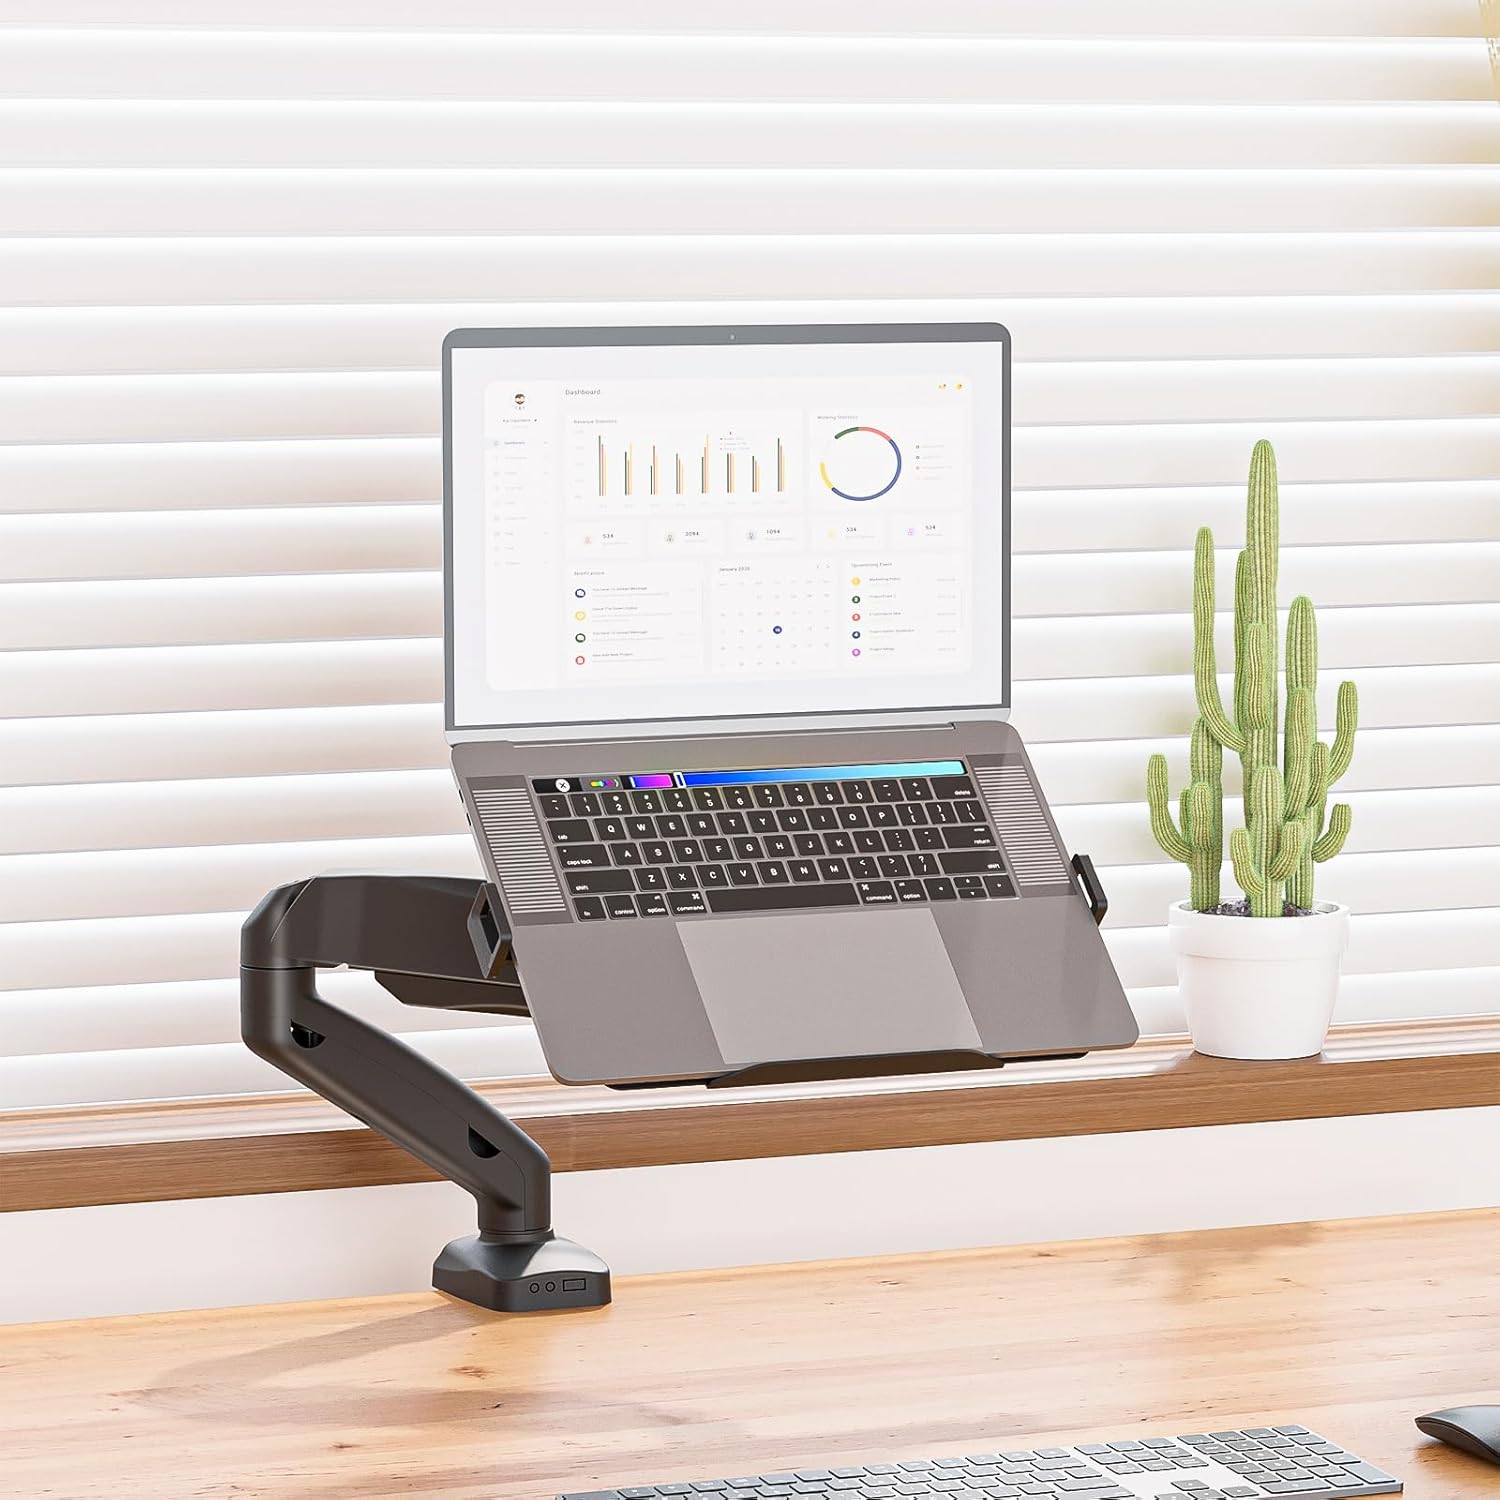
Image description: A WALI laptop mount with a silver laptop resting on its tray, positioned above a wooden desk.
Step 4: Adjust Tension
Use the provided Allen wrench to adjust the tension of the gas spring arm to match the weight of your laptop. This ensures smooth and stable movement.
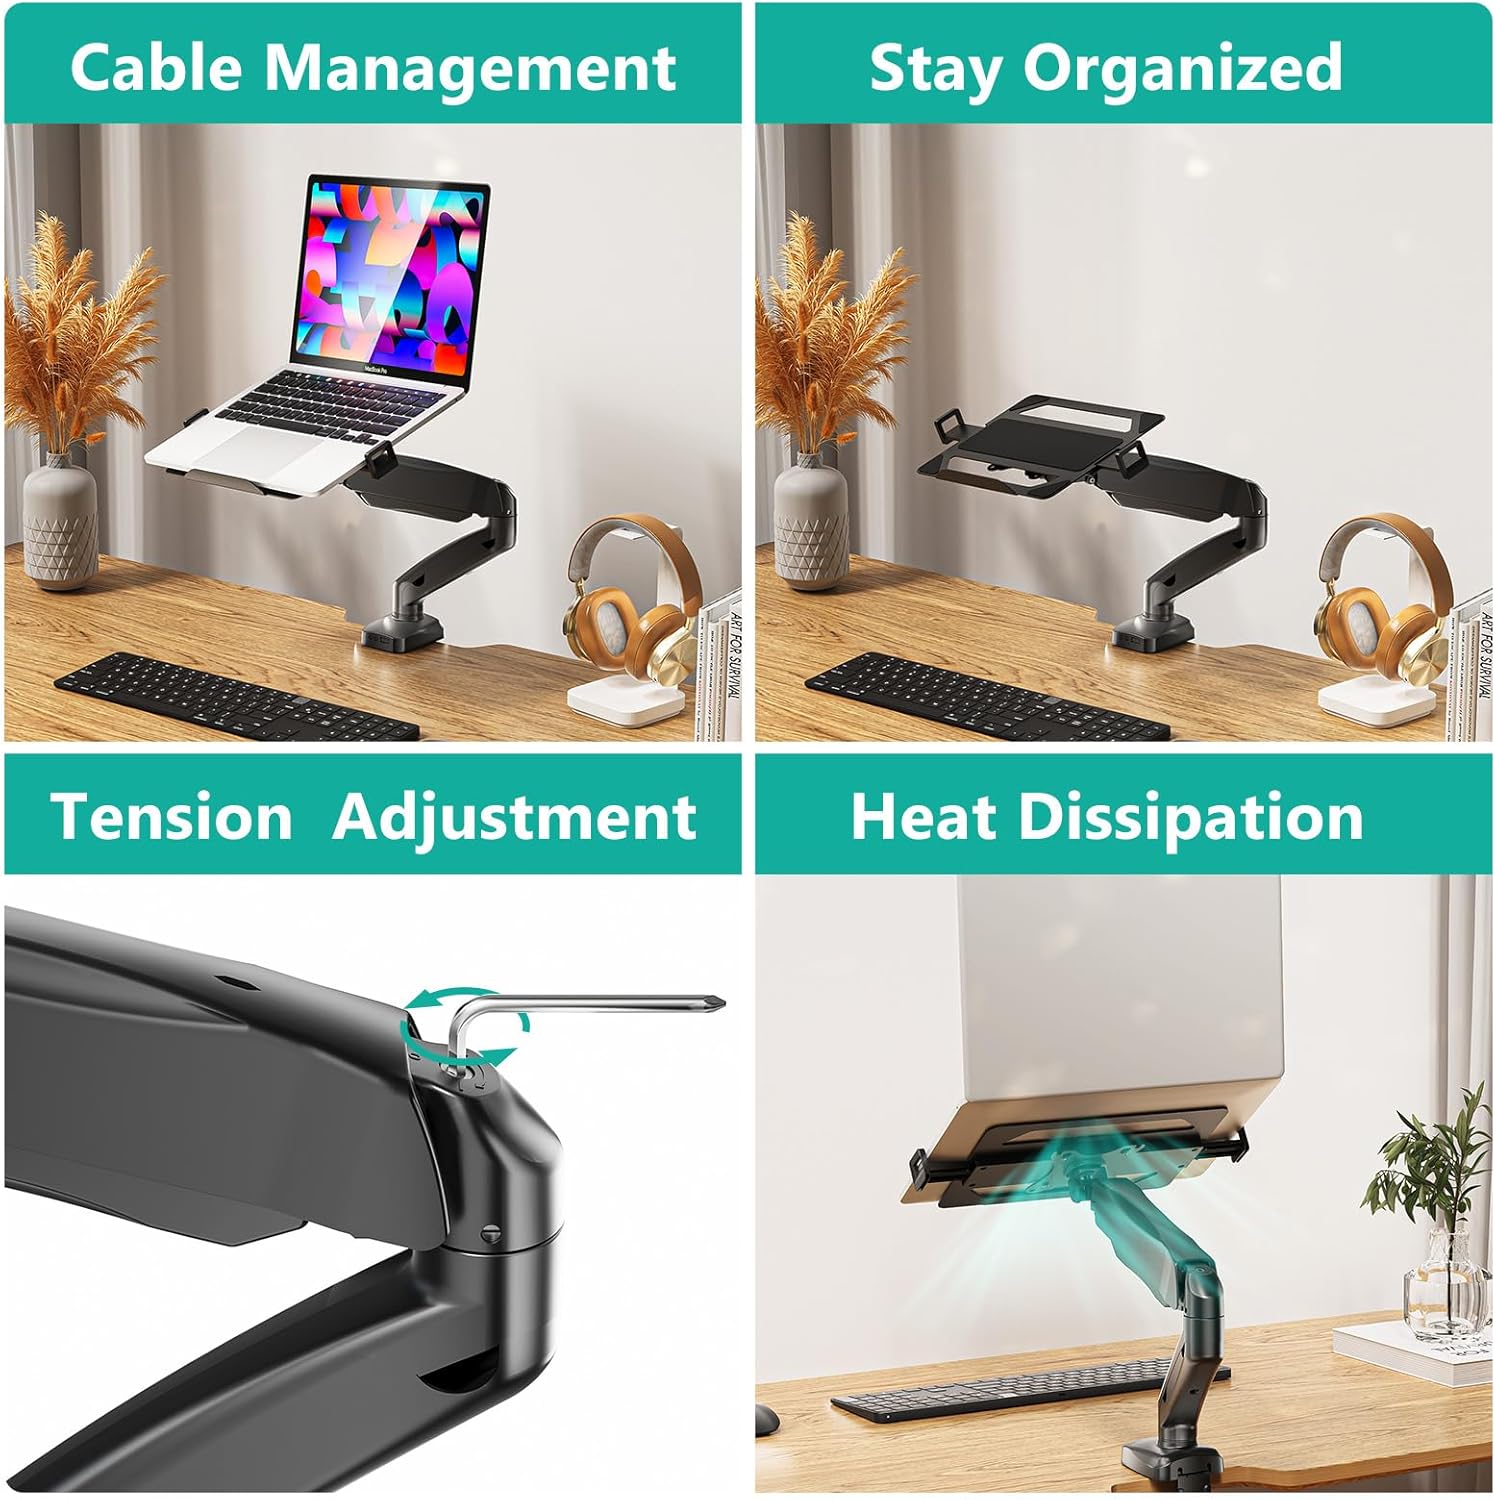
Image description: A close-up view of the WALI laptop arm, highlighting the tension adjustment screw with an Allen wrench inserted.
Installation Video Guide
For a visual step-by-step guide, please watch the official installation video:
Video description: An official product video demonstrating the installation process and key features of the WALI laptop arm mount.
Operating Instructions
Adjusting Your Mount
The WALI Laptop Mount features a gas spring arm for effortless adjustments.
- Height Adjustment: Gently push or pull the arm to raise or lower your laptop to the desired ergonomic height. The arm can rise up to 16 inches.
- Tilt Adjustment: The laptop tray can be tilted +/-90° to reduce glare and optimize your viewing angle.
- Swivel Adjustment: Swivel the arm +/-90° to position your laptop for collaborative work or different viewing needs.
- Rotation: The mount allows for a full 360° rotation, enabling you to switch between landscape and portrait modes for your laptop or monitor.

Image description: A graphic illustrating the various motion adjustments of the WALI laptop mount, including 360° rotation, +/-90° swivel, and +90°/-45° tilt.
Cable Management
Integrated cable management clips help keep your workspace tidy by routing cables along the arm.

Image description: A split image demonstrating the cable management feature of the WALI laptop mount, showing cables neatly routed along the arm.
Heat Dissipation
The laptop tray features venting holes to prevent your laptop from overheating during extended use.

Image description: A split image showing the heat dissipation feature of the WALI laptop tray, with air flowing through the venting holes.
Maintenance
- Regularly check all screws and connections to ensure they remain tight.
- Clean the mount with a soft, damp cloth. Avoid abrasive cleaners.
- Do not disassemble the gas spring mechanism.
Troubleshooting
Arm Not Holding Position
If the arm does not stay in the desired position, the tension may need adjustment. Use the provided Allen wrench to increase the tension (clockwise) if the arm sags, or decrease it (counter-clockwise) if it is too stiff.
Missing Parts
If any parts are missing from your package, please contact WALI customer support immediately.
Difficulty with Installation
Refer to the detailed installation steps and the video guide. Ensure your desk thickness is within the specified range for your chosen mounting option.
Warranty and Support
WALI provides experienced and friendly US-based customer support available to assist 7 days a week. For any questions, concerns, or warranty claims, please contact WALI directly.
Visit the official WALI Store for more information: WALI Store


