Introduction
Thank you for choosing the OLIGHT Baton4 Premium Edition EDC Flashlights Bundle. This manual provides detailed instructions for the safe and effective operation, maintenance, and troubleshooting of your Baton4 flashlight and Oclip rechargeable light. Please read this manual thoroughly before use and retain it for future reference.
Package Contents
- OLIGHT Baton4 Flashlight
- Baton4 Charging Case
- Oclip Rechargeable Light
- USB-C Charging Cable
- User Manual
Product Overview
The OLIGHT Baton4 Premium Edition offers a compact yet powerful lighting solution for everyday carry (EDC). It features a high-lumen flashlight and a versatile Oclip light, both rechargeable via a smart charging case that also functions as a power bank.
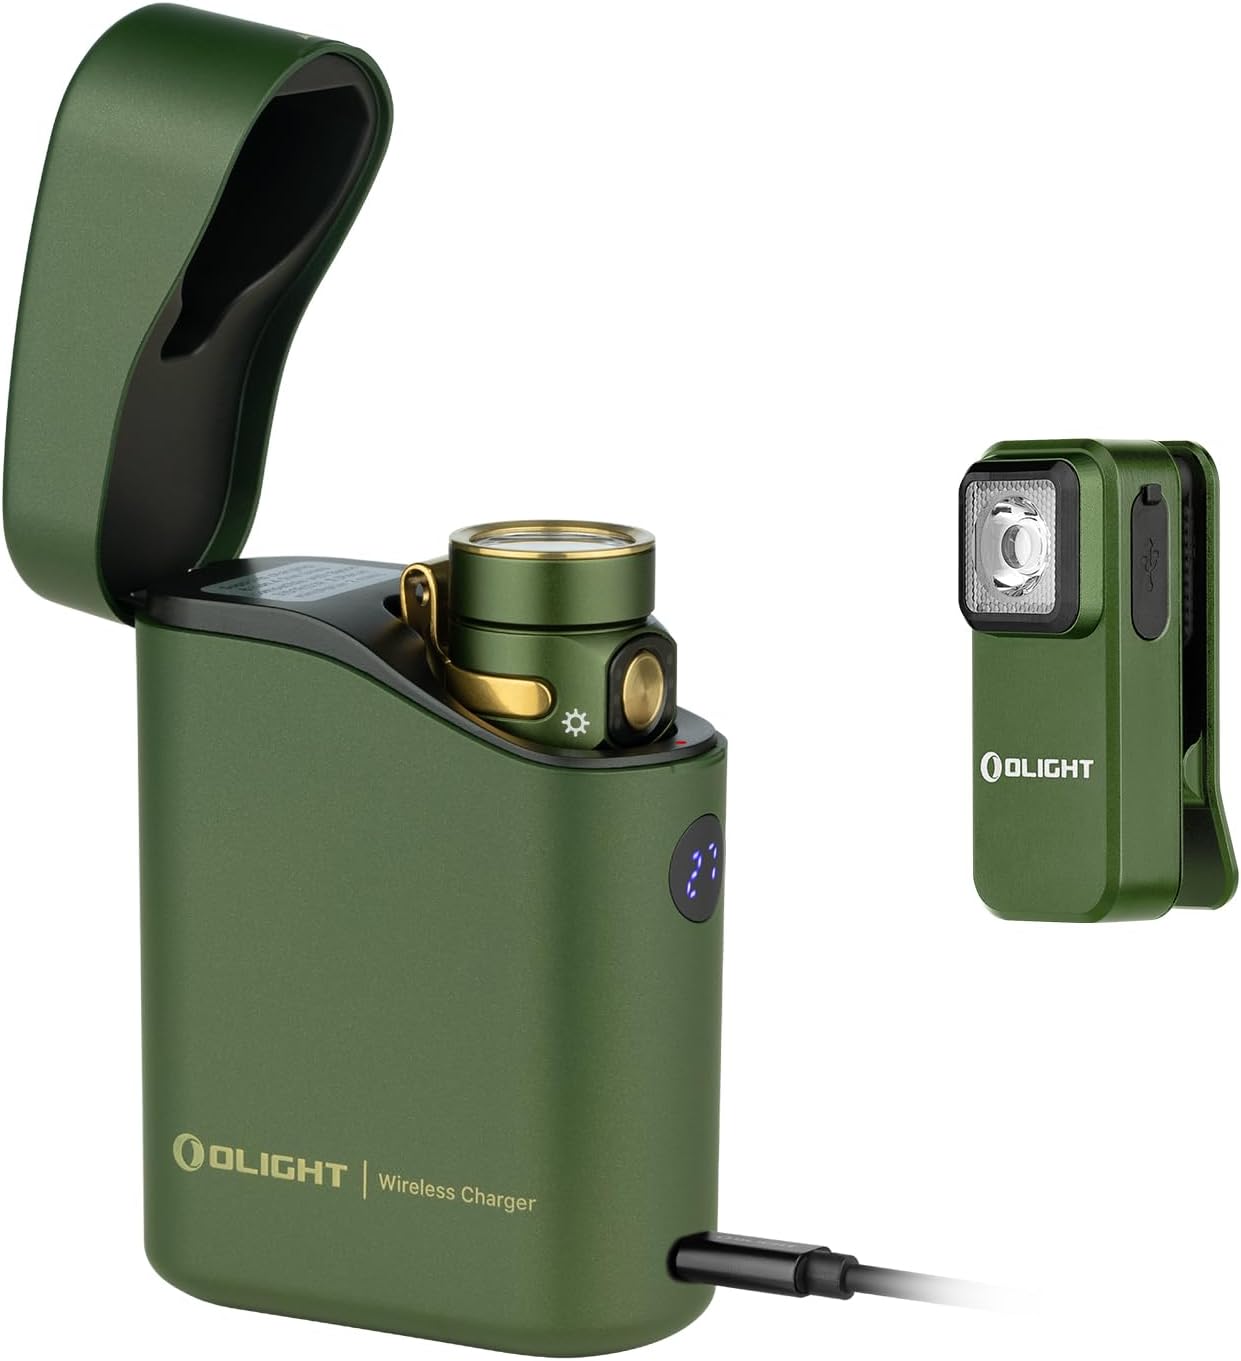
Image 1: The OLIGHT Baton4 Premium Edition bundle, showing the Baton4 flashlight inside its charging case and the separate Oclip rechargeable light. Both are in an OD Green finish.

Image 2: Close-up view of the OLIGHT Oclip rechargeable light, highlighting its compact design and integrated clip.
Specifications
| Feature | Detail |
|---|---|
| Power Source | Battery Powered (Lithium Ion) |
| Light Source Type | LED |
| Material | Metal |
| White Brightness (Baton4) | Up to 1300 Lumens |
| Water Resistance Level | Not Water Resistant |
| Mounting Type (Oclip) | Clip-on, Magnetic |
| Charging Case Runtime | Up to 190 days for Baton4 |
| Charging Case Compatibility | Baton3, S1R II, Perun Mini, Perun 2 Mini |
Setup
Initial Charging
- Charge the Baton4 Charging Case: Connect the provided USB-C cable to the charging case and a compatible USB power source. The digital display on the case will indicate the charging progress.
- Charge the Baton4 Flashlight: Place the Baton4 flashlight into the charging case. The case will automatically begin charging the flashlight.
- Charge the Oclip Light: The Oclip light has its own USB-C port. Connect it directly to a USB power source using the provided cable or a compatible USB-C cable.

Image 3: The Baton4 charging case connected via USB-C to charge a mobile device, demonstrating its power bank functionality.
Operating Instructions
Baton4 Flashlight Operation
- Power On/Off: Press the side switch once to turn the flashlight on or off.
- Change Brightness Level: When the flashlight is on, press and hold the side switch to cycle through brightness levels (Low, Medium, High). Release the switch at the desired brightness.
- Turbo Mode: Double-press the side switch quickly to activate Turbo mode. Double-press again to return to the previous brightness level.
- Moonlight Mode: When the flashlight is off, press and hold the side switch for approximately one second to activate Moonlight mode.
- Strobe Mode: Triple-press the side switch quickly to activate Strobe mode. Press once to exit.
- Lockout/Unlock: When the flashlight is off, press and hold the side switch for approximately two seconds until the moonlight mode turns on and then off. The flashlight is now locked out. To unlock, press and hold the side switch for approximately one second until the light briefly turns on.
Baton4 Charging Case Operation
- Charging Flashlight: Insert the Baton4 flashlight into the case. The case will automatically detect and charge the flashlight. The digital display shows the case's battery percentage.
- Power Bank Function: Connect a mobile device to the USB-C port on the charging case using a compatible cable to use it as a power bank.
- Controlling Flashlight via Case: The case can be used to turn the flashlight on or off while it is docked. Opening the lid may activate the flashlight, and closing it will turn it off.

Image 4: The Baton4 charging case open, showing the Baton4 flashlight docked inside. The digital display indicates the case's charge level.
Oclip Rechargeable Light Operation
- Power On/Off: Press the button once to turn the Oclip on or off.
- Change Light Mode: When the Oclip is on, press the button to cycle through white light modes and red light modes.
- Battery Indicator: The indicator light on the Oclip shows battery status:
- Green: >60% battery
- Orange: 30%-60% battery
- Red: <30% battery
- Versatile Mounting: Use the integrated clip to attach the Oclip to clothing, belts, or other objects. The magnetic base allows attachment to metal surfaces.

Image 5: Diagram illustrating the Oclip's battery indicator light colors (green, orange, red) for both non-charging and charging states.

Image 6: Examples of Oclip usage, including daily illumination, warning signals (red light), and emergency lighting.
Maintenance
- Cleaning: Wipe the flashlight and charging case with a soft, damp cloth. Do not use abrasive cleaners or solvents.
- Battery Care: For optimal battery life, charge the devices regularly. Avoid fully discharging the batteries for extended periods.
- Storage: Store the devices in a cool, dry place away from direct sunlight and extreme temperatures.
Troubleshooting
| Problem | Possible Cause | Solution |
|---|---|---|
| Flashlight not turning on | Low battery; Lockout mode activated; Faulty switch | Charge the flashlight; Unlock the flashlight (see Operating Instructions); Contact customer support if switch is faulty. |
| Charging case not charging | USB-C cable not connected properly; Faulty cable/adapter | Ensure cable is securely connected; Try a different USB-C cable and power adapter. |
| Oclip not changing modes | Low battery; Button malfunction | Charge the Oclip; Contact customer support if button is unresponsive. |
Warranty and Support
OLIGHT products are manufactured with high-quality materials and craftsmanship. For detailed warranty information and customer support, please refer to the official OLIGHT website or contact their customer service directly. Keep your purchase receipt for warranty claims.
Official OLIGHT Website: www.olightstore.com


