1. Introduction
Thank you for purchasing the Hyperkin Pixel Art Bluetooth Controller, Tetris Heart Drop Edition. This limited-edition wireless controller combines retro design with modern ergonomics, offering a versatile gaming experience across multiple platforms. This manual provides essential information for setting up, operating, maintaining, and troubleshooting your controller.

Image: Hyperkin Pixel Art Bluetooth Controller, Tetris Heart Drop Edition, with its detachable back piece.
2. Package Contents
Ensure all items are present in the package:
- Hyperkin Pixel Art Bluetooth Controller (Tetris Heart Drop Edition)
- USB-C Charging Cable
- Instruction Manual (this document)

Image: Front view of the Hyperkin Pixel Art Bluetooth Controller.
3. Controller Layout
Familiarize yourself with the buttons and features of your controller:
- Directional Pad (D-Pad): For directional input.
- Left/Right Analog Sticks: For precise 360-degree movement.
- Action Buttons (A, B, X, Y): For in-game actions.
- Shoulder Buttons (L1, R1): Top-mounted buttons.
- Trigger Buttons (L2, R2): Bottom-mounted analog triggers.
- SELECT/START Buttons: For menu navigation and game functions.
- HOME Button: For system menu access.
- TURBO Button: Activates/deactivates turbo function.
- USB-C Port: For charging and wired connection.
- LED Indicators: Display connection status and battery level.

Image: Detailed view of the controller's front face, highlighting buttons and analog sticks.

Image: Side view of the controller, illustrating the shoulder and trigger buttons.
4. Setup
4.1. Bluetooth Pairing
To connect your controller wirelessly via Bluetooth:
- Ensure the controller is charged.
- Turn on the controller by pressing the HOME button. The LED indicators will flash.
- On your device (Nintendo Switch, PC, Mac, Android, iOS), navigate to the Bluetooth settings.
- Select "Pair New Device" or similar option.
- Look for "Hyperkin Pixel Art Controller" or a similar name in the list of available devices and select it.
- Once paired, the LED indicators on the controller will become solid.
The controller supports wireless connectivity up to 30 feet.
Image: Controller connected wirelessly to a Nintendo Switch, demonstrating Bluetooth range.
4.2. Wired Connection
To connect your controller via a wired connection:
- Connect one end of the included USB-C cable to the controller's USB-C port.
- Connect the other end of the USB-C cable to an available USB port on your PC or compatible device.
- The controller should be automatically recognized by your device.
5. Operating Instructions
5.1. Power On/Off
- To Power On: Press the HOME button. The controller will attempt to connect to the last paired device.
- To Power Off: Press and hold the HOME button for approximately 5 seconds until the LED indicators turn off. The controller will also power off automatically after a period of inactivity to conserve battery.
5.2. Turbo Function
The controller features a turbo function for rapid button presses:
- To Activate Turbo: Press and hold the TURBO button, then press the desired action button (A, B, X, Y, L1, R1, L2, R2). The button will now rapidly repeat its input when held down.
- To Deactivate Turbo: Press and hold the TURBO button, then press the same action button again.
- To Clear All Turbo Settings: Press and hold the TURBO button for 5 seconds.
5.3. Charging
To charge the controller's internal Lithium Polymer battery:
- Connect the USB-C charging cable to the controller's USB-C port.
- Connect the other end of the cable to a USB power source (e.g., computer USB port, USB wall adapter).
- The LED indicators will show charging status (e.g., blinking while charging, solid when fully charged).
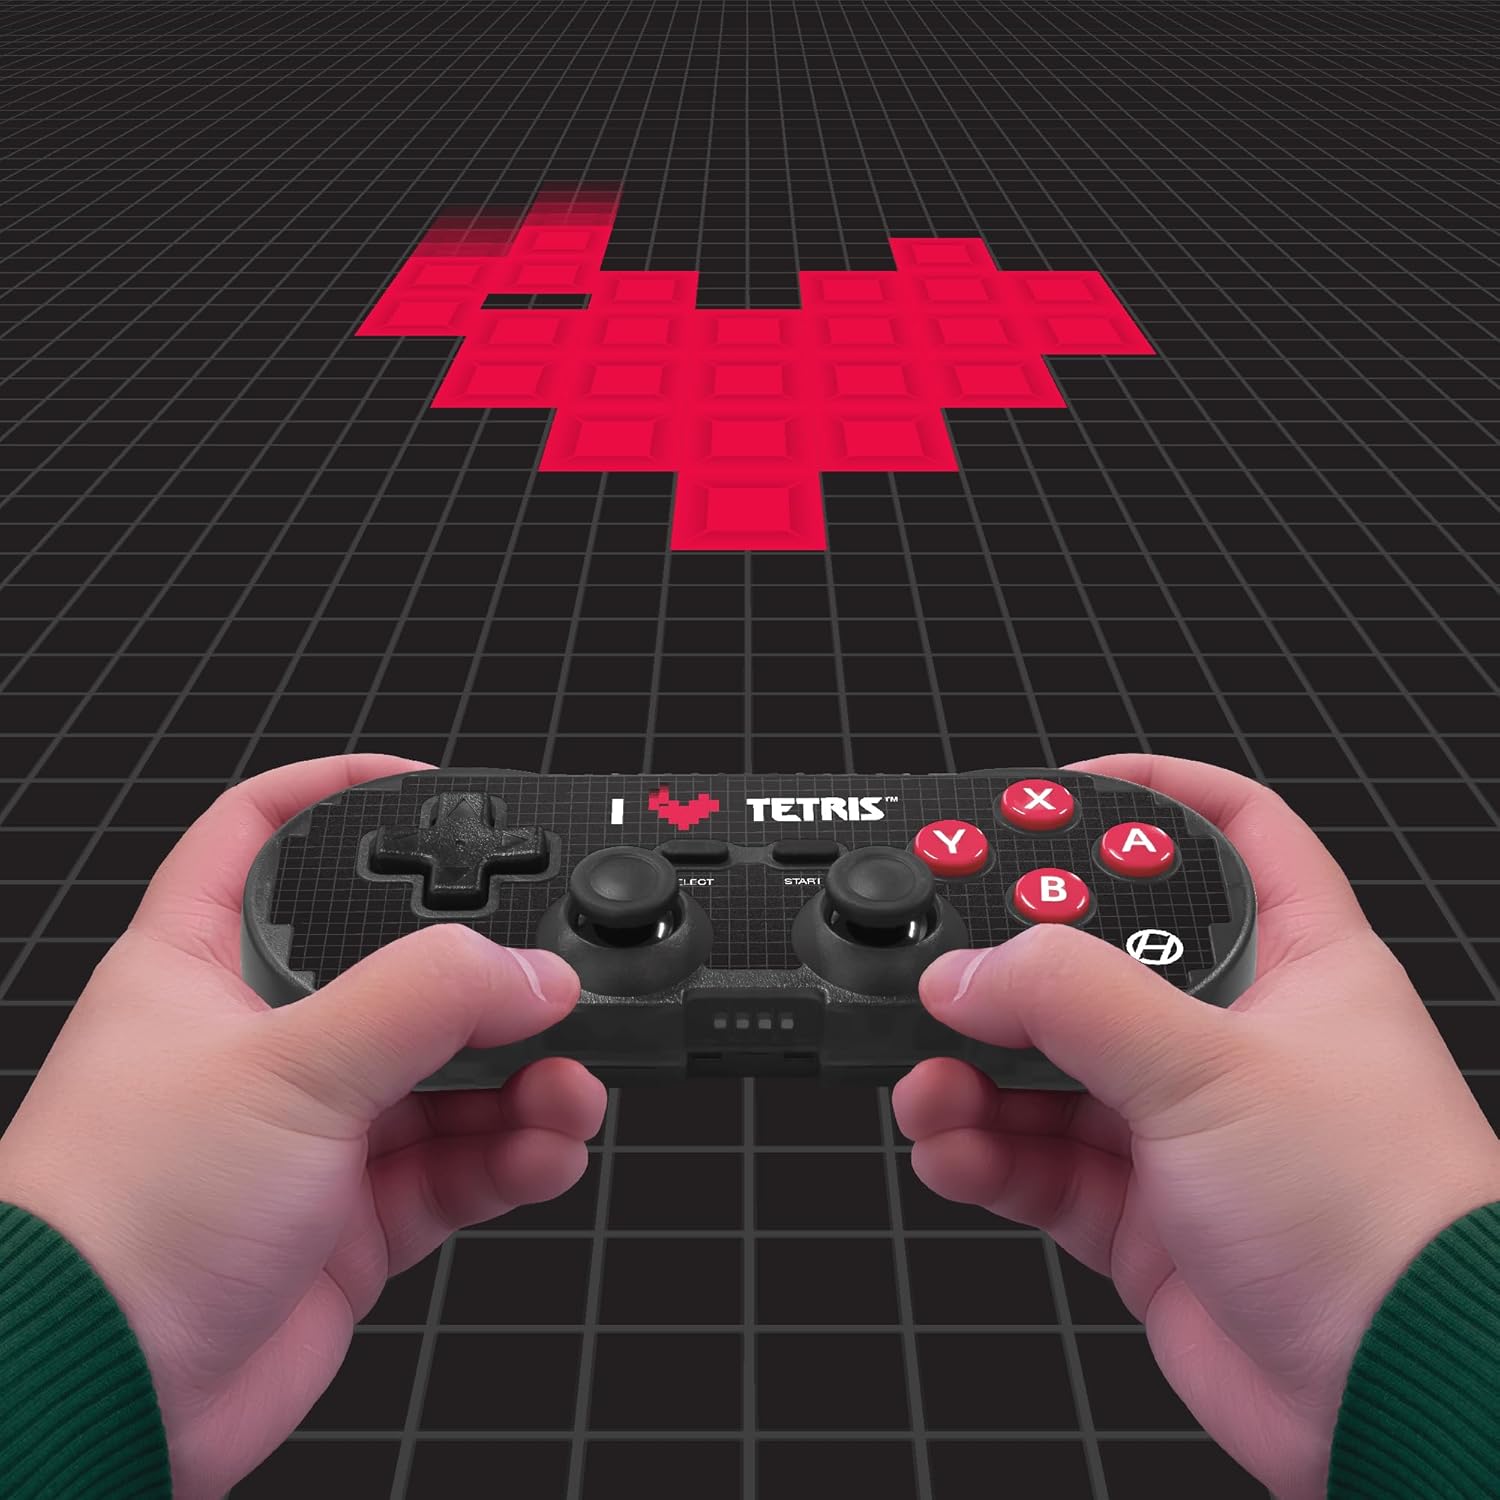
Image: User holding the controller during gameplay.
6. Compatibility
The Hyperkin Pixel Art Bluetooth Controller is compatible with the following platforms:
- Nintendo Switch
- Nintendo Switch OLED Model
- Nintendo Switch Lite
- Windows 10/11 PC
- Mac
- Android devices
- iOS devices
- Steam / Steam Deck
- Raspberry Pi
- Amazon Games / Amazon Luna
- Tesla
Image: Visual representation of compatible platforms.
7. Maintenance
To ensure the longevity and optimal performance of your controller:
- Keep the controller clean by wiping it with a soft, dry cloth. Avoid abrasive cleaners or solvents.
- Store the controller in a cool, dry place away from direct sunlight and extreme temperatures.
- Avoid dropping the controller or subjecting it to strong impacts.
- Do not attempt to disassemble the controller, as this will void the warranty.
8. Troubleshooting
If you encounter issues with your controller, refer to the following common solutions:
- Controller not powering on: Ensure the controller is fully charged. Connect it to a power source using the USB-C cable.
- Unable to pair via Bluetooth:
- Make sure the controller is in pairing mode (LEDs flashing).
- Ensure your device's Bluetooth is enabled and discoverable.
- Forget the device from your device's Bluetooth settings and attempt to pair again.
- Try restarting both the controller and your device.
- Input lag or disconnections:
- Ensure the controller is within the 30 ft wireless range of your device.
- Minimize interference from other wireless devices.
- Ensure the controller is fully charged.
- Try a wired connection if wireless issues persist.
- Buttons or analog sticks not responding:
- Ensure the controller is properly connected.
- Test the controller on another compatible device to rule out a device-specific issue.
- Perform a factory reset if available (refer to Hyperkin support for specific instructions).
9. Specifications
| Model Number | M01328-TEHD |
| Connectivity | Bluetooth (Wireless up to 30 ft), USB-C (Wired) |
| Battery Type | 1 Lithium Polymer battery (included) |
| Item Weight | 9.9 ounces (approximately 280 grams) |
| Package Dimensions | 7.99 x 5.35 x 2.52 inches |
| Release Date | November 16, 2023 |

Image: Back view of the controller, displaying the model number and other details.
10. Warranty and Support
Hyperkin products are designed for quality and reliability. For warranty information or technical support, please visit the official Hyperkin website or contact their customer service directly. Keep your proof of purchase for warranty claims.
For further assistance, please refer to the official Hyperkin support channels:
- Hyperkin Official Website: www.hyperkin.com
- Customer Support: Refer to the contact section on the official website.


