
KoolMore KM-CGD-8HP
KoolMore KM-CGD-8HP Countertop Ice Cream Display Case
Instruction Manual
Model: KM-CGD-8HP | Brand: KoolMore
1. Introduction
Thank you for choosing the KoolMore KM-CGD-8HP Countertop Ice Cream Display Case. This unit is designed for commercial use, providing a hygienic and visually appealing solution for displaying frozen treats such as gelato and ice cream. Its compact design and efficient cooling technology ensure your products remain at optimal serving temperature.
This manual provides essential information for the safe and efficient operation, installation, and maintenance of your display case. Please read it thoroughly before use and retain it for future reference.

Figure 1: Front view of the KoolMore KM-CGD-8HP display case with ice cream pans.
2. Safety Information
WARNING: This product can expose you to chemicals including Di(2-ethylhexyl)phthalate (DEHP), which is known to the State of California to cause cancer and birth defects or other reproductive harm. For more information go to www.P65Warnings.ca.gov.
- Always ensure the unit is placed on a stable, level surface.
- Do not block ventilation openings. Ensure adequate airflow around the unit.
- Do not operate the unit with a damaged power cord or plug.
- Unplug the unit before cleaning or performing any maintenance.
- This appliance is not intended for use by persons (including children) with reduced physical, sensory or mental capabilities, or lack of experience and knowledge, unless they have been given supervision or instruction concerning use of the appliance by a person responsible for their safety.
- Keep children away from the appliance.
3. What's in the Box
Upon unpacking, please verify that all components are present and undamaged:
- 1 x Countertop Ice Cream Freezer Unit
- 4 x Stainless-Steel Pans

Figure 2: Included stainless steel pans within the display unit.
4. Setup and Installation
4.1 Placement
Choose a suitable location for your display case. It should be:
- On a sturdy, level countertop capable of supporting the unit's weight (approximately 81 lbs).
- Away from direct sunlight or heat sources (e.g., ovens, stoves) to ensure optimal cooling performance.
- In an area with adequate ventilation, allowing at least 6 inches of clearance around the back and sides for proper air circulation.
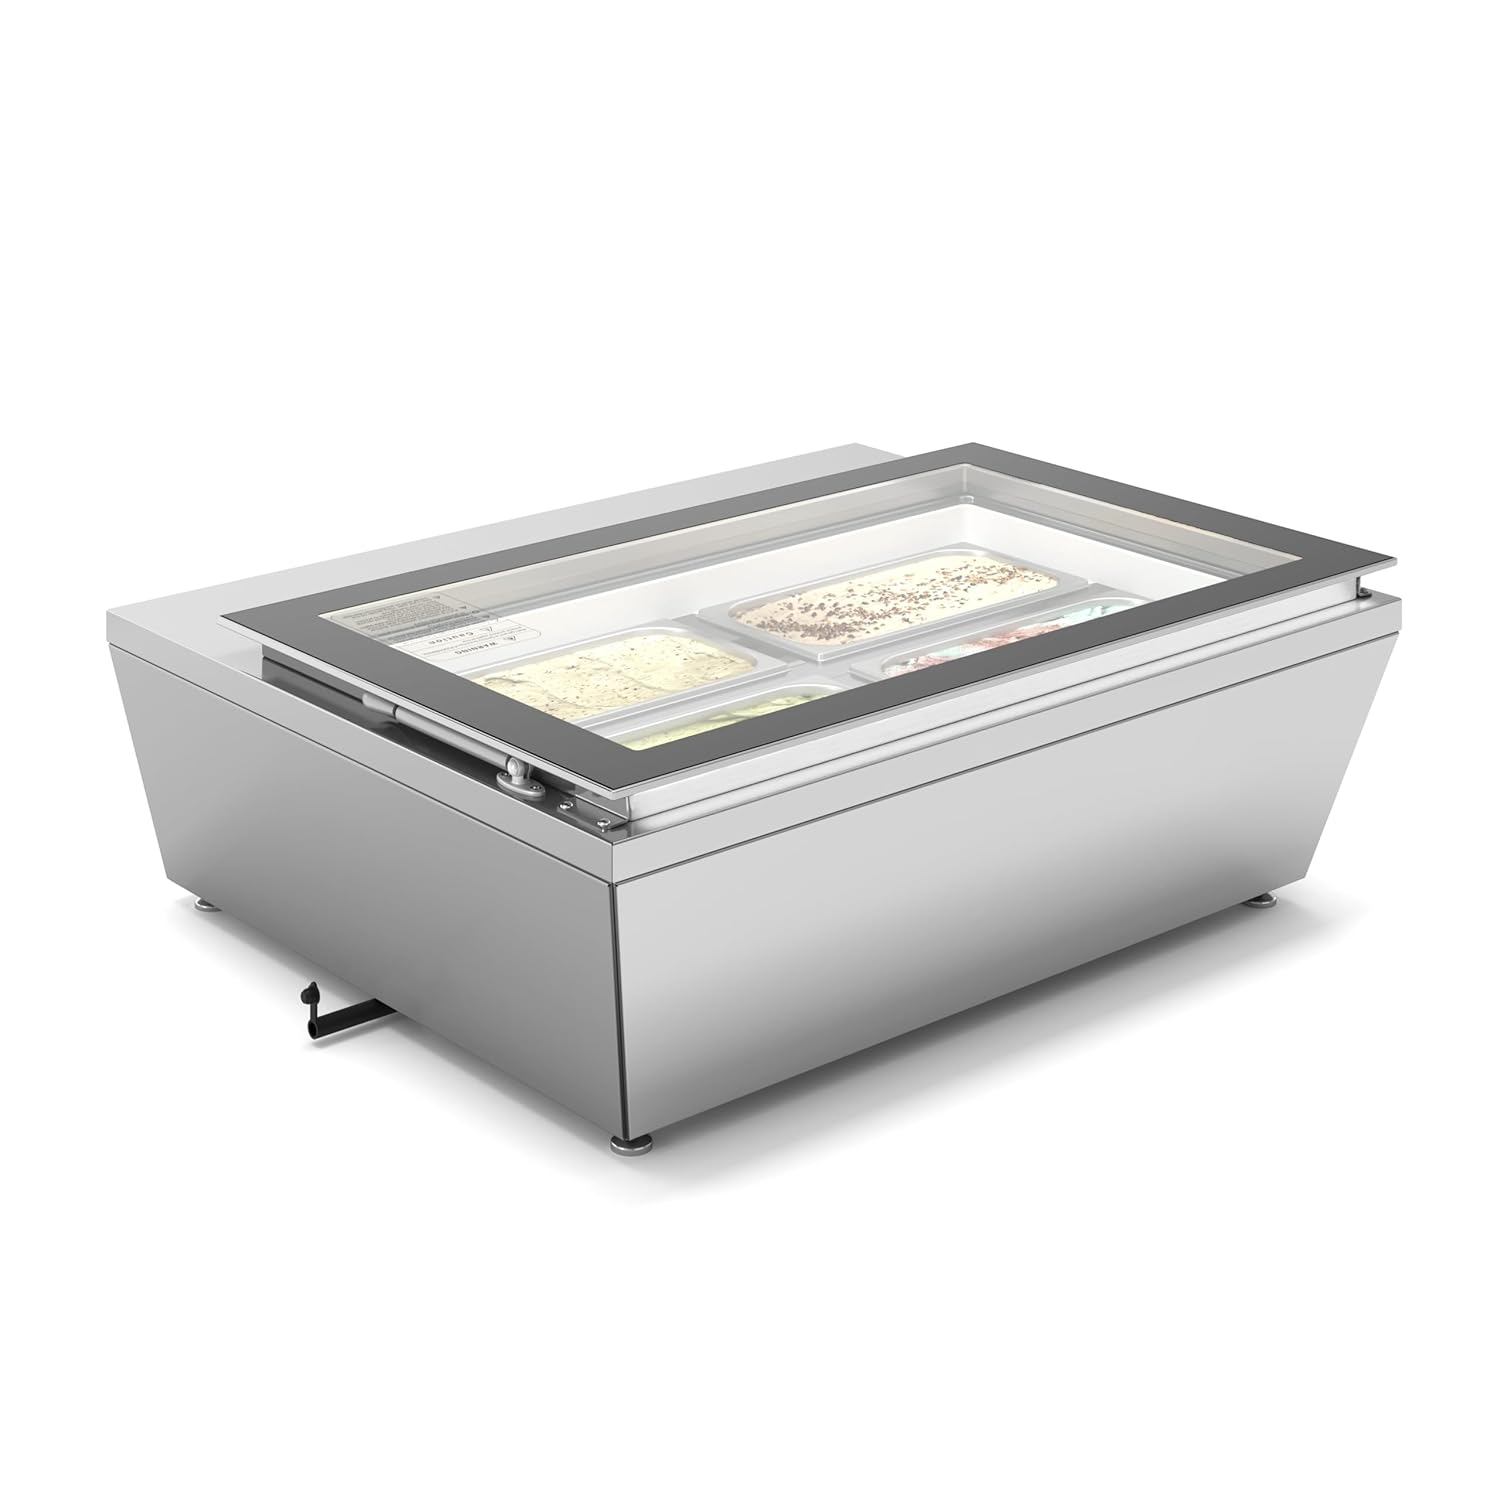
Figure 3: Angled front view of the display case, showing its compact design for countertop placement.
4.2 Initial Preparation
- Unpack the unit and remove all packaging materials.
- Clean the interior and exterior surfaces with a mild detergent and soft cloth before first use. Ensure it is completely dry.
- Insert the four stainless-steel pans into their designated slots within the display area.
4.3 Power Connection
Connect the power cord to a grounded electrical outlet. Ensure the voltage matches the requirements specified on the product label. Allow the unit to stand upright for at least 2 hours before plugging it in to allow refrigerant to settle.
5. Operating Instructions
5.1 Powering On/Off
Locate the power switch on the front panel of the unit. Flip the switch to the 'ON' position to power on the display case. The digital temperature display will illuminate.

Figure 4: Digital temperature control panel and power switch.
5.2 Temperature Control
The unit features a digital temperature control panel. Use the arrow buttons (▲ / ▼) to adjust the desired temperature. The display will show the current internal temperature. Allow several hours for the unit to reach the set temperature before loading products.
For optimal preservation of frozen desserts, maintain a temperature range suitable for gelato or ice cream, typically between -10°F to 0°F (-23°C to -18°C). Refer to your product's specific storage requirements.
5.3 Loading Products
Place pre-chilled or frozen products into the stainless-steel pans. Ensure products do not exceed the top edge of the pans to allow for proper air circulation and to prevent contact with the glass sneeze guard when closed.

Figure 5: The display case with the glass lid open, showing the four empty stainless steel pans ready for product loading.
6. Maintenance and Cleaning
6.1 Daily Cleaning
- Unplug the unit from the power outlet.
- Remove the stainless-steel pans and wash them with warm, soapy water. Rinse thoroughly and dry completely.
- Wipe down the interior surfaces with a soft cloth dampened with a mild, food-safe cleaning solution. Avoid abrasive cleaners.
- Clean the exterior stainless-steel surfaces and the glass sneeze guard with a non-abrasive cleaner suitable for these materials.
- Ensure all surfaces are dry before plugging the unit back in.
6.2 Defrosting
Over time, frost may accumulate inside the unit, particularly around the cooling coils. Regular defrosting is necessary to maintain efficiency. The frequency depends on usage and ambient conditions, but a weekly check is recommended.
- Turn off and unplug the unit.
- Remove all products and pans. Store frozen products in another freezer.
- Allow the frost to melt naturally. You can place a towel at the bottom to absorb water. Do not use sharp objects to remove ice.
- Once defrosted, clean and dry the interior thoroughly before restarting the unit.
7. Troubleshooting
Refer to the table below for common issues and their potential solutions.
| Problem | Possible Cause | Solution |
|---|---|---|
| Unit does not power on. | No power supply; Power switch off; Blown fuse/tripped breaker. | Check power cord connection; Ensure power switch is ON; Check electrical panel. |
| Unit is not cooling sufficiently. | Temperature set too high; Blocked air vents; Excessive frost buildup; Ambient temperature too high. | Adjust temperature setting; Clear obstructions from vents; Defrost the unit; Ensure unit is in a cool, well-ventilated area. |
| Excessive condensation inside or outside. | High humidity; Frequent opening of lid; Poor seal on lid; Unit not level. | Reduce ambient humidity if possible; Minimize lid openings; Check lid seal for damage; Ensure unit is level. |
| Temperature fluctuates significantly. | Frequent lid opening; Overloading; Sensor issue. | Minimize lid openings; Do not overload the unit; Contact customer support if issue persists. |
8. Specifications
| Feature | Detail |
|---|---|
| Model Name | KM-CGD-8HP |
| Brand | KoolMore |
| Product Dimensions (D x W x H) | 25.6" x 31.7" x 11.4" |
| Item Weight | 81 Pounds |
| Color | Stainless-Steel |
| Door Material Type | Glass |
| Number of Pans | 4 |
| Country of Origin | China |
9. Warranty and Support
For warranty information and technical support, please contact KoolMore customer service directly. Details can typically be found on the manufacturer's official website or through your point of purchase.
It is recommended to register your product upon purchase to facilitate any future warranty claims or support requests.
Optional protection plans may be available for extended coverage. Please refer to your purchase documentation for details on available plans.
Related documentsKM-CGD-8HP


Ask a question about this manual
Ask about setup, troubleshooting, compatibility, parts, safety, or missing instructions. Manuals+ will review the question and use this page’s manual context to help answer it.