
1. Introduction
This manual provides detailed instructions for the assembly, operation, maintenance, and troubleshooting of your VECELO Queen Size Platform Bed Frame. Please read all instructions carefully before assembly and retain this manual for future reference.
2. Safety Information
- Maximum Weight Capacity: The VECELO Queen Size Platform Bed Frame has a maximum load capacity of 800 lbs. Do not exceed this limit to prevent damage or injury.
- Assembly: Ensure all parts are correctly assembled and tightened before use. Periodically check and retighten fasteners as needed.
- Children: Keep children away from the assembly area during installation. Small parts may pose a choking hazard.
- Placement: Place the bed frame on a level surface to ensure stability.
3. Package Contents
Before beginning assembly, verify that all components listed below are present in your package:
- 1 x Bed Frame (components)
- 1 x Accessory Bag (hardware and tools)
- 1 x Assembly Instructions (this manual)
4. Setup and Assembly Instructions
Assembly typically takes approximately 30 minutes. All necessary tools and hardware are included in the accessory bag. Follow the visual guide and steps below for proper assembly.
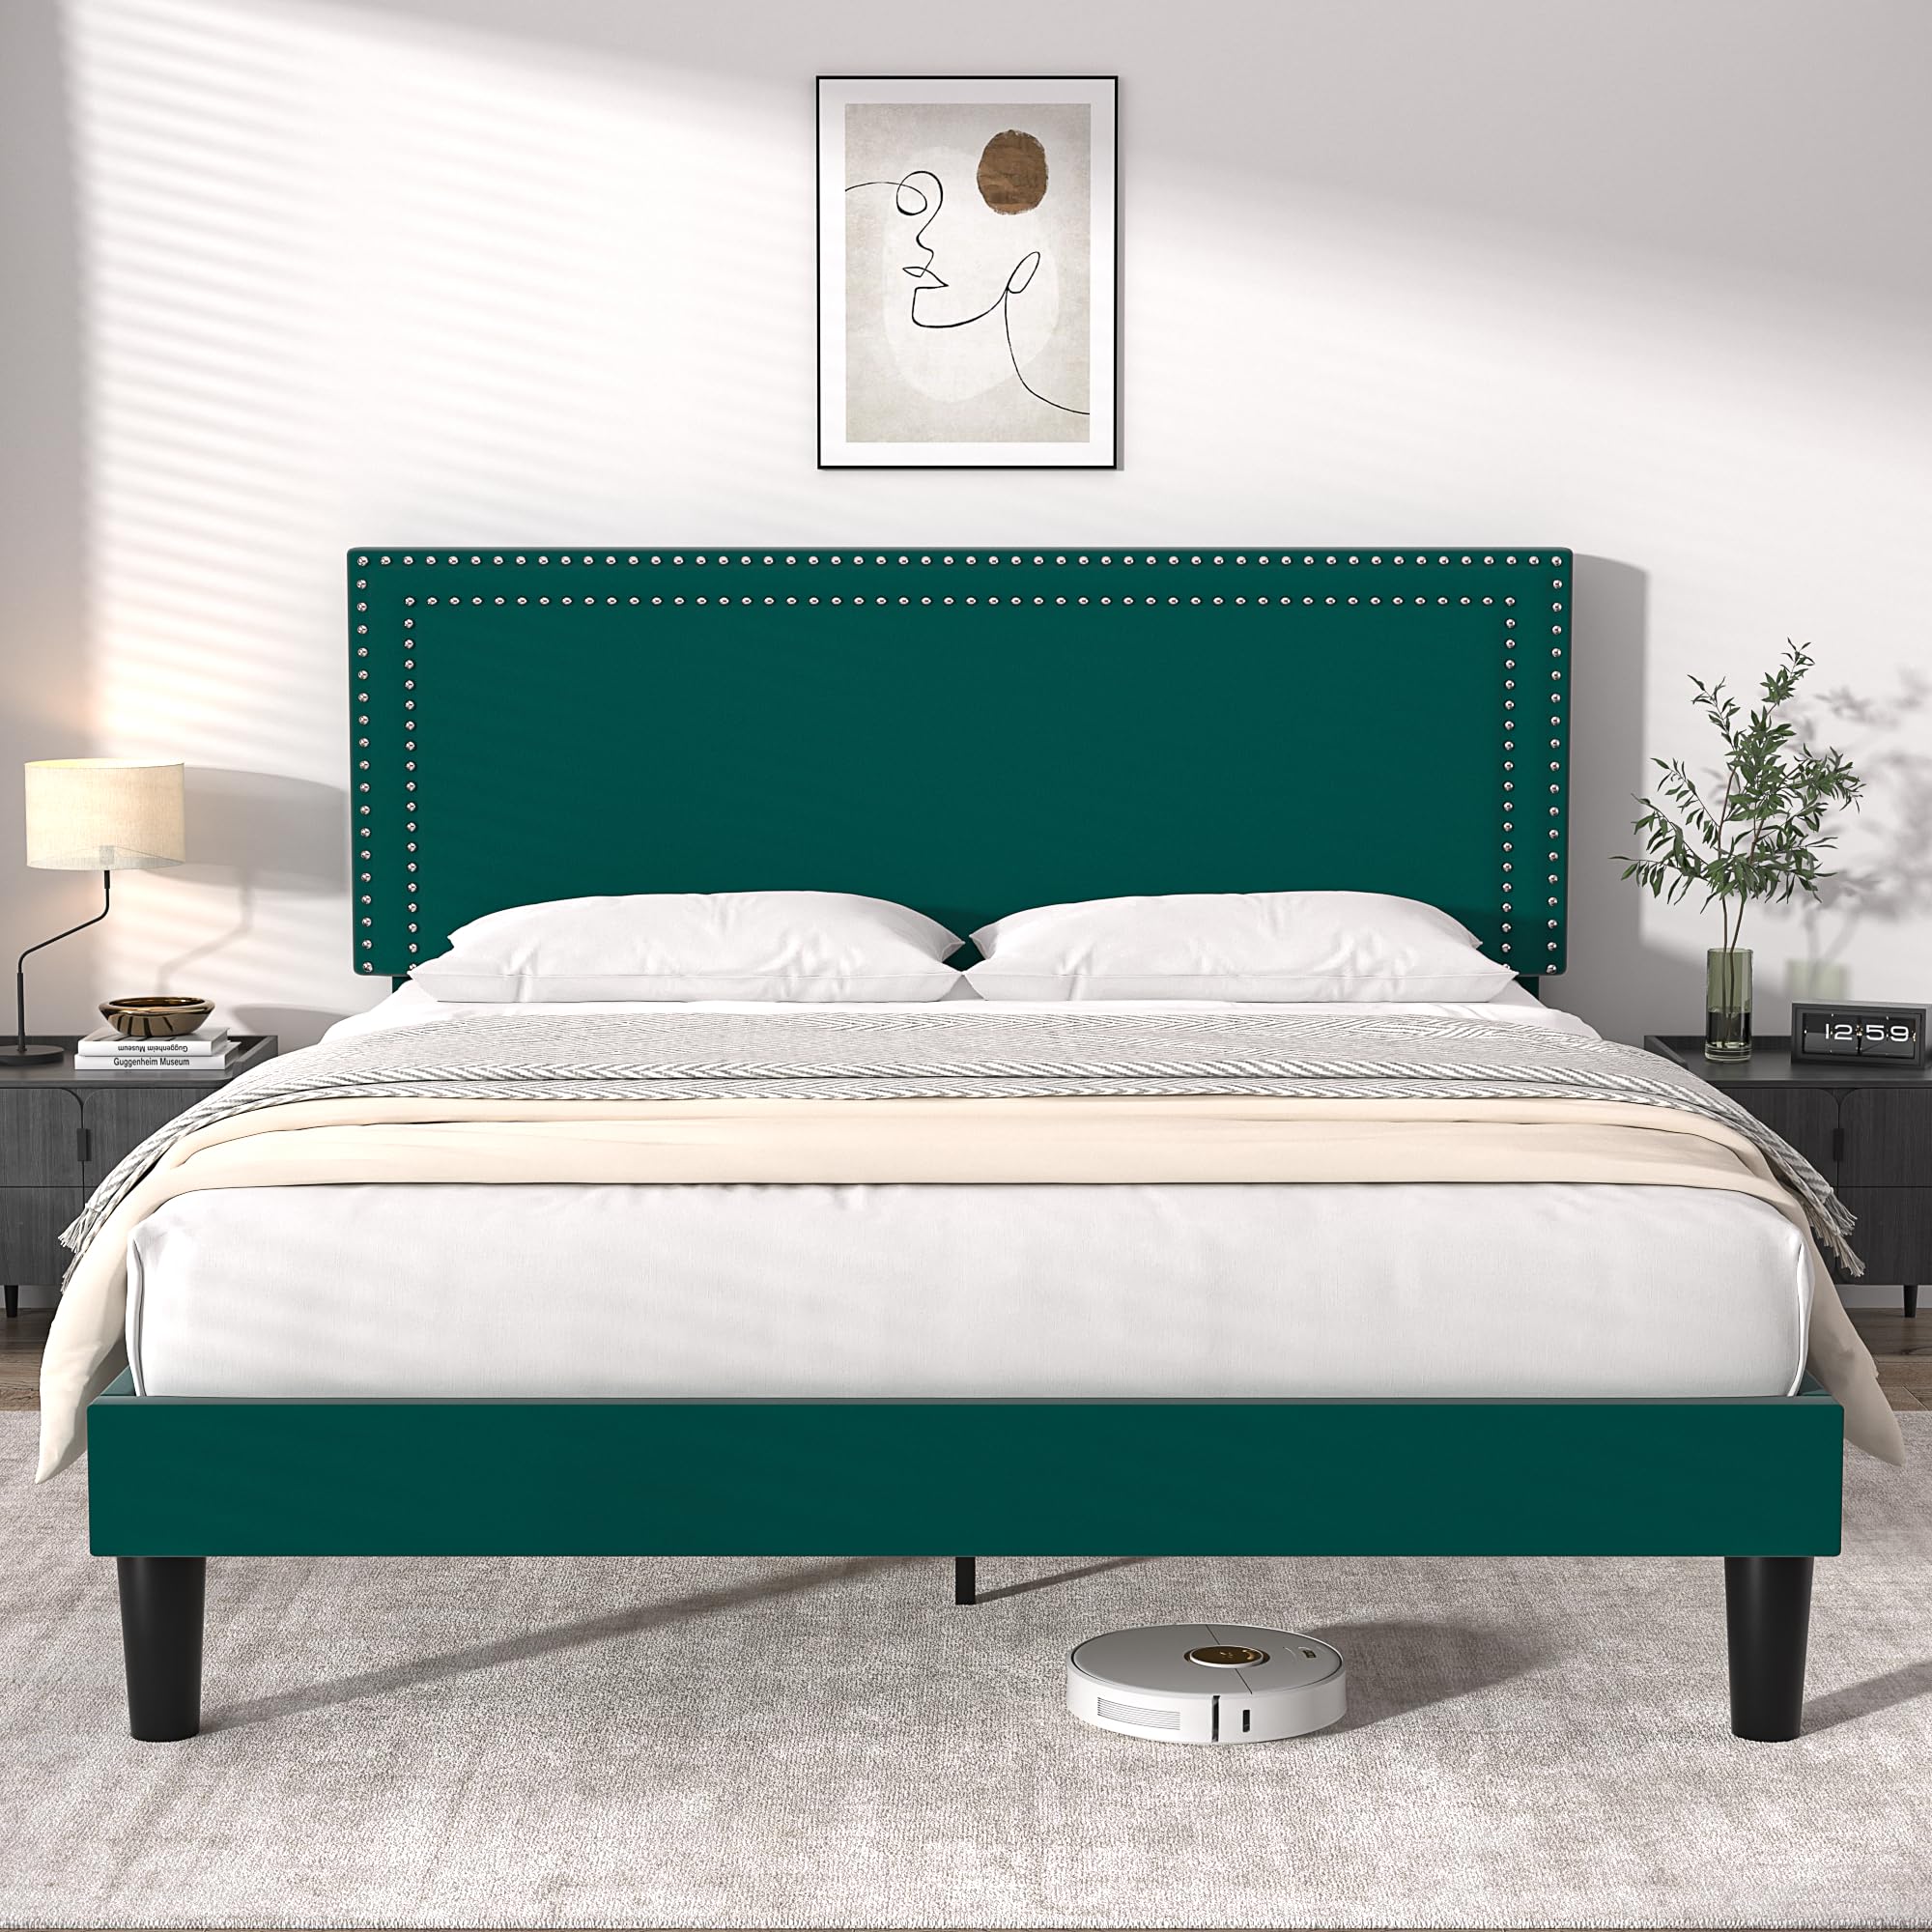
Figure 4.1: Overview of the VECELO Queen Size Platform Bed Frame, highlighting key features like dimensions, weight capacity, assembly time, and adjustable headboard.
- Unpack Components: Carefully unpack all parts from the packaging. Lay them out on a clean, soft surface to prevent scratches.
- Assemble Frame Sides: Connect the side rails to the headboard and footboard using the provided bolts and Allen wrench. Do not fully tighten bolts until all connections are made.
- Install Center Support: Attach the center support beam and legs to the frame. Ensure the support legs are securely fastened and aligned.
- Place Wood Slats: Position the wood slats across the frame. The slats are designed for quick installation with Velcro, ensuring a quiet sleep environment.
- Tighten All Fasteners: Once all parts are in place, fully tighten all bolts and screws. Do not overtighten.
- Adjust Headboard Height: The headboard offers 4 height adjustable mounting positions. Adjust to your desired height (between 41 and 47 inches) to accommodate your mattress thickness.

Figure 4.2: Close-up view of the quick-install Velcro system for securing wood slats and the metal-wood cross support structure, designed for stability and noise reduction.
5. Operating Instructions
5.1 Adjustable Headboard
The upholstered headboard can be adjusted to four different height settings, ranging from 41 inches to 47 inches from the ground. This feature allows you to customize the headboard height to perfectly suit mattresses with a thickness between 8 and 14 inches.

Figure 5.1: Illustration of the adjustable headboard, demonstrating the 41-47 inch height range and recommending an 8-14 inch mattress thickness for optimal fit.
5.2 Under-Bed Clearance
The bed frame provides 7.8 inches of clearance from the ground. This space is suitable for additional storage or allows for easy cleaning underneath the bed, including access for robotic vacuum cleaners.

Figure 5.2: View of the 7.8-inch under-bed clearance, illustrating how a robotic vacuum can easily access the area for cleaning.
5.3 Noise-Free Design
The metal frame incorporates foam padding internally to minimize noise. This design, combined with strong support legs, contributes to a quiet and undisturbed sleep experience.
6. Maintenance
- Cleaning the Upholstery: For the velvet upholstered headboard, gently vacuum with an upholstery attachment to remove dust. For spills, blot immediately with a clean, dry cloth. For stubborn stains, use a mild fabric cleaner following the product instructions, testing on an inconspicuous area first.
- Cleaning the Frame: Wipe metal and wood components with a soft, damp cloth. Avoid harsh chemicals or abrasive cleaners that could damage the finish.
- Regular Checks: Periodically inspect all bolts and connections to ensure they remain tight. Retighten as necessary to maintain stability and prevent squeaking.
7. Troubleshooting
- Squeaking Noises: If the bed frame makes noise, check all bolts and screws. Tighten any loose fasteners. Ensure the slats are properly seated and the Velcro is securely attached. The internal foam padding should prevent most metal-on-metal noise.
- Instability/Wobbling: Verify that the bed frame is placed on a level surface. Recheck all connections to ensure they are fully tightened. Ensure all support legs are making firm contact with the floor.
- Headboard Not Adjusting: Ensure the headboard mounting bolts are loosened sufficiently to allow movement. Realign the headboard with the desired height setting and retighten the bolts securely.
8. Specifications

Figure 8.1: Visual representation of the bed frame specifications.
| Feature | Detail |
|---|---|
| Size | Queen |
| Product Dimensions (L x W x H) | 81.3" x 62.8" x 47.7" |
| Special Feature | Adjustable Headboard |
| Material | Metal, Velvet, Wood |
| Adjustable Headboard Height | 41" - 47" |
| Ground Clearance | 7.8 inches |
| Maximum Load Capacity | 800 lbs |
| Slat Spacing | 3.7" |
| Box Spring Required | No |
| Recommended Mattress Thickness | 8-14 inches |
| Assembly Required | Yes |
| Item Weight | 68 pounds |
9. Warranty and Support
VECELO provides a 24-month warranty for this product, covering manufacturing defects and material flaws under normal use. Additionally, a 30-day free return service is available from the date of purchase.
If you encounter any problems with your product, require replacement parts, or have questions regarding assembly or function, please do not hesitate to contact VECELO customer support. We are committed to resolving your issues promptly.
Contact Information: Please refer to the contact details provided on your purchase receipt or the VECELO official website for the most up-to-date support channels.