
1. Introduction
The Teltonika RUT956 is a robust industrial cellular router designed for professional applications requiring reliable and secure internet connectivity. It supports 4G LTE (Cat 4), 3G, and 2G networks, features dual SIM slots for failover, and offers multiple interfaces including Ethernet, RS232, RS485, and I/O. Integrated GNSS provides location services and time synchronization. This manual provides essential information for the proper installation, configuration, and operation of your RUT956 router.

Figure 1: Teltonika RUT956 Industrial Cellular Router with connected antennas.
2. Package Contents
Verify that your package contains all the following items:
- RUT956 router
- 9W Power Supply Unit (PSU)
- 2 x LTE antennas (Magnetic Mount, SMA Male, 3M Cable)
- 2 x Wi-Fi Antennas (Magnetic Mount, RP-SMA Male, 1.5M Cable)
- GNSS antenna with 3m cable
- RS485 connector block
- I/O connector block
- 1.5 m Ethernet cable
- SIM adapter kit
- User Manual (printed or digital)

Figure 2: All components included in the RUT956 product package.
3. Product Overview
3.1. Device Layout and Interfaces
The Teltonika RUT956 features various ports and indicators for connectivity and status monitoring. Familiarize yourself with the device layout before installation.

Figure 3: Detailed panel view of the RUT956, highlighting LAN, WAN, RS485, RS232, I/O, power socket, mobile signal LEDs, SIM holders, USB, reset button, and antenna connectors.
- LAN Ports (3x 10/100Mbps): For connecting local network devices.
- WAN Port (1x 10/100Mbps): For connecting to an external network, e.g., a modem or another router. Can be configured as a fourth LAN port.
- RS485 Interface: Serial communication port for industrial applications.
- RS232 Interface: Serial communication port for industrial applications.
- I/O (Input/Output): Digital input/output for external device control and monitoring.
- Power Socket: For connecting the 9W PSU.
- Mobile Signal Strength Indication LEDs: Indicate the strength of the cellular signal.
- Mobile Connection Status LED: Indicates the status of the cellular connection.
- SIM Holders (2x): Slots for inserting Mini-SIM cards.
- USB Port: For connecting USB devices.
- Reset Button: To restore factory default settings or reboot the device.
- Antenna Connectors: Mobile (MAIN/AUX), Wi-Fi, and GNSS.
4. Setup
4.1. SIM Card Installation
- Ensure the router is powered off.
- Locate the two SIM holders on the side panel of the device.
- Using the provided SIM needle, press the small button next to the SIM holder to eject the SIM tray.
- Place your Mini-SIM card(s) into the tray(s) with the gold contacts facing down and the notched corner aligned correctly.
- Carefully reinsert the SIM tray(s) into the router until it clicks into place.

Figure 4: Visual guide for inserting dual SIM cards into the RUT956.
4.2. Antenna Connection
Connect the antennas to their respective connectors on the router:
- Connect the two LTE antennas to the "Mobile" (MAIN and AUX) connectors.
- Connect the two Wi-Fi antennas to the "Wi-Fi" connectors.
- Connect the GNSS antenna to the "GPS" connector.
Ensure all antennas are securely tightened to ensure optimal signal reception.
4.3. Power Connection
- Connect the 9W PSU to the power socket on the router.
- Plug the PSU into a suitable power outlet.
- The router will power on automatically. Observe the status LEDs for boot-up sequence.
5. Operation
5.1. Initial Access to Web Interface
To configure your RUT956 router, access its web interface:
- Connect your computer to one of the router's LAN ports using an Ethernet cable.
- Open a web browser and navigate to the default IP address: http://192.168.1.1.
- Enter the default login credentials (usually found on a sticker on the device or in the quick start guide).
- Follow the setup wizard to configure your internet connection, Wi-Fi settings, and other parameters.
5.2. Cellular Connectivity
The RUT956 supports 4G LTE (Cat 4), 3G, and 2G connectivity. Once SIM cards are installed and the device is powered on, it will attempt to establish a cellular connection. Monitor the Mobile Signal Strength Indication LEDs and Mobile Connection Status LED to verify connectivity.
The device is compatible with all major USA carriers, including Verizon, AT&T, and T-Mobile.

Figure 5: The RUT956 is certified for use with major US cellular carriers.
6. Key Features
6.1. Global Navigation Satellite System (GNSS)
The integrated GNSS module provides accurate location services and precise time synchronization for applications requiring geographical data or time-sensitive operations.

Figure 6: The RUT956's GNSS feature for location tracking and time synchronization.
6.2. Remote Management System (RMS)
Teltonika's Remote Management System (RMS) allows for centralized monitoring, configuration, and management of your RUT956 router and other Teltonika devices from a single web-based platform. This facilitates remote access, VPN services, and device oversight.
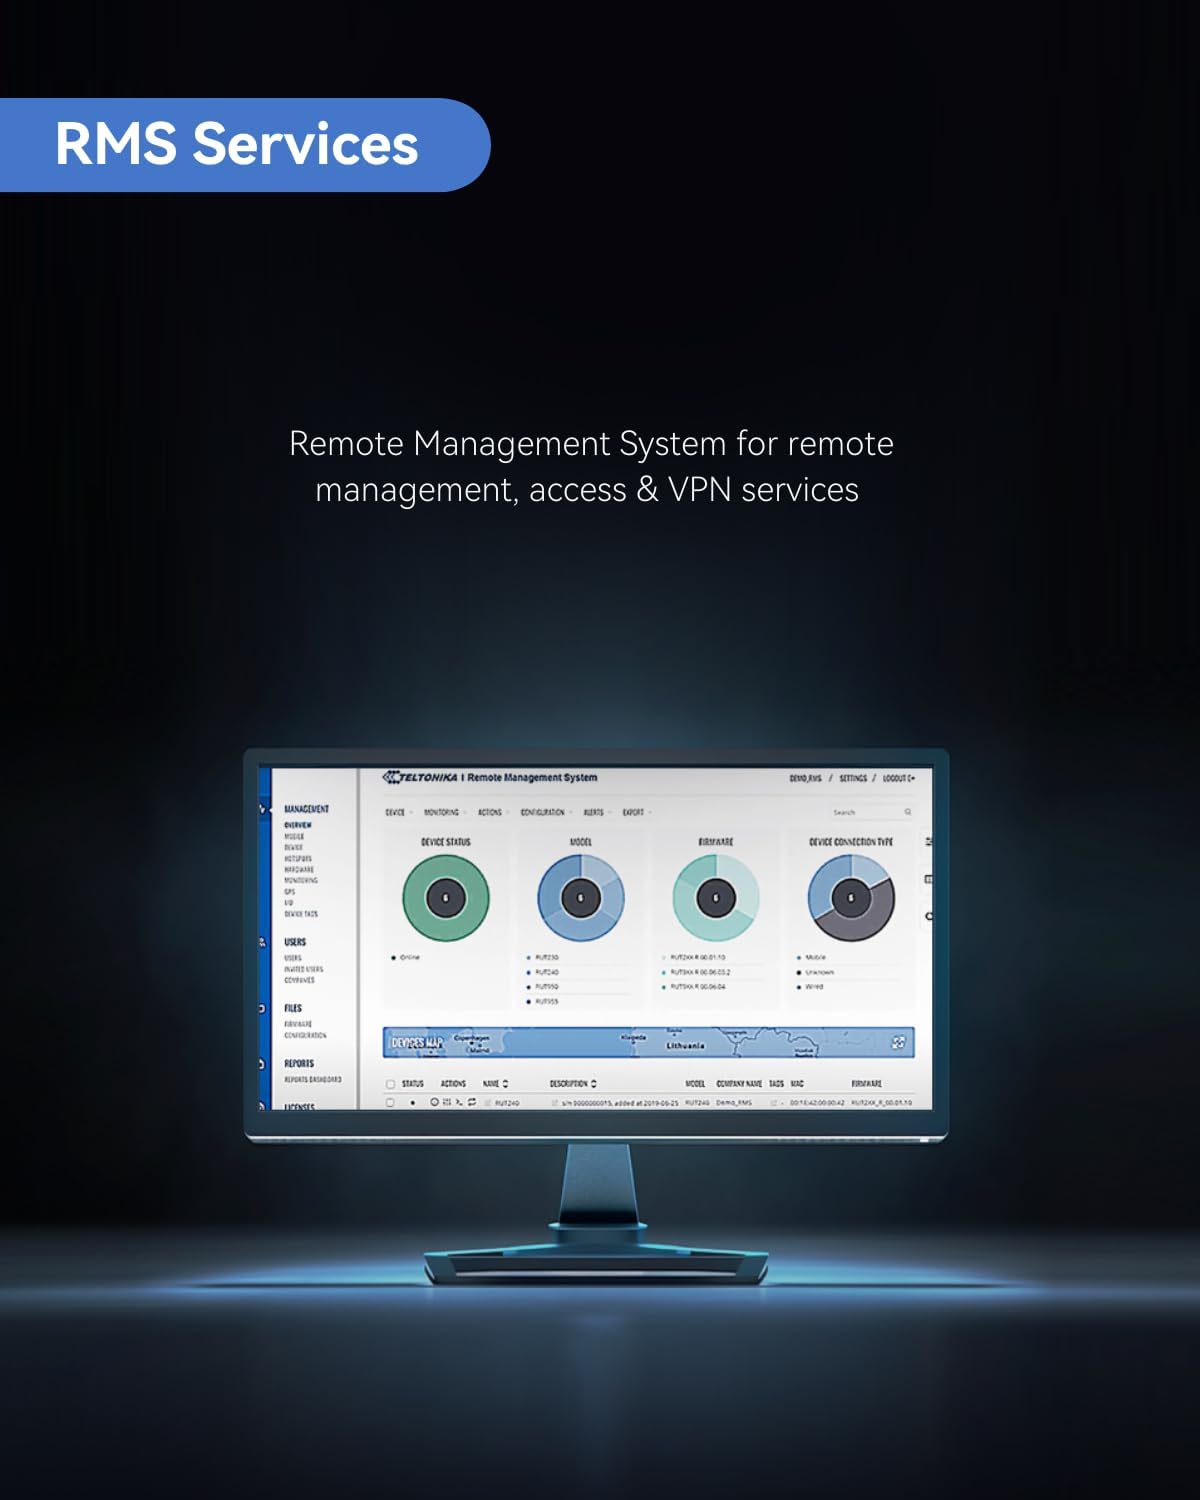
Figure 7: The RMS interface for remote management of the RUT956.
6.3. Industrial Design
The RUT956 is built with an aluminum housing and plastic panels, designed to withstand challenging industrial environments. It features a wide operating temperature range, high humidity tolerance, and broad voltage input capabilities.
- Operating Temperature: -40°F to 167°F (-40°C to 75°C)
- Relative Humidity: 10% to 90% non-condensing
- Voltage Input: 9-30V DC

Figure 8: The RUT956's robust industrial design features.
7. Maintenance
7.1. Firmware Updates
Regularly check for and install firmware updates to ensure optimal performance, security, and access to new features. Firmware updates can typically be performed via the router's web interface or through the Teltonika RMS.
7.2. Factory Reset
If the router experiences persistent issues or you need to revert to default settings, a factory reset can be performed by pressing and holding the reset button for approximately 10 seconds while the device is powered on. Refer to the device's specific documentation for exact timing and procedure.
8. Troubleshooting
- No Power: Ensure the power adapter is correctly connected to both the router and a working power outlet. Check the power LED indicator.
- No Cellular Connection: Verify that SIM cards are correctly inserted and active. Check antenna connections. Ensure your cellular plan is active and has data. Consult the Mobile Signal Strength LEDs.
- Cannot Access Web Interface: Confirm your computer is connected to a LAN port and its IP settings are configured for DHCP or a static IP within the router's subnet (e.g., 192.168.1.x). Try clearing your browser's cache or using a different browser.
- Slow Internet Speed: Check cellular signal strength. Ensure antennas are positioned optimally. Consider network congestion or data plan limitations.
For more detailed troubleshooting, refer to the official Teltonika Networks documentation or contact technical support.
9. Specifications
| Model Name | RUT956 |
| Product Dimensions | 4.33 x 1.96 x 1.97 inches (110 x 50 x 50 mm) |
| Item Weight | 2.24 pounds (approx. 1.02 kg) |
| Connectivity Technology | Ethernet, 4G LTE (Cat 4), 3G, 2G |
| Wireless Communication Standard | 802.11bgn (Wi-Fi) |
| Frequency Band Class | Dual-Band |
| Interfaces | 3x LAN, 1x WAN (configurable), RS232, RS485, I/O, USB |
| SIM Slots | Dual Mini-SIM |
| GNSS | Integrated Global Navigation Satellite System |
| Operating Temperature | -40°F to 167°F (-40°C to 75°C) |
| Power Input | 9-30V DC |
| Housing | Aluminum with plastic panels |

Figure 9: Physical dimensions and weight of the RUT956 router.
10. Warranty and Support
For warranty information, please refer to the documentation provided with your product or visit the official Teltonika Networks website. Technical support is available to assist with any issues or questions regarding your RUT956 router. Local US technical support is also available via phone and email.

Figure 10: Information regarding US-based technical support for Teltonika products.


