1. Introduction
Welcome to the Krups Aroma Partner Drip Coffee Maker KM761DMX user manual. This guide provides essential information for the safe and efficient operation, maintenance, and troubleshooting of your new coffee maker. Please read all instructions carefully before first use and keep this manual for future reference.
Important Safety Instructions
- Always unplug the appliance from the outlet before cleaning or when not in use.
- Do not immerse the cord, plugs, or the appliance in water or other liquid.
- Close supervision is necessary when any appliance is used by or near children.
- Do not operate any appliance with a damaged cord or plug, or after the appliance malfunctions or has been damaged in any manner.
- This appliance is for household use only.

Figure 1: Krups Aroma Partner Drip Coffee Maker KM761DMX
2. Product Components
Familiarize yourself with the various parts of your Krups Aroma Partner coffee maker:
- Water Tank: For filling with fresh water.
- Coffee Bean/Grounds Container: Integrated, airtight container for storing up to 400g of ground coffee.
- Control Panel: Digital display and buttons for programming and operation.
- Coffee Dispensing Lever: Mechanism to release ground coffee into the filter.
- Filter Basket: Holds the coffee filter and ground coffee during brewing.
- Glass Carafe: 10-cup capacity carafe for collecting brewed coffee.
- Heating Plate: Keeps the carafe warm after brewing.
- Lid Assembly: Includes the lid for the coffee grounds container and the filter cone.

Figure 2: Exploded view of coffee maker components

Figure 3: Close-up of the lid and filter assembly
3. Initial Setup and First Use
3.1 Unpacking and Cleaning
- Remove all packaging materials and promotional labels from your coffee maker.
- Wash the glass carafe, carafe lid, filter basket, and coffee grounds container in warm, soapy water. Rinse thoroughly and dry.
- Wipe the exterior of the coffee maker with a damp cloth.
3.2 First Brew Cycle (Cleaning)
Before brewing coffee for consumption, run two full cycles with only water to clean the internal components:
- Fill the water tank to the 10-cup mark with fresh, cold water.
- Place the empty filter basket and glass carafe in position.
- Press the 'START' button to begin the cycle.
- Once the cycle is complete, discard the water from the carafe.
- Repeat steps 1-4 once more.
4. Operating Instructions
4.1 Filling the Water Tank
Open the water tank lid and fill with fresh, cold water up to the desired number of cups indicated on the water level indicator. Do not exceed the maximum fill line.
4.2 Adding Ground Coffee
- Open the lid of the integrated coffee grounds container.
- Pour your preferred ground coffee into the container. The container can hold up to 400g of coffee, designed to preserve freshness and aroma.
- Close the lid securely.
4.3 Setting Coffee Quantity and Intensity
Your coffee maker features automatic and precise dosing with three intensity levels:

Figure 4: Control Panel for settings
- Use the 'Cups' button (often indicated by a coffee cup icon or numbers like '2-10') to select the desired number of cups.
- Use the 'Intensity' button (often indicated by a bean icon or 'P' for strong) to choose your preferred coffee strength: mild, medium, or strong.
- Before brewing, ensure the coffee dispensing lever is in the correct position to release the selected amount of coffee into the filter basket.
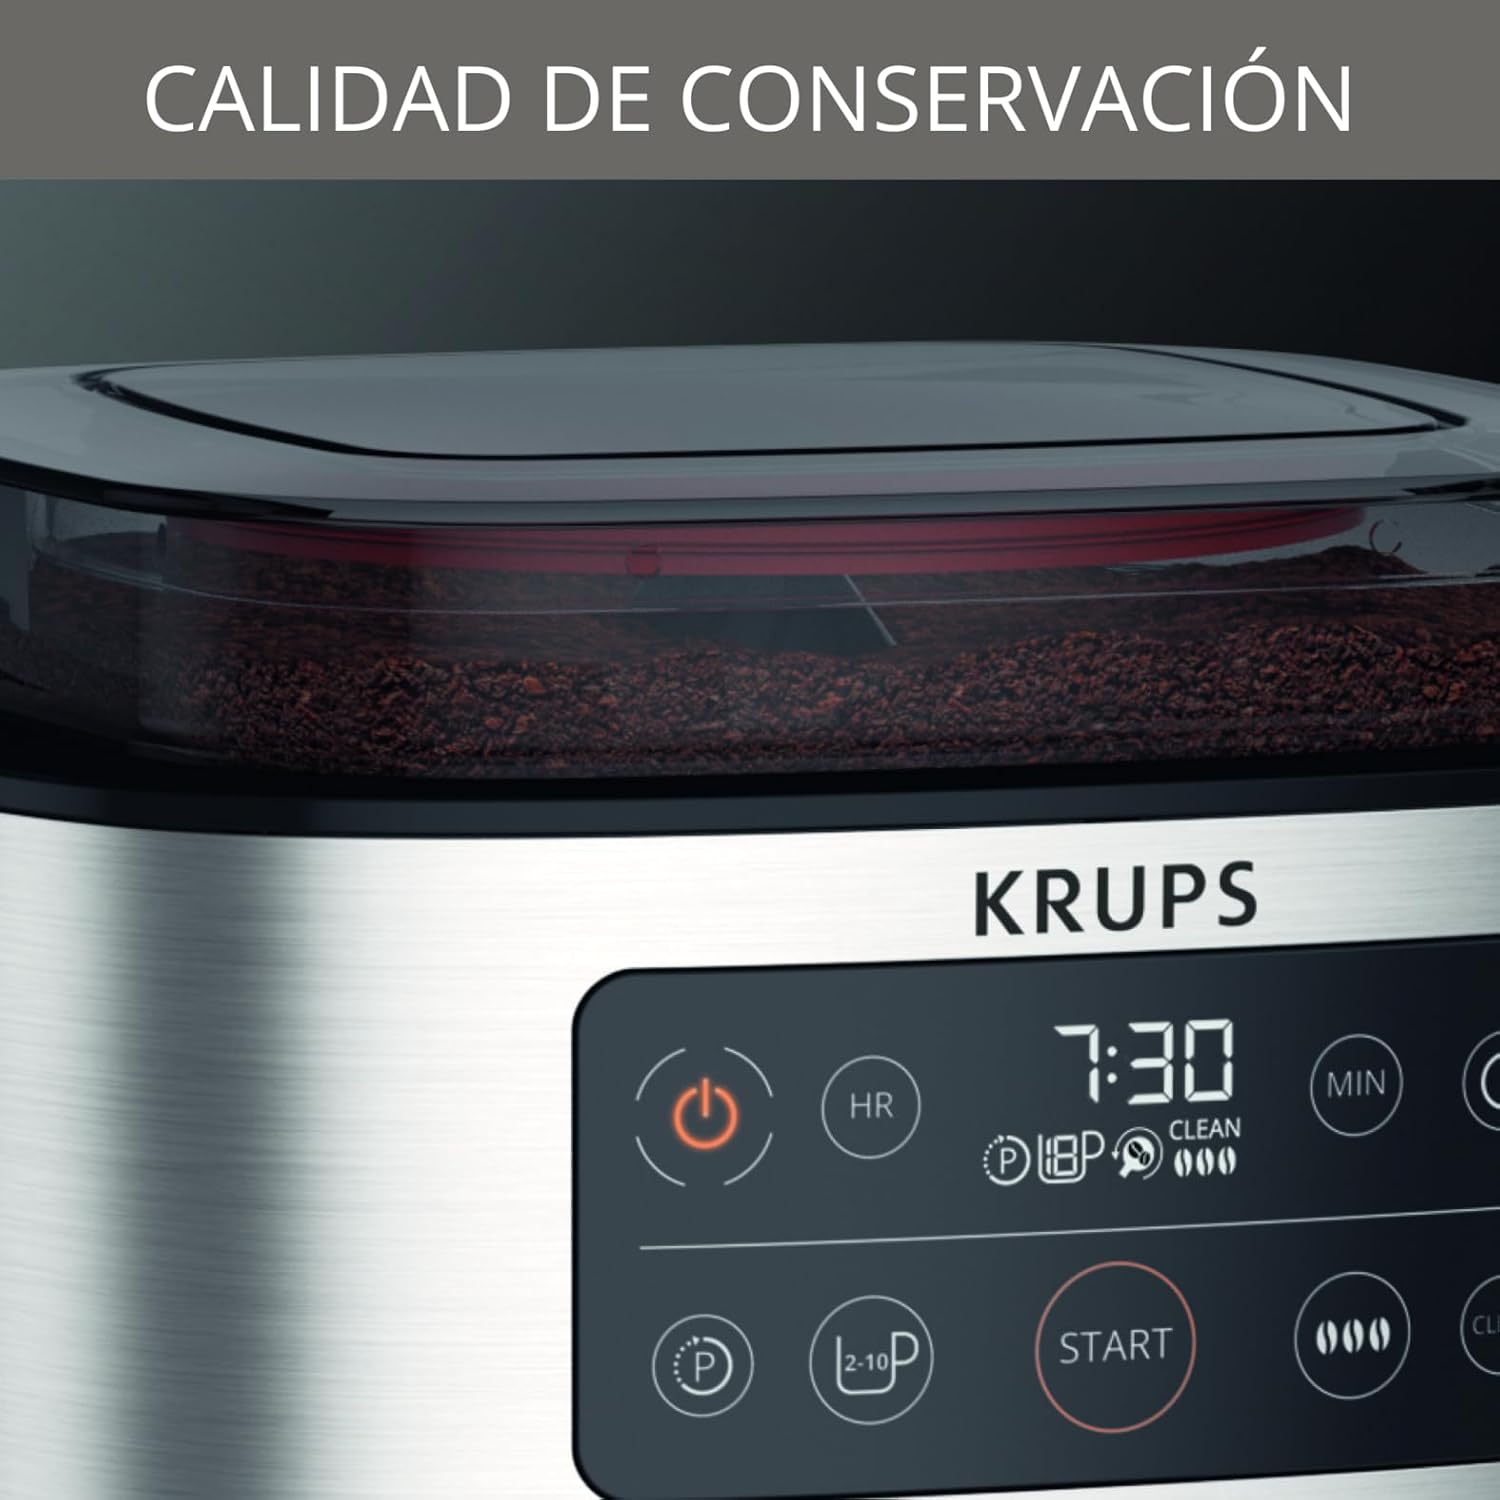
Figure 5: Coffee dispensing lever
4.4 Brewing Coffee
- Ensure the glass carafe with its lid is correctly placed on the heating plate.
- Press the 'START' button to begin the brewing process. The indicator light will illuminate.
- The coffee maker will automatically dispense the selected amount of ground coffee and brew.
- Once brewing is complete, the coffee maker will enter a 30-minute keep-warm cycle.
- After 30 minutes, the appliance will automatically shut off.

Figure 6: Coffee maker in operation
4.5 Using the Programmable Timer
The 24-hour programmable timer allows you to set a specific time for your coffee to start brewing automatically.
- Prepare the coffee maker as described in sections 4.1-4.3 (water, coffee, settings).
- Press the 'PROG' button (often indicated by a clock icon).
- Use the 'HR' and 'MIN' buttons to set your desired brew time.
- Press the 'PROG' button again to confirm. The timer indicator will light up.
- The coffee maker will automatically start brewing at the set time.
5. Cleaning and Maintenance
Regular cleaning ensures optimal performance and extends the life of your coffee maker. The appliance features an automatic cleaning indication and cycle.
5.1 Daily Cleaning
- Always unplug the coffee maker and allow it to cool completely before cleaning.
- Remove the glass carafe, carafe lid, and filter basket. Wash them in warm, soapy water or in the dishwasher (if dishwasher-safe).
- Empty any remaining coffee grounds from the integrated container. The intelligent filter holder opens and closes for easy emptying.
- Wipe the exterior of the coffee maker with a damp cloth. Do not use abrasive cleaners or scouring pads.
5.2 Descaling
Over time, mineral deposits can build up in your coffee maker, affecting performance. The coffee maker will indicate when descaling is needed.
- Prepare a descaling solution according to the descaler manufacturer's instructions, or use a mixture of white vinegar and water (e.g., 500ml white vinegar and 500ml water).
- Pour the descaling solution into the water tank.
- Place the empty carafe on the heating plate.
- Initiate the descaling cycle as indicated in your specific model's instructions (often by pressing and holding a 'CLEAN' button).
- After the descaling cycle, run at least two full cycles with fresh water to rinse the appliance thoroughly.
6. Troubleshooting
If you encounter issues with your coffee maker, refer to the table below for common problems and solutions.
| Problem | Possible Cause | Solution |
|---|---|---|
| Coffee does not brew. | No water in tank, power not connected, timer set. | Fill water tank, check power plug, check timer settings. |
| Coffee is too weak. | Insufficient coffee grounds, incorrect intensity setting. | Add more coffee grounds, select a stronger intensity setting. |
| Coffee overflows from filter. | Too much coffee grounds, filter basket clogged, carafe not placed correctly. | Reduce coffee grounds, clean filter basket, ensure carafe is centered. |
| Appliance leaks. | Water tank not properly seated, carafe not correctly positioned. | Ensure water tank is secure, reposition carafe. |
| 'CLEAN' indicator light is on. | Descaling is required. | Perform a descaling cycle as per section 5.2. |
7. Product Specifications
- Brand: KRUPS
- Model Number: KM761DMX
- Color: Stainless Steel
- Dimensions: 35.6 x 45.1 x 28.6 cm
- Weight: 4.11 kg
- Capacity: 10 Cups
- Power: 1000 watts
- Material: Stainless Steel
- Special Feature: Integrated airtight coffee grounds container, Automatic Dosing, Programmable Timer, 30-minute Keep Warm function, Automatic Shut-off, Cleaning Indicator.
8. Warranty and Support
Your Krups Aroma Partner Drip Coffee Maker KM761DMX is covered by a manufacturer's warranty. Please refer to the warranty card included with your purchase for specific terms and conditions, including the warranty period and coverage details.
For technical assistance, spare parts, or warranty claims, please contact KRUPS customer support. Contact information can typically be found on the KRUPS official website or on the warranty card.
Online Support: Visit the official KRUPS Store for product information and support resources.


