
Introduction
This manual provides essential instructions for the safe and efficient operation, assembly, and maintenance of your MZK 40V 12-inch Cordless Garden Tiller. Please read this manual thoroughly before using the product and retain it for future reference. This tiller is designed for cultivating soil in gardens, preparing seedbeds, and aerating lawns.
Important Safety Information
Always prioritize safety when operating power tools. Failure to follow these instructions may result in serious injury or property damage.
- Always wear appropriate protective gear, including gloves, safety glasses, and sturdy footwear, when operating the tiller.
- Keep hands and feet away from moving parts, especially the tines, during operation and when the battery is installed.
- Do not operate the tiller in wet or slippery conditions to prevent loss of control.
- Ensure the work area is clear of debris, rocks, and other objects that could be thrown by the tines or damage the machine.
- Always follow proper battery handling and charging procedures as outlined in this user manual. Use only MZK approved batteries and chargers.
- Before performing any maintenance, cleaning, or storage, always remove the battery pack from the tiller.
- Keep children and bystanders at a safe distance (at least 50 feet) from the operating area.
- Inspect the tiller for any damage or loose parts before each use. Do not operate if damaged.

Image: The MZK 40V 12-inch Cordless Garden Tiller, shown with its two 4.0Ah batteries and two chargers. The tiller features a black and red design with a sturdy handle and tines.
Setup and Assembly
The MZK 40V Cordless Garden Tiller requires minimal assembly. Follow these steps to prepare your tiller for use:
- Unpacking: Carefully remove all components from the packaging. Verify that all parts listed in the packing list are present and undamaged.
- Handle Assembly: Attach the upper handle to the lower handle using the provided bolts and knobs. Ensure the handle is securely fastened.
- Wheel Assembly and Adjustment: The tiller features adjustable wheels. Attach the wheels if they are not pre-installed. Adjust the wheel height to your desired tilling depth. Lowering the wheels makes the tiller easier to maneuver, while raising them allows for deeper tilling.
- Battery Charging: Fully charge both 40V 4.0Ah batteries before first use. Insert the batteries into the provided chargers and plug them into a standard electrical outlet. The indicator light on the charger will show the charging status.
- Battery Installation: Once charged, insert the batteries into the designated battery compartments on the tiller. Ensure they click securely into place.

Image: A close-up view of the tiller's wheel height adjustment mechanism, showing three distinct positions for varying tilling depths or transport.
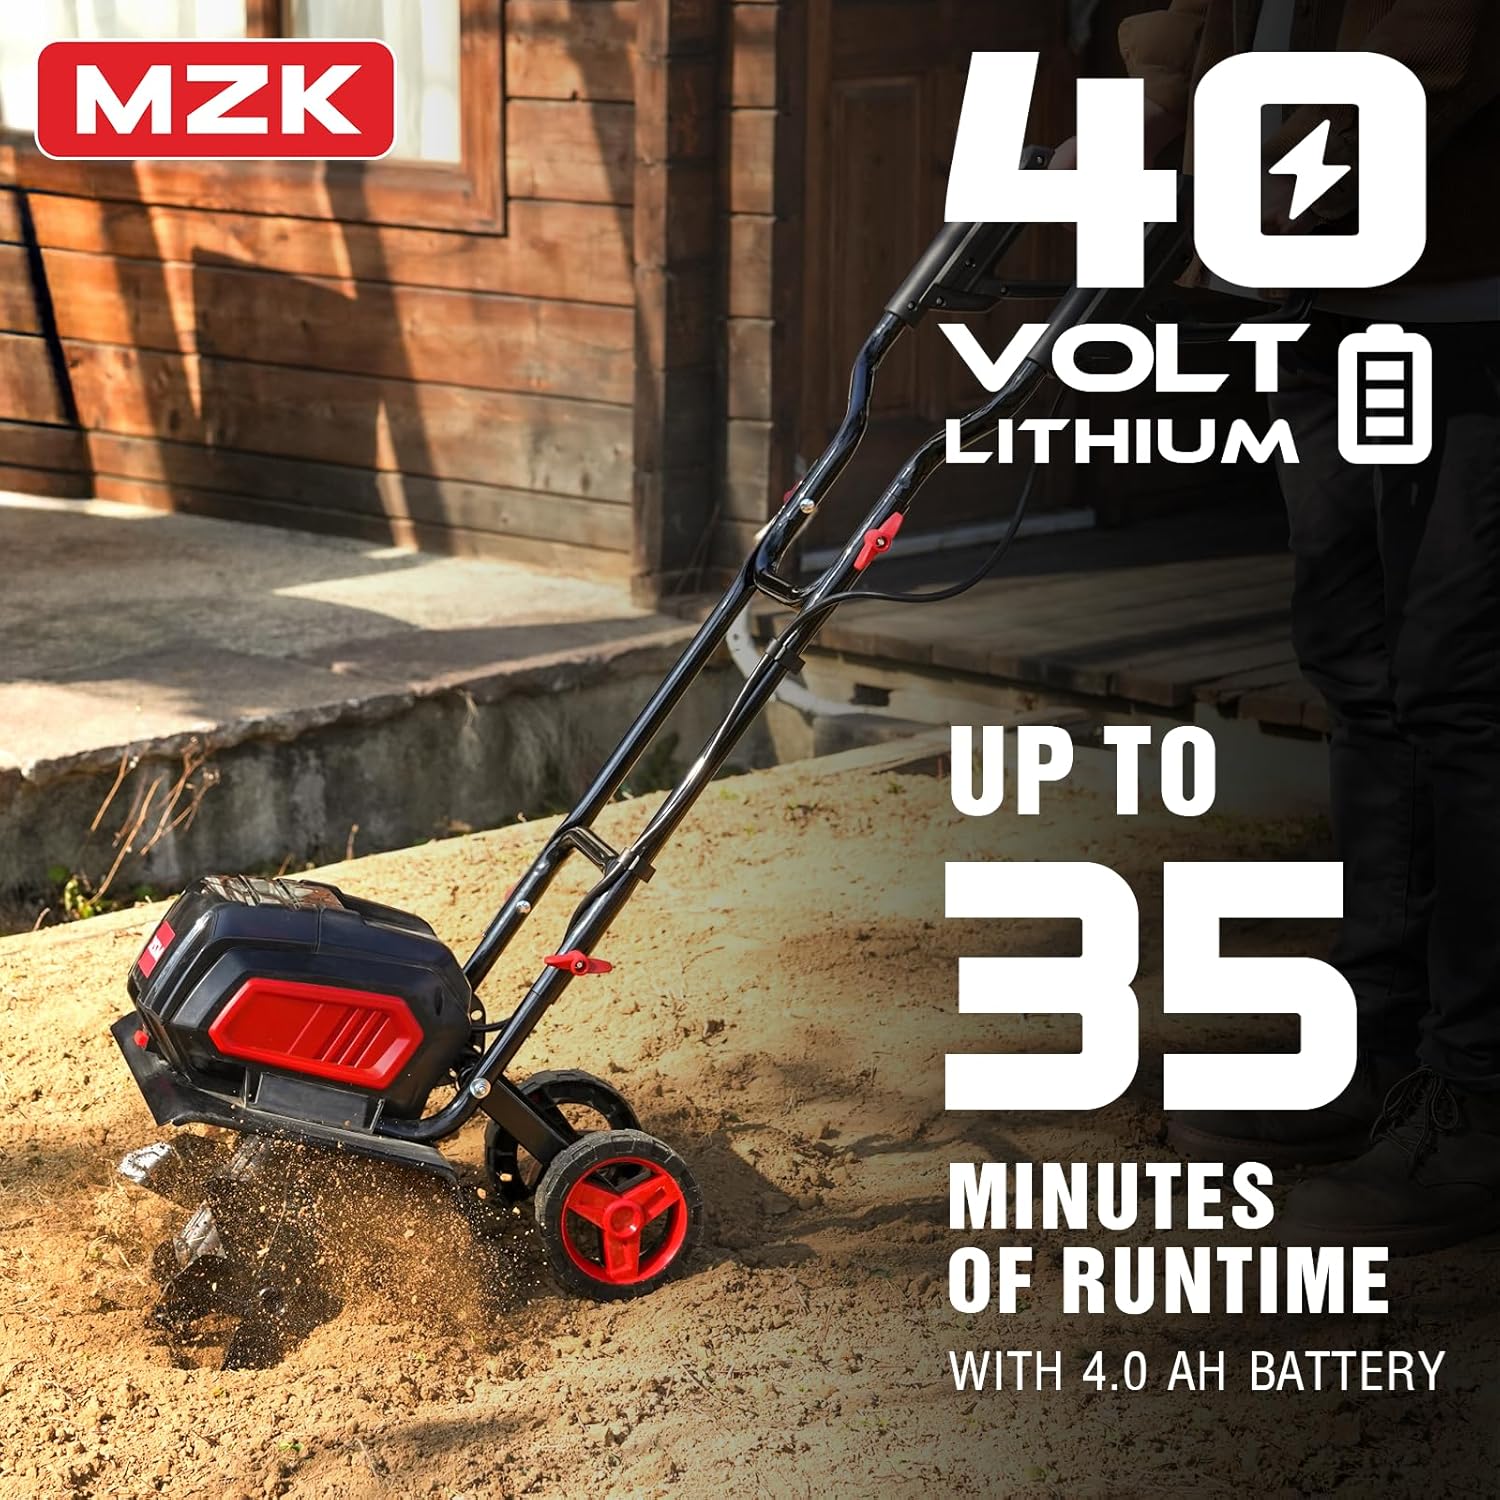
Image: An MZK 40V 4.0Ah Lithium-Ion battery, highlighting its power capacity for extended runtime.
Operating Instructions
Battery Installation and Removal
- To install: Align the battery pack with the battery port on the tiller and slide it in until it locks into place. Ensure it is fully seated.
- To remove: Press the battery release button(s) and slide the battery pack out of the tiller.
Starting and Stopping the Tiller
- Starting: To activate the tiller, first press and hold the safety switch (usually a button or lever on the handle). While holding the safety switch, squeeze the trigger lever. The tines will begin to rotate.
- Stopping: Release the trigger lever to stop the tines. The safety switch will automatically reset.

Image: A detailed view of the tiller's handle, illustrating the safety switch and trigger lever for safe operation.
Tilling Techniques
- Initial Tilling: For compacted soil, make shallow passes first to break up the top layer. Gradually increase the tilling depth with subsequent passes.
- Working Pattern: Work in straight lines, overlapping each pass slightly to ensure complete coverage. For best results, till in one direction, then make a second pass perpendicular to the first.
- Depth and Width: The MZK tiller offers a tilling width of 14 inches and a depth of up to 8.6 inches. Adjust the wheel height to control the tilling depth.
- Handling: Allow the tiller's weight and the rotating tines to do the work. Guide the tiller slowly and steadily. Avoid forcing the machine, especially in tough soil.

Image: The tiller actively cultivating soil, demonstrating its 14-inch tilling width and 8.6-inch depth capabilities.

Image: The tiller operating in soil, illustrating its high-performance cultivating action with tines rotating at 180 revolutions per minute.
Maintenance
Regular maintenance ensures the longevity and optimal performance of your MZK tiller.
- Cleaning: After each use, remove the battery and clean the tiller thoroughly. Use a stiff brush or cloth to remove soil, debris, and plant matter from the tines, housing, and wheels. Avoid using water directly on electrical components.
- Tine Inspection: Regularly inspect the tines for wear, damage, or bending. Replace worn or damaged tines immediately to maintain tilling efficiency and safety.
- Battery Care: Store batteries in a cool, dry place away from direct sunlight and extreme temperatures. Do not store batteries in a discharged state for extended periods. Charge them periodically if not in use.
- Storage: Store the tiller in a dry, secure location, out of reach of children. The tiller can be stored vertically to save space. Always remove the battery before storing.
Troubleshooting
Refer to the table below for common issues and their potential solutions.
| Problem | Possible Cause | Solution |
|---|---|---|
| Tiller does not start | Battery not installed correctly or discharged; Safety switch not engaged; Trigger not pressed. | Ensure battery is fully charged and properly seated. Press safety switch before squeezing trigger. |
| Tiller loses power during operation | Battery charge low; Overload due to dense soil or obstruction. | Recharge battery. Reduce tilling depth or clear obstruction. Allow motor to cool if overheated. |
| Tines not rotating effectively | Debris wrapped around tines; Worn or damaged tines. | Remove battery, then clear debris from tines. Inspect and replace damaged tines. |
| Excessive vibration | Loose components; Damaged tines; Unbalanced tines. | Check all fasteners for tightness. Inspect tines for damage and replace if necessary. |
Product Specifications
| Feature | Detail |
|---|---|
| Brand | MZK |
| Model Number | ET-1402 |
| Power Source | Battery Powered (40V) |
| Battery Type | Lithium-Ion (2 x 4.0Ah included) |
| Tilling Width | 14 inches |
| Tilling Depth | Up to 8.6 inches |
| Tine Material | Alloy Steel |
| Rotation Speed | 180 RPM |
| Item Weight | 33.4 Pounds |
| Product Dimensions | 18.11 x 14.57 x 54.33 inches |
Warranty and Support
MZK is committed to providing high-quality products and customer satisfaction. This product is covered by a manufacturer's warranty against defects in materials and workmanship. Please refer to the warranty card included with your purchase for specific terms and conditions, including the warranty period and claim procedures.
For technical assistance, replacement parts, or any questions regarding your MZK 40V 12-inch Cordless Garden Tiller, please contact MZK customer support. Contact information can typically be found on the product packaging or the official MZK website.