Introduction
Thank you for choosing the AIRPLUS Dehumidifier. This appliance is designed to efficiently remove excess moisture from the air, creating a more comfortable and healthier environment in your home or office. By reducing humidity, it helps prevent the growth of mold, mildew, and dust mites, and protects your belongings from moisture damage. Please read this manual thoroughly before operating the unit and keep it for future reference.
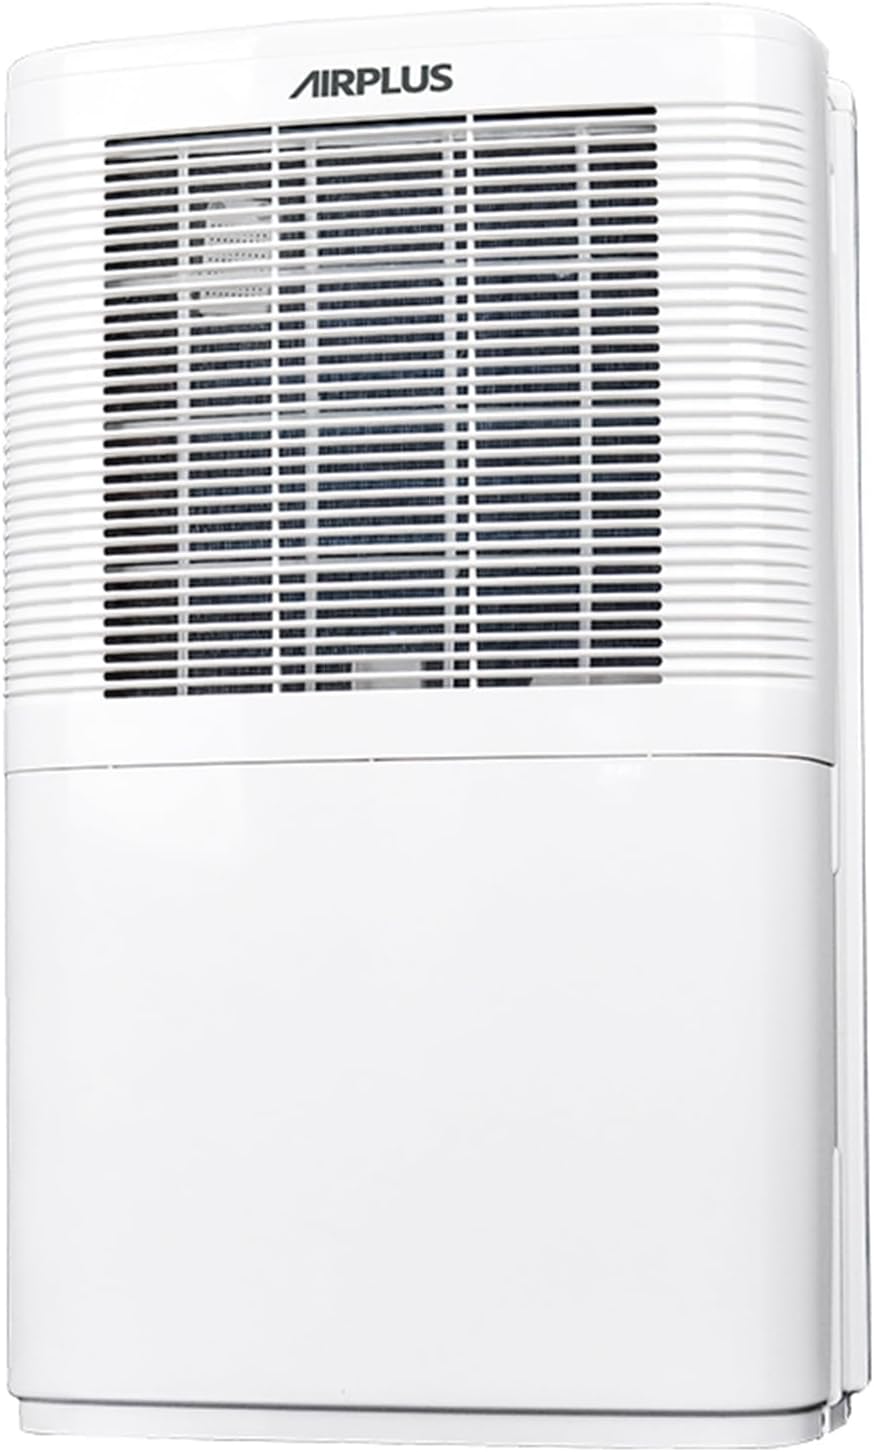
Figure 1: Front view of the AIRPLUS Dehumidifier, showcasing its compact design and air intake grille.
Important Safety Instructions
To reduce the risk of fire, electric shock, or injury when using your dehumidifier, follow these basic precautions:
- Read all instructions before using the appliance.
- Only use the dehumidifier with a properly grounded electrical outlet.
- Do not operate the unit if the power cord or plug is damaged.
- Keep the dehumidifier away from heat sources and direct sunlight.
- Ensure proper clearance around the unit for adequate airflow (at least 8 inches from walls or furniture).
- Do not insert fingers or foreign objects into the air inlet or outlet.
- Always turn off and unplug the unit before cleaning or performing any maintenance.
- Do not use the dehumidifier in areas where water is likely to splash onto it.
- This appliance is not intended for use by persons (including children) with reduced physical, sensory or mental capabilities, or lack of experience and knowledge, unless they have been given supervision or instruction concerning use of the appliance by a person responsible for their safety.
Product Overview
Components
Familiarize yourself with the main parts of your AIRPLUS Dehumidifier:
- Control Panel: Located on the top, for setting modes, humidity, and timer.
- Air Inlet Grille: Front-facing grille where air enters the unit.
- Air Outlet: Top-facing vent where dehumidified air exits.
- Water Tank: Removable tank at the bottom for collecting condensed water.
- Drain Outlet: Located at the back for continuous drainage.
- Washable Air Filter: Located behind the air inlet grille, designed to capture dust.
- Concave Handle: Integrated handle for easy portability.

Figure 2: Side view of the AIRPLUS Dehumidifier with key dimensions (12"D x 8.9"W x 20.7"H) indicated, highlighting its compact size for various room placements.

Figure 3: Close-up view of the integrated concave handle on the side of the dehumidifier, designed for easy lifting and transport.
Control Panel
The control panel allows you to manage all functions of your dehumidifier:
- HUM (Humidity): Displays current humidity and allows setting target humidity.
- TIMER: Activates the 24-hour timer for scheduled operation.
- SPEED: Adjusts fan speed between Low and High.
- MODE: Cycles through Dehumidifier, Anion, and Fan modes.
- Power Button: Turns the unit On or Off.

Figure 4: Detailed view of the control panel with buttons for Humidity, Timer, Speed, Mode, and Power, along with a digital display for settings.
Setup
Unpacking
- Carefully remove the dehumidifier from its packaging.
- Remove all packing materials, tapes, and protective films.
- Inspect the unit for any shipping damage. If damaged, do not operate and contact customer support.
Placement
For optimal performance, place the dehumidifier in a central location within the area you wish to dehumidify. Ensure:
- The unit is on a flat, stable surface.
- There is at least 8 inches (20 cm) of space around all sides for proper air circulation.
- All windows and doors in the room are closed to maximize efficiency.
- Do not place the unit near heat-generating appliances or in direct sunlight.

Figure 5: The AIRPLUS Dehumidifier shown in different environments, including a living room, basement, bedroom, and office, illustrating its versatility for various spaces.
Drainage Options
Your AIRPLUS Dehumidifier offers two methods for water removal:

Figure 6: Illustration of the two drainage methods: manual drainage using the 2.8L water tank and continuous drainage via a connected hose.
Manual Drainage (Water Tank)
The unit will automatically shut off when the water tank is full. The "Full Tank" indicator light will illuminate. To empty:
- Gently pull out the water tank from the front of the unit.
- Carefully carry the tank to a sink or drain.
- Pour out the collected water.
- Slide the empty water tank back into the dehumidifier until it clicks into place.
Continuous Drainage (Drain Hose)
For continuous operation without needing to empty the tank, you can connect a drain hose (not included) to the unit's drain outlet.
- Locate the drain outlet at the back of the dehumidifier.
- Remove the rubber stopper from the drain outlet.
- Connect a standard garden hose (or suitable tubing) to the drain outlet. Ensure the connection is secure to prevent leaks.
- Route the hose downwards to a floor drain, large bucket, or other suitable drainage point. Ensure there are no kinks or blockages in the hose.
- The unit will now drain continuously, bypassing the water tank.

Figure 7: Step-by-step visual guide showing the removal of the drain plug and connection of a continuous drain hose to the dehumidifier's rear outlet.
Operating Instructions
Power On/Off
Plug the power cord into a grounded electrical outlet. Press the Power button on the control panel to turn the unit ON or OFF.
Mode Selection
Press the MODE button to cycle through the available operating modes:
- Dehumidifier Mode: The primary mode for moisture removal. The unit will operate based on your set humidity level.
- Anion Mode: Activates the anion function, which helps purify the air. Press and hold the MODE button for 5 seconds to activate.
- Fan Mode: The unit operates as a fan, circulating air without dehumidifying.
Humidity Setting
In Dehumidifier Mode, press the HUM button to adjust the desired humidity level. The humidity can be set in 5% increments. The unit will automatically turn on or off to maintain the set humidity.
Fan Speed Adjustment
Press the SPEED button to switch between Low and High fan speeds. Higher fan speed results in faster dehumidification.
Timer Function
The timer function allows you to set the unit to automatically turn ON or OFF after a specified period (0-24 hours).
- Press the TIMER button.
- Use the HUM or SPEED buttons to adjust the desired time in hours.
- The timer will activate after a few seconds of inactivity.

Figure 8: Visual representation of the 24-hour two-way timing feature, allowing users to preset both boot-up and shutdown times for automated operation.
Maintenance
Regular maintenance ensures optimal performance and extends the lifespan of your dehumidifier.
Cleaning the Air Filter
The air filter should be cleaned every two weeks or more frequently depending on usage and air quality.
- Turn off the dehumidifier and unplug it from the power outlet.
- Locate the air filter behind the front air inlet grille.
- Gently pull down the filter to remove it.
- Wash the filter with warm, soapy water. Rinse thoroughly and allow it to air dry completely before reinstalling.
- Alternatively, you can use a vacuum cleaner with a brush attachment to remove dust from the filter.
- Once dry, slide the filter back into its slot until it is securely in place.

Figure 9: Diagram illustrating how to pull down and remove the washable air filter from the dehumidifier for cleaning.
Emptying the Water Tank
If you are not using the continuous drainage option, the water tank will need to be emptied regularly. Refer to the "Manual Drainage" section under Setup for detailed steps.
Storage
When storing the dehumidifier for an extended period:
- Empty the water tank completely and ensure it is dry.
- Clean the air filter.
- Wrap the power cord neatly.
- Store the unit upright in a cool, dry place, away from direct sunlight and extreme temperatures.
Troubleshooting
Before contacting customer service, please refer to the following table for common issues and their solutions:
| Problem | Possible Cause | Solution |
|---|---|---|
| Dehumidifier does not turn on. | No power; power cord unplugged; water tank full or not properly seated. | Check power connection; empty and re-seat water tank. |
| Unit is running but not collecting water. | Room temperature too low; humidity level already low; air filter clogged; unit in Fan Mode. | Ensure room temp is above 41°F (5°C); check humidity setting; clean air filter; switch to Dehumidifier Mode. |
| Unit is noisy. | Unit not on a level surface; air filter clogged. | Place on a flat surface; clean air filter. |
| Water leaking from unit. | Water tank not properly seated; continuous drain hose kinked or disconnected. | Re-seat water tank; check drain hose for kinks or secure connection. |
| "Full Tank" indicator is on, but tank is not full. | Water tank sensor issue; tank not properly seated. | Remove and re-insert tank firmly; contact support if issue persists. |
Specifications
| Brand | AIRPLUS |
| Model Name | AP16-601EE |
| Dehumidification Capacity | 35 Pints per Day |
| Floor Area Coverage | Up to 3000 Square Feet |
| Water Tank Capacity | 0.74 Gallons (2.8 Liters) |
| Product Dimensions (D x W x H) | 12" x 8.9" x 20.7" |
| Item Weight | 24.2 pounds (11 Kilograms) |
| Wattage | 1200 watts |
| Operation Modes | Dehumidifier Mode, Anion Mode, Fan Mode |
| Special Features | Adjustable Humidity Control, Automatic Shutoff, Continuous Draining, Digital Display, Quiet Operation, Sleep Mode, Timer, Washable Filter |
| Color | White |
| Material | Plastic |
| UPC | 850017320079 |
Warranty and Support
AIRPLUS products are manufactured to the highest quality standards. For warranty information, technical support, or any questions regarding your dehumidifier, please refer to the contact information provided with your purchase or visit the official AIRPLUS website. Please have your model number (AP16-601EE) and purchase date ready when contacting support.


