Introduction
Thank you for choosing the Mount-It! MI-2752 Dual Monitor Arm. This full-motion desk mount is designed to enhance your workspace by providing ergonomic positioning for two monitors, freeing up valuable desk space. This manual provides detailed instructions for safe installation, operation, and maintenance of your monitor arm.
Safety Information
- Weight Capacity: Do not exceed the maximum weight capacity of 19.8 lbs (9 kg) per monitor. Exceeding this limit may result in instability and potential injury.
- Monitor Size: This mount supports monitors from 13 to 32 inches. Ensure your monitors fit within this range.
- VESA Compatibility: Compatible with VESA patterns 75x75mm and 100x100mm. Verify your monitor's VESA pattern before installation.
- Desk Thickness: For C-clamp installation, the desk thickness must be between 0.39 inches (10mm) and 3.3 inches (85mm). For grommet installation, the desk thickness must be between 0.39 inches (10mm) and 1.6 inches (40mm).
- Installation Surface: Ensure the mounting surface (desk) is structurally sound and can support the combined weight of the mount and monitors. Do not install on drywall-only surfaces.
- Pinch Points: Be aware of potential pinch points during assembly and adjustment. Keep hands clear of moving parts.
- Children: Keep small parts away from children.
Package Contents
Verify that all components are present and undamaged before proceeding with installation. If any parts are missing or damaged, contact Mount-It! customer support.

Image: All components of the Mount-It! MI-2752 Dual Monitor Arm laid out, including the pole, arms, VESA plates, C-clamp, grommet base, and hardware.
- Main Pole with Desk Clamp/Grommet Base
- Dual Monitor Arms
- VESA Monitor Plates (2x)
- Hardware Kit (screws, washers, Allen wrenches)
- Cable Management Clips
Setup and Installation
Follow these steps carefully for proper installation.
Step 1: Choose Mounting Option
The MI-2752 offers two installation methods: C-clamp or Grommet mount. Select the option suitable for your desk.

Image: A visual comparison of the C-clamp mounting option (left) and the grommet mounting option (right) for desk attachment.
- C-Clamp: Ideal for desks without a grommet hole. Attaches to the edge of the desk.
- Grommet: Utilizes an existing hole in your desk for a more flush installation.
Step 2: Attach Mount to Desk
Secure the main pole to your desk using the chosen method. Ensure it is tightened firmly to prevent movement.
Step 3: Attach VESA Plates to Monitors
Attach the VESA plates to the back of your monitors using the appropriate screws from the hardware kit. Ensure the screws are not overtightened to avoid damaging the monitor.
Step 4: Mount Monitors to Arms
Slide the monitors (with VESA plates attached) onto the monitor arms. Secure them with the provided locking mechanism.
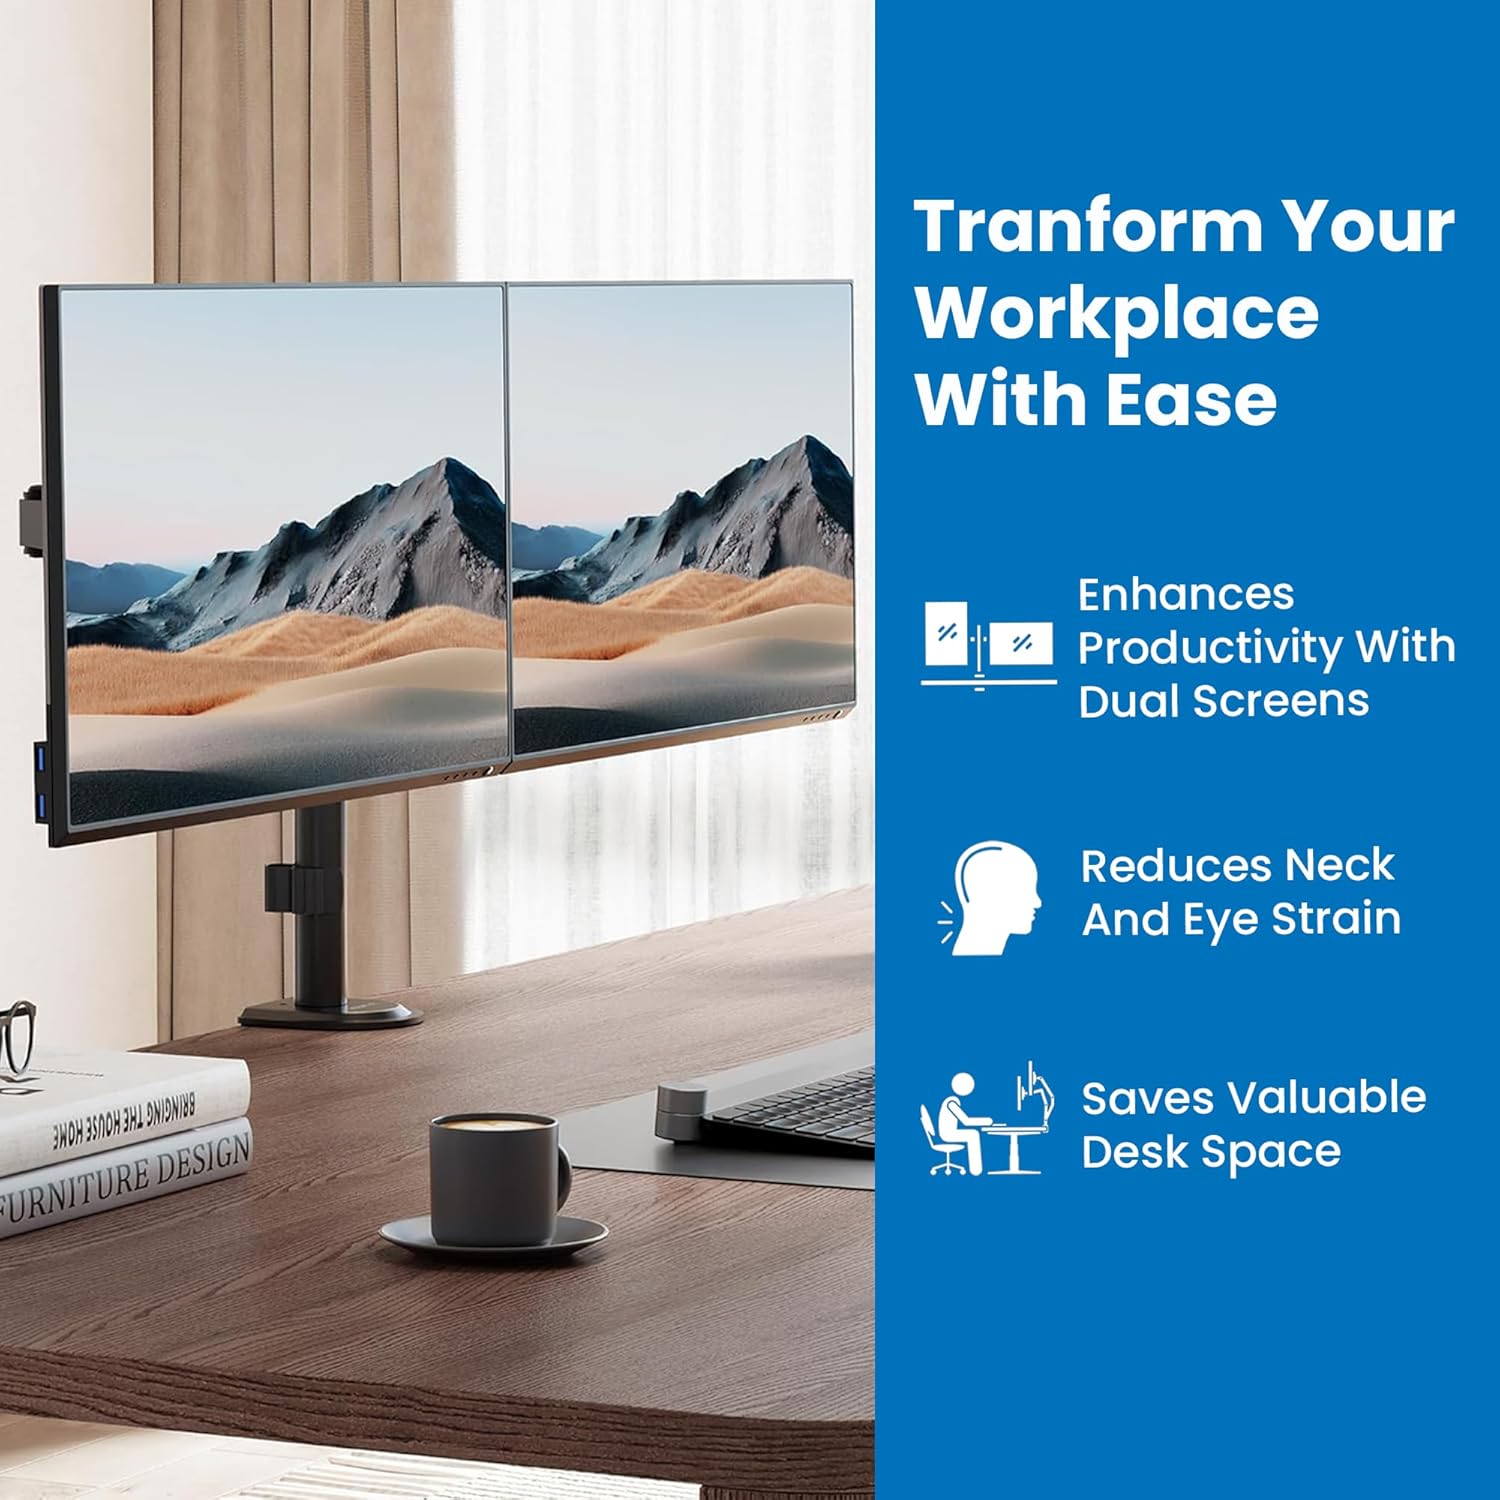
Image: A close-up view of a monitor securely attached to one of the monitor arms, demonstrating the connection point.
Step 5: Cable Management
Route monitor cables through the integrated cable management clips on the arms and pole for a tidy workspace.
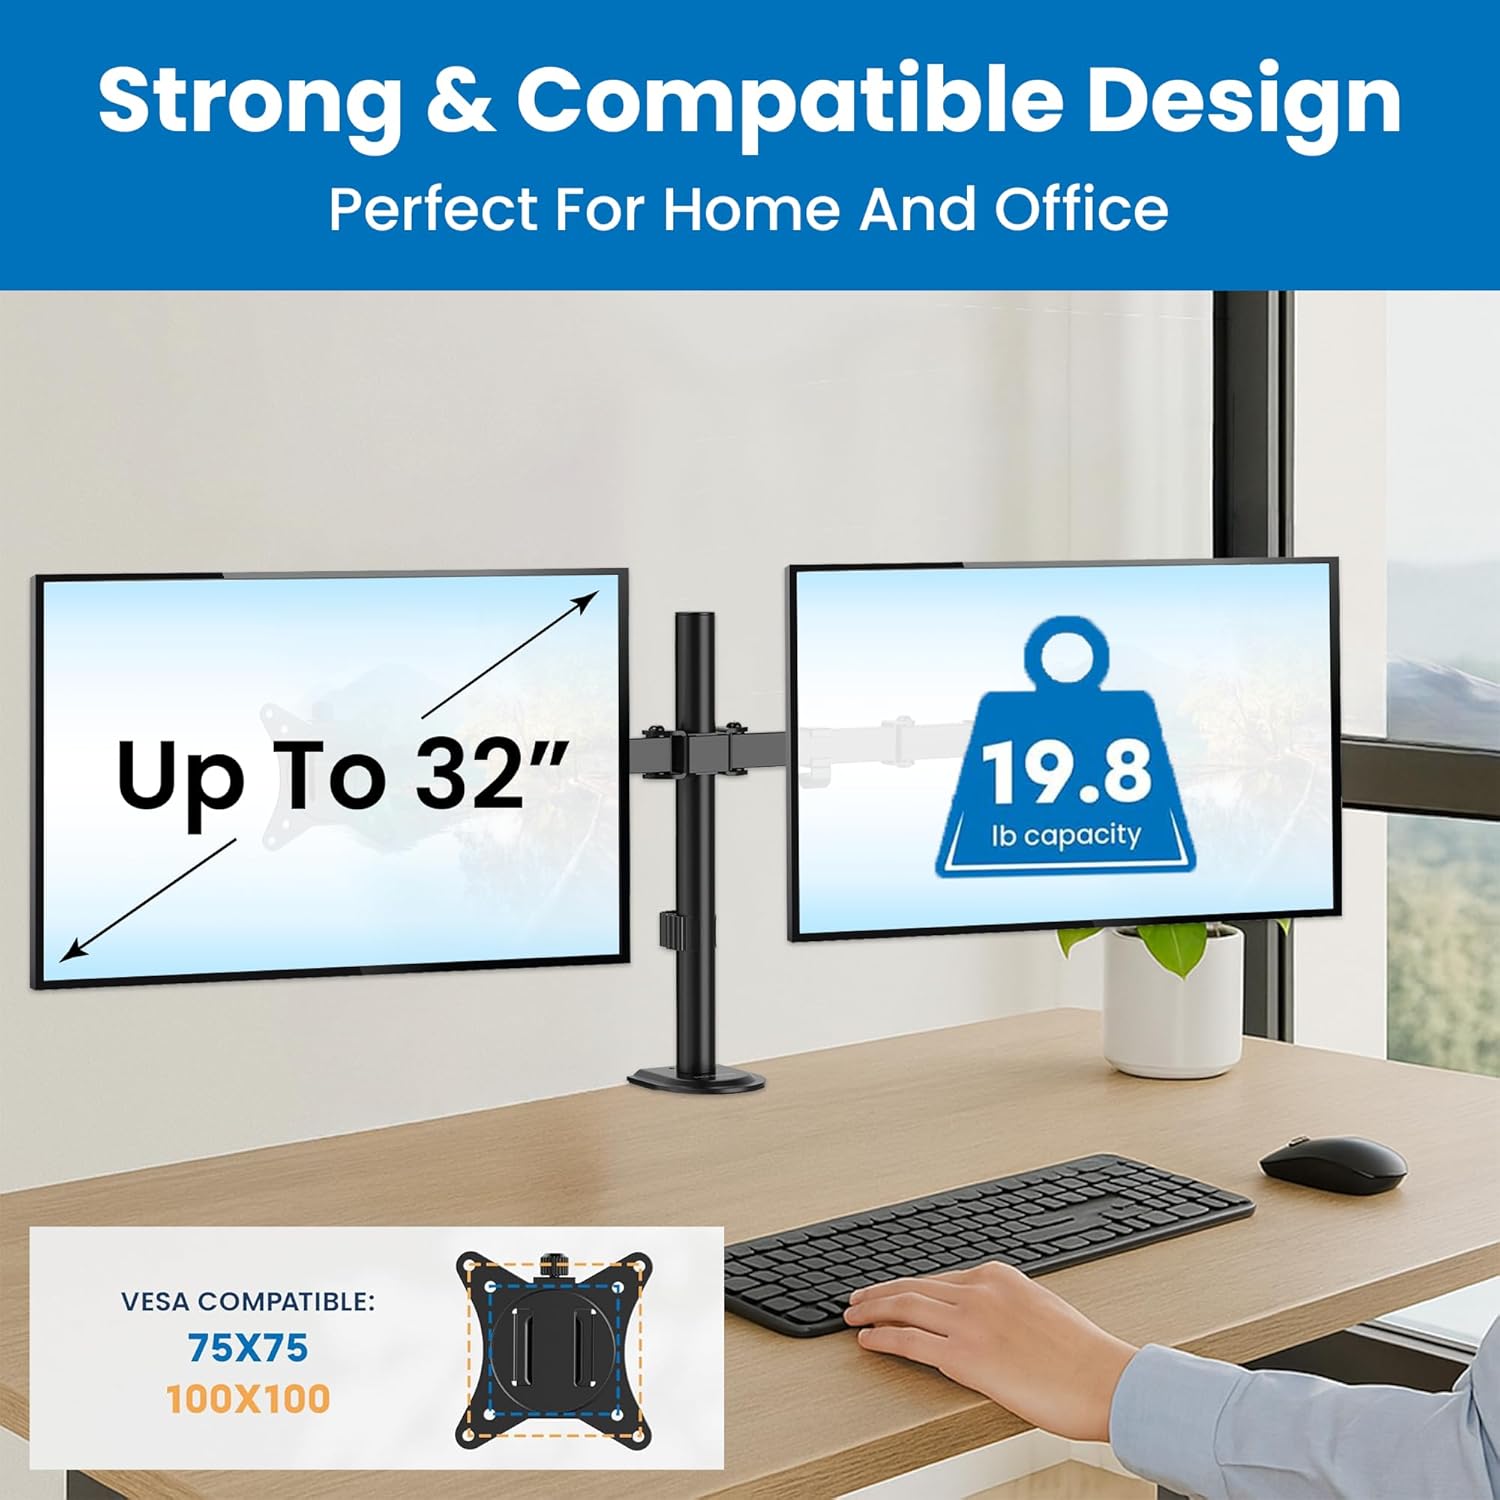
Image: A view of monitor cables neatly routed through the integrated cable management clips along the monitor arm and pole.
Operating Instructions and Adjustments
The Mount-It! MI-2752 offers extensive adjustability for optimal viewing comfort.
Height Adjustment
Monitors can be adjusted vertically along the main pole. Fine-tune individual monitor heights for perfect alignment using the adjustment screws on the VESA plate attachment points.
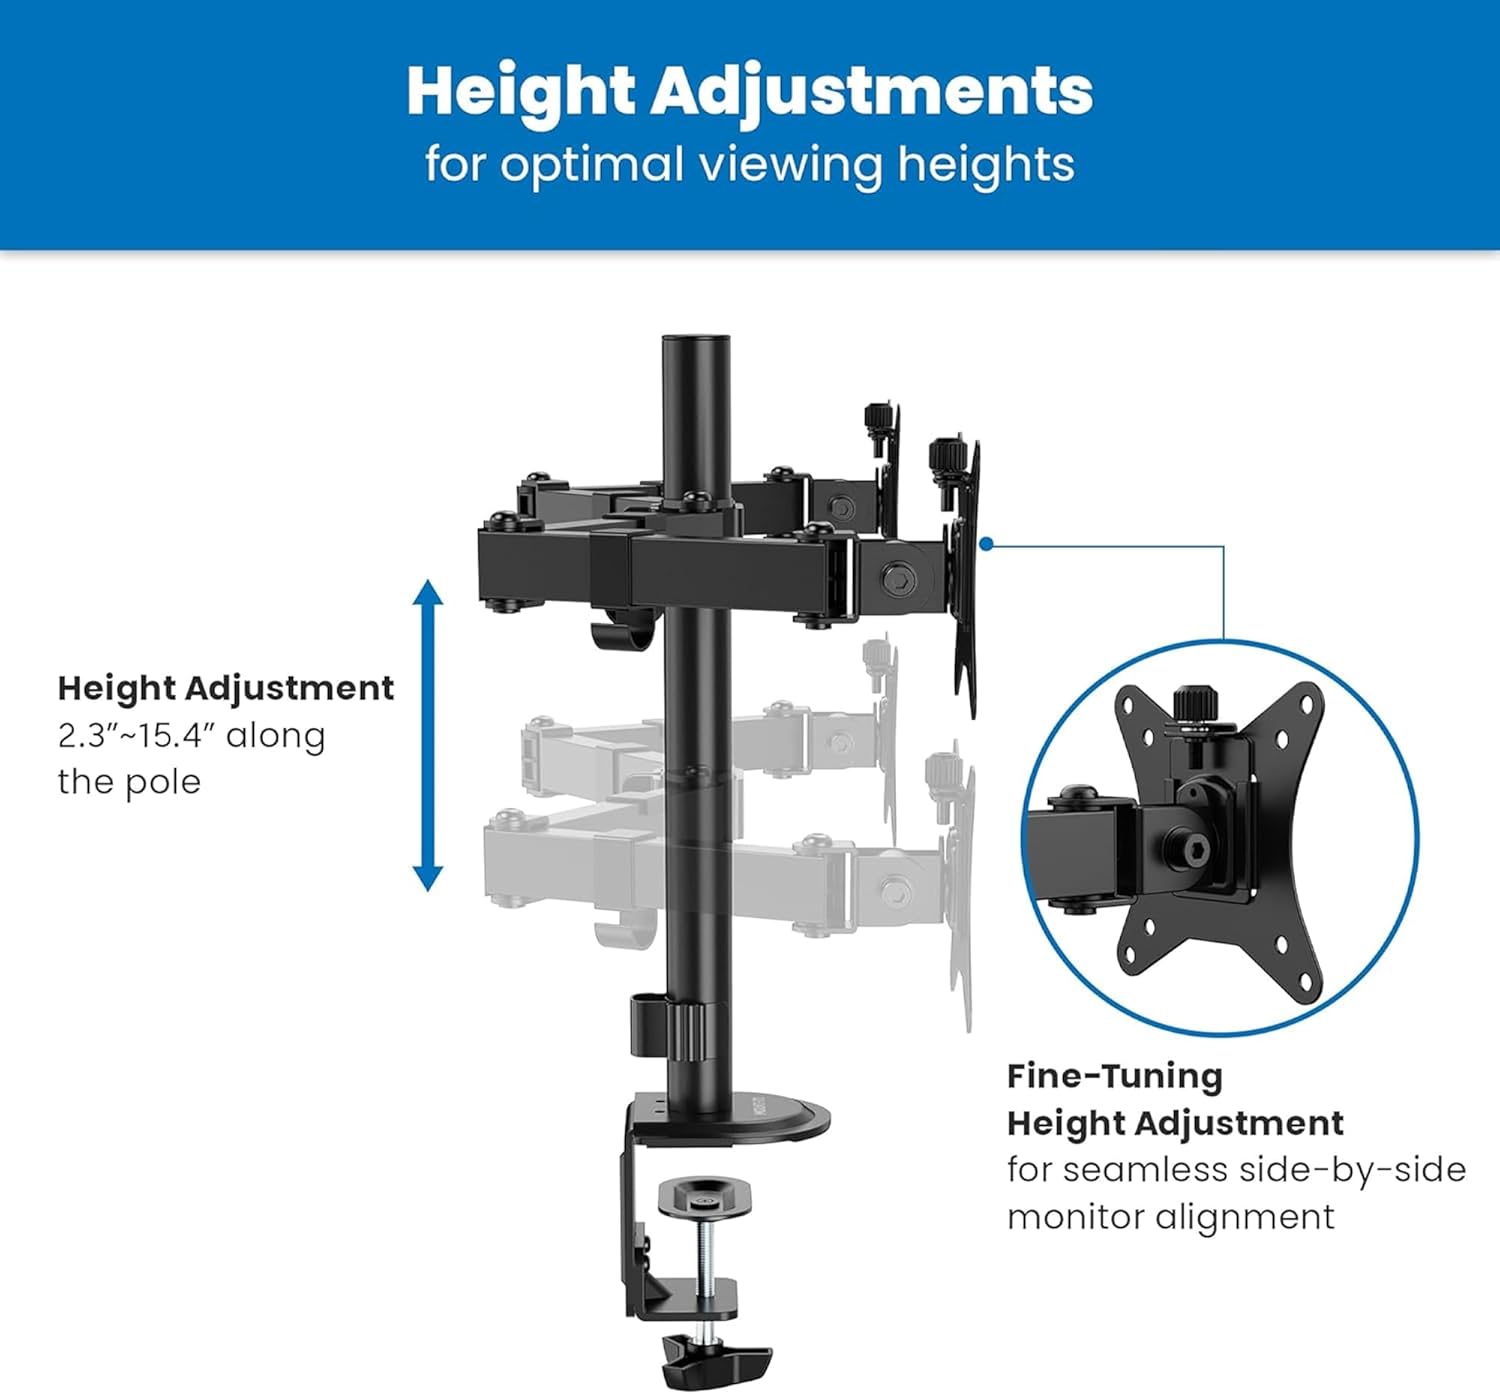
Image: A diagram illustrating the vertical height adjustment range of the monitor arm along the central pole, from 2.3 to 15.4 inches.
Tilt, Swivel, and Rotation
Each monitor can be independently tilted, swiveled, and rotated to achieve your desired viewing angle.
- Tilt: Adjust the screen angle +90°/-45° to reduce glare and optimize viewing.
- Swivel: Pivot the monitor 180° horizontally.
- Rotation: Rotate the monitor 360° for landscape or portrait orientation.

Image: A diagram illustrating the tilt (+90°/-45°), swivel (±90°), and rotation (±180°) capabilities of the monitor arm.
Tension Adjustment
If a monitor sags or does not hold its position, adjust the tension of the gas spring arms. Use the provided Allen wrench to turn the hex bolt at the top of the arm. Turn clockwise to increase tension for heavier monitors, and counter-clockwise to decrease tension for lighter monitors.
Maintenance
- Cleaning: Wipe the mount with a soft, damp cloth. Avoid abrasive cleaners or solvents.
- Periodic Checks: Periodically check all screws and connections to ensure they remain tight and secure. Re-tighten if necessary.
- Lubrication: No lubrication is required for the moving parts.
Troubleshooting
Monitor Sags or Does Not Hold Position
- Solution: Adjust the gas spring tension. Turn the hex bolt on the arm clockwise to increase tension until the monitor holds its position.
Mount is Unstable or Wobbles
- Solution: Ensure the desk clamp or grommet base is securely tightened to the desk. Check that all connections on the pole and arms are firm.
Monitors Are Not Level
- Solution: Use the fine-tuning height adjustment screws on the VESA plate attachment points to align the monitors.
Specifications

Image: A detailed technical drawing showing the dimensions and various adjustment ranges of the Mount-It! MI-2752 Dual Monitor Arm.
| Feature | Specification |
|---|---|
| Model Number | MI-2752 |
| Monitor Size Compatibility | 13" - 32" (per screen) |
| Weight Capacity | Up to 19.8 lbs (9 kg) per screen |
| VESA Compatibility | 75x75mm, 100x100mm |
| Tilt Range | +90° / -45° |
| Swivel Range | 180° |
| Rotation Range | 360° |
| Desk Thickness (C-Clamp) | 0.39" - 3.3" (10mm - 85mm) |
| Desk Thickness (Grommet) | 0.39" - 1.6" (10mm - 40mm) |
| Material | Metal |
Warranty and Support
The Mount-It! MI-2752 Dual Monitor Arm is backed by a lifetime warranty, reflecting our commitment to quality and durability. For technical assistance, installation questions, or warranty claims, please contact our US-based technical specialists. Our team is available to provide support before, during, and after your installation.
For further assistance, please visit the official Mount-It! website or contact customer service directly.


