Introduction
Thank you for choosing the AIKE Touch-Free Shower Shampoo Dispenser. This manual provides detailed instructions for the proper installation, operation, and maintenance of your new dispenser. Designed for convenience and hygiene, this triple-chamber, battery-operated unit offers a touch-free solution for dispensing shampoo, conditioner, and shower gel, helping to keep your bathing space organized and tranquil. Its inductive operation makes it handicap-friendly, and the IPX7 waterproof rating ensures durability in wet environments.
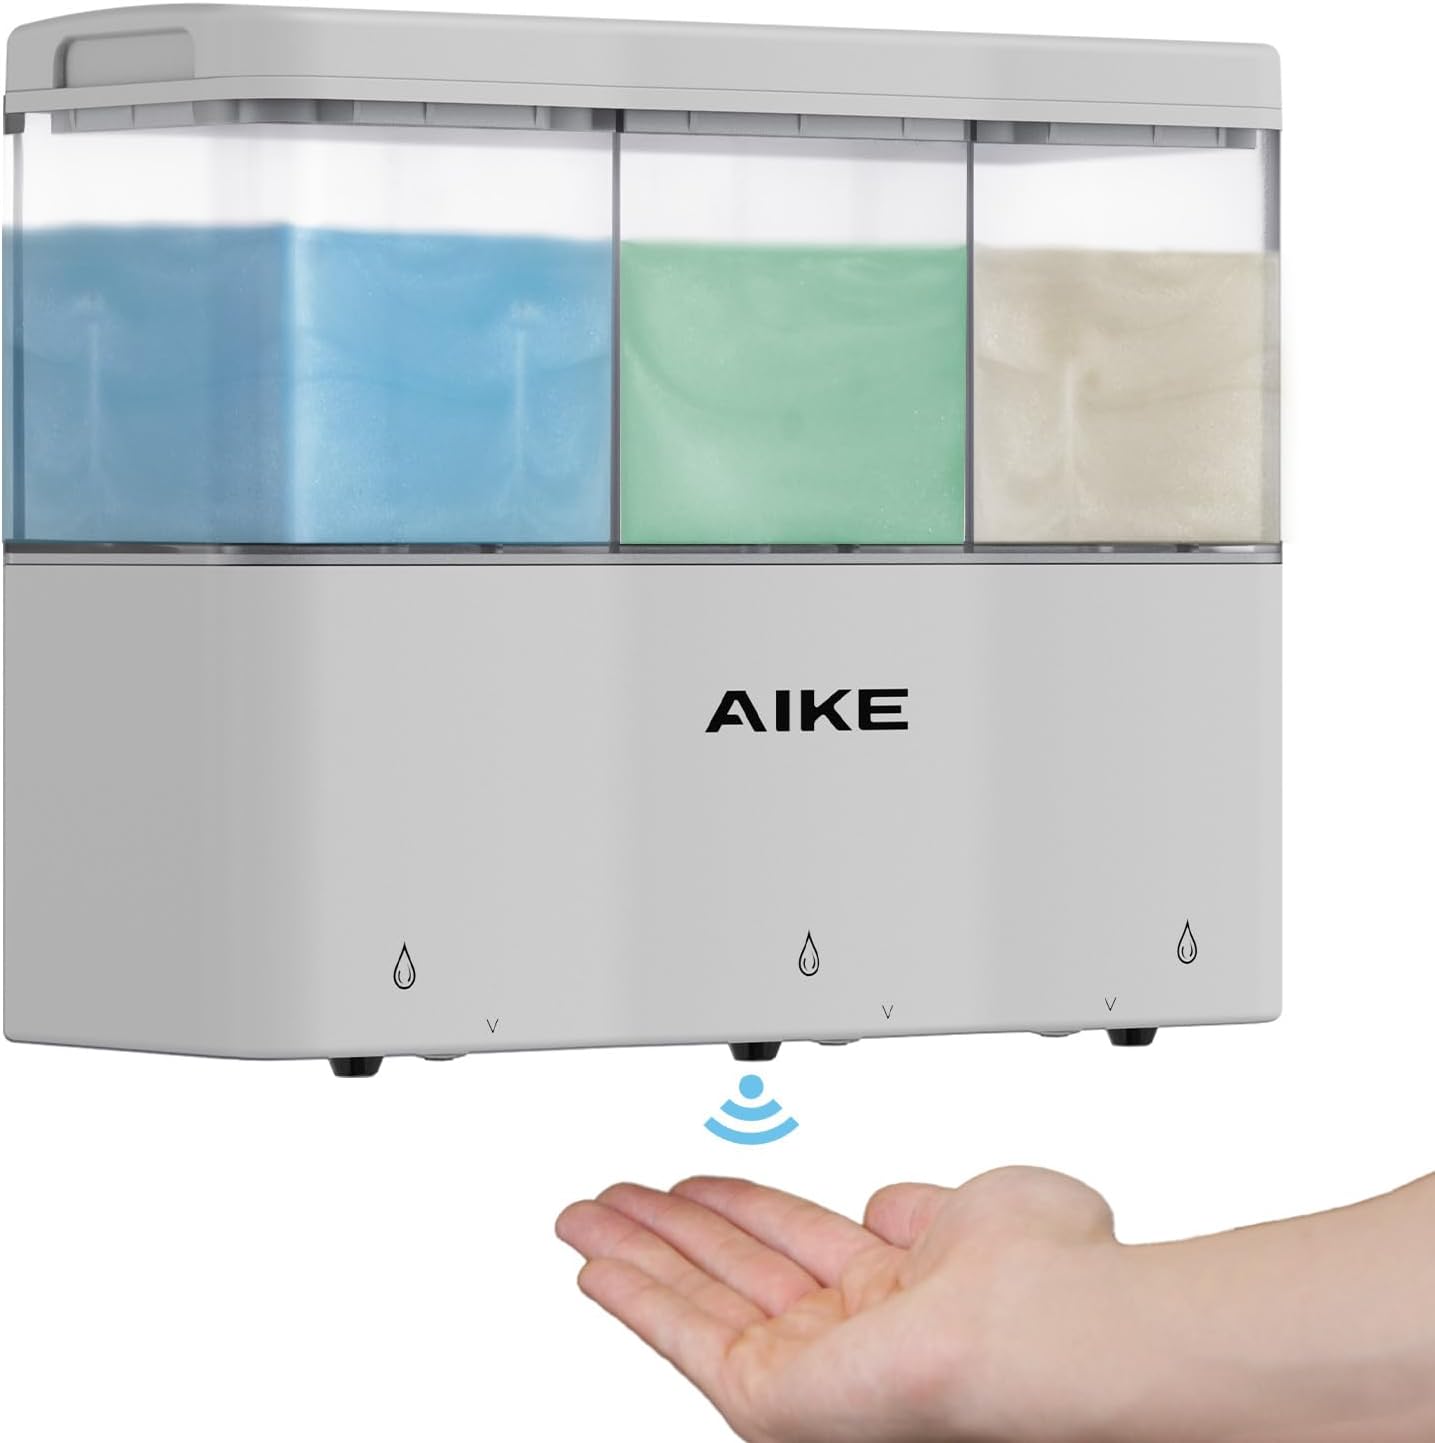
Image: Front view of the AIKE Touch-Free Shower Shampoo Dispenser, showing three clear chambers filled with different liquids and a hand positioned below the sensor for dispensing.
Safety Information
- Do not submerge the entire unit in water for extended periods, despite its IPX7 rating. The IPX7 rating ensures protection against temporary immersion (up to 1 meter for 30 minutes), but it is primarily designed for rinsing and splash resistance.
- Ensure batteries are inserted with correct polarity.
- Keep out of reach of small children.
- Use only the recommended type and number of batteries (4 AA batteries).
- Do not mix old and new batteries, or different types of batteries.
- Dispose of used batteries responsibly according to local regulations.
- Avoid using abrasive cleaners or solvents on the dispenser's surface.
- Ensure the wall surface is dry, clean, and smooth before adhesive installation to prevent the dispenser from falling.
Package Contents
Please check the box for the following items:
- AIKE Touch-Free Shower Shampoo Dispenser (Model AK1903)
- 3M Adhesive Mounting Tape
- Screw Mount Kit (screws and wall anchors)
- User Manual
Product Overview
The AIKE AK1903 dispenser features three independent chambers for different liquids, each with its own dispensing mechanism and sensor. The main unit houses the battery compartment and the electronic components that control the touch-free operation.

Image: An internal diagram of the dispenser highlighting the three separate operating systems and the battery placement, indicating independent functionality.
Key Components:
- Liquid Chambers: Three transparent chambers for holding shampoo, conditioner, shower gel, or other compatible liquids.
- Infrared Sensors: Located at the bottom of each dispensing nozzle for touch-free activation.
- Dispensing Nozzles: Outlets for the dispensed liquid.
- Battery Compartment: Located on the back or top of the unit, requiring 4 AA batteries.
- Indicator Lights: Blue LED lights illuminate during dispensing.
Setup
1. Battery Installation
- Locate the battery compartment cover, usually on the top or back of the dispenser.
- Open the cover.
- Insert 4 new AA batteries, ensuring correct polarity (+/-) as indicated inside the compartment.
- Close the battery compartment cover securely.
2. Filling the Chambers
- Remove the top lid of the dispenser.
- Carefully pour your desired liquid (shampoo, conditioner, shower gel) into each of the three separate chambers. Do not overfill.
- Replace the top lid firmly.
3. Mounting the Dispenser
The dispenser supports both adhesive and screw mounting options. Choose the method most suitable for your wall surface.

Image: An illustration detailing various wall surface types, indicating which are suitable for adhesive installation (marble, steel, ceramic, mirror, glass) and which are suitable for screw installation (painted wall, wallpaper, rough surface, rustic tile, wooden).
Adhesive Installation (Recommended for smooth surfaces)
- Clean the desired wall surface thoroughly. Ensure it is dry, clean, and smooth.
- Peel the protective backing from the 3M adhesive tape.
- Align the adhesive plate on the back of the dispenser with the chosen spot on the wall.
- Press firmly for at least 30 seconds, ensuring all sections of the tape are pressed down and air bubbles are removed, especially at the top of the adhesive.
- Allow the adhesive to cure for 24 hours before hanging the dispenser or filling it with liquids to ensure maximum adhesion.
- Ensure there is at least 25 cm (approximately 10 inches) of clear space below the dispenser for optimal use.

Image: A diagram illustrating the correct method for applying the adhesive mounting tape, with a red box highlighting the importance of pressing firmly and removing air bubbles from the top section to prevent the dispenser from falling.

Image: The dispenser mounted on a bathroom wall, with a measurement indicating a minimum of 25 cm (approximately 10 inches) of space required underneath for proper operation.
Screw Installation (For rough or painted surfaces)
- Hold the mounting plate against the wall at the desired height and mark the screw hole positions with a pencil.
- Drill pilot holes at the marked positions. Insert wall anchors if necessary.
- Secure the mounting plate to the wall using the provided screws.
- Carefully slide the dispenser onto the mounted plate until it clicks securely into place.
Operating Instructions
The AIKE dispenser uses infrared sensors for touch-free operation, ensuring a hygienic experience.
- Place your hand directly under the desired dispensing nozzle. The infrared sensor will detect your hand.
- The blue indicator light above the chamber will illuminate, and the dispenser will automatically release a measured amount of liquid.
- Remove your hand once the desired amount is dispensed. The dispenser will stop automatically.
- To dispense more liquid, simply place your hand under the sensor again.
The dispenser features five variable dispensing levels. To adjust the volume, press and hold the power button (if available, or refer to specific model instructions for volume adjustment) until the indicator light flashes, then release and press again to cycle through levels. The product description mentions "five variable levels" but does not specify how to adjust them. Assuming a common method for such devices.
Maintenance
Cleaning
Thanks to its IPX7 waterproof rating, the AIKE dispenser can be easily cleaned to maintain its appearance and hygiene.
- For general cleaning, simply rinse the exterior of the dispenser directly with water.
- Wipe down with a soft, damp cloth and mild soap if needed.
- Do not use harsh chemicals, abrasive cleaners, or scouring pads, as these can damage the finish.
- Ensure the dispensing nozzles are clear of any dried liquid buildup.

Image: The AIKE dispenser being rinsed under running water, demonstrating its IPX7 waterproof capability for easy cleaning.
Refilling
When a chamber is low on liquid, simply remove the top lid and refill as described in the "Filling the Chambers" section under Setup.
Troubleshooting
| Problem | Possible Cause | Solution |
|---|---|---|
| Dispenser not working / No liquid dispensed. |
|
|
| Dispenser falls off the wall. |
|
|
| Liquid leaks from the dispenser. |
|
|
Specifications
| Feature | Detail |
|---|---|
| Model Number | AK1903 |
| Brand | AIKE |
| Color | White |
| Material | Plastic |
| Product Dimensions (L x W x H) | 8.58" x 3.11" x 6.61" (21.9 cm x 7.9 cm x 16.8 cm) |
| Liquid Volume per Chamber | Approx. 10 fl.oz. (300 ml) |
| Total Liquid Volume | Approx. 30 fl.oz. (887.21 ml) |
| Power Source | 4 x AA Batteries (not included) |
| Waterproof Rating | IPX7 |
| Mounting Options | 3M Adhesive Tape, Screw Mount |

Image: A detailed diagram illustrating the dimensions of the AIKE dispenser, including length, width, and height in both inches and centimeters.
Warranty and Support
The AIKE Touch-Free Shower Shampoo Dispenser comes with a one-year manufacturer warranty from the date of purchase.
For any questions, concerns, or support needs, please contact AIKE support via Amazon message or our dedicated support email. We are committed to providing excellent customer service and are happy to assist you.


