
Introduction
Thank you for choosing the Hamilton Beach 55L Convection Toaster Oven with Rotisserie Grill. This manual provides important information for the safe and efficient operation of your appliance. Please read it thoroughly before first use and keep it for future reference.
This versatile appliance is designed to handle a variety of cooking tasks, including toasting, baking, broiling, and rotisserie cooking, making it an essential addition to any kitchen.
Important Safety Instructions
When using electrical appliances, basic safety precautions should always be followed to reduce the risk of fire, electric shock, and/or injury to persons, including the following:
- Read all instructions.
- Do not touch hot surfaces. Use handles or knobs.
- To protect against electrical shock, do not immerse cord, plug, or oven in water or other liquid.
- Close supervision is necessary when any appliance is used by or near children.
- Unplug from outlet when not in use and before cleaning. Allow to cool before putting on or taking off parts.
- Do not operate any appliance with a damaged cord or plug, or after the appliance malfunctions or has been damaged in any manner. Contact customer service for examination, repair, or adjustment.
- The use of accessory attachments not recommended by the appliance manufacturer may cause injuries.
- Do not use outdoors.
- Do not let cord hang over edge of table or counter, or touch hot surfaces.
- Do not place on or near a hot gas or electric burner, or in a heated oven.
- Extreme caution must be used when moving an appliance containing hot oil or other hot liquids.
- Always attach plug to appliance first, then plug cord into the wall outlet. To disconnect, turn any control to 'off', then remove plug from wall outlet.
- Do not use appliance for other than intended use.
- Oversize foods or metal utensils must not be inserted in a toaster oven as they may create a fire or risk of electric shock.
- A fire may occur if the toaster oven is covered or touching flammable material, including curtains, draperies, walls, and the like, when in operation.
- Do not place any materials other than oven-safe accessories in the oven.
- Do not place cardboard, plastic, paper, or similar materials in the oven.
- Do not store any materials, other than manufacturer's recommended accessories, in this oven when not in use.
- Do not clean with metal scouring pads. Pieces can break off the pad and touch electrical parts, creating a risk of electric shock.
- Extreme caution should be exercised when removing tray or disposing of hot grease.
- Do not cover crumb tray or any part of the oven with metal foil. This will cause overheating of the oven.
- To turn off, turn the timer knob to the 'OFF' position.
Product Overview
The Hamilton Beach 55L Convection Toaster Oven is designed for versatile cooking. It features a spacious interior, intuitive controls, and durable construction.
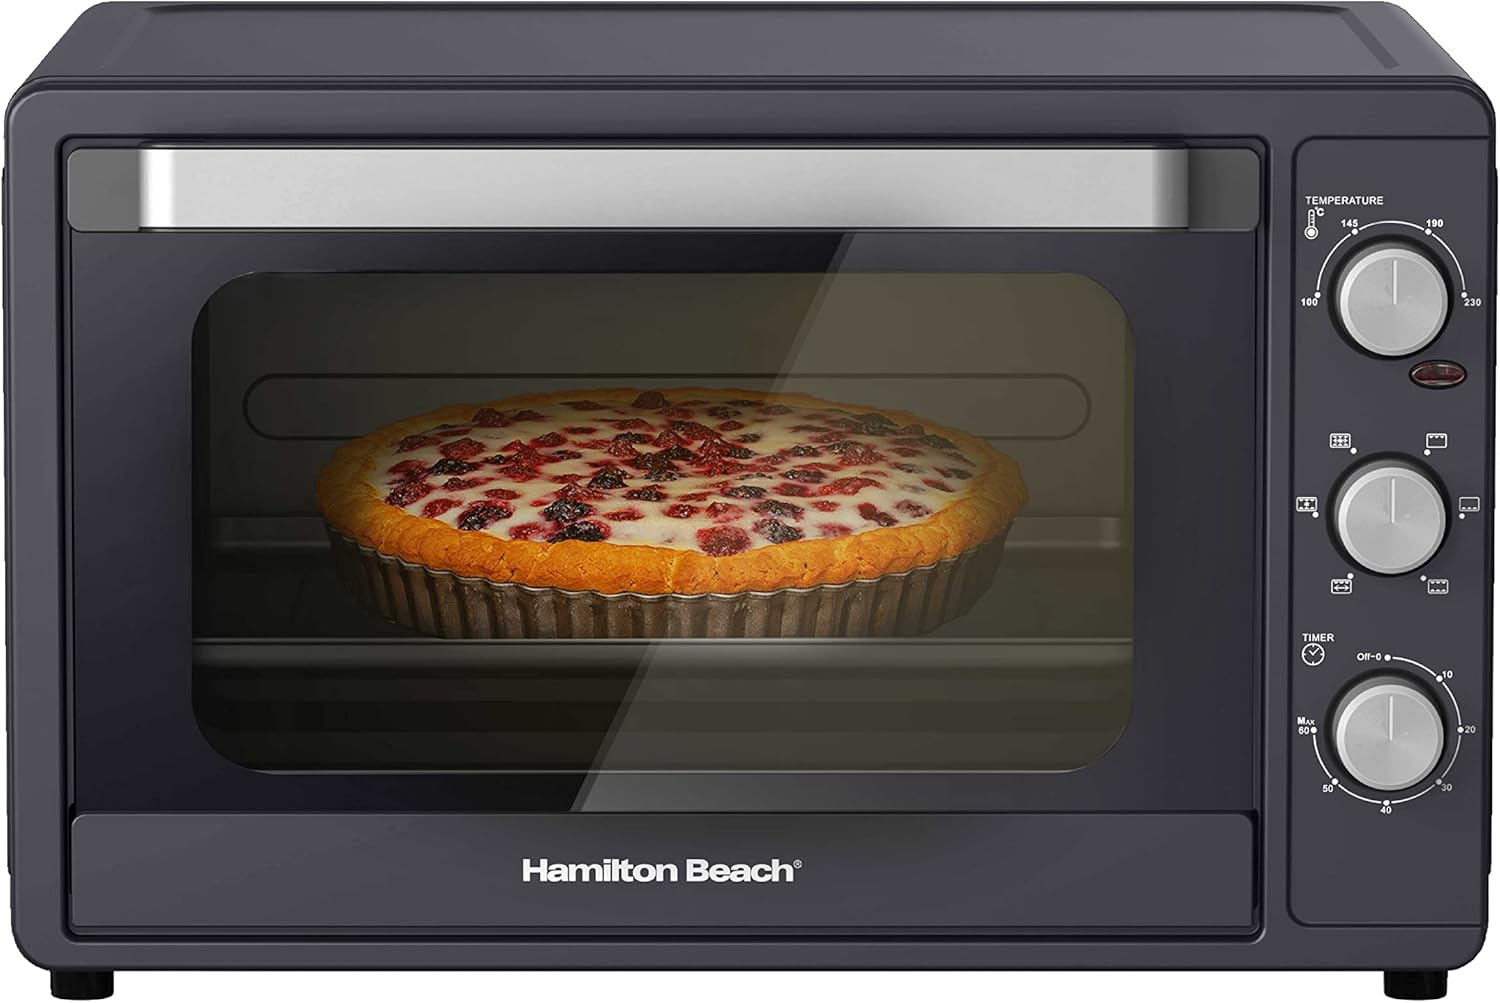
Front view of the Hamilton Beach 55L Convection Toaster Oven, showcasing its sleek design and large glass door.
Key Features:
- 55-Liter Capacity: Large enough to toast 9 slices of bread or bake a 12-inch pizza/cake.
- 2200-Watt Convection Fan: Ensures even and efficient heat distribution for faster cooking.
- Double-Walled Glass Door: Provides enhanced insulation, maintaining cavity temperature and minimizing heat loss for energy efficiency.
- Multiple Cooking Functions: Convection, Toast, Bake, Broil, and Rotisserie.
- Adjustable Temperature: Up to 230°C.
- 60-Minute Timer: With an audible ready bell.
- Internal Light: For easy monitoring of cooking progress.
- Oyster Gray Matte Finish: Aesthetically pleasing design that complements most kitchen decors.
Controls and Indicators:

Detailed view of the oven's control knobs for temperature, function, and timer settings.
- Temperature Knob: Adjusts cooking temperature from 100°C to 230°C.
- Function Knob: Selects cooking mode (Convection, Toast, Bake, Broil, Rotisserie).
- Timer Knob: Sets cooking time up to 60 minutes with an 'OFF' position and a 'Stay On' option.
Setup and First Use
Unpacking:
- Carefully remove the oven and all accessories from the packaging.
- Remove any packing materials, stickers, or labels from the oven.
- Wash all removable parts (wire rack, baking tray, rotisserie rod, etc.) in warm, soapy water. Rinse and dry thoroughly.
- Wipe the interior and exterior of the oven with a damp cloth.
Placement:
- Place the oven on a stable, heat-resistant surface.
- Ensure there is adequate clearance (at least 10-15 cm) on all sides and above the oven for proper ventilation.
- Do not place the oven near flammable materials such as curtains or walls.
- Ensure the power cord is not touching any hot surfaces.
Before First Use:
It is recommended to run the oven empty for approximately 15 minutes to burn off any manufacturing residues. This may produce a slight odor or smoke, which is normal.
- Plug the oven into a grounded electrical outlet.
- Set the Temperature Knob to 230°C.
- Set the Function Knob to 'Bake' or 'Convection'.
- Set the Timer Knob to 15 minutes.
- Allow the oven to run for 15 minutes, then turn the Timer Knob to 'OFF' and unplug.
- Allow the oven to cool completely before use.
Operating Instructions
This oven offers multiple cooking functions to suit your needs. Always preheat the oven for 5-10 minutes before placing food inside for best results.

The spacious 55L interior of the oven with multiple rack positions for versatile cooking.
General Operation:
- Place the wire rack or baking tray in the desired position. The oven has 5 adjustable rack positions.
- Place food on the appropriate accessory.
- Close the oven door.
- Set the Temperature Knob to the desired temperature.
- Set the Function Knob to the desired cooking mode.
- Set the Timer Knob to the desired cooking time. The oven will start heating.
- When the timer reaches 'OFF', an audible bell will sound, and the oven will turn off. If using 'Stay On', manually turn the Timer Knob to 'OFF' when cooking is complete.
- Carefully remove food using oven mitts.
Cooking Functions:
- Toast: Ideal for bread, bagels, and frozen waffles. Use the wire rack.
- Bake: For cakes, cookies, casseroles, and other baked goods. Use the baking tray or oven-safe bakeware.
- Broil: For grilling meats, fish, or browning the top of dishes. Place food on the baking tray on the top rack position.
- Convection: Circulates hot air for faster and more even cooking, suitable for most dishes.
- Rotisserie: For roasting whole chickens or other meats.
Using the Rotisserie Function:
- Secure the food (e.g., a whole chicken) onto the rotisserie rod using the forks.
- Insert the pointed end of the rotisserie rod into the drive socket on the right side of the oven.
- Rest the notched end of the rod on the left support bracket.
- Set the Function Knob to 'Rotisserie'.
- Set the Temperature and Timer as desired.
- Use the removal tool to carefully remove the hot rotisserie assembly after cooking.
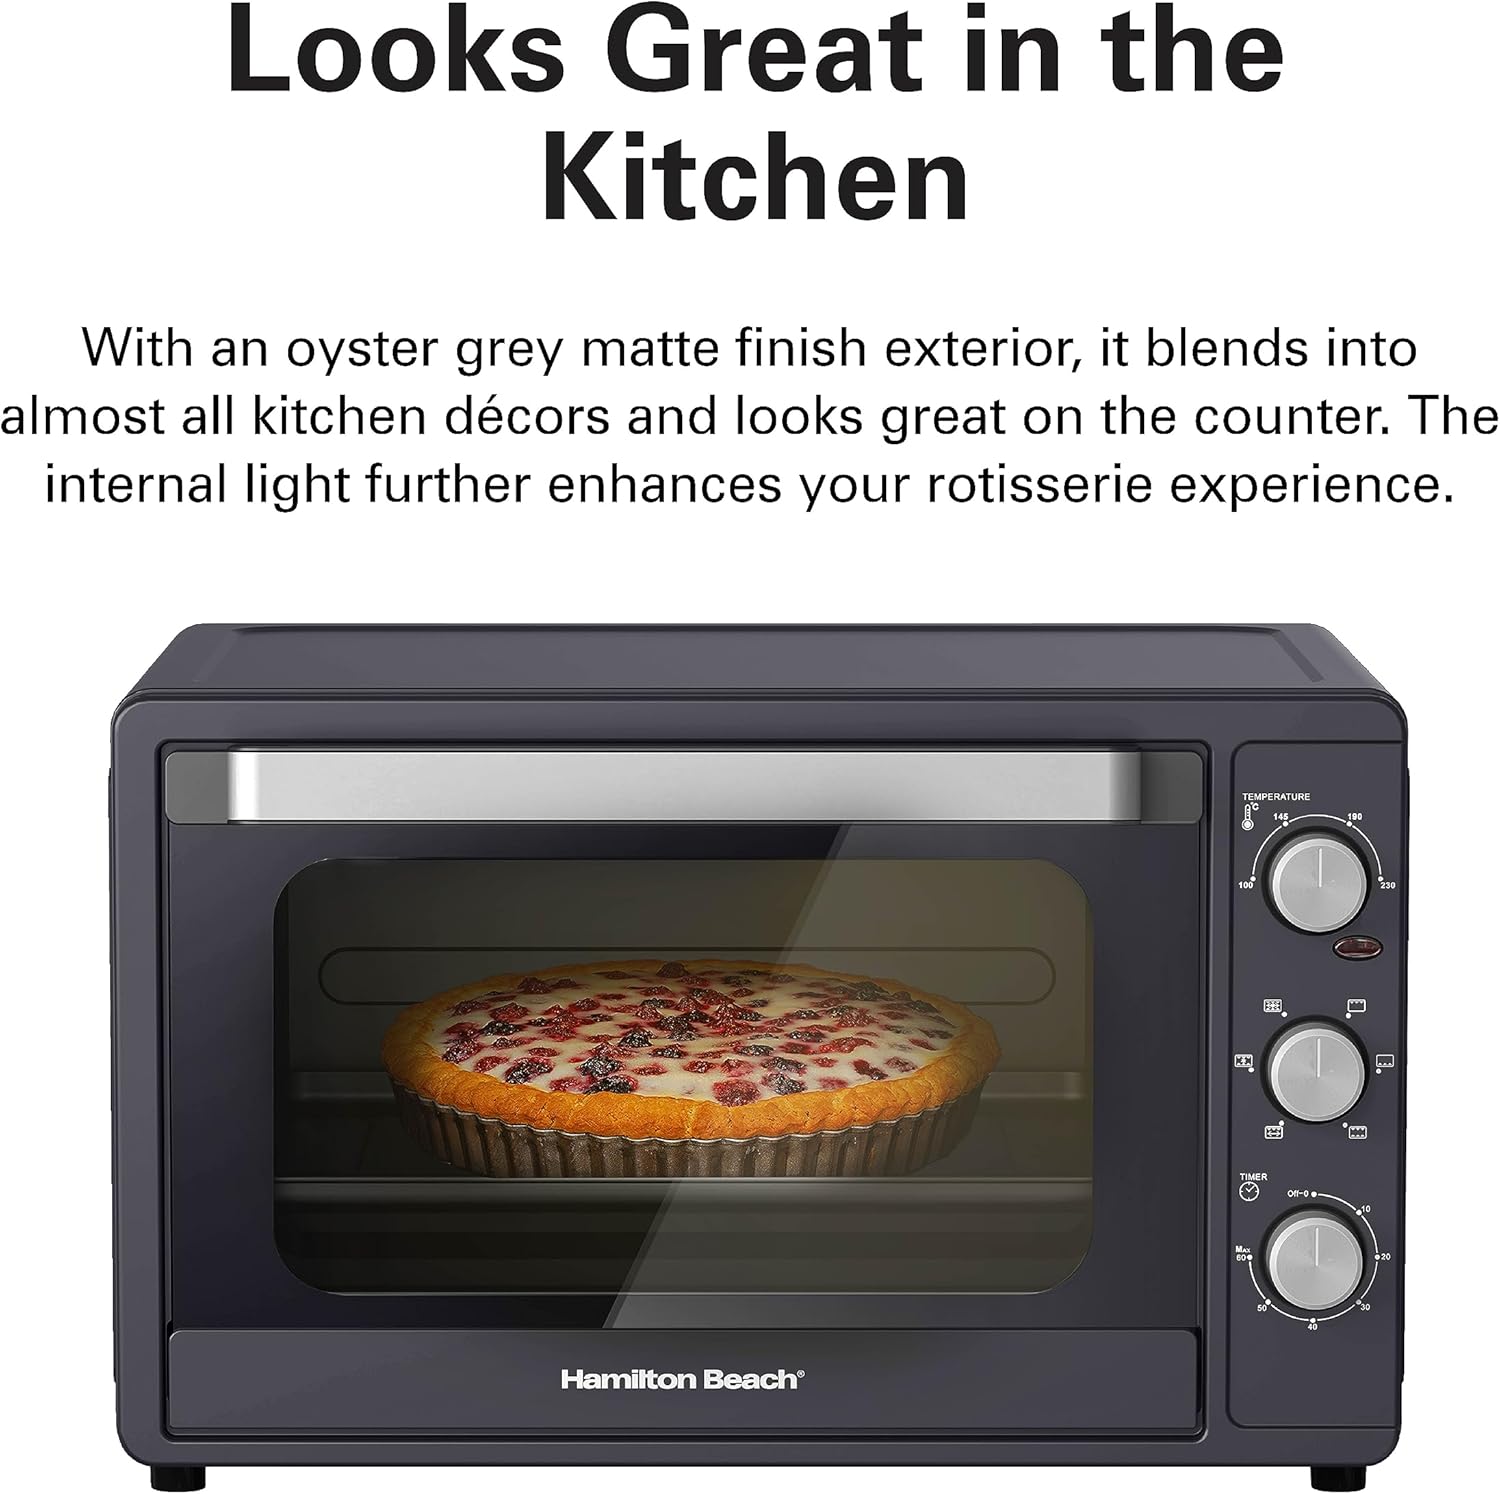
The oven in operation, baking a pie, demonstrating the internal light for visibility.
Maintenance and Cleaning
Regular cleaning ensures optimal performance and extends the life of your oven. Always unplug the oven and allow it to cool completely before cleaning.
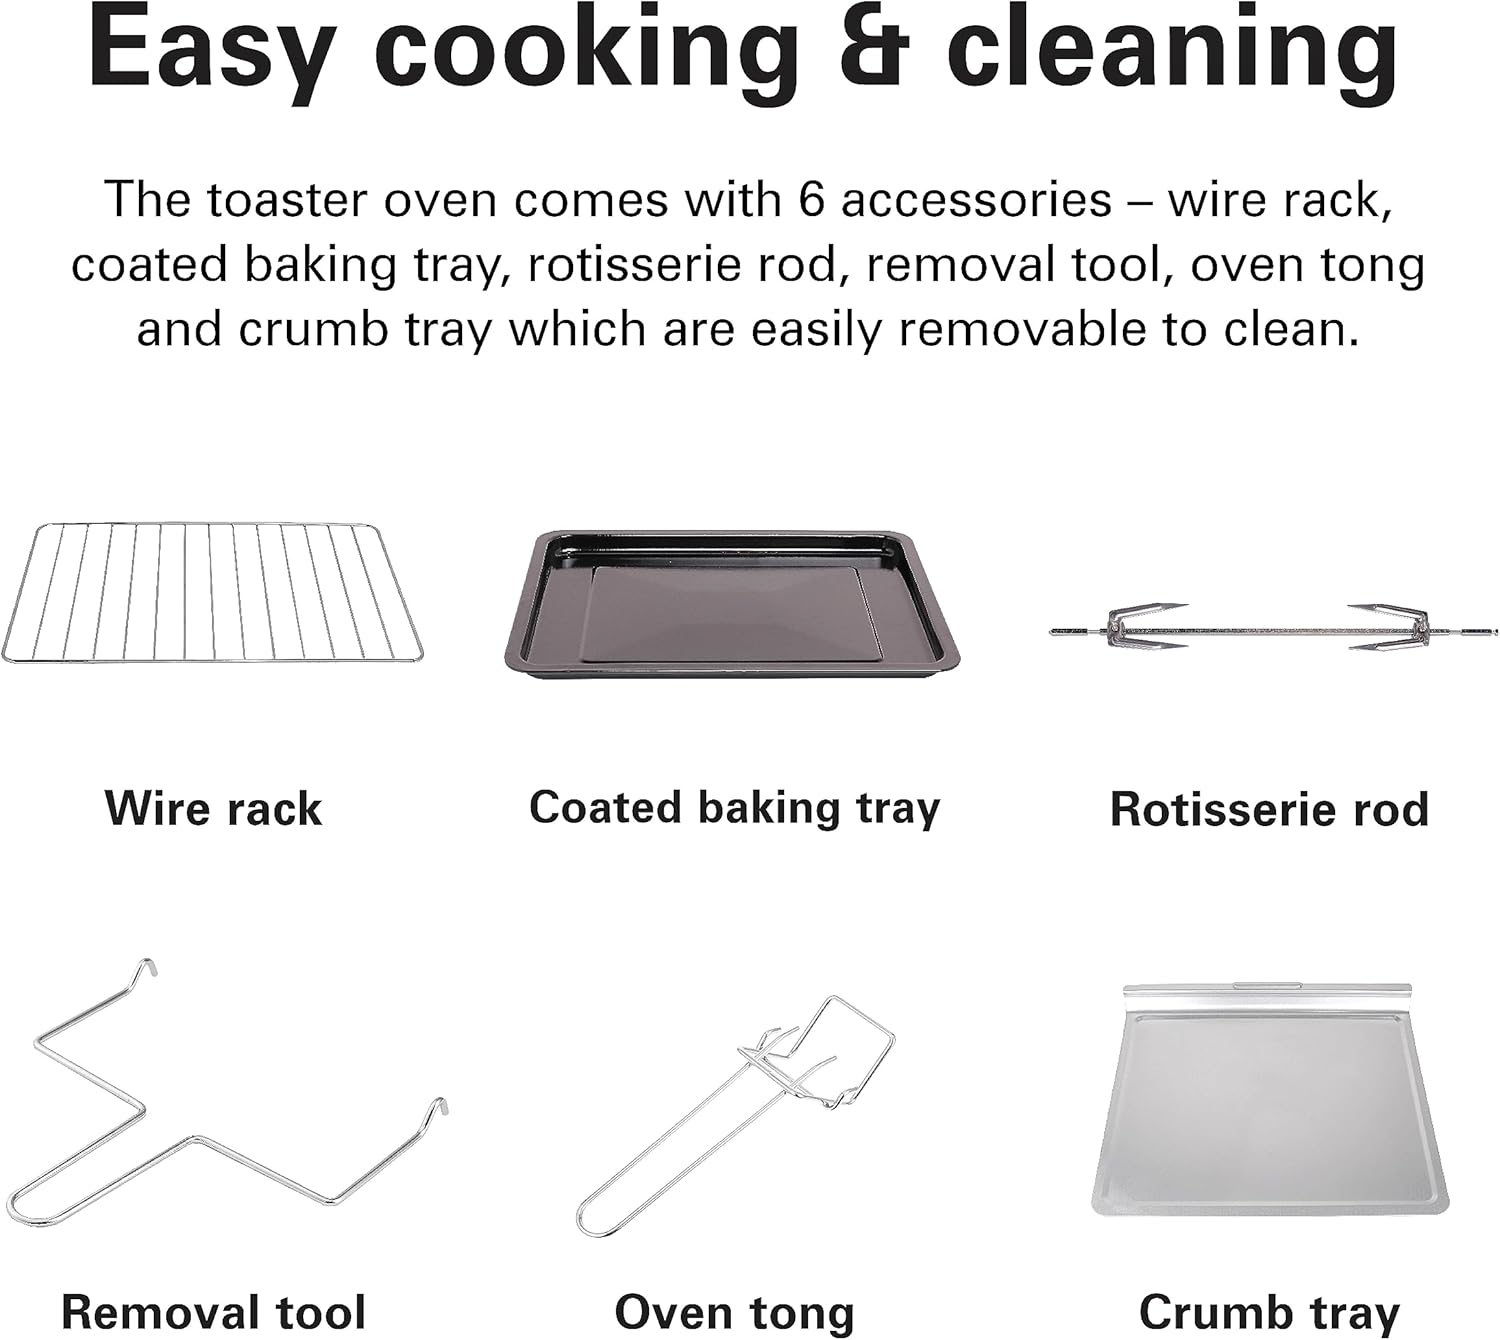
The six included accessories: wire rack, coated baking tray, rotisserie rod, removal tool, oven tong, and crumb tray, all designed for easy cleaning.
Cleaning the Interior:
- Remove the wire rack, baking tray, and crumb tray.
- Wipe the interior walls with a damp cloth and mild detergent. For stubborn stains, use a non-abrasive cleaner.
- Do not use abrasive cleaners or metal scouring pads, as they can damage the interior surfaces.
- Ensure the interior is completely dry before next use.
Cleaning the Exterior:
- Wipe the exterior surfaces with a damp cloth and mild detergent.
- Do not use abrasive cleaners.
- Ensure the exterior is completely dry.
Cleaning Accessories:
- Wash the wire rack, baking tray, rotisserie rod, removal tool, oven tong, and crumb tray in warm, soapy water.
- For baked-on food, soak the accessories in hot soapy water before cleaning.
- Rinse thoroughly and dry completely before storing or reusing.
Troubleshooting
If you encounter any issues with your Hamilton Beach toaster oven, please refer to the following common problems and solutions:
| Problem | Possible Cause | Solution |
|---|---|---|
| Oven does not turn on. | Not plugged in; power outage; timer not set. | Ensure the oven is securely plugged into a working outlet. Check your home's circuit breaker. Set the Timer Knob to a desired time or 'Stay On'. |
| Food is not cooking evenly. | Incorrect rack position; oven not preheated; food too large. | Adjust rack position for optimal heat distribution. Always preheat the oven. Cut food into smaller, more uniform pieces. |
| Excessive smoke or odor during first use. | Manufacturing residues burning off. | This is normal for the first use. Ensure good ventilation. If it persists after initial use, contact customer support. |
| Rotisserie rod is not turning. | Rod not properly seated; food too heavy or unbalanced. | Ensure the rotisserie rod is correctly inserted into the drive socket and resting on the support bracket. Ensure food is balanced and not exceeding weight limits. |
Specifications
Technical details for the Hamilton Beach 55L Convection Toaster Oven, Model CTGL55-ME:
| Feature | Detail |
|---|---|
| Brand | Hamilton Beach Professional |
| Model Number | CTGL55-ME |
| Color | Oyster Gray |
| Product Dimensions (D x W x H) | 36.5 x 56.2 x 47 cm |
| Item Weight | 10 Kilograms |
| Capacity | 55 Liters |
| Power/Wattage | 2200 Watts |
| Voltage | 220 Volts |
| Material | Glass |
| Automatic Shutoff | Yes |
| Special Feature | Timer |
| Control Type | Knob |
| Door Style | Drop-down door |
| Included Components | Rotisserie, Wire Rack, Baking Tray, Removal Tool, Oven Tong, Crumb Tray |
Warranty and Support
This Hamilton Beach 55L Convection Toaster Oven, Model CTGL55-ME, comes with a Two-Year Limited Warranty. Please refer to the warranty card included with your product for specific terms and conditions.
For technical support, service, or warranty claims, please contact Hamilton Beach customer service through their official website or the contact information provided in your product packaging.
Keep your purchase receipt as proof of purchase for warranty purposes.


