
Introduction
Thank you for choosing the ieGeek 2K Wireless Outdoor Wi-Fi Camera with Solar Panel. This manual provides detailed instructions for setting up, operating, and maintaining your security camera. Please read this manual carefully before use and keep it for future reference.
This camera offers advanced features including 2K resolution, 360° Pan-Tilt-Zoom (PTZ) functionality, efficient solar charging, clear color night vision, accurate PIR motion detection, two-way audio communication, and an integrated siren, all within an IP65 weather-resistant design.
What's in the Box
Verify that all components are present in your package:
- 1 × PTZ Battery Camera
- 1 × 0.5m USB Cable
- 2 × Dome Screws
- 2 × Dome Nuts
- 1 × Camera User Manual
- 1 × Solar Panel with 3m Power Cable
- 1 × Solar Panel Instruction Manual
- 1 × Solar Panel Bracket
- 3 × Solar Panel Screws
- 3 × Solar Panel Nuts

Product Overview
Familiarize yourself with the main parts of your ieGeek camera:

- Wi-Fi Antenna: For wireless network connection.
- PIR Sensor: Detects human and animal motion.
- Working Status Light: Indicates camera status.
- Strobe Light and IR: Provides illumination for color night vision and infrared for standard night vision.
- Lens: Captures video footage.
- Microphone: For audio input and two-way communication.
- Charging Port (Type-C 5V/2A): For connecting the solar panel or USB power adapter.
Setup Guide
1. Charging the Camera
Before initial use, fully charge the camera battery using the provided USB cable and a 5V/2A power adapter (not included). Alternatively, connect the solar panel to the camera for continuous charging.
2. App Installation and Account Creation
Download the "ieGeek Cam" app from the Google Play Store or Apple App Store. Register for an account and log in.

3. Connecting to Wi-Fi
- Open the ieGeek Cam app and follow the on-screen instructions to add a new device.
- Ensure your camera is powered on and in pairing mode (indicated by a flashing light).
- Select your 2.4 GHz Wi-Fi network and enter the password. Note: The camera only supports 2.4 GHz Wi-Fi.
- Scan the QR code displayed on your phone screen with the camera lens.
- Once connected, the camera will confirm successful pairing.

4. Mounting the Camera and Solar Panel
Choose a suitable outdoor location for optimal solar charging and camera coverage. Use the provided bracket and screws for secure wall mounting. Ensure the solar panel is positioned to receive maximum direct sunlight.

Operating Instructions
1. Live View and Playback
Access live video streams and recorded footage through the ieGeek Cam app. You can view real-time events and review past recordings stored on the SD card (up to 128GB, not included) or cloud storage (subscription may be required).

2. Pan-Tilt-Zoom (PTZ) Control
Use the app to remotely control the camera's horizontal rotation (355°) and vertical tilt (120°). The 4X digital zoom allows for closer inspection of details.

3. Motion Detection and Alerts
The camera features advanced PIR motion detection with AI algorithms to accurately identify human shapes, vehicles, and pets, reducing false alarms. When motion is detected, you will receive real-time notifications on your smartphone. The camera can also activate a siren and strobe lights to deter intruders.
- Adjust Sensitivity: Customize motion detection sensitivity (10 levels) in the app.
- Detection Zones: Set specific areas for motion detection to focus on critical zones.
- Siren and Strobe: Configure automatic siren and strobe light activation upon detection, especially at night.

4. Two-Way Audio
Utilize the built-in microphone and speaker for real-time two-way communication. Speak to visitors or deter unwanted guests directly through the app.

5. Night Vision
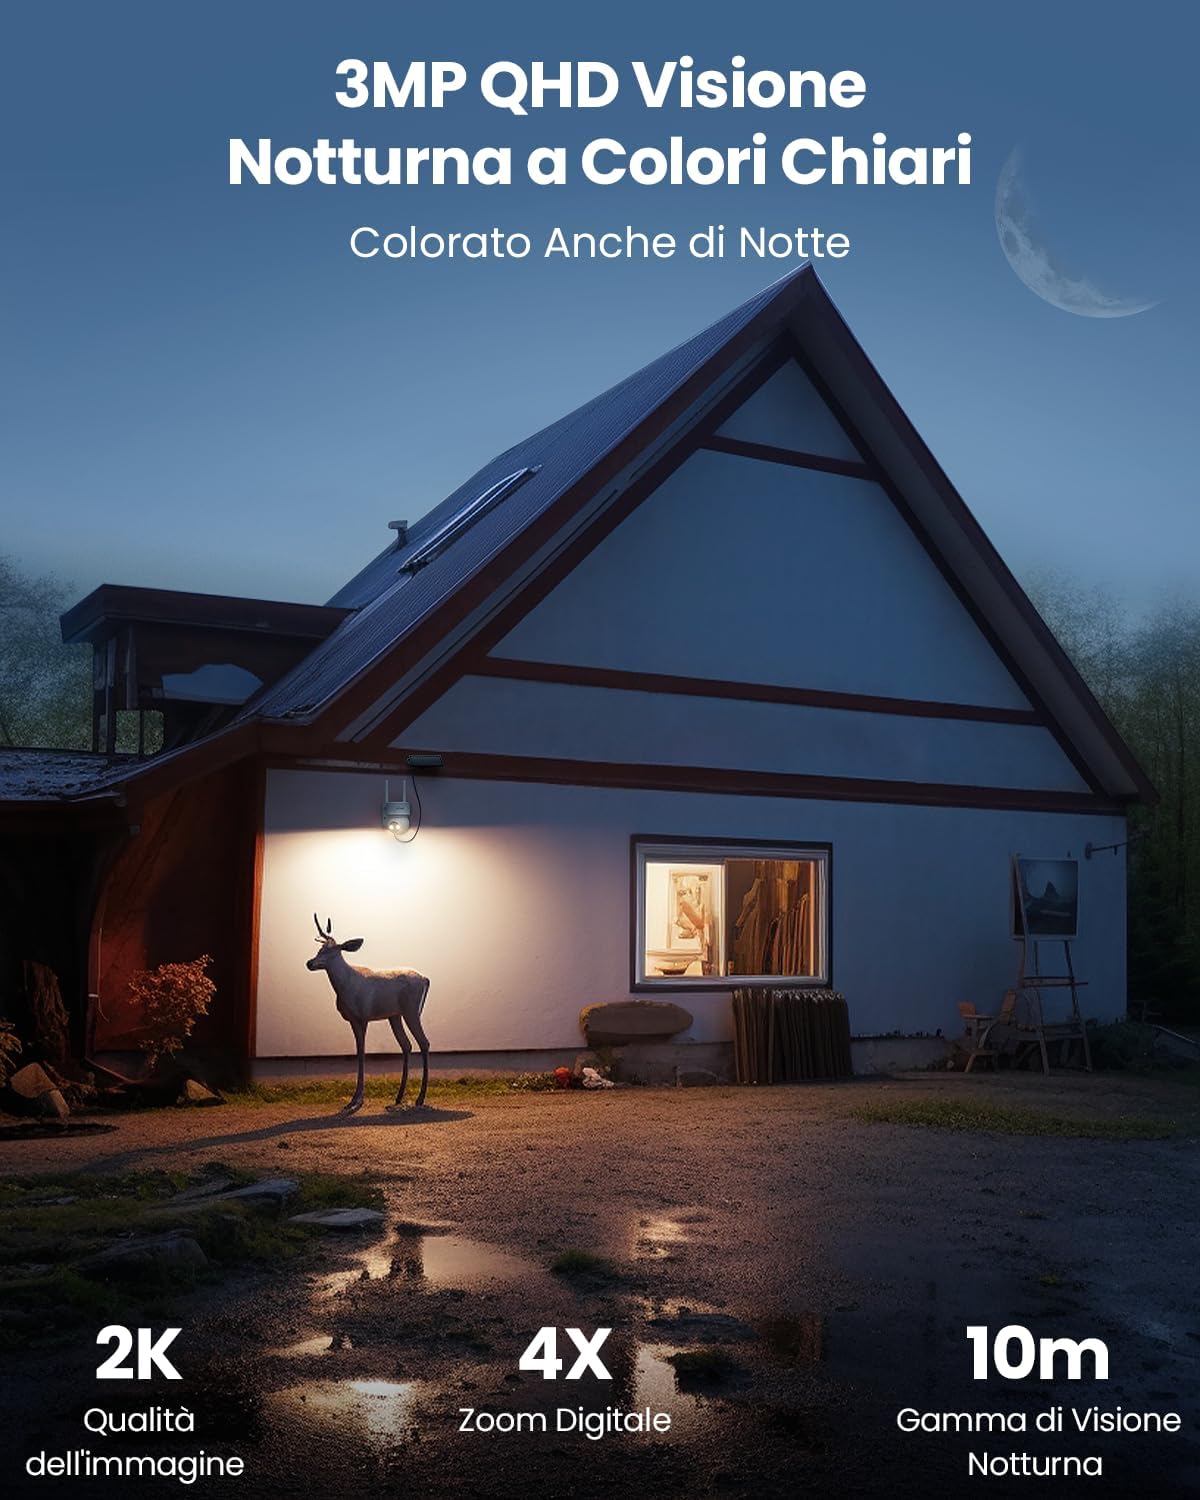
The camera supports both infrared night vision and full-color night vision. When motion is detected at night, the integrated spotlights can automatically activate to provide clear color images up to 10 meters. Spotlights can be manually turned off via the app.

6. Smart Home Integration
The ieGeek camera is compatible with Amazon Alexa. Use voice commands to view your camera feed on compatible smart displays.
Example command: "Alexa, show me the Garage."

Maintenance
1. Cleaning
Regularly clean the camera lens and solar panel with a soft, damp cloth to ensure optimal performance. Avoid abrasive cleaners or solvents.
2. Battery Management
The camera is designed for continuous power with the solar panel. In areas with limited sunlight, monitor the battery level via the app and recharge using the USB cable if necessary.
3. Firmware Updates
Check the ieGeek Cam app periodically for firmware updates. Keeping your camera's firmware up-to-date ensures optimal performance and access to new features.
4. Weather Resistance
The camera has an IP65 rating, making it resistant to dust and water jets. While designed for outdoor use, extreme weather conditions may temporarily affect performance. Ensure proper installation to prevent water ingress.

Troubleshooting
| Problem | Possible Cause | Solution |
|---|---|---|
| Camera not connecting to Wi-Fi | Incorrect Wi-Fi password, 5GHz network, weak signal, camera too far from router. |
|
| Poor image quality | Dirty lens, low light conditions, weak Wi-Fi signal. |
|
| Motion detection not working or too many false alarms | Incorrect sensitivity settings, objects outside detection zone, environmental factors (e.g., swaying branches). |
|
| Battery not charging via solar panel | Insufficient sunlight, dirty solar panel, faulty connection. |
|
Specifications
| Brand | ieGeek |
| Model Number | DQ201 |
| Connectivity Technology | Wireless (Wi-Fi 2.4 GHz) |
| Recommended Uses | Outdoor Security, Indoor Security |
| Indoor/Outdoor Use | Outdoor |
| Special Features | WiFi, PTZ (Pan-Tilt-Zoom), Color Night Vision, PIR Motion Detection, Two-Way Audio, Siren |
| Compatible Devices | Smartphones (iOS/Android), Amazon Alexa |
| Mounting Type | Wall Mount |
| Color | Cream |
| Form Factor | Dome |
| Materials | Plastic |
| Alarm Type | Sound and Light |
| Light Source Type | LED and Infrared |
| Effective Still Image Resolution | 3 MP (2K) |
| International Protection Rating | IP65 |
| Power Source | Solar Powered and Battery |
| Wattage | 10 watts |
| Video Capture Format | MP4 |
| Night Vision Range | 15 Meters |
| Night Vision Type | Color Night |
| Item Dimensions | 14 x 10 x 12.5 cm |
| Video Capture Resolution | 3 MP |
| Frame Rate | 15 FPS |
| Viewing Angle | 130 Degrees |
| Field of View | 360 Degrees (PTZ) |
| Zoom Type | Digital Zoom |
| Zoom Ratio | 4X |
| Optical Sensor Technology | CMOS |
Warranty and Support
ieGeek offers a 1-year warranty for this product. For any technical assistance, product inquiries, or warranty claims, please contact ieGeek customer support. They provide 24-hour online service (during business days).
You can find more information and contact details on the official ieGeek website or through the ieGeek Cam app.

Contact Information: Refer to your product packaging or the ieGeek Cam app for the most up-to-date support contact methods.


