1. Introduction
Thank you for choosing the Geevon TX16-3 Remote Outdoor Sensor. This sensor is designed to transmit temperature and humidity data wirelessly to a compatible Geevon weather station (models 208665, 86113, etc.). Please read this manual carefully before setup and operation to ensure proper functionality and longevity of your device.
2. Safety Information
- Do not expose the sensor to extreme temperatures outside its operating range.
- Avoid direct exposure to water or heavy rain. While designed for outdoor use, excessive moisture can damage internal components.
- Do not attempt to disassemble or repair the unit. This will void the warranty.
- Keep batteries out of reach of children. Dispose of used batteries responsibly according to local regulations.
- Ensure proper battery polarity when installing.
3. Package Contents
- 1 x Geevon TX16-3 Remote Outdoor Sensor
- 1 x User Manual (this document)
4. Product Overview
The Geevon TX16-3 is a compact, battery-powered remote sensor featuring an LCD display for local temperature and humidity readings. It transmits data wirelessly to a compatible main weather station unit.
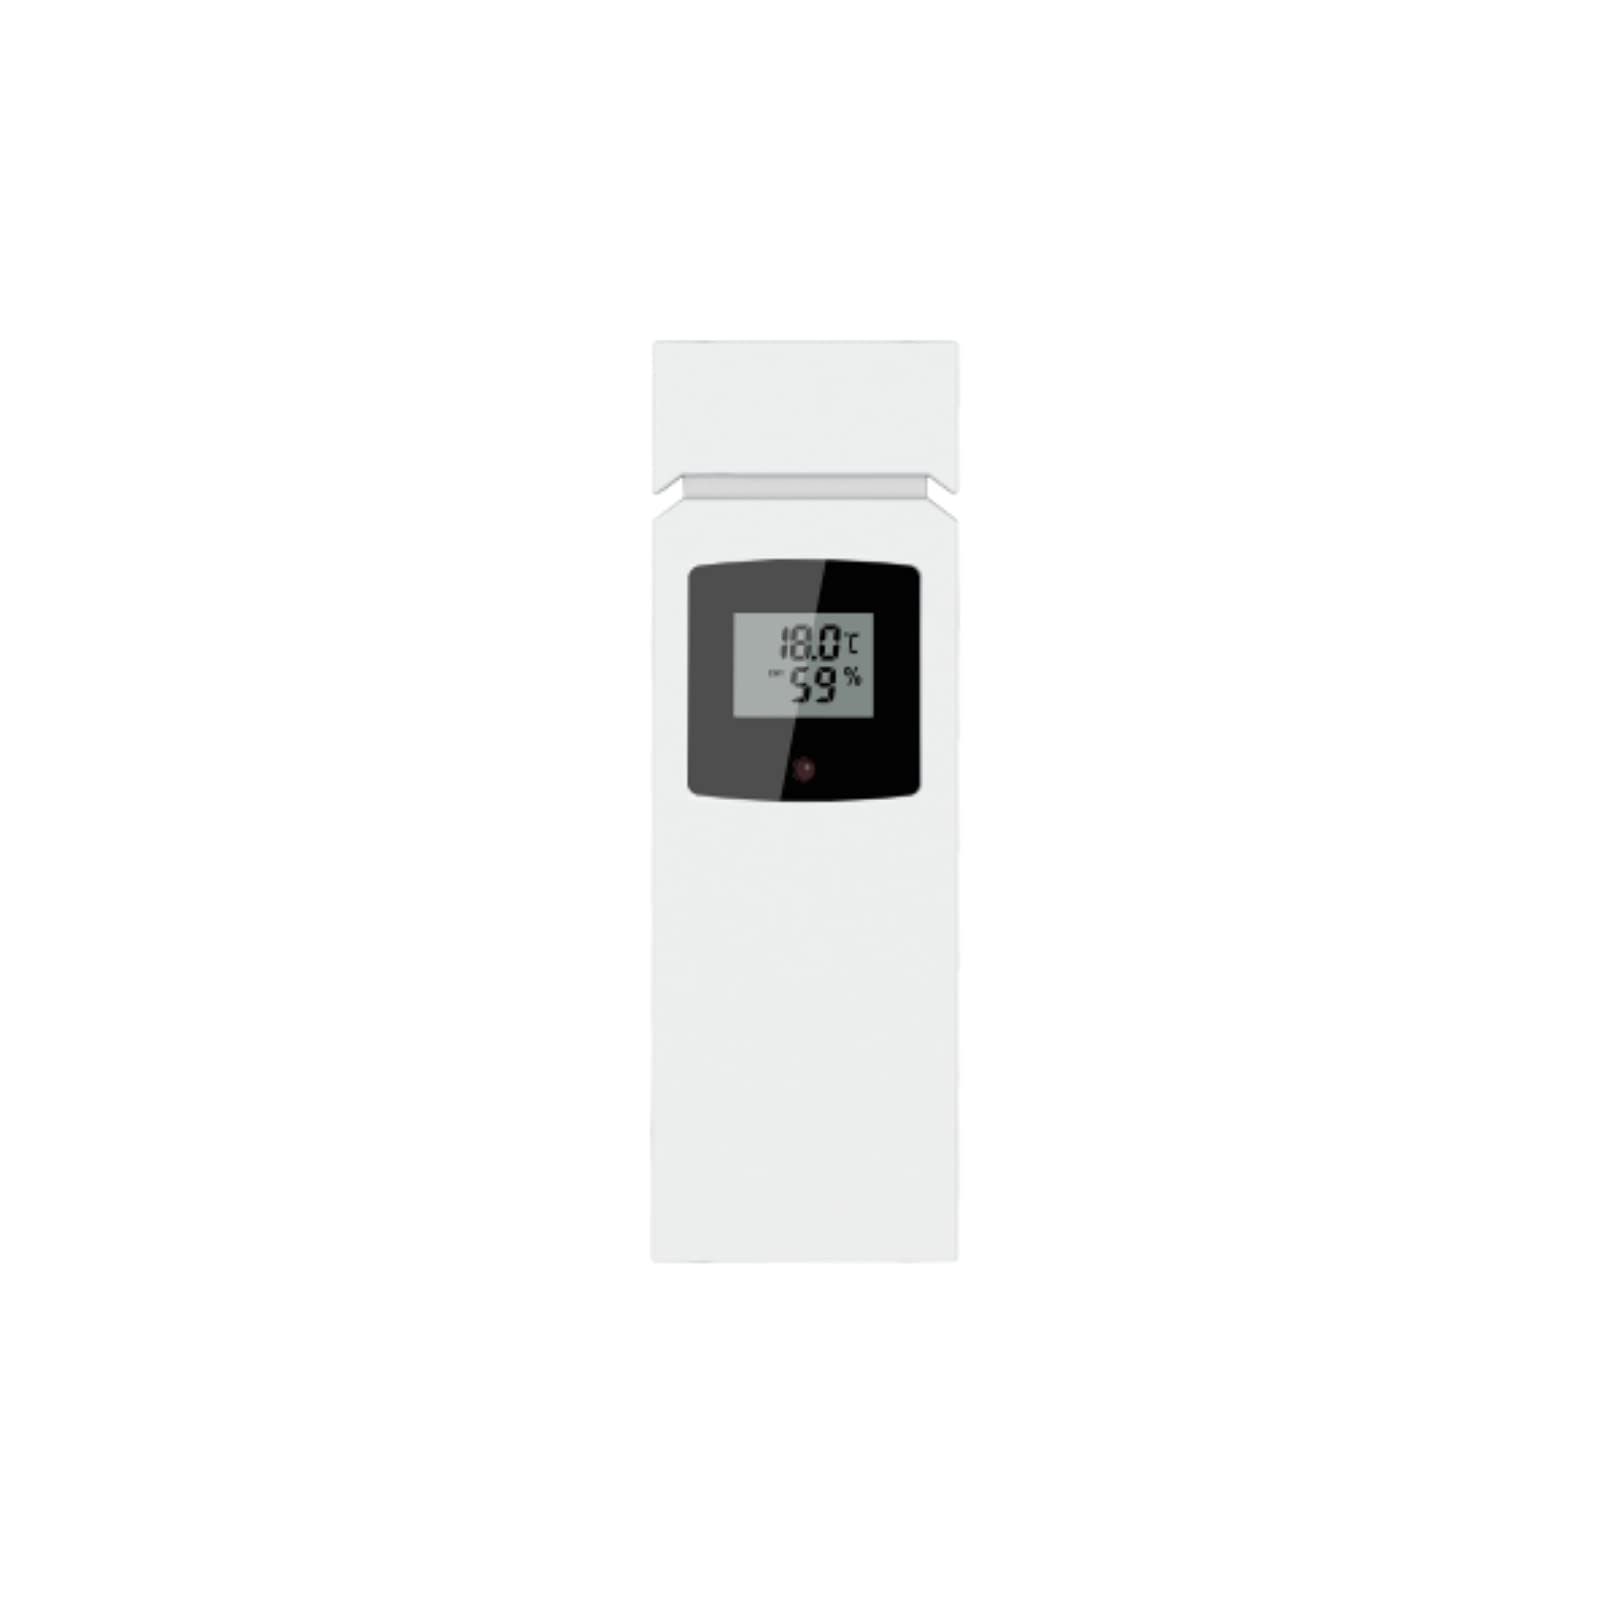
This image shows the front view of the Geevon TX16-3 remote outdoor sensor. It is a rectangular, white device with a small LCD screen at the top, displaying temperature and humidity readings. Below the screen, there is a brand logo. The sensor features a clean, modern design suitable for outdoor placement.
Key Features:
- LCD display for current temperature and humidity.
- 433 MHz wireless transmission.
- Up to 200 ft (60 m) transmission range in open air.
- Data updates every 30 seconds.
5. Setup
5.1 Battery Installation
- Locate the battery compartment cover on the back of the sensor.
- Slide the cover off.
- Insert two (2) AAA batteries (not included) according to the polarity markings (+ and -) inside the compartment.
- Replace the battery compartment cover, ensuring it is securely closed to protect against moisture.
5.2 Mounting the Sensor
For optimal performance and accurate readings, consider the following when mounting the sensor:
- Location: Choose a shaded area, away from direct sunlight, as direct sun exposure can cause inaccurate temperature readings.
- Height: Mount the sensor approximately 5-6 feet (1.5-1.8 meters) above the ground.
- Protection: While designed for outdoor use, placing it under an overhang or in a sheltered spot can extend its lifespan.
- Obstructions: Ensure there are minimal obstructions (e.g., thick walls, large metal objects) between the sensor and the main weather station unit to maximize wireless range.
- Use a screw or nail (not included) through the designated mounting hole on the back of the sensor to secure it to a wall or post.
5.3 Pairing with Main Unit
After battery installation, the sensor will automatically begin transmitting data. To pair it with your Geevon weather station (e.g., models 208665, 86113):
- Ensure your main weather station unit is powered on and within range of the sensor.
- Refer to your main weather station's instruction manual for specific pairing instructions. Typically, there is a 'SEARCH' or 'CHANNEL' button to initiate a search for outdoor sensors.
- The sensor's data (temperature and humidity) should appear on the main unit's display within a few minutes.
6. Operating
6.1 LCD Display
The sensor's integrated LCD display shows the current outdoor temperature and humidity readings directly. This allows for quick local checks without needing to consult the main weather station.
6.2 Data Transmission
The TX16-3 sensor transmits data every 30 seconds using a 433 MHz wireless signal. The effective transmission range is up to 200 feet (60 meters) in an open area. Environmental factors such as walls, electronic interference, and large metal objects can reduce this range.
7. Maintenance
7.1 Battery Replacement
When the battery icon appears on the sensor's LCD display or the main weather station unit, it indicates that the batteries are low and need replacement. Follow the battery installation steps in Section 5.1 to replace the two AAA batteries.
7.2 Cleaning
Wipe the sensor's exterior with a soft, damp cloth. Do not use abrasive cleaners, solvents, or immerse the unit in water. Ensure the LCD screen remains clean for clear visibility.
8. Troubleshooting
- No display on sensor:
Check battery installation. Ensure batteries are inserted with correct polarity and are not depleted. Replace batteries if necessary. - No outdoor data on main weather station:
- Ensure the sensor is within the 200 ft (60 m) transmission range of the main unit.
- Check for obstructions between the sensor and the main unit.
- Re-initiate the sensor search function on your main weather station (refer to its manual).
- Replace batteries in the outdoor sensor.
- Ensure there is no strong electromagnetic interference nearby.
- Inaccurate temperature/humidity readings:
- Ensure the sensor is mounted in a shaded area, away from direct sunlight or heat sources.
- Verify that the sensor is not exposed to excessive moisture.
- Compare readings with another reliable thermometer/hygrometer. If discrepancies persist, contact customer support.
9. Specifications
| Model Number | TX16-3 |
| Power Source | 2 x AAA Batteries (not included) |
| Transmission Frequency | 433 MHz |
| Transmission Range | Up to 200 ft (60 m) in open air |
| Data Update Interval | Every 30 seconds |
| Display Type | LCD |
| Material | ABS, Metal, Plastic |
| Dimensions (L x W x H) | 4.72 x 1.18 x 0.79 inches (12 x 3 x 2 cm) |
| Weight | 2.11 ounces (0.06 kg) |
10. Warranty and Support
Geevon products are designed for reliability and performance. For warranty information, please refer to the documentation included with your main weather station unit or visit the official Geevon website. If you encounter any issues not covered in this manual, or require further assistance, please contact Geevon customer support through their official channels.


