
1. Important Safety Information
Read all instructions before using this appliance to reduce the risk of fire, electric shock, or injury. Keep this manual for future reference.
- Electrical Safety: Ensure the appliance is connected to a properly grounded 120V, 60Hz power outlet. Do not use extension cords.
- Placement: Position the appliance on a firm, level surface. Allow adequate space around the unit for proper ventilation.
- Flammable Materials: Do not store explosive substances such as aerosol cans with a flammable propellant in this appliance.
- Children: Supervise children to ensure they do not play with the appliance.
- Moving the Unit: If the unit has been tilted or laid on its side during transport, allow it to stand upright for at least 24 hours before plugging it in. This allows the refrigerant fluids to settle, preventing potential damage to the sealed system.
- Disposal: Dispose of the appliance according to local regulations for flammable refrigerants and insulation gas.
2. Product Overview
The Hamilton Beach HZ4941 is a 14 cu ft upright convertible appliance designed for flexible food storage. It can function as either a freezer or a refrigerator, controlled by a single electronic switch. Key features include a frost-free system, reversible door, removable glass shelves, and LED interior lighting.
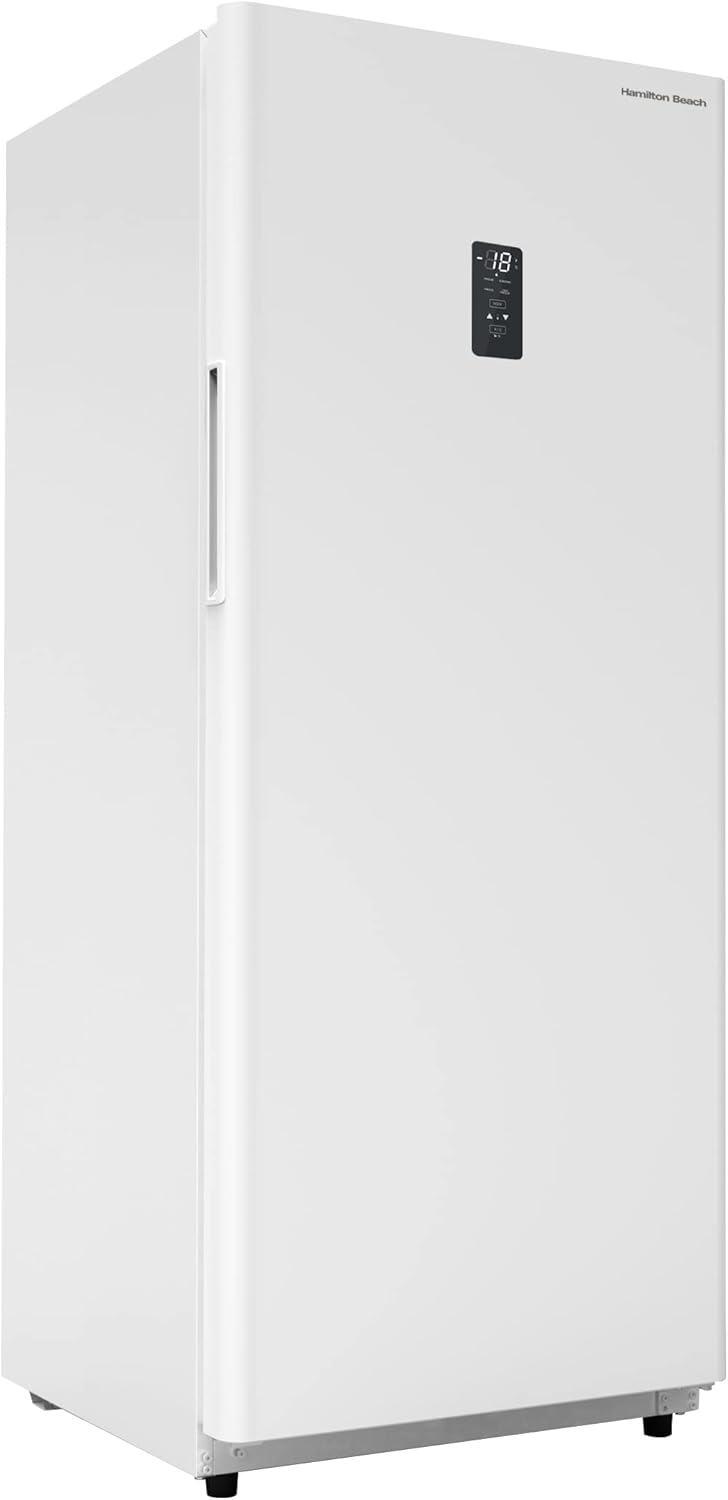
Figure 2.1: Angled view of the Hamilton Beach HZ4941 Upright Convertible Fridge/Freezer.

Figure 2.2: Front view of the appliance, showing the digital control panel.

Figure 2.3: Interior view with the door open, showcasing the glass shelves and door bins.
3. Setup and Installation
3.1 Unpacking
- Remove all packaging materials, including foam and adhesive tape.
- Inspect the appliance for any shipping damage. Report any damage to your retailer immediately.
- Keep packaging materials out of reach of children.
3.2 Placement
- Place the appliance on a strong, level floor capable of supporting its weight when fully loaded.
- Ensure there is at least 4 inches (10 cm) of space at the back and sides for proper air circulation.
- Avoid direct sunlight or heat sources (e.g., stove, heater).
- The appliance is designed for freestanding installation.

Figure 3.1: Example of appliance placement in a kitchen environment.
3.3 Leveling the Appliance
The appliance is equipped with 2 roller wheels at the back and 2 adjustable front leveling legs. Adjust the front legs to ensure the unit is stable and level. This helps the door seal properly.
3.4 Electrical Connection
- Plug the appliance into an exclusive 120V, 60Hz, 15 Amp grounded electrical outlet.
- Do not use an adapter or extension cord.
- Allow the appliance to stand upright for at least 24 hours before plugging it in to allow the refrigerant to settle.
3.5 Reversible Door Installation
The door hinge is reversible, allowing you to change the door swing direction from right to left, or left to right, to suit your installation needs. Refer to the detailed diagrams in the full owner's manual for specific instructions on reversing the door.
4. Operating Instructions
4.1 Control Panel
The appliance features an electronic control panel on the door for easy temperature adjustment and mode selection.

Figure 4.1: Digital control panel for temperature and mode settings.
- Temperature Display: Shows the current internal temperature.
- Mode Button: Press to cycle through operating modes (Freezer, Fridge, Fast Freeze, Subzero).
- Temperature Adjustment Buttons (Up/Down Arrows): Use to set the desired temperature within the selected mode.
- °F/°C Button: Toggles the temperature display between Fahrenheit and Celsius.
4.2 Converting Between Freezer and Refrigerator
This appliance can be switched between freezer and refrigerator modes with a single-click electronic control. Use the "Mode" button on the control panel to select your desired function. Allow several hours for the internal temperature to stabilize after changing modes.
4.3 Interior Storage
- Glass Shelves: The appliance includes 4 removable tempered glass shelves for organizing contents. These can be adjusted to different heights.
- Door Shelves: Integrated door shelves provide additional storage for smaller items and bottles.
- Bottom Slide-Out Bin: A convenient bin at the bottom offers extra storage space.
- LED Interior Light: The internal LED lighting illuminates the interior for clear visibility.
5. Maintenance
5.1 Cleaning
- Exterior: Clean the exterior surfaces with a soft cloth and mild detergent. Wipe dry with a clean cloth.
- Interior: Unplug the appliance before cleaning. Wash the interior surfaces, shelves, and bins with a solution of mild soap and warm water. Rinse thoroughly and dry.
- Door Gasket: Clean the door gasket regularly to ensure a tight seal.
- Do not use abrasive cleaners, sharp objects, or flammable fluids for cleaning.
5.2 Frost-Free Operation
This appliance features a frost-free system, eliminating the need for manual defrosting. If excessive frost builds up due to frequent door openings or high humidity, ensure the door seal is intact and consider reducing door opening frequency.
6. Troubleshooting
Before contacting customer service, review the following common issues and solutions:
| Problem | Possible Cause | Solution |
|---|---|---|
| Appliance does not operate. | No power to the unit. | Check if the power cord is securely plugged in. Verify the circuit breaker or fuse. |
| Temperature is not cold enough. | Door not closed properly; excessive door openings; warm food placed inside; temperature setting too high. | Ensure door is fully closed. Reduce frequency of door openings. Allow hot food to cool before storing. Adjust temperature setting lower. |
| Unusual noises. | Appliance not level; objects vibrating against the unit; normal operating sounds. | Level the appliance using the adjustable legs. Ensure nothing is touching the back or sides. Gurgling or humming sounds are normal for refrigeration systems. |
| Excessive frost buildup. | Door gasket not sealing properly; frequent door openings in humid conditions. | Inspect and clean the door gasket. Ensure the door closes tightly. |
7. Specifications
| Feature | Detail |
|---|---|
| Model Number | HZ4941 |
| Capacity | 14 cu ft |
| Dimensions (D x W x H) | 23.5 x 23.5 x 70 inches |
| Item Weight | 135 pounds |
| Voltage | 120 Volts |
| Wattage | 500 watts |
| Installation Method | Freestanding |
| Color | White |
| Included Components | 5 shelves, Owners Manual |

Figure 7.1: Appliance dimensions.
8. Warranty and Support
8.1 Warranty Information
This Hamilton Beach appliance comes with a 1-year parts and labor warranty. Please retain your proof of purchase for warranty claims. The warranty covers defects in materials and workmanship under normal use.
For detailed warranty terms and conditions, refer to the full owner's manual included with your product or visit the Hamilton Beach official website.
8.2 Customer Support
If you require assistance or have questions not covered in this manual, please contact Hamilton Beach customer support. Contact information can typically be found on the manufacturer's website or in the full owner's manual.


