1. Product Overview
The PEXMOR Electric Bike is designed for adult city commuting, offering a blend of traditional cycling and electric assistance. It features a powerful 350W (Peak 500W) motor, a removable 36V 12.5AH battery, and a 6-speed gear system. Dual shock absorbers enhance ride comfort, and the bike complies with UL2849 safety standards.
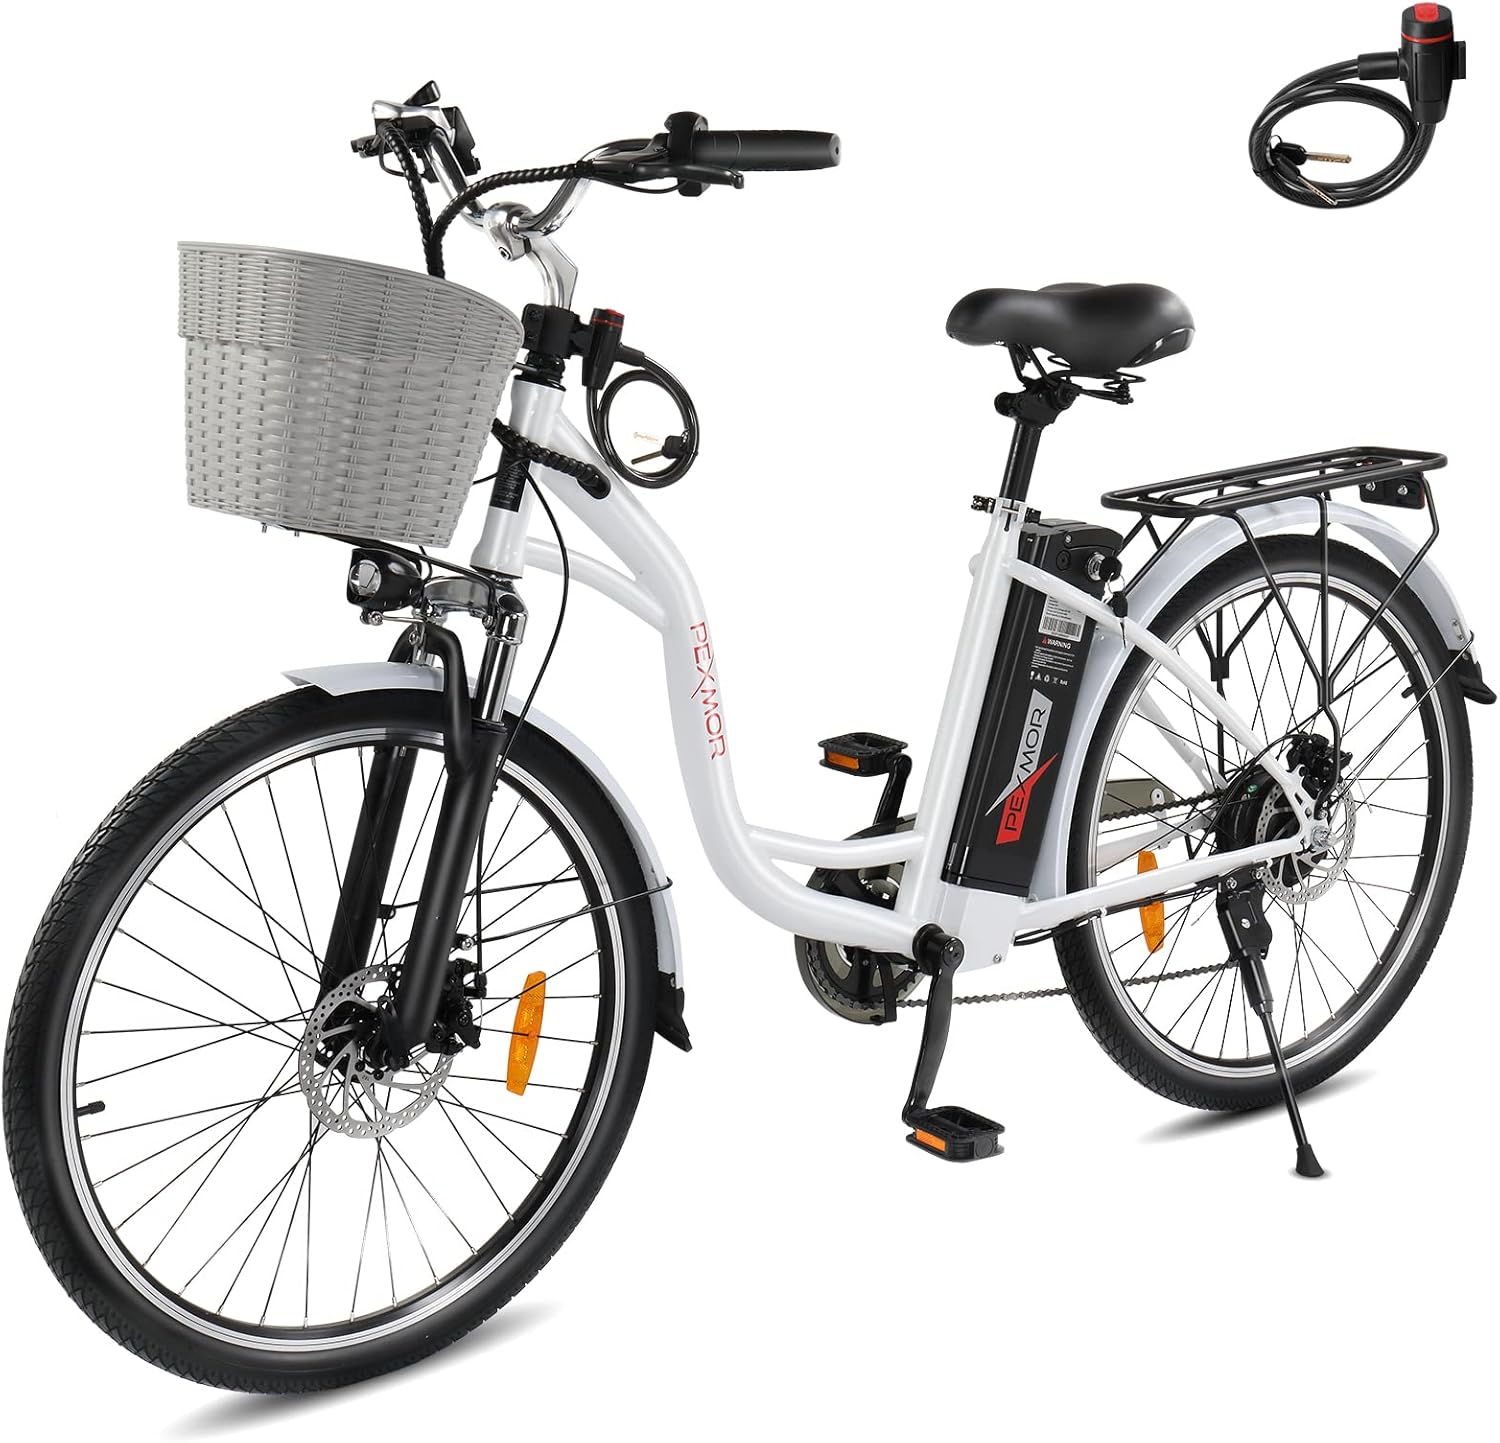
Image: The PEXMOR Electric Bike, showcasing its design with a front basket and rear cargo rack.
2. Assembly and Setup
Your PEXMOR Electric Bike is shipped 90% pre-assembled. Follow these instructions carefully for the remaining assembly steps. It is recommended to watch the official assembly video for visual guidance.
2.1. Unboxing and Parts Identification
Carefully open the box and remove all packaging materials. Identify all components as shown in the diagram below. Ensure no parts are missing or damaged before proceeding with assembly.

Image: Exploded view of the PEXMOR Electric Bike components, including the main frame, front wheel, basket, seat, pedals, and battery.
Video: Official PEXMOR City Ebike Assembly Video. This video provides a step-by-step visual guide for assembling your electric bike, from unboxing to final checks.
2.2. Front Wheel Installation
- Remove the protective plates from the brake calipers.
- Align the front wheel with the front fork, ensuring the brake disc fits into the dropouts.
- Insert the quick release lever through the hub.
- Turn the lever clockwise to secure the wheel, then lock the lever into place.
2.3. Headlight and Mudguard Installation
- Remove the screws from the front fork.
- Insert the mudguard from front to back, aligning its holes with the fork.
- Pass the headlight screw through the threaded hole on the mudguard and tighten.
- Pass the support screw through the support hole on the fork and tighten.

Image: Detail of the bright LED headlight, essential for night riding safety.
2.4. Handlebar (Riser) Installation
- Insert the riser into the head tube of the bike frame.
- Determine the desired height of the riser and ensure the handlebars are level with the front tire.
- Tighten the riser clockwise using an Allen key.
- Press the dust plug into the riser hole to protect it.
2.5. Basket Installation
- Mount the basket onto the front bracket.
- Find the screws, clips, and plates provided for the basket.
- Assemble the clips and screws at the bottom of the basket, securing it to the bracket.
- Tighten all screws to ensure the basket is firmly attached.

Image: The bike's front storage basket and integrated headlight, designed for convenience and visibility.
2.6. Seat Installation
- Insert the seat post into the seat tube on the bike frame.
- Adjust the seat height to your preference. The seat is adjustable for comfortable riding posture.
- Turn the seat tube lock counter-clockwise to loosen, adjust, then clockwise to tighten and secure the seat.
2.7. Pedal Installation
- Identify the left (L) and right (R) pedals.
- For the left pedal, install it by turning counter-clockwise through the threaded hole on the crank arm.
- For the right pedal, install it by turning clockwise through the threaded hole on the crank arm.
- Ensure both pedals are securely tightened.
2.8. Battery Installation and Activation
- Align the slot on the back of the battery with the battery tube on the bike frame.
- Slide the battery into place until it clicks securely.
- Insert the key into the battery lock and turn it to the 'ON' position to power on the battery.
- To lock the battery for security, turn the key to the 'locked' position and remove it.
- To remove the battery for charging or storage, turn the key to the 'unlocked' position and gently slide the battery out.
Image: The 36V 12.5AH removable lithium battery, highlighting its large capacity and the three riding modes.
3. Operating Your Electric Bike
3.1. Powering On/Off
- To power on the bike, ensure the battery is installed and locked, then turn the key to the 'ON' position.
- Press and hold the power button on the handlebar display to activate the electrical system.
- To power off, press and hold the power button again until the display turns off.
3.2. Riding Modes
The PEXMOR Electric Bike offers three distinct riding modes:
- Ordinary Bicycle Mode: Ride as a traditional bicycle without electric assistance.
- PAS (Pedal Assist System) Mode: The motor provides assistance as you pedal. This mode can extend your travel range up to 70-80 KM (43-50 Miles).
- Electric Mode: The bike is fully powered by the motor, allowing you to ride without pedaling. This mode offers a range of 45-50 KM (28-31 Miles).
3.3. Gear Shifting
The bike is equipped with a professional 6-speed gear finger shifter. Use the shifter to change gears according to terrain and desired speed, making it convenient for uphill, downhill, or flat acceleration.
3.4. Braking System
The front and rear dual disc brakes provide stable and strong braking force for reliable stopping power. Always apply both brakes simultaneously for optimal control and safety.
3.5. Battery Charging
To charge the battery, you can either charge it while it's installed on the bike or remove it for charging. Connect the charger to the battery's charging port and then plug it into a standard power outlet. The BMS technology ensures battery safety during charging.
4. Maintenance
Regular maintenance ensures the longevity and optimal performance of your PEXMOR Electric Bike.
4.1. General Cleaning
Clean your bike regularly with a damp cloth and mild soap. Avoid using high-pressure washers directly on electrical components.
4.2. Tire Pressure
Check tire pressure before each ride. Maintain the recommended PSI (pounds per square inch) as indicated on the tire sidewall for optimal performance and safety.
4.3. Brake Inspection
Regularly inspect the brake pads and discs for wear. Ensure the brake levers engage smoothly and provide adequate stopping power. Adjust or replace components as needed.
4.4. Battery Care
- Charge the battery fully before its first use.
- Avoid completely draining the battery before recharging.
- Store the battery in a cool, dry place when not in use, and charge it periodically if stored for long periods.
4.5. General Inspection
Periodically check all nuts, bolts, and quick releases for tightness. Lubricate the chain and other moving parts as necessary. Inspect cables for fraying or damage.
5. Troubleshooting
This section addresses common issues you might encounter with your PEXMOR Electric Bike.
5.1. No Power / Bike Not Turning On
- Ensure the battery is fully charged and properly installed.
- Check that the battery key is turned to the 'ON' position.
- Verify all electrical connections are secure.
5.2. Motor Not Providing Assist
- Confirm the bike is in PAS or Electric mode.
- Check battery charge level.
- Ensure brake levers are not partially engaged, as this can cut motor power.
5.3. Brakes Not Effective
- Inspect brake pads for wear and replace if necessary.
- Check brake cables for proper tension and adjustment.
- Ensure brake discs are clean and free from oil or grease.
If you encounter issues not listed here or if troubleshooting steps do not resolve the problem, please contact customer support.
6. Specifications
| Feature | Specification |
|---|---|
| Bike Type | Electric Bike |
| Age Range | Adult |
| Brand | PEXMOR |
| Number of Speeds | 6 |
| Color | White |
| Wheel Size | 26 Inches |
| Frame Material | Carbon Steel |
| Suspension Type | Rear, Front, Dual |
| Special Feature | Basket |
| Included Components | Basket, Tool Kit |
| Brake Style | Disc |
| Specific Uses | City Commuting |
| Motor Wattage | 350W (Peak 500W) |
| Battery | 36V 12.5AH Removable Lithium Battery |
| Lithium Battery Energy Content | 450 Watt Hours |
| Max Load Capacity | 265 LBS (120 KG) |
| Max Speed | 15.5 MPH (25 KM/H) |
| Electric Mode Range | 45-50 KM (28-31 Miles) |
| PAS Mode Range | 70-80 KM (43-50 Miles) |

Image: Visual representation of the bike's dimensions, recommended rider height (5'2"-6'2"), load capacity (264LB), and ebike weight (59LB).
7. Warranty and Support
PEXMOR is committed to providing high-quality products and responsible after-sales service. If there is any damage or failure with your bike, please contact us through your order details. Provide relevant photos and videos of the problem to assist our support team.
For further assistance, please refer to the contact information provided with your purchase or visit the official PEXMOR store online.


