1. Important Safety Information
Please read all instructions carefully before operating the Gastroback Design Espresso Advanced Duo 42626 espresso machine. Retain this manual for future reference.
- Ensure the appliance is connected to a grounded power outlet with the correct voltage (230 Volts).
- Do not immerse the appliance, power cord, or plug in water or other liquids.
- Keep hands and utensils away from moving parts during operation.
- Always unplug the machine before cleaning or when not in use.
- Exercise caution when handling hot surfaces, steam, and hot water.
- This appliance is intended for household use only.
2. Product Overview
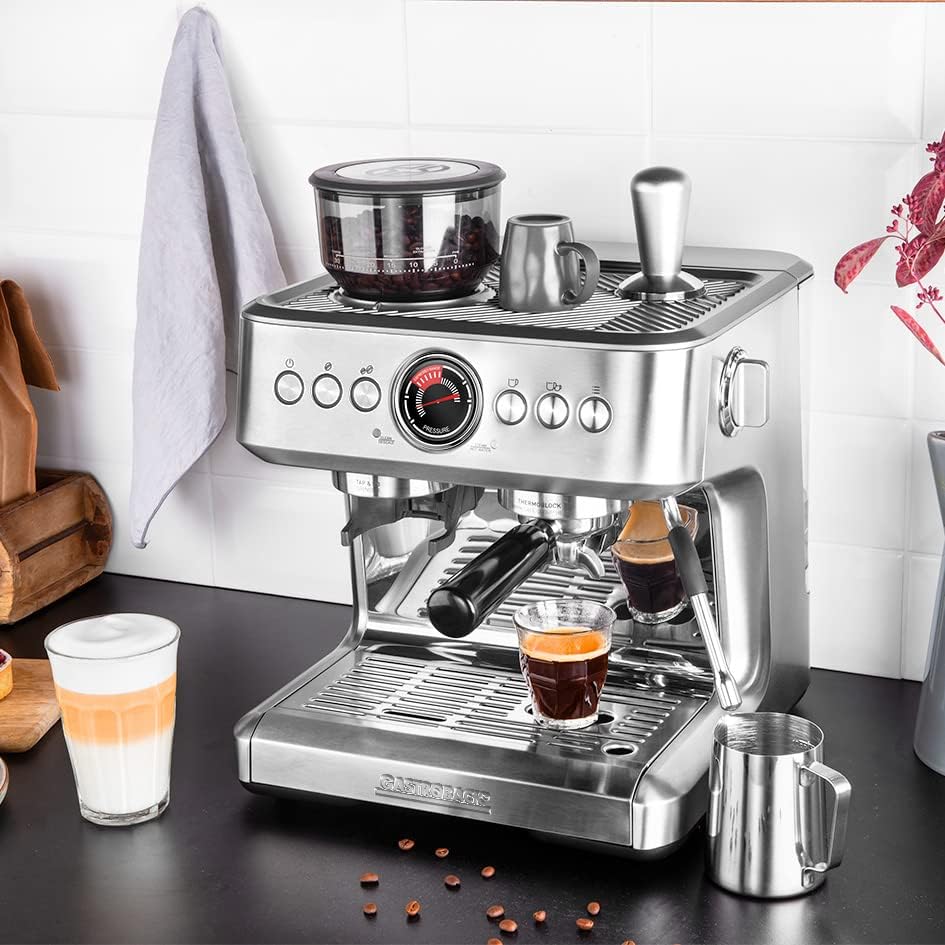
The Gastroback Design Espresso Advanced Duo 42626 is a programmable espresso machine designed for preparing various coffee specialties. It features an integrated conical grinder and a dual Thermoblock system, allowing simultaneous espresso brewing and milk frothing. The machine includes a professional 15-bar espresso pump and an electronic PID regulator for precise temperature control.

Front view of the Gastroback Design Espresso Advanced Duo 42626 espresso machine, showcasing its stainless steel finish, control panel, portafilters, and integrated bean hopper.
Key Features:
- Programmable espresso machine with portafilter.
- Integrated conical grinder with 30 adjustable grind settings.
- Dual Thermoblock system for simultaneous espresso and milk frothing.
- Professional 15-bar espresso pump.
- Electronic PID regulator for precise water temperature control.
- Separate hot water spout for Americano, Café Crème, or Tea.
- Individually programmable water quantity per cup and pre-infusion function.
- 2.8-liter removable water tank.
- Warming plate for cups.
Included Accessories:

The image displays the included accessories: a professional stainless steel espresso tamper, single-wall filters for 1 and 2 cups, and a milk frothing pitcher.
- Professional stainless steel espresso tamper.
- Single-wall filter baskets for 1 and 2 cups.
- Milk frothing pitcher.
- Cleaning tool.
3. Setup
3.1 Initial Cleaning
- Remove all packaging materials and stickers from the machine.
- Wash the water tank, portafilter, filter baskets, milk pitcher, and drip tray with warm soapy water. Rinse thoroughly and dry.
- Wipe the exterior of the machine with a damp cloth.
3.2 Filling the Water Tank
- Remove the 2.8-liter water tank from the back of the machine.
- Fill the tank with fresh, cold filtered water up to the MAX line.
- Place the water tank back into its position, ensuring it is securely seated.
3.3 Filling the Bean Hopper and Adjusting Grind Settings
The bean hopper with visible grind settings, ranging from fine to coarse, and a capacity of 260g.
- Lift the lid of the bean hopper located on top of the machine.
- Pour fresh, whole coffee beans into the hopper. The hopper has a capacity of 260g.
- Close the lid securely.
- Adjust the grind setting using the dial on the bean hopper. There are 30 grind settings available, from fine (for espresso) to coarse (for other coffee types). Start with a medium-fine setting for espresso and adjust as needed based on extraction time and taste.
4. Operating Instructions
4.1 Powering On and Preheating
- Plug the machine into a power outlet.
- Press the power button. The machine will begin to preheat. This process ensures optimal brewing temperature.
- The warming plate on top of the machine will also heat up, allowing you to pre-warm your cups.
4.2 Grinding Coffee

A close-up view of freshly ground coffee collected in the portafilter, ready for tamping and brewing.
- Insert the desired filter basket (1-cup or 2-cup) into the portafilter.
- Place the portafilter under the grinder outlet.
- Press the grind button. The grinder will dispense freshly ground coffee into the portafilter. The quantity of coffee powder is individually adjustable.
- Once ground, use the included tamper to compress the coffee grounds evenly.
4.3 Brewing Espresso
The espresso machine actively brewing a shot of espresso into a glass cup, demonstrating the extraction process.
- Insert the portafilter firmly into the brew group, twisting it to the right until it is locked in place.
- Place your pre-warmed cup(s) under the portafilter spouts.
- Select the desired espresso button (single or double shot). The machine will initiate the pre-infusion function, followed by brewing.
- The brew pressure gauge will indicate the pressure during extraction. Aim for the optimal range for best results.
- The water quantity per cup is individually programmable. Refer to the full manual for programming instructions.

A close-up of the pressure gauge on the control panel, indicating the brewing pressure during espresso extraction.
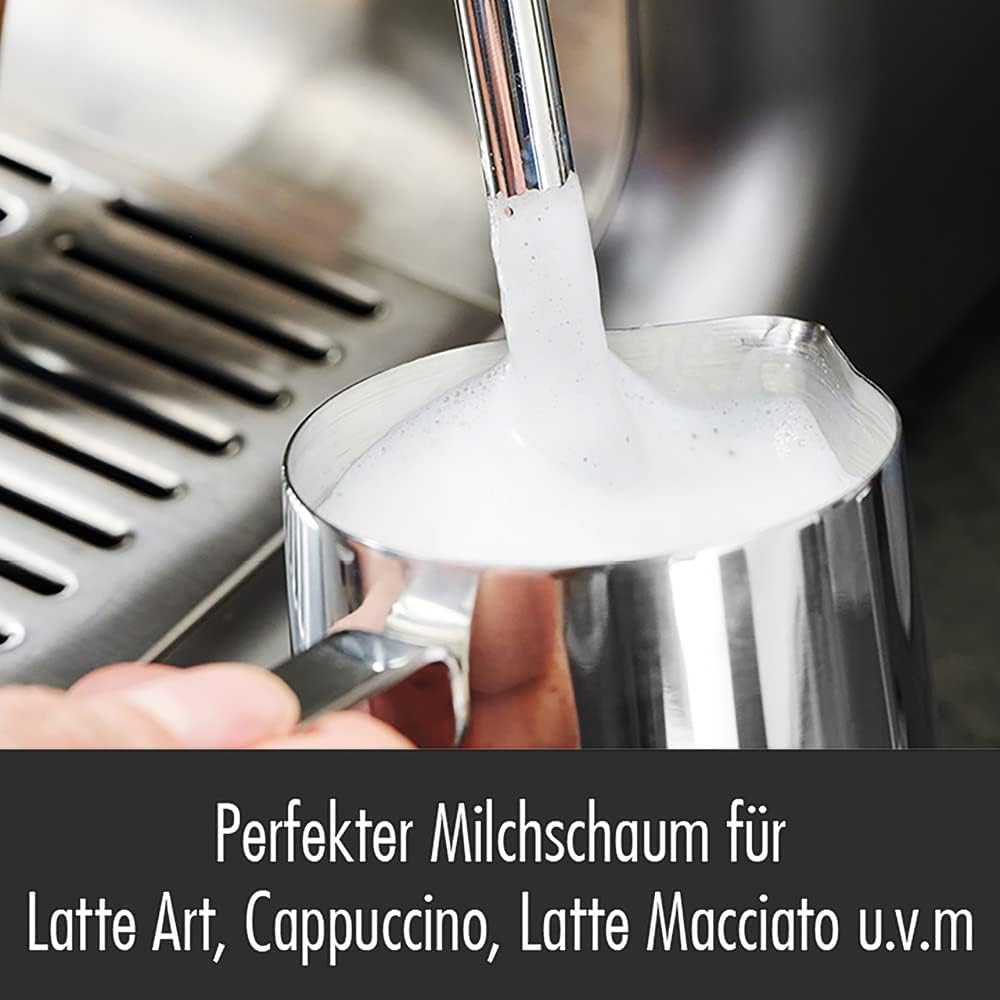
4.4 Milk Frothing

The steam wand frothing milk in a stainless steel pitcher, creating a creamy texture for lattes and cappuccinos.
- Fill the milk frothing pitcher with cold milk.
- Position the 360° swiveling steam wand into the milk.
- Activate the steam function. The dual Thermoblock system allows you to froth milk while brewing espresso.
- Move the pitcher to create a vortex, incorporating air to achieve desired foam consistency.
- Once finished, turn off the steam function and immediately wipe the steam wand with a damp cloth to prevent milk residue buildup.
4.5 Hot Water Dispensing

The separate hot water spout dispensing hot water into a glass, suitable for Americanos, Café Crème, or tea.
- Place a cup under the separate hot water spout.
- Activate the hot water function.
- Turn off the function once the desired amount of hot water is dispensed.
5. Maintenance
Regular cleaning and maintenance ensure the longevity and optimal performance of your espresso machine.
5.1 Daily Cleaning
- Portafilter and Filter Baskets: After each use, remove the spent coffee grounds and rinse the portafilter and filter baskets under hot water.
- Steam Wand: Immediately after frothing milk, wipe the steam wand with a damp cloth. Purge a small amount of steam to clear any internal milk residue.
- Drip Tray: Empty and clean the drip tray daily or when the 'Empty Me' indicator appears. Wash with warm soapy water and rinse.
- Exterior: Wipe the exterior of the machine with a soft, damp cloth. Do not use abrasive cleaners.
5.2 Grinder Cleaning
- Ensure the bean hopper is empty.
- Remove the bean hopper and use the cleaning brush to remove any loose coffee grounds from the burrs.
- Refer to the full manual for detailed instructions on removing and cleaning the grinder burrs.
5.3 Descaling
- The machine will indicate when descaling is required.
- Use a descaling solution specifically designed for espresso machines.
- Follow the instructions provided with the descaling solution and the machine's full manual for the descaling procedure.
- Regular descaling prevents mineral buildup and maintains optimal machine performance.
6. Troubleshooting
If you encounter issues with your espresso machine, refer to the following common problems and solutions:
| Problem | Possible Cause | Solution |
|---|---|---|
| No coffee dispenses | Water tank empty; clogged filter; grind too fine; tamped too hard. | Fill water tank; clean filter; adjust grind coarser; tamp lighter. |
| Coffee brews too fast/weak | Grind too coarse; not enough coffee; tamped too lightly. | Adjust grind finer; increase coffee quantity; tamp firmer. |
| No steam from wand | Steam wand clogged; machine not heated to steam temperature. | Clean steam wand; allow machine to fully heat for steam. |
| Machine leaks water | Water tank not seated correctly; drip tray full; seal issue. | Reseat water tank; empty drip tray; contact customer support if issue persists. |
For more detailed troubleshooting, please consult the comprehensive manual or contact Gastroback customer support.
7. Specifications
| Feature | Specification |
|---|---|
| Brand | GASTROBACK |
| Model Number | 42626 |
| Color | Silver |
| Dimensions (L x W x H) | 33 x 34 x 39.5 cm |
| Weight | 10.8 Kilograms |
| Water Tank Capacity | 2.8 Liters |
| Voltage | 230 Volts |
| Material | Stainless Steel |
| Pump Pressure | 15 bar |
| Bean Hopper Capacity | 260g |
| Grind Settings | 30 |
8. Warranty and Support
The Gastroback Design Espresso Advanced Duo 42626 comes with a manufacturer's warranty. Please refer to your purchase documentation or the official Gastroback website for specific warranty terms and conditions.
For technical support, spare parts, or service inquiries, please contact Gastroback customer service through their official channels. Availability of spare parts is typically 2 years from the date of purchase.


