1. Introduction
The Trane XL724 Thermostat is a genuine OEM (Original Equipment Manufacturer) part designed for precise control of your HVAC system. This manual provides essential information for the proper installation, operation, and maintenance of your thermostat, ensuring optimal performance and longevity.
2. Setup and Installation
Before beginning installation, ensure the power to your HVAC system is turned off at the circuit breaker to prevent electrical shock.
2.1 Unpacking and Inspection
- Carefully remove the thermostat and any accessories from the packaging.
- Inspect all components for any signs of damage. If any parts are damaged, do not proceed with installation and contact your supplier.
- Verify that all included parts match the packing list. The package typically includes the thermostat unit and mounting hardware.

Figure 2.1: Trane XL724 Thermostat with mounting hardware, including screws and anchors.
2.2 Mounting the Thermostat
- Choose an appropriate location on an interior wall, away from direct sunlight, drafts, or heat sources that could affect temperature readings.
- Use the provided mounting hardware to securely attach the thermostat base to the wall.
- Connect the HVAC system wiring to the appropriate terminals on the thermostat base. Refer to your HVAC system's wiring diagram for specific connections.
- Carefully attach the thermostat display unit to the mounted base.

Figure 2.2: Side view of the Trane XL724 Thermostat, showing its slim profile and ventilation slots.
2.3 Initial Power-Up
Once the thermostat is securely mounted and wired, restore power to your HVAC system at the circuit breaker. The thermostat display should illuminate, indicating successful power-up. Follow any on-screen prompts for initial setup, such as date, time, and system type configuration.
3. Operating Instructions
The Trane XL724 Thermostat features an intuitive interface for easy control of your home's climate.
3.1 Basic Operation
- Mode Selection: Use the 'Mode' button or on-screen option to switch between Heat, Cool, Auto, and Off modes.
- Temperature Adjustment: Use the Up/Down arrows or touch controls to set your desired temperature.
- Fan Control: Select 'Auto' for the fan to run only when heating or cooling, or 'On' for continuous operation.

Figure 3.1: Front view of the Trane XL724 Thermostat, displaying its screen and control interface.
3.2 Programming Schedules
The XL724 is a programmable thermostat, allowing you to set custom heating and cooling schedules to save energy and enhance comfort.
- Access the 'Schedule' or 'Program' menu from the main screen.
- Select the days you wish to program (e.g., weekdays, weekends, or individual days).
- Set desired temperatures for different time periods (e.g., Wake, Away, Home, Sleep).
- Save your settings. The thermostat will automatically adjust the temperature according to your programmed schedule.
4. Maintenance
Regular maintenance ensures your Trane XL724 Thermostat operates efficiently and accurately.
4.1 Cleaning the Thermostat
- Wipe the exterior of the thermostat with a soft, damp cloth. Do not use abrasive cleaners or solvents.
- Ensure no moisture enters the internal components.
4.2 Battery Replacement (If Applicable)
If your thermostat uses batteries, replace them annually or when a low battery indicator appears on the display. Refer to the battery compartment for the correct battery type and orientation.
4.3 HVAC Filter Reminder
Many thermostats, including the XL724, can be set to remind you when it's time to change your HVAC system's air filter. Regularly changing your filter is crucial for system efficiency and air quality.
5. Troubleshooting
This section addresses common issues you might encounter with your Trane XL724 Thermostat.
5.1 No Power to Thermostat
- Check the circuit breaker for your HVAC system. Ensure it is in the 'On' position.
- Verify all wiring connections at the thermostat base are secure.
- If battery-powered, replace the batteries.
5.2 Incorrect Temperature Readings
- Ensure the thermostat is not exposed to direct sunlight, drafts from windows, or heat sources (e.g., lamps, appliances).
- Clean any dust or debris from the thermostat's vents.
5.3 System Not Responding to Thermostat
- Check that the system mode (Heat, Cool, Auto) is correctly selected.
- Verify that the fan setting is appropriate.
- Ensure the desired temperature is set above the current room temperature for heating, or below for cooling.
- If the issue persists, a professional HVAC technician may be required to diagnose the system.
6. Specifications
| Feature | Detail |
|---|---|
| Model | XL724 |
| Product Type | Programmable Thermostat |
| Part Type | Genuine OEM (Original Equipment Manufacturer) |
| Product Dimensions | 9 x 6 x 5 inches |
| Item Weight | 1.0 Pounds |
| Package Dimensions | 11.0L x 8.0W x 7.0H inches |
| Manufacturer | Trane |
| ASIN | B0BW5315QR |
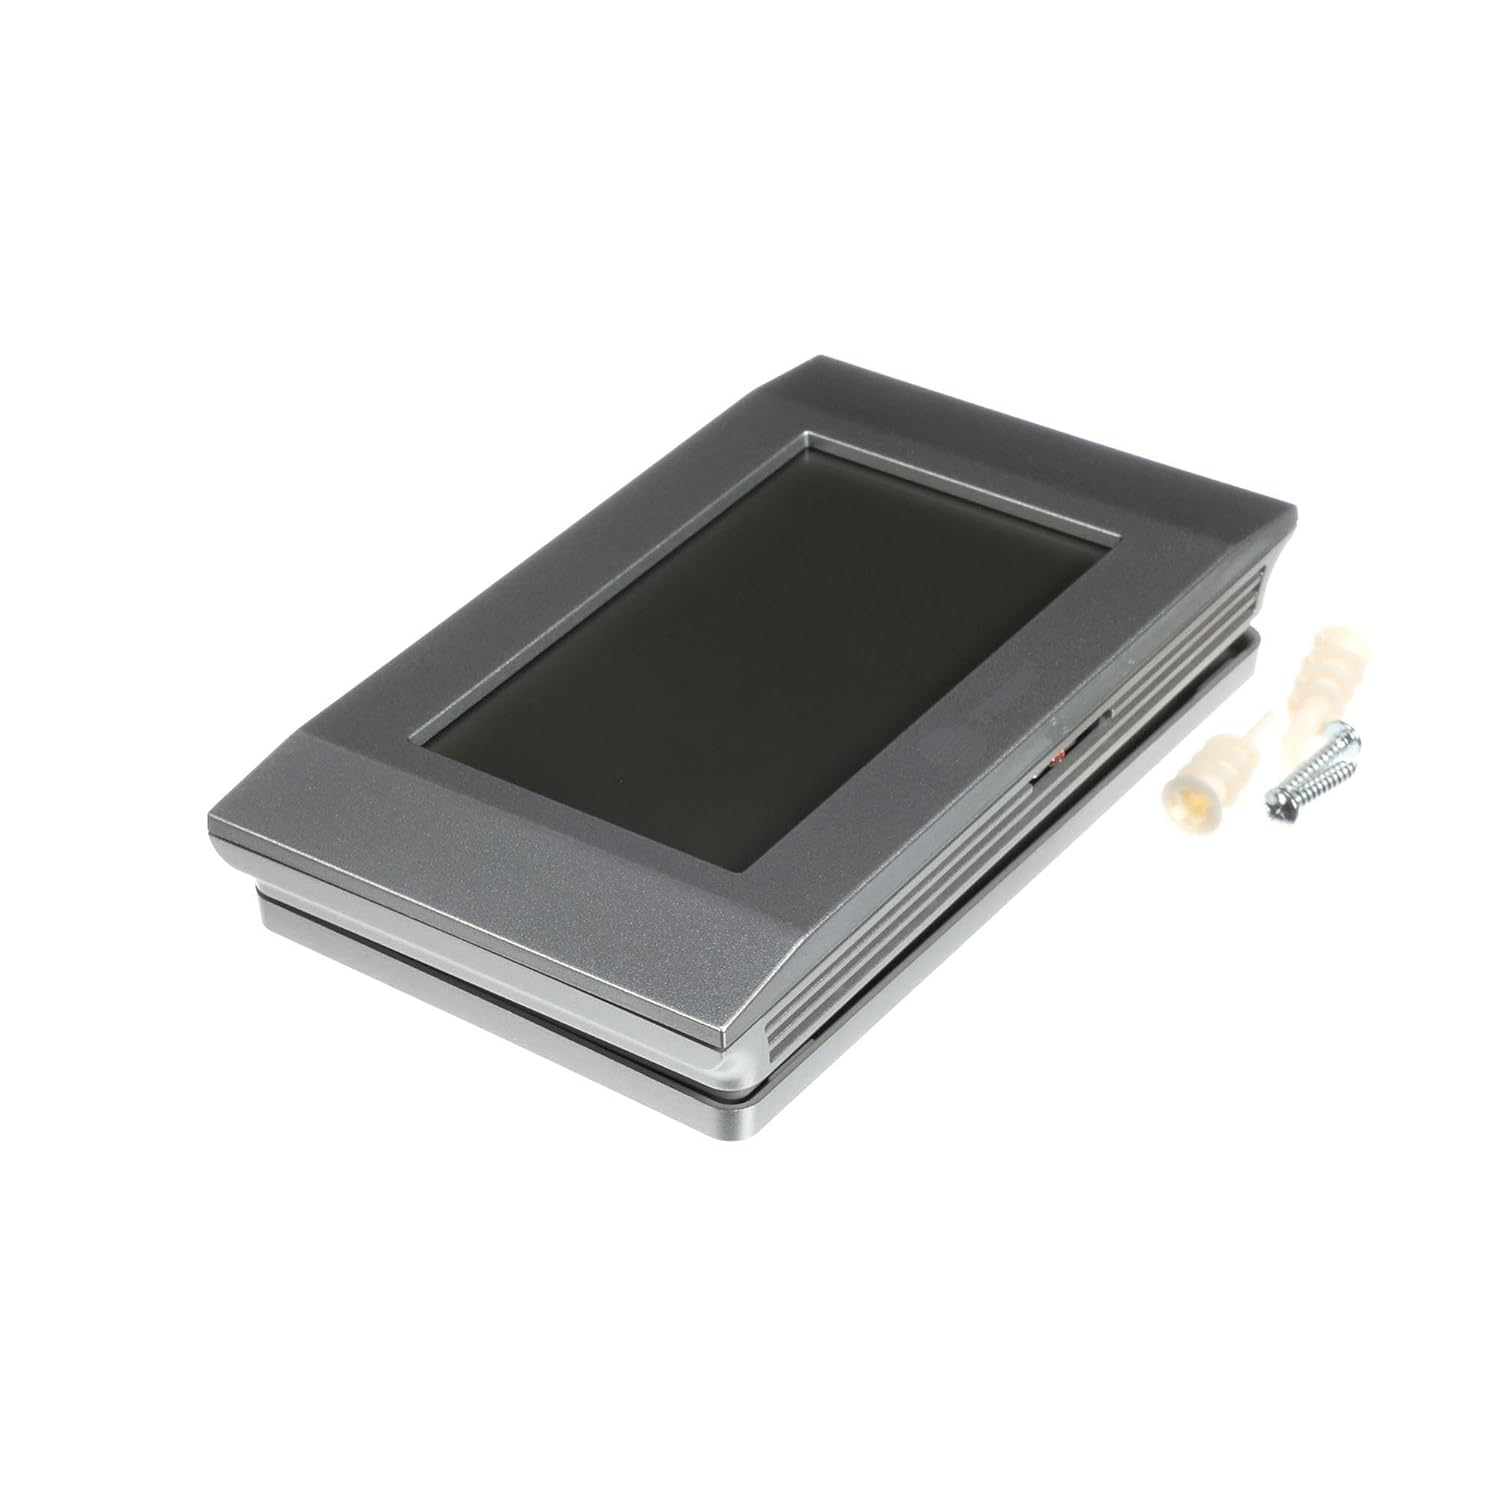
Figure 6.1: Trane XL724 Thermostat, showcasing its design and compact form factor.
7. Warranty Information
As a genuine OEM (Original Equipment Manufacturer) part, the Trane XL724 Thermostat is covered by Trane's standard manufacturer warranty. Please refer to the warranty documentation provided with your purchase or visit the official Trane website for detailed terms and conditions regarding coverage and claims.
8. Support
For technical assistance, troubleshooting beyond this manual, or warranty inquiries, please contact Trane customer support or a certified HVAC professional.
- Visit the official Trane website for support resources and contact information.
- Consult with a qualified HVAC technician for installation or complex issues.


