1. Important Safety Instructions
Please read all instructions carefully before using the Neo 10-in-1 Steam Mop. Failure to follow these instructions may result in electric shock, fire, or serious personal injury.
- Always disconnect the appliance from the power supply before filling with water, cleaning, or performing maintenance.
- Do not leave the steam mop unattended when plugged in.
- Do not direct steam at people, animals, or electrical outlets. Steam is very hot and can cause burns.
- Use only distilled or demineralized water in the water tank to prevent mineral buildup and extend the life of the appliance.
- Keep the appliance out of reach of children and pets.
- Do not immerse the steam mop in water or any other liquid.
- Ensure the power cord is not damaged. Do not operate the appliance with a damaged cord or plug.
- This appliance is for household use only. Do not use outdoors or for commercial purposes.
2. Product Overview
The Neo 10-in-1 Steam Mop is a versatile cleaning appliance designed for various surfaces. It features a powerful 1500W heating element, a 400ml water tank, and a comprehensive 10-piece accessory kit.

Image: The Neo 10-in-1 Steam Mop shown with its full range of included accessories, highlighting its versatility.
Key Features:
- 1500W Power: Ensures quick heating and powerful steam output.
- Quick Heat-up: Ready to use in approximately 30 seconds.
- Large Water Tank: 400ml capacity for extended cleaning sessions (up to 30 minutes of steam per tank).
- Variable Steam Control: Adjust steam intensity for different cleaning tasks and surfaces.
- 2-in-1 Design: Functions as both a steam mop for floors and a detachable handheld steamer for various surfaces.
- 10-Piece Accessory Kit: Includes various nozzles, brushes, and tools for comprehensive cleaning.
- Long Power Cable: Equipped with a 5-meter cable for extended reach.
- Ergonomic Handle: Designed for comfortable grip and ease of use.
- Swivel Head: 180-degree swivel head for easy maneuverability around furniture.

Image: The steam mop demonstrating its dual functionality as an upright mop and a detachable handheld unit, alongside icons for ergonomic handle, 5m cable, and 180-degree swivel head.
Included Accessories:

Image: A detailed view of the 10-piece accessory set, including various nozzles, brushes, a measuring cup, and mop pads.
- Measuring Cup
- Jet Nozzle
- Small Round Brush
- Large Round Brush
- Grout Tool
- Scraping Tool
- Fabric Tool with Microfiber Pad
- Window/Glass Cleaning Tool
- Carpet Glider
- Microfiber Mop Pads (2 included)
3. Setup
Assembly:
- Attach the Handle: Insert the handle into the main body of the steam mop until it clicks securely into place.
- Attach the Mop Head: Connect the mop head to the main body. Ensure it is firmly attached.
- Attach Microfiber Pad: Securely attach a clean microfiber mop pad to the bottom of the mop head. The pad typically attaches with hook-and-loop fasteners.
Filling the Water Tank:
- Ensure the steam mop is unplugged from the power outlet.
- Locate the water tank cap, usually on the front or side of the main unit. Unscrew or open the cap.
- Using the provided measuring cup, fill the water tank with distilled or demineralized water. Do not overfill beyond the maximum fill line.
- Securely close the water tank cap.
Note: Using tap water may lead to mineral buildup, reducing the appliance's efficiency and lifespan. Regular descaling may be required if tap water is used.
4. Operating Instructions
Using as a Steam Mop:
- Ensure the water tank is filled and a clean mop pad is attached.
- Plug the power cord into a grounded electrical outlet. The indicator light will illuminate.
- Wait approximately 30 seconds for the steam mop to heat up. The indicator light may change color or turn off when ready.
- To activate steam, pump the handle or press the steam trigger (depending on model). Move the mop slowly and steadily over the floor surface.
- Adjust the steam intensity using the variable steam control dial if available.
- When finished, unplug the unit and allow it to cool before emptying any remaining water and removing the mop pad.

Image: Multiple Neo Steam Mops demonstrating their suitability for various floor types including carpet, tile, stone, and hard floors.
Using as a Handheld Steamer:
- Unplug the steam mop. Detach the main handheld unit from the mop base by pressing the release button.
- Select the appropriate accessory for your cleaning task (e.g., jet nozzle for crevices, brush for scrubbing, fabric tool for upholstery). Attach it firmly to the handheld unit.
- Ensure the water tank is filled. Plug in the handheld unit.
- Wait for the unit to heat up. Direct the steam towards the surface to be cleaned, maintaining a safe distance.
- For stubborn areas, hold the steam over the spot for a few seconds.
- When finished, unplug and allow to cool before removing accessories and storing.
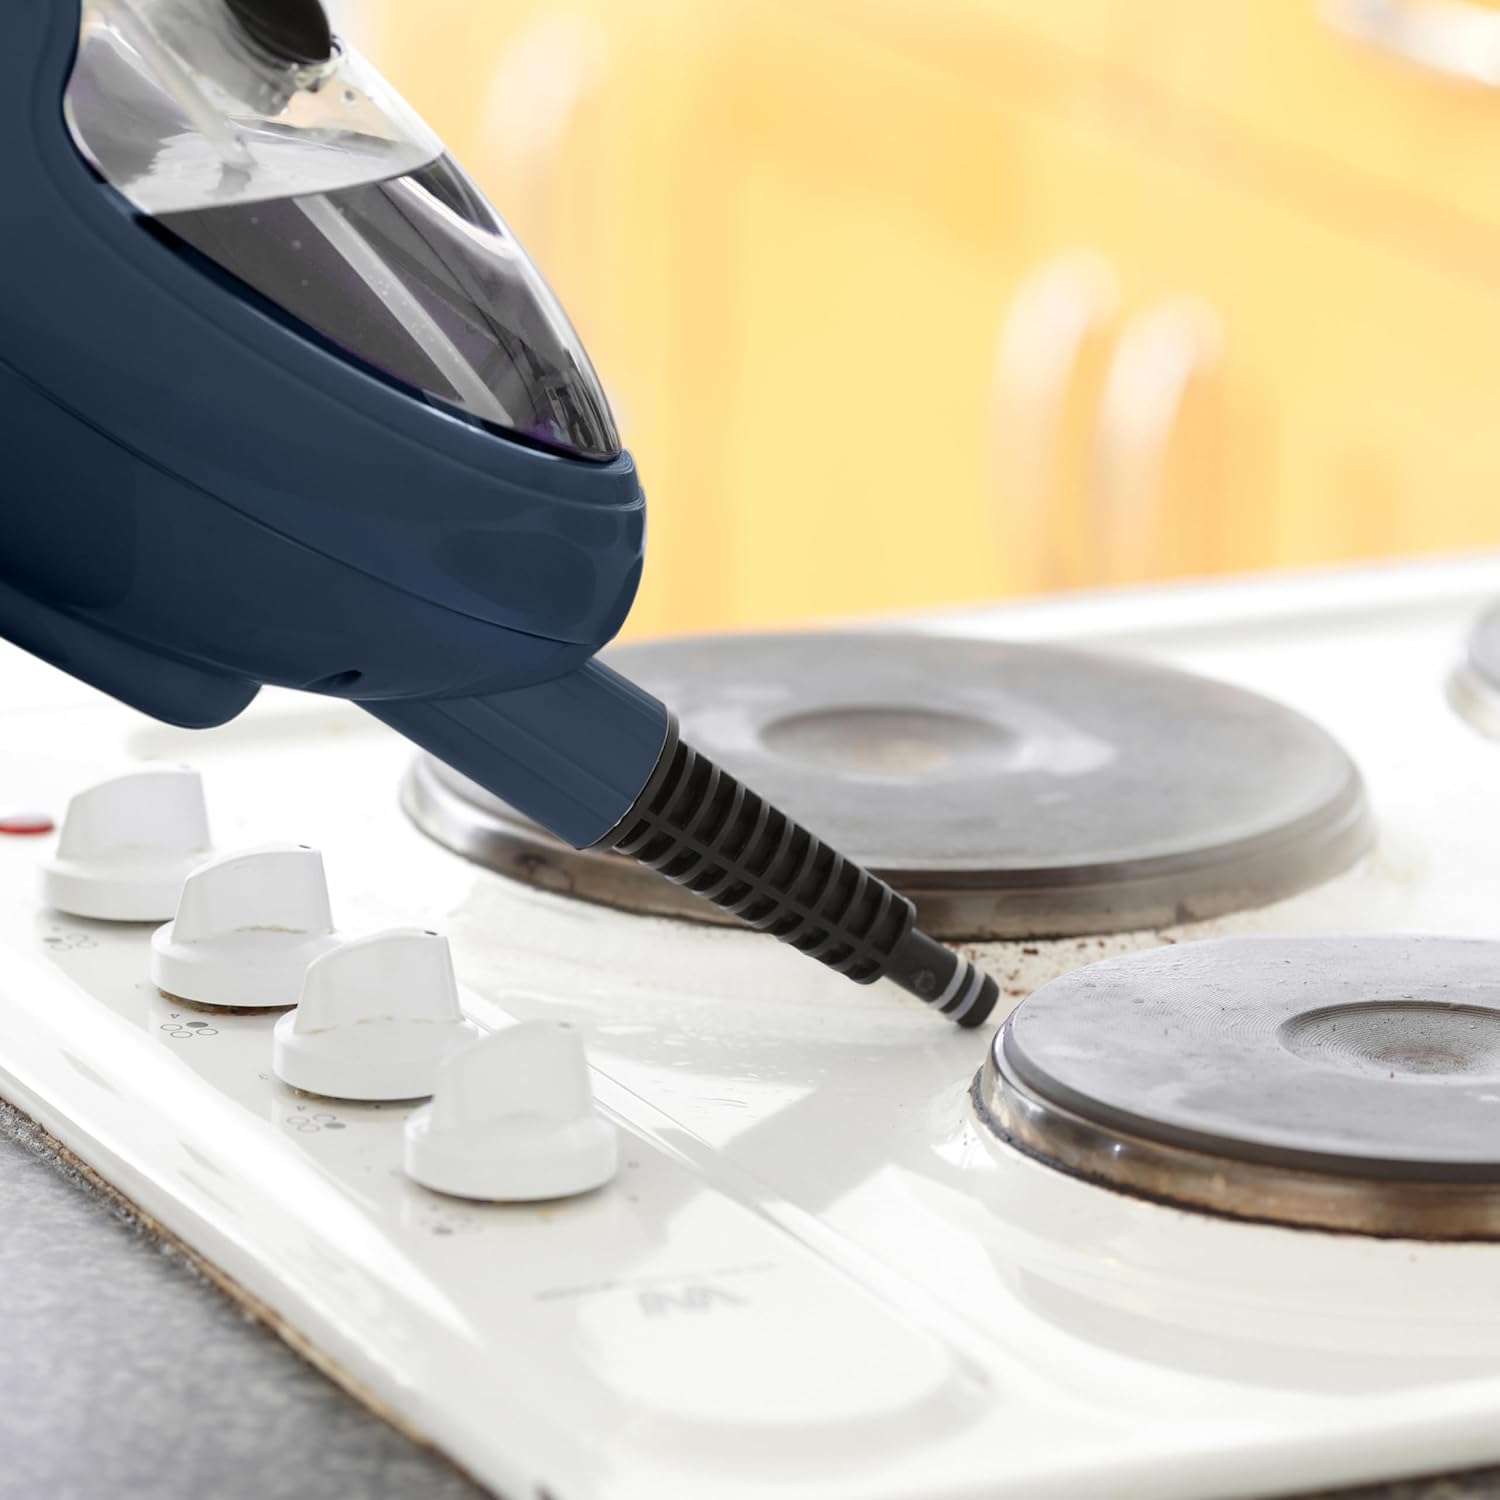
Image: The handheld steam unit being used to clean a stovetop, demonstrating its ability to target specific areas.

Image: The handheld steam unit cleaning a bathroom faucet, illustrating its use for sanitizing fixtures.

Image: The handheld steam unit with a brush attachment cleaning the interior of a microwave, showing its effectiveness on tough grime.
5. Maintenance
Cleaning the Unit:
- Always ensure the appliance is unplugged and completely cool before cleaning.
- Wipe the exterior of the steam mop with a soft, damp cloth. Do not use abrasive cleaners or solvents.
- Remove and wash microfiber mop pads after each use. They can typically be machine washed with mild detergent and air dried. Do not use bleach or fabric softeners.
- Empty any remaining water from the tank after each use to prevent stagnant water and mineral buildup.
Descaling (Mineral Buildup Removal):
Over time, mineral deposits can accumulate inside the steam mop, especially if tap water is used. This can reduce steam output. Descale your unit regularly (e.g., every 1-3 months depending on water hardness and usage).
- Prepare a descaling solution: Mix 1 part white vinegar with 2 parts distilled water.
- Ensure the unit is unplugged and cool. Empty any water from the tank.
- Pour the descaling solution into the water tank.
- Plug in the unit and allow it to heat up. Run the steam mop until half of the solution has been used.
- Unplug the unit and let it sit for 30 minutes to allow the solution to work.
- Plug it back in and run the remaining solution through.
- Empty the tank and rinse thoroughly with fresh distilled water. Run one full tank of fresh distilled water through the unit to flush out any remaining solution.
Storage:
- Ensure the steam mop is completely cool and dry before storing.
- Empty the water tank.
- Store the appliance in a cool, dry place, away from direct sunlight and extreme temperatures.
- Wrap the power cord neatly around the designated cord wraps if available.
6. Troubleshooting
| Problem | Possible Cause | Solution |
|---|---|---|
| No steam or low steam output. |
|
|
| Water leaking from the unit. |
|
|
| Mop pad not cleaning effectively. |
|
|
| Unit does not turn on. |
|
|
7. Specifications
| Brand: | Neo |
| Model Number: | STM-MOP |
| Power: | 1500 Watts |
| Voltage: | 2.3E+2 Volts (230V) |
| Water Tank Capacity: | 400 Millilitres |
| Item Weight: | 2.3 Kilograms |
| Package Dimensions: | 40 x 20 x 20 cm |
| Special Features: | Detachable, Portable |
| Recommended Surface: | Floor, Window |
| Included Components: | Nozzle, Nylon Brush, Measuring Cup, Dosing Glass (refer to Product Overview for full accessory list) |
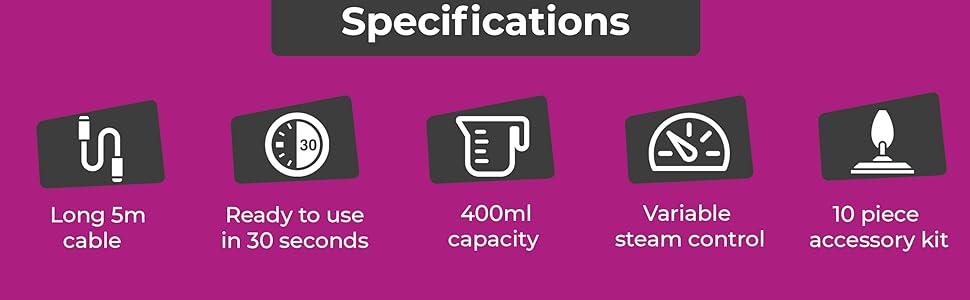
Image: An infographic summarizing key specifications including 5m cable, 30-second heat-up time, 400ml capacity, variable steam control, and the 10-piece accessory kit.
8. Warranty and Support
Specific warranty details are not provided in this manual. For warranty information, product support, or to purchase replacement parts and accessories, please contact the manufacturer or your retailer directly.
When contacting support, please have your product model number (STM-MOP) and purchase date available.
Manufacturer: Neo


