
Remco KP5200KXW/O
Remco 6T70 6T75E (13-15) Gen 3 Transmission Banner Kit Instruction Manual
Model: KP5200KXW/O
Introduction
This instruction manual provides essential information for the proper installation, operation, and maintenance of your Remco 6T70 6T75E (13-15) Gen 3 Transmission Banner Kit. This kit is designed for automatic transmissions and includes an overhaul kit and clutches, providing the necessary components for a comprehensive transmission rebuild. Please read this manual thoroughly before beginning any work to ensure safe and correct procedures.
What's in the Box
Your Remco Transmission Banner Kit includes the following components:
- QTY= 1 PART NO.= ARK-KP5200KXW/O
- DESCRIPTION= 6t70 6t75e(13-15) gen 3 transmission banner kit with overhault kit and clutches Automatic transmission
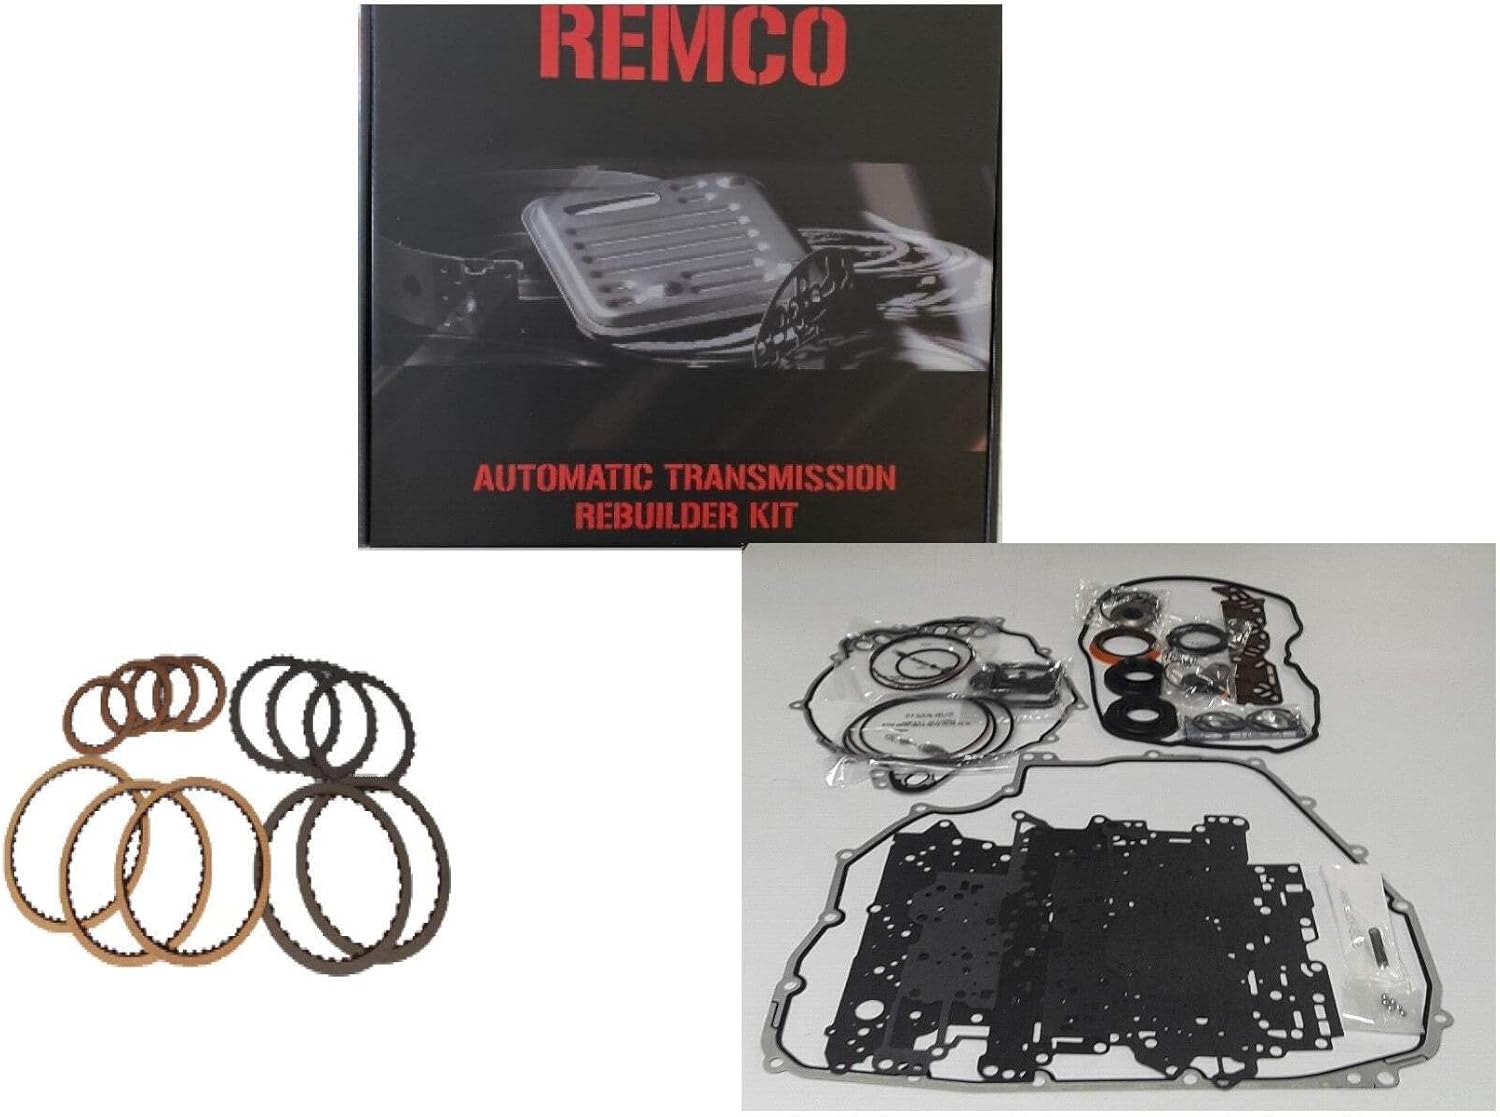
Image: Contents of the Remco 6T70 6T75E Gen 3 Transmission Banner Kit. The image displays the product packaging box, along with various components laid out, including a full set of gaskets, seals, and a collection of clutch and steel plates, essential for a complete transmission overhaul.
Product Features
- Our REMCO Rebuild Kits Only Contain OEM Components from Industry-Leading Suppliers.
- BEST BRANDS IN ONE BOX.
Compatibility
This transmission banner kit is compatible with the following vehicle models and years. Please verify your vehicle's specifications before installation.
| Vehicle Model | Years | Engine |
|---|---|---|
| Acadia | 2007 - 2017 | 3.6 /V6 |
| Acadia | 2013 - 2015 | 3.6 /V6 |
| Aura | 2007 - 2010 | 3.6 /V6 |
| Captiva | 2013 - 2015 | 3.6 /V6 |
| Enclave | 2008 - 2011 | 3.6 /V6 |
| Enclave | 2013 - 2017 | 3.6 /V6 |
| Equinox | 2013 - 2015 | 3.6 /V6 |
| Equinox Sport | 2008 - 2013 | 3.0, 3.6 /V6 |
| G6 | 2007 - 2010 | 3.6 /V6 |
| Impala | 2013 - 2017 | 2.5, 3.6 /L4, V6 |
| LaCrosse | 2011 - 2011 | 3.6 /V6 |
| LaCrosse | 2013 - 2015 | 3.6 /V6 |
| Malibu | 2008 - 2011 | 3.5, 3.6 /V6 |
| Malibu Classic | 2008 - 2008 | 3.5 /V6 |
| Outlook | 2007 - 2010 | 3.6 /V6 |
| SRX | 2010 - 2013 | 3.0, 3.6 /V6 |
| SRX | 2013 - 2016 | 3.0, 3.6 /V6 |
| Terrain | 2010 - 2013 | 3.0, 3.6 /V6 |
| Terrain | 2013 - 2015 | 3.6 /V6 |
| Torrent | 2008 - 2010 | 3.6 /V6 |
| Traverse | 2009 - 2010 | 3.6 /V6 |
| Traverse | 2013 - 2017 | 3.6 /V6 |
| VUE | 2008 - 2009 | 3.6 /V6 |
| XL-7 | 2009 - 2009 | 3.6 /V6 |
| XTS | 2013 - 2017 | 3.6 /V6 |
Setup and Installation
Installing a transmission rebuild kit requires specialized knowledge and tools. It is highly recommended that installation be performed by a certified automotive technician. Improper installation can lead to severe damage to the transmission and vehicle.
General Steps (Professional Installation Recommended):
- Preparation: Ensure the vehicle is safely lifted and secured. Drain transmission fluid and remove the transmission from the vehicle.
- Disassembly: Carefully disassemble the transmission, noting the order and orientation of all components. Refer to a specific service manual for your vehicle's transmission model.
- Inspection: Inspect all hard parts for wear, damage, or scoring. Replace any worn components not included in this kit as necessary.
- Component Replacement: Replace all seals, gaskets, O-rings, clutch plates, and steel plates with the new components from the Remco kit. Ensure all new parts are properly lubricated with clean transmission fluid before installation.
- Reassembly: Reassemble the transmission following the reverse order of disassembly. Pay close attention to torque specifications for all bolts.
- Installation: Reinstall the rebuilt transmission into the vehicle. Connect all lines, sensors, and electrical connectors.
- Fluid Fill: Fill the transmission with the manufacturer-specified type and amount of new transmission fluid.
- Initial Check: Perform initial checks for leaks and proper fluid levels.
Note: This kit provides the necessary components for a rebuild. Detailed step-by-step instructions for transmission disassembly and reassembly are specific to each transmission model and are typically found in a dedicated factory service manual for your vehicle.
Operating Guidelines
After a transmission rebuild, proper break-in and careful operation are crucial for longevity.
- Initial Start-up: After installation, start the engine and allow it to idle. Cycle the transmission through all gear ranges (P, R, N, D, L) several times, pausing in each gear for a few seconds.
- Fluid Level Check: Recheck the transmission fluid level after cycling through gears and top off if necessary. Repeat this check after the first drive.
- Break-in Period: For the first 500-1000 miles, avoid heavy towing, aggressive acceleration, and prolonged high-speed driving. Allow the new components to seat properly.
- Listen for Abnormalities: Pay attention to any unusual noises, shifting issues, or warning lights. Address them immediately.
Maintenance
Regular maintenance is key to extending the life of your rebuilt transmission.
- Fluid Checks: Regularly check transmission fluid levels and condition according to your vehicle manufacturer's recommendations.
- Fluid Changes: Adhere to the vehicle manufacturer's recommended transmission fluid change intervals. Use only the specified type of fluid.
- Filter Replacement: Replace the transmission filter during fluid changes or as recommended by the vehicle manufacturer.
- Address Leaks: Promptly address any signs of fluid leaks.
Troubleshooting
This section provides general troubleshooting tips. For complex issues, consult a qualified technician.
| Problem | Possible Cause | Solution |
|---|---|---|
| Transmission slipping | Low fluid level, worn clutches (unlikely with new kit), internal pressure issues. | Check fluid level and add if low. If problem persists, professional diagnosis is required. |
| Harsh shifting | Incorrect fluid level, faulty sensor, valve body issue. | Verify fluid level. Consult a technician for diagnostic scan and repair. |
| Fluid leaks | Improperly seated gasket/seal, damaged pan, loose bolts. | Inspect for source of leak. Tighten bolts to spec, replace gasket/seal if damaged. |
| No engagement in gear | Severely low fluid, internal mechanical failure. | Check fluid level. If fluid is adequate, immediate professional inspection is needed. |
Specifications
| Attribute | Detail |
|---|---|
| Manufacturer | Remco |
| Brand | Remco |
| Item Weight | 2722 pounds |
| Product Dimensions | 18 x 5 x 16 inches |
| Manufacturer Part Number | KP5200KXW/O |
| ASIN | B0BVL747JG |
| Date First Available | February 12, 2023 |
Warranty and Support
For warranty information and customer support, please refer to the following:
- Returns: RETURNS ARE ACCEPTED ONLY IN THEIR ORIGINAL PACKAGING UNOPENED PACKAGING.
- International Orders: Note: International orders "Buyer pays for import tax duties and expenses".
- Customer Support: For further assistance, please contact Remco Transmission Parts directly or visit their official store page on Amazon: Remco Transmission Parts Store.
Ask a question about this manual
Ask about setup, troubleshooting, compatibility, parts, safety, or missing instructions. Manuals+ will review the question and use this page’s manual context to help answer it.