
Starlink 03512010-502
Starlink Pipe Adapter Instruction Manual
Model: 03512010-502
1. Introduction
This manual provides instructions for the installation and use of the Starlink Pipe Adapter, Model 03512010-502. This adapter is designed to securely mount your Starlink V2 satellite dish to any pole with a maximum diameter of 2.5 inches. It is adjustable and lightweight, ensuring a stable and reliable connection for your Starlink system.
2. Safety Information
Important Safety Instructions:
- If you are uncomfortable with any part of the installation process, do not attempt to proceed. Contact a qualified professional for assistance. Starlink is not responsible for injury or property damage resulting from improper installation.
- Always ensure the installation location is stable and can support the weight of the Starlink dish and adapter, especially in adverse weather conditions.
- Be aware that inclement weather (e.g., heavy rain, snow, or wind) can affect your satellite internet connection, potentially leading to slower speeds or a complete outage.
- The Starlink dish is designed to detect and melt snow, but accumulating snow around the dish may still obstruct its field of view. Ensure the installation location minimizes such obstructions.
- When working at heights, use appropriate safety equipment and follow all local safety regulations.
3. Package Contents
Verify that all components are present in the package:
- Starlink Pipe Adapter (up to 2.5" diameter)
- Allen Wrench
- Set Screws
- Cable Tie Downs
- Dish Bag
- Instruction Manual (this document)

Image 3.1: All components included in the Starlink Pipe Adapter package.
4. Setup and Installation
Follow these steps to install your Starlink Pipe Adapter:
- Prepare the Mounting Pole: Ensure the existing pole is sturdy, vertically aligned, and has a maximum diameter of 2.5 inches. The pole should be free of obstructions that could interfere with the Starlink dish's field of view.
- Slide the Adapter onto the Pole: Carefully slide the Starlink Pipe Adapter over the top of the existing pole. Ensure it sits flush and is oriented correctly. The adapter is designed to fit snugly.
- Secure the Adapter: Using the provided set screws and allen wrench, fasten the adapter securely to the pole. Tighten the screws evenly to ensure a stable mount. Do not overtighten.

Image 4.1: Close-up view of the adapter base showing the set screws for securing it to a pole.

Image 4.2: The included set screws for securing the adapter.
- Insert the Starlink Dish: Once the adapter is firmly secured, carefully lower your Starlink V2 dish into the top opening of the adapter. The dish should slide in and lock into place.
- Cable Management: Use the provided cable tie-downs to manage the Starlink cable, ensuring it is neat and protected from environmental damage.
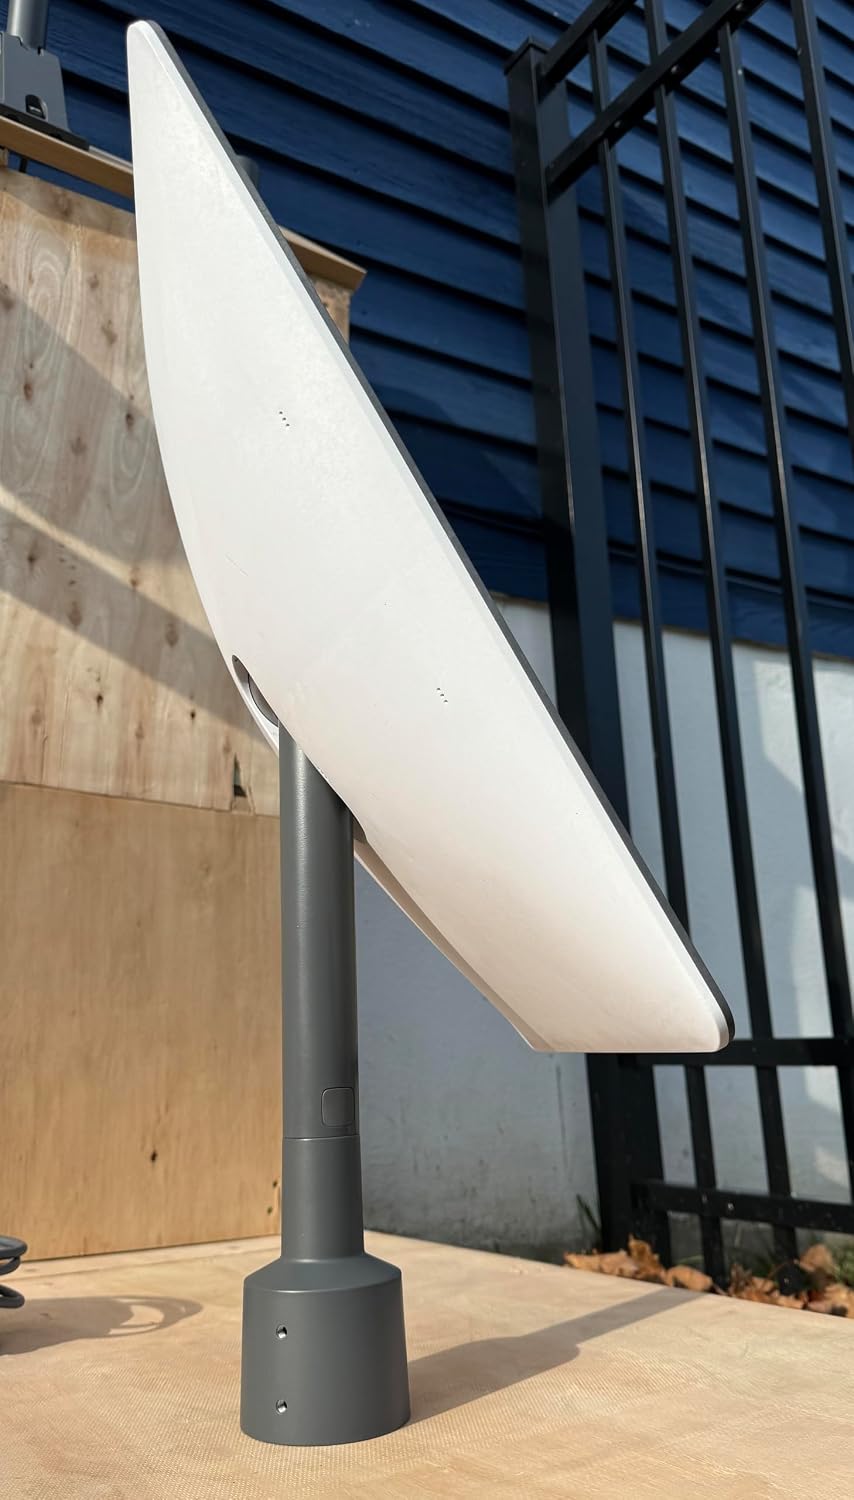
Image 4.3: Starlink dish successfully mounted using the pipe adapter.

Image 4.4: Side view of the Starlink dish mounted on the pipe adapter.

Image 4.5: Installation diagram from the official manual.
5. Operating the Adapter
The Starlink Pipe Adapter is a passive mounting accessory. Its primary function is to provide a secure and stable base for your Starlink V2 satellite dish. Once installed, the adapter requires no active operation. The Starlink dish itself will handle its own orientation and connection to satellites.
Ensure the adapter is always firmly attached to the pole and the Starlink dish is properly seated within the adapter to maintain optimal performance.
6. Maintenance
To ensure the longevity and optimal performance of your Starlink Pipe Adapter, consider the following maintenance tips:
- Regular Inspection: Periodically check the adapter and its mounting screws for any signs of loosening, corrosion, or damage, especially after severe weather conditions.
- Cleaning: If necessary, gently clean the exterior of the adapter with a soft, damp cloth. Avoid using harsh chemicals or abrasive materials that could damage the finish.
- Obstruction Check: Regularly verify that there are no new obstructions (e.g., tree growth, debris) blocking the Starlink dish's field of view.
7. Troubleshooting
If you encounter issues related to your Starlink Pipe Adapter, consider the following:
- Adapter Not Fitting Pole: Ensure your pole's diameter does not exceed 2.5 inches. The adapter is designed for poles up to this size.
- Dish Unstable in Adapter: Verify that the set screws are tightened securely to the mounting pole and that the Starlink dish is fully seated and locked into the adapter.
- "Motors Stuck" Alert in Starlink App: If your Starlink App displays a "Motors Stuck" alert, it indicates that your Starlink dish may be positioned in a way that prevents it from reaching its optimal angle for satellite connection. This can happen if the dish is mounted horizontally (e.g., on the side of a chimney) or if its vertical angle is outside of a 5-degree tolerance. Re-evaluate your mounting position to ensure the dish can move freely and achieve its optimal orientation.
- Poor Signal/Connectivity: While not directly an adapter issue, ensure the adapter is mounted in a location free from obstructions. Any blockage can significantly degrade Starlink performance.
8. Specifications
| Model Number | 03512010-502 |
| Brand | Starlink |
| Material | Aluminum |
| Color | Gray |
| Item Dimensions (L x W x H) | 9 x 6 x 3 inches (approximate) |
| Item Weight | 0.59 Kilograms |
| Maximum Pole Diameter | 2.5 inches |
| Compatibility | Starlink V2 Satellite Dish |
9. Warranty Information
This Starlink Pipe Adapter comes with a limited warranty. For detailed information regarding warranty terms, conditions, and duration, please refer to the official Starlink website or contact Starlink customer support directly. Keep your proof of purchase for warranty claims.
10. Customer Support
For technical assistance, troubleshooting not covered in this manual, or warranty inquiries, please contact Starlink customer support through their official website or designated support channels. Have your product model number (03512010-502) and purchase information ready when contacting support.
Related documents03512010-502


Ask a question about this manual
Ask about setup, troubleshooting, compatibility, parts, safety, or missing instructions. Manuals+ will review the question and use this page’s manual context to help answer it.