
1. Introduction
Thank you for choosing the Blackview A55 Smartphone. This manual provides essential information for setting up, operating, maintaining, and troubleshooting your device. Please read this manual carefully to ensure proper use and to maximize the performance of your phone.

Figure 1.1: Blackview A55 Smartphone, showcasing its sleek design and camera module on the back, and the vibrant display on the front.
2. Setup
2.1 Package Contents
Ensure your package contains the following items:
- Blackview A55 Smartphone
- Power Adapter
- USB Cable
- Phone Case
- User Manual (this document)
2.2 SIM Card and SD Card Installation
The Blackview A55 supports a 3-card slot design, allowing for two Nano SIM cards and one Micro SD card simultaneously. The Micro SD card slot supports expansion up to 128GB.
- Locate the SIM/SD card tray on the side of the device.
- Carefully insert the SIM ejector tool (if provided) into the small hole next to the tray to open it.
- Place your Nano SIM cards and Micro SD card into their respective slots on the tray, ensuring correct orientation.
- Gently push the tray back into the device until it is flush.
- After inserting an SD card, restart your phone for it to be recognized properly.

Figure 2.1: Illustration of the 2+1 card slot design, accommodating two Nano SIM cards and one Micro SD card for expanded storage.
2.3 Initial Charging
Before first use, it is recommended to fully charge your Blackview A55. The device is equipped with a 4780mAh high-capacity battery.
- Connect the USB cable to the phone's charging port.
- Connect the other end of the USB cable to the power adapter.
- Plug the power adapter into a wall outlet.
- The charging indicator will appear on the screen.

Figure 2.2: The 4780mAh battery provides extended usage, including up to 6 hours for games, 7.5 hours for movies, 9.5 hours for web browsing, 17 hours for calls, 24 hours for music, and 200 hours of standby time.
2.4 Power On and Initial Setup
Press and hold the Power button until the Blackview logo appears. Follow the on-screen instructions to complete the initial setup, including language selection, Wi-Fi connection, Google account setup, and security settings.
3. Operating Your Device
3.1 Display and User Interface
The Blackview A55 features a 6.528-inch HD+ waterdrop display with a resolution of 720x1600 and 400 nits brightness, offering clear visuals even in sunlight. It runs on Android 11 OS combined with Blackview's Doke OS 2.1, providing an optimized and user-friendly experience.

Figure 3.1: The 6.528-inch HD+ display offers a clear and immersive viewing experience with a resolution of 720x1600 and 400 nits brightness.
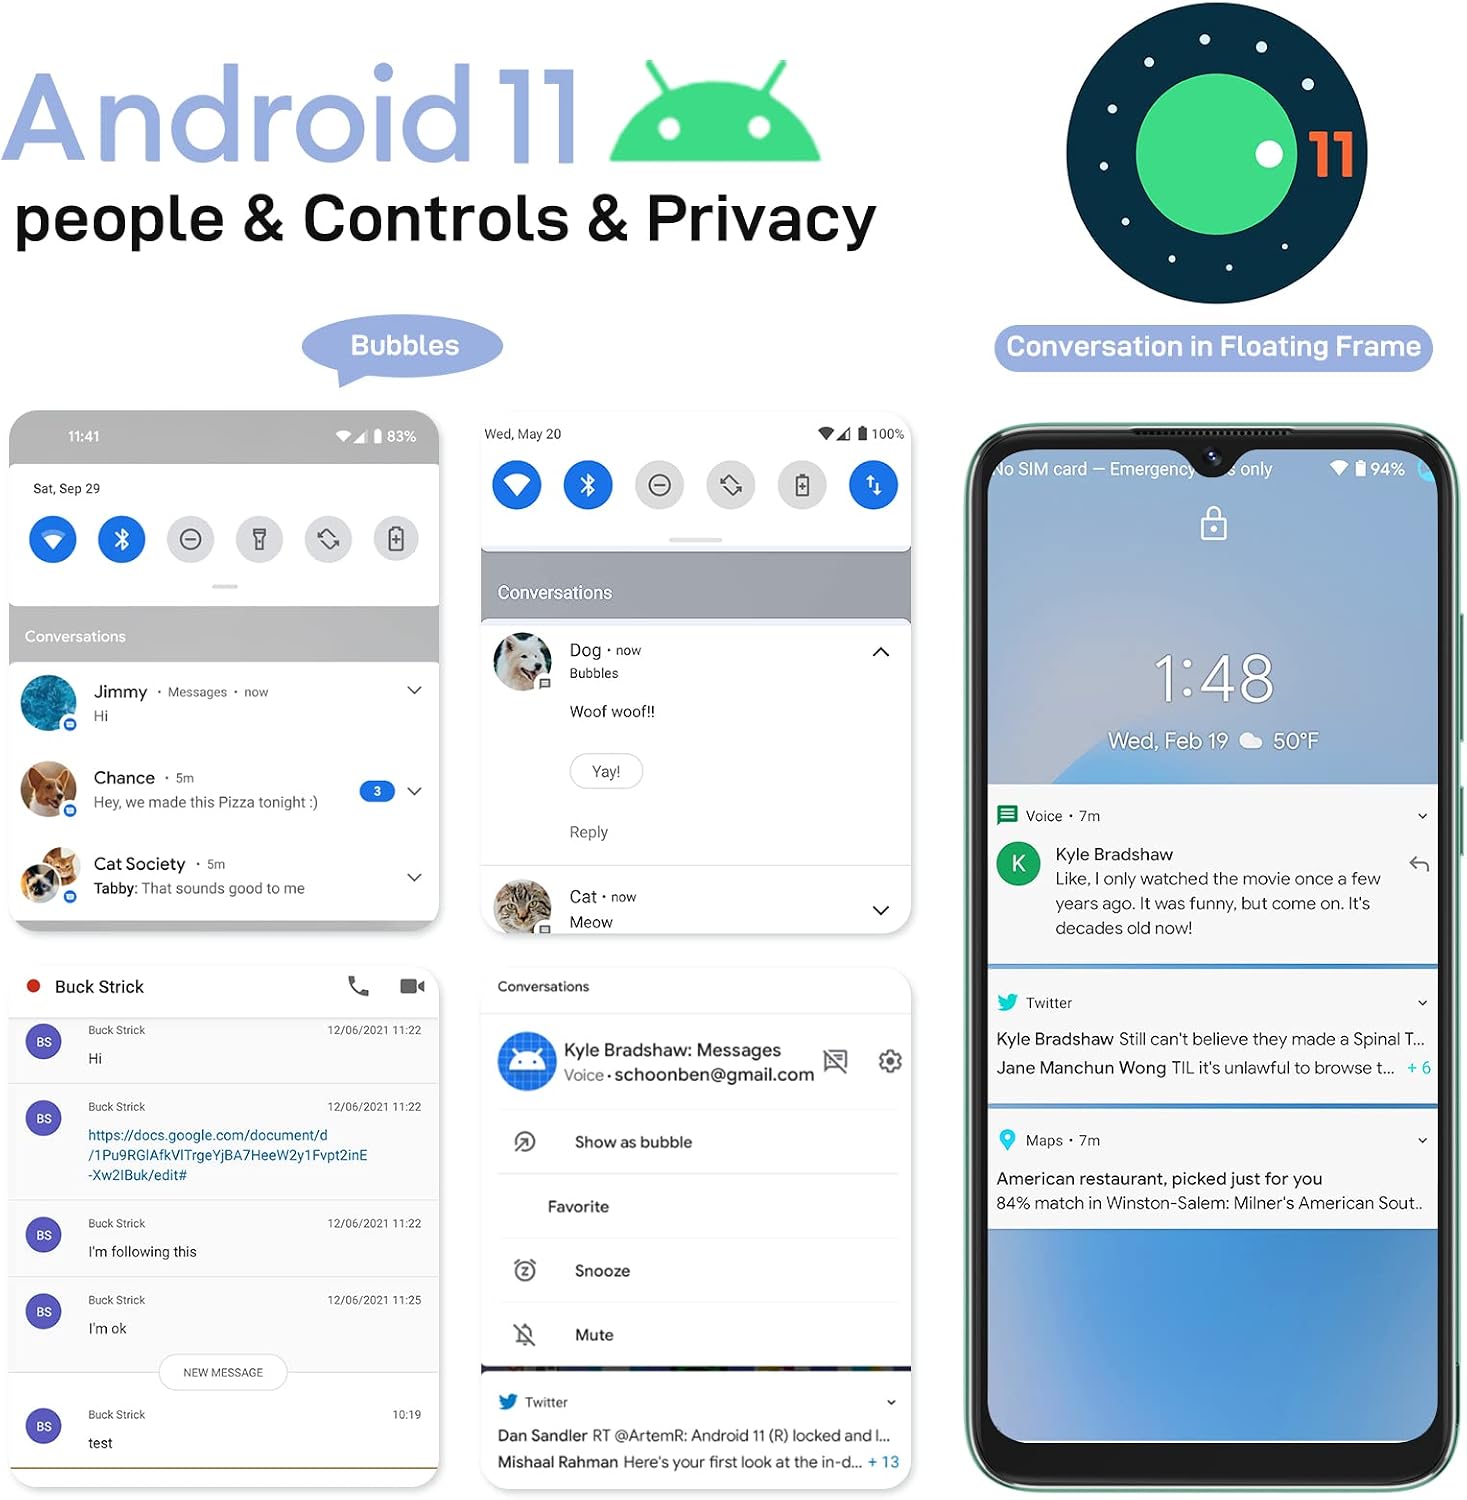
Figure 3.2: The Blackview A55 operates on Android 11 with Doke OS 2.1, featuring optimized dark mode, chat bubbles, and parental control mode for an enhanced user experience.
3.2 Camera Features
Capture your moments with the Blackview A55's 8MP rear camera and 5MP front camera. The phone supports various shooting modes, including panorama, time-lapse, and professional mode.
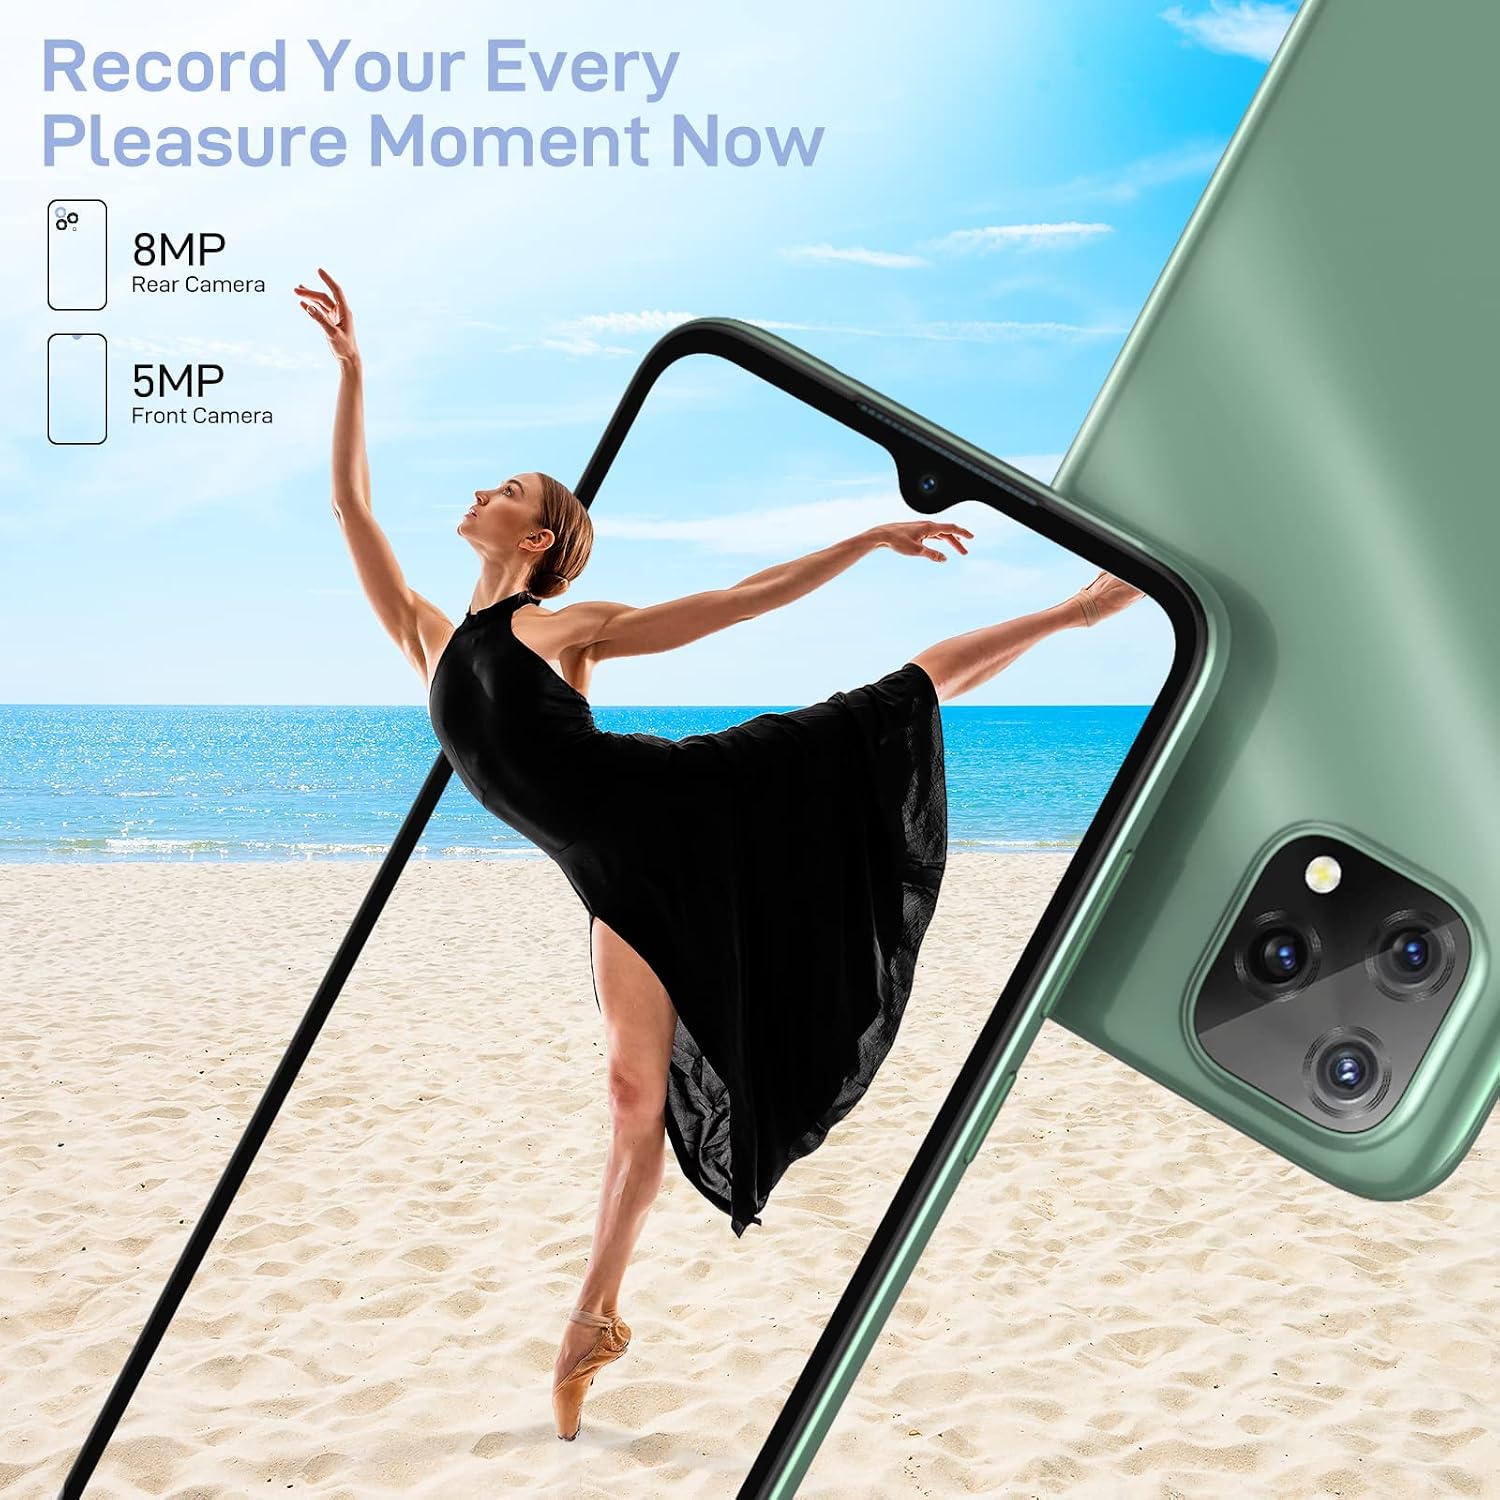
Figure 3.3: The 8MP rear camera and 5MP front camera allow you to capture high-quality photos and videos, supporting various shooting modes.
3.3 Face ID Unlock
Unlock your phone quickly and securely using the Face ID feature. It takes only a second to unlock your device by recognizing your face.
3.4 Navigation System
The Blackview A55 integrates a 3-in-1 navigation system, supporting GPS, GLONASS, and BEIDOU. This ensures faster and more reliable positioning, especially useful for navigation in unfamiliar areas.

Figure 3.4: The integrated 3-in-1 navigation system supports GPS, GLONASS, and BEIDOU for accurate and fast location services.
3.5 Network Compatibility
The Blackview A55 is compatible with 4G GSM network carriers. Please refer to the list below for supported networks and carriers.
- 2G Network: B2/B3/B5/B8
- 3G Network: B1/B2/B4/B5/B8
- 4G Network: B1/B2/B3/B4/B5/B7/B8/B25/B26/B28A/B28B/B66
Supported US Carriers: AT&T, Cricket Wireless, T-Mobile, Metro PCS, Tello Mobile, Movistar, Telcel, Tigo, Claro, etc. (Note: CANNOT WORK WITH CDMA Network Carriers like Verizon and Sprint).
Supported CA Carriers: Luck mobile, Freedom mobile, Bell, Rogers, Virgin, Fido, Shaw mobile, etc. (Cannot work with Telus carrier).

Figure 3.5: The Blackview A55 supports various 4G GSM network bands and is compatible with major carriers in the US and Canada, excluding CDMA networks.
4. Maintenance
4.1 Battery Care
- Avoid exposing the phone to extreme temperatures (hot or cold).
- Do not fully discharge the battery regularly; try to keep it above 20%.
- Use only the provided charger and USB cable.
- If the phone will not be used for an extended period, charge it to about 50% before storing.
4.2 Software Updates
Regularly check for and install software updates to ensure your device has the latest features, security patches, and performance improvements. You can usually find this option in your phone's Settings menu under "System" or "About phone".
4.3 Cleaning Your Device
- Use a soft, lint-free cloth to clean the screen and body of the phone.
- Avoid using harsh chemicals, abrasive cleaners, or aerosol sprays.
- Do not allow moisture to enter openings.
5. Troubleshooting
5.1 Common Issues and Solutions
| Issue | Possible Solution |
|---|---|
| Phone does not turn on | Ensure the battery is charged. Connect to charger for at least 15 minutes, then try powering on. |
| SD card not recognized | Restart the phone after inserting the SD card. Ensure the card is properly seated in the tray. Try a different SD card to rule out card malfunction. |
| Network connectivity issues | Check if SIM card is correctly inserted. Verify your carrier's network coverage in your area. Restart the phone. Check APN settings in network settings. Ensure your carrier is supported (not CDMA). |
| Apps freezing or crashing | Close and reopen the app. Clear the app's cache and data in Settings > Apps. Ensure sufficient storage space is available. Update the app to the latest version. |
| Slow performance | Close unnecessary background apps. Clear cache regularly. Uninstall unused apps. Consider a factory reset if performance issues persist. |
5.2 Factory Reset
A factory reset will erase all data on your phone and restore it to its original factory settings. Back up all important data before proceeding.
- Go to Settings.
- Navigate to System > Reset options.
- Select Erase all data (factory reset).
- Confirm your decision and enter your PIN/password if prompted.
6. Specifications
| Feature | Detail |
|---|---|
| Model Name | dc-us-a55black/blue/green |
| Operating System | Android 11.0 (with Doke OS 2.1) |
| Display Size | 6.528 Inches |
| Resolution | 720 x 1600 HD+ |
| RAM | 3 GB |
| Internal Storage | 16 GB |
| Expandable Storage | Up to 128 GB (Micro SD) |
| CPU Model | MediaTek Helio MT6761V (Quad-core) |
| CPU Speed | 2.0 GHz |
| Rear Camera | 8 MP |
| Front Camera | 5 MP |
| Battery Capacity | 4780 mAh |
| Navigation | GPS, GLONASS, BEIDOU |
| Connectivity | Bluetooth, Micro USB, 2.4G/5G Wi-Fi |
| Audio Jack | 3.5 mm |
| Product Dimensions | 5.7 x 2.5 x 0.36 inches |
| Item Weight | 13.4 ounces |
7. Warranty and Support
7.1 Warranty Service
Blackview provides a TWO-YEAR warranty service for the A55 smartphone. This warranty covers manufacturing defects and malfunctions under normal use. Please retain your proof of purchase for warranty claims.
7.2 Customer Support
If you have any questions, encounter issues not covered in this manual, or require technical assistance, please contact Blackview customer support. Refer to the contact information provided with your product packaging or visit the official Blackview website for support details.


