
LOVMOR Bathroom Vanity
LOVMOR 30-inch Bathroom Vanity Cabinet Instruction Manual
Model: Bathroom Vanity (30"W)
Introduction
This manual provides detailed instructions for the assembly, installation, operation, and maintenance of your LOVMOR 30-inch Bathroom Vanity Cabinet. Please read all instructions carefully before beginning assembly and retain this manual for future reference. This cabinet is designed for use in bathrooms, laundry rooms, kitchens, and utility rooms, offering practical storage solutions.
Safety Information
Important: Ensure the cabinet is properly secured to avoid tipping. Avoid placing excessively heavy items on top of the cabinet or inside the storage compartments to maintain stability and prevent damage. Always use appropriate tools and follow safety guidelines during assembly and installation.
Package Contents
Before assembly, verify that all components are present and undamaged. The package typically includes:
- Cabinet panels (side, back, bottom, face frame)
- Door panels
- Hinges and mounting hardware
- Screws and fasteners
- Rubber bumpers
- Assembly instructions (this manual)
Note: A sink is not included with this cabinet.
Assembly Instructions
Follow these steps for assembling your LOVMOR 30-inch Bathroom Vanity Cabinet. It is recommended to have a second person assist with assembly for easier handling and stability.
Step 1: Prepare Side Panels
Attach the necessary hardware to the left and right side panels (A1 and A2) as indicated in the assembly diagram. Use the provided 1/2" round head Phillips screws.
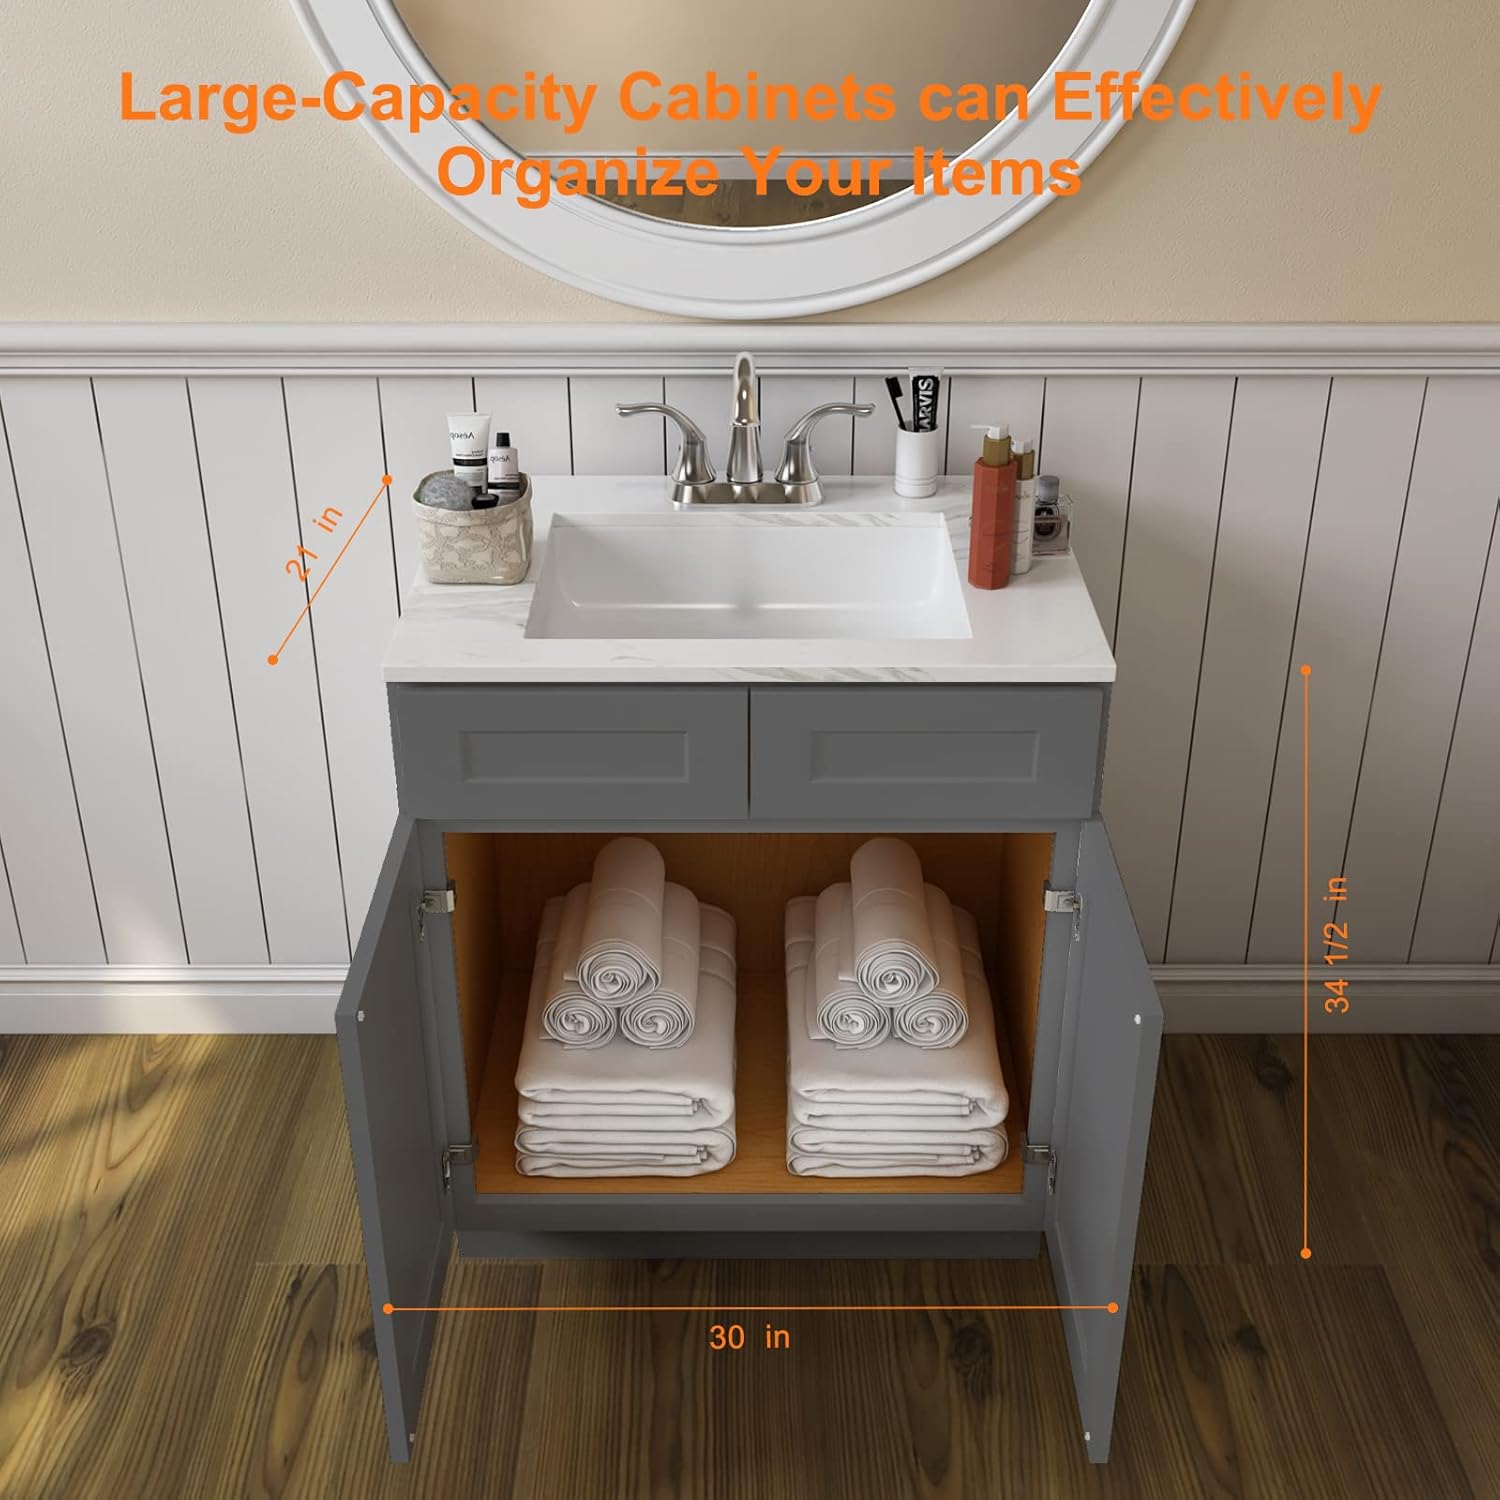
Image: Front view of the assembled LOVMOR 30-inch Bathroom Vanity Cabinet.
Step 2: Attach Back Panel
Connect the back panel (C) to one of the side panels (A2) using 1/2" round head Phillips screws. Ensure a secure fit.

Image: Side view of the LOVMOR 30-inch Bathroom Vanity Cabinet, showing panel connections.
Step 3: Complete Cabinet Box
Attach the remaining side panel (A1) to the back panel (C) and the bottom panel (B) to form the main cabinet box. Secure all connections with 1/2" round head Phillips screws.
Step 4: Install Face Frame and Corner Blocks
Position the face frame (D) onto the front of the cabinet box. Secure it using 1/2" round head Phillips screws. Install the corner blocks (DD) inside the top corners of the cabinet using 1" flat head Phillips screws (2 screws per corner block) for added stability.
Step 5: Attach Doors
Attach the hinges to the door panels (J) using 1/2" flat head Phillips screws. Then, mount the doors to the cabinet. Ensure the doors are level and close smoothly. If the door is not level, turn the hinge screw clockwise to extend the hinge or counterclockwise to shorten it.

Image: Interior view of the LOVMOR 30-inch Bathroom Vanity Cabinet, highlighting the storage capacity.
Step 6: Apply Rubber Bumpers
Affix the rubber bumpers (HH) to the inside corners of the cabinet doors to ensure quiet and soft closing.
Assembly Video Guide
For a visual guide on the assembly process, please refer to the video below. This video demonstrates the step-by-step construction of a similar vanity cabinet.
Video: Step-by-step assembly guide for a bathroom vanity cabinet. This video illustrates the process of putting together the cabinet panels, installing hinges, and attaching doors, including tips for door alignment.
Installation
The LOVMOR 30-inch Bathroom Vanity Cabinet is designed as a freestanding unit. For optimal stability and safety, it is recommended to secure the cabinet to the wall using appropriate mounting hardware (not included). Ensure the installation surface is level and capable of supporting the cabinet's weight, especially once a sink and contents are added.

Image: Dimensional diagram of the LOVMOR 30-inch Bathroom Vanity Cabinet, showing height, width, and depth.
Operation
This cabinet features soft-closing doors. This design allows the cabinet doors to close quietly and smoothly without making noise, preventing slamming and extending the lifespan of the doors and hinges. Simply push the door gently to close, and the soft-close mechanism will engage.
Maintenance and Care
To maintain the appearance and longevity of your LOVMOR vanity cabinet, follow these care instructions:
- Cleaning: The cabinet's surface paint is designed for strong stain resistance. Clean with a soft, damp cloth. Avoid abrasive cleaners or harsh chemicals that could damage the finish.
- Moisture: While the HDF density fiberboard offers moisture resistance, promptly wipe away any standing water or spills to prevent long-term damage.
- Hinges: Periodically check hinges for tightness and smooth operation. Adjust as needed (refer to assembly step 5 for door leveling).
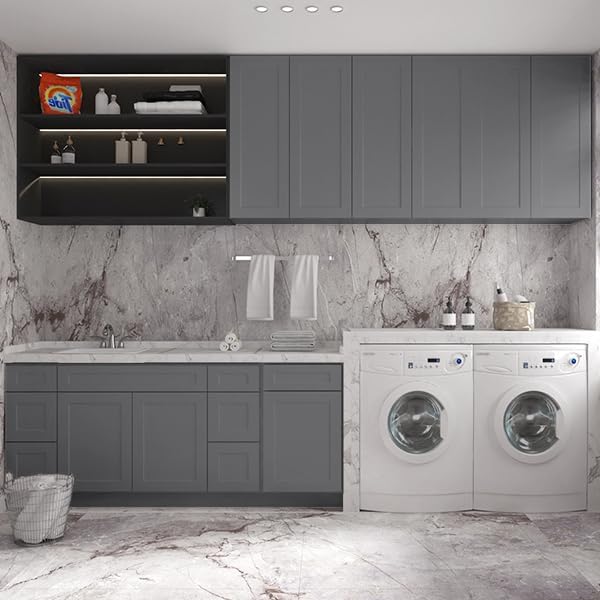
Image: Close-up illustrating the waterproof and easy-to-clean properties of the cabinet's HDF and plywood material.
Troubleshooting
- Wobbly Cabinet: Ensure all screws are tightened. If freestanding, verify the floor is level. If wall-mounted, ensure it's securely fastened to wall studs.
- Uneven Doors: Adjust the hinge screws as described in the assembly instructions (Step 5) to level the doors.
- Doors Not Closing Softly: Check if the rubber bumpers are properly installed. Ensure hinges are clean and free of debris.
Specifications
| Feature | Detail |
|---|---|
| Brand | LOVMOR |
| Model Name | Bathroom Vanity |
| Product Dimensions | 21"D x 30"W x 34.5"H |
| Color | Shaker Grey |
| Material | Plywood and HDF Density Fiberboard |
| Mounting Type | Floor Mount (Freestanding) |
| Special Feature | Soft-Closing Doors |
| Assembly Required | Yes |
| Item Weight | 48 Pounds |
Warranty and Support
For any questions regarding your LOVMOR 30-inch Bathroom Vanity Cabinet, including assembly assistance, missing parts, or product inquiries, please contact LOVMOR customer support. Refer to your purchase documentation or the LOVMOR website for specific warranty details and contact information.
Related documentsBathroom Vanity


Ask a question about this manual
Ask about setup, troubleshooting, compatibility, parts, safety, or missing instructions. Manuals+ will review the question and use this page’s manual context to help answer it.