
1. Introduction
This manual provides essential information for the installation, operation, and maintenance of your MSI GeForce RTX 4070 Ti Ventus 3X 12G OC graphics card. Please read this manual thoroughly before installation to ensure proper setup and optimal performance.
2. Safety Information
- Always disconnect power from your computer before installing or removing any components.
- Wear an anti-static wrist strap to prevent electrostatic discharge (ESD) damage to the graphics card and other components.
- Handle the graphics card by its edges to avoid touching sensitive components.
- Ensure adequate ventilation within your computer case to prevent overheating.
- Keep the graphics card away from moisture and extreme temperatures.
3. Package Contents
Verify that all items are present in your package:
- MSI GeForce RTX 4070 Ti Ventus 3X 12G OC Graphics Card
- Quick Setup Guide
- Power Adapter Cable (12VHPWR to 2x 8-pin PCIe)
- Support Bracket
4. Product Overview
The MSI GeForce RTX 4070 Ti Ventus 3X 12G OC is a high-performance graphics card designed for gaming and creative applications. It features NVIDIA's Ada Lovelace architecture, 12GB of GDDR6X memory, and advanced cooling solutions.
Key Features:
- Chipset: NVIDIA GeForce RTX 4070 Ti
- Video Memory: 12GB GDDR6X
- Memory Interface: 192-bit
- Output: 3x DisplayPort 1.4a, 1x HDMI 2.1
- Digital Maximum Resolution: 7680 x 4320
- Cooling System: TORX Fan 4.0 with Triple-Fan design
- Dimensions: Approximately 12.1 inches (L) x 4.8 inches (W)
Visual Reference:
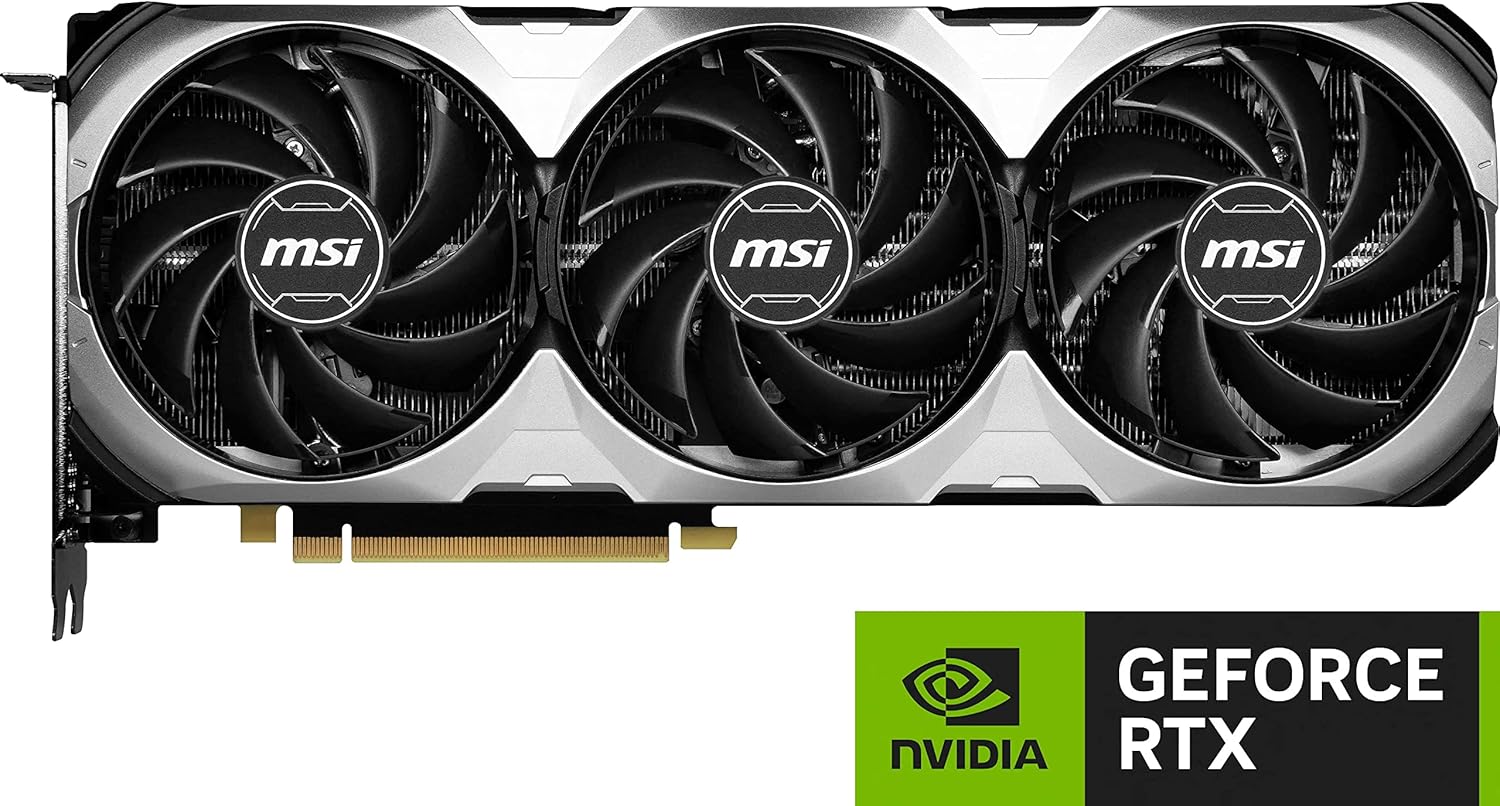
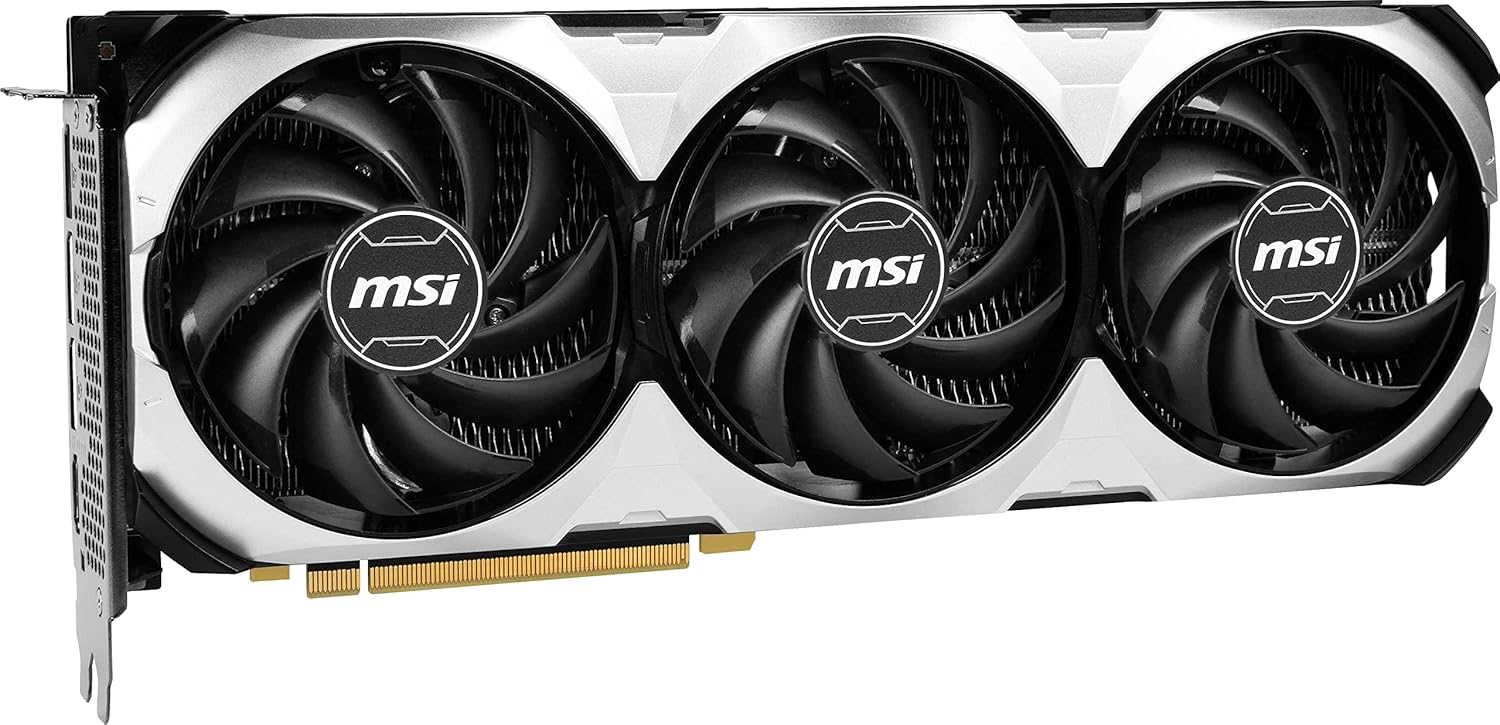
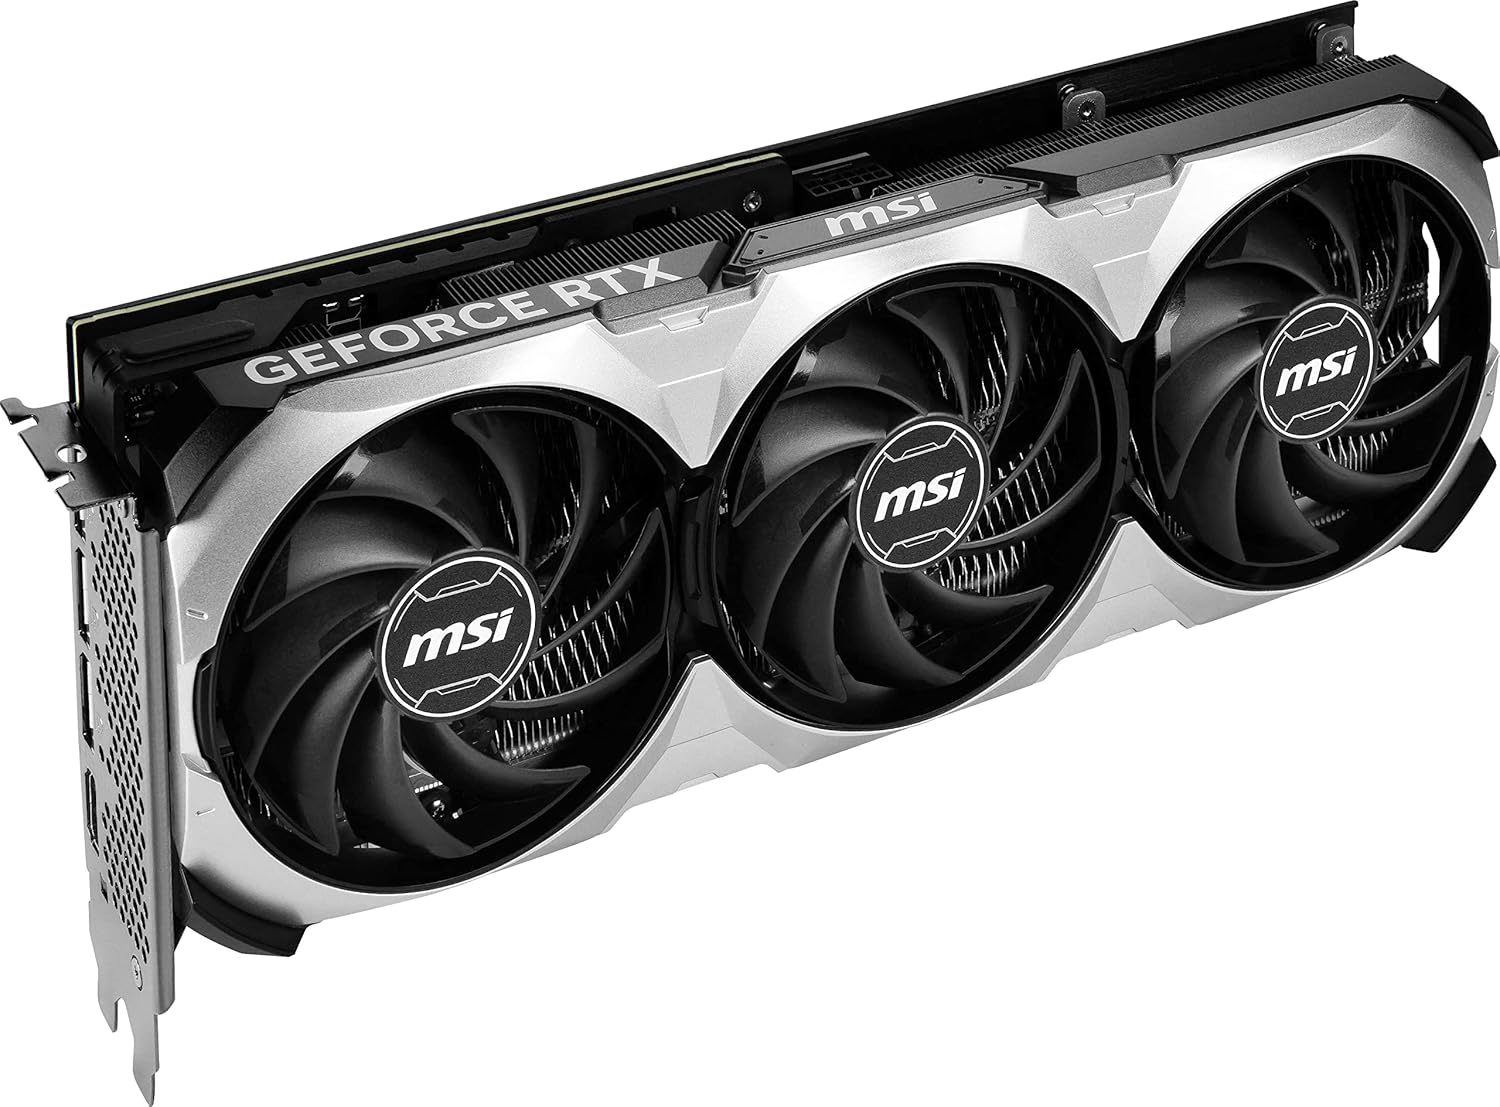


5. Setup and Installation
5.1 Physical Installation
- Prepare Your System: Power off your computer and disconnect all cables. Open your computer case.
- Locate PCIe Slot: Identify an available PCI Express x16 slot on your motherboard.
- Remove Slot Covers: Remove the necessary expansion slot covers from your computer case.
- Insert Graphics Card: Carefully align the graphics card with the PCIe slot and press down firmly until it is securely seated. Ensure the retention clip on the PCIe slot locks into place.
- Secure Graphics Card: Fasten the graphics card to the computer case using screws.
- Install Support Bracket: Attach the provided support bracket to the graphics card and case to prevent card sag.
5.2 Power Connection
The MSI GeForce RTX 4070 Ti requires a 12VHPWR power connection. Your graphics card comes with a power adapter cable (12VHPWR to 2x 8-pin PCIe).
- Connect the 12VHPWR end of the adapter cable to the power connector on the graphics card. Ensure it is fully seated.
- Connect two separate 8-pin PCIe power cables from your power supply unit (PSU) to the two 8-pin connectors on the adapter cable. It is crucial to use two separate cables from your PSU, not a single cable with two connectors, to ensure stable power delivery.

5.3 Driver Installation
- After physical installation, close your computer case and reconnect all cables.
- Power on your computer.
- Download the latest graphics drivers from the official NVIDIA website (www.nvidia.com/drivers). Select your graphics card model and operating system.
- Follow the on-screen instructions to install the drivers. A restart may be required.
6. Operating the Graphics Card
6.1 Display Connection
Connect your monitor(s) to the DisplayPort or HDMI outputs on the graphics card. The card supports up to four displays simultaneously.
6.2 MSI Center Software
MSI Center is an exclusive software that helps you get the most out of your MSI products. Monitor, tweak, and optimize in real-time with just a few clicks. Mystic Light lets you control RGB lighting for MSI devices and compatible third-party RGB products both inside and outside your system.

6.3 MSI Afterburner
MSI Afterburner is a widely recognized graphics card overclocking software. It allows you to take full control of your graphics card by monitoring key system metrics in real-time and adjusting clock speeds, voltage, and fan performance. It is compatible with most vendor graphics cards.

7. Maintenance
Proper maintenance ensures the longevity and performance of your graphics card.
7.1 Cooling System
The Ventus 3X series features advanced cooling technologies:
- TORX FAN 4.0: Features pairs of fan blades bound together with a linked outer ring design to focus airflow into the triple-fan cooling system.
- Copper Baseplate: Heat from the GPU and memory modules is immediately captured by a solid nickel-plated copper baseplate and rapidly transferred to an array of heat pipes.
- Core Pipes: Precision-crafted heat pipes are designed to maximize contact with the GPU baseplate and spread heat along the full length of the heatsink.
- Airflow Control: Improves airflow dynamics through Wave Curve 2.0, updated deflectors, and Air Antegrade fin design for optimized cooling and quieter acoustics.
- Zero Frozr: The fans completely stop when temperatures are relatively low, eliminating all noise when active cooling is not needed. Fans automatically start spinning when the heat increases during gaming.
- Ball Bearings: Two sets of durable ball bearings spin the TORX fans for extended lifespan during intense gaming sessions.
- Thermal Padding: An abundance of clay-based thermal pads provides additional heat dissipation for board components.
- Metal Backplate: A sturdy brushed aluminum backplate features a flow-through design that provides additional ventilation and structural rigidity.


7.2 Cleaning
- Regularly clean dust from the fans and heatsink using compressed air.
- Ensure the computer is powered off and unplugged before cleaning.
- Hold the fan blades gently to prevent them from spinning rapidly during cleaning, which can damage the bearings.
8. Troubleshooting
- No Display Output:
- Ensure the graphics card is fully seated in the PCIe slot.
- Verify all power cables are securely connected to the graphics card and PSU.
- Check that your monitor is connected to the graphics card outputs, not the motherboard's integrated graphics ports.
- Try a different display cable or monitor.
- System Instability/Crashes:
- Ensure you have the latest graphics drivers installed from NVIDIA's official website.
- Check your PSU wattage to ensure it meets the recommended requirements for the RTX 4070 Ti.
- Monitor GPU temperatures using MSI Center or Afterburner to check for overheating.
- If overclocking, revert to default settings to rule out instability caused by overclocks.
- Fan Noise/Malfunction:
- Clean any dust buildup from the fans and heatsink.
- Check fan settings in MSI Center or Afterburner.
- If a fan is making unusual noises or not spinning, contact MSI support.
9. Specifications
| Feature | Specification |
|---|---|
| Graphics Coprocessor | NVIDIA GeForce RTX 4070 Ti |
| Brand | MSI |
| Graphics RAM Size | 12 GB |
| Video Output Interface | HDMI, DisplayPort |
| Graphics Processor Manufacturer | NVIDIA |
| Graphics RAM Type | GDDR6X |
| Compatible Devices | Desktop |
| Display Resolution Maximum | 7680x4320 |
| Graphics Card Interface | PCI Express |
| Memory Clock Speed | 21 Gbps (Effective) |
| Number of Fans | 3 |
| Item Dimensions (L x W) | 12.1"L x 4.8"W |
| Item Weight | 2.5 Pounds |
| Model Name | VENTUS 3X |
| UPC | 824142306390 |
10. Warranty and Support
Your MSI GeForce RTX 4070 Ti Ventus 3X 12G OC Graphics Card comes with a 3-year warranty from the manufacturer.
For technical support, driver updates, or warranty claims, please visit the official MSI website or contact their customer service directly.
MSI Official Website: www.msi.com


