1. Introduction
This manual provides detailed instructions for the installation, operation, and maintenance of your Podofo Wireless Apple CarPlay and Android Auto Car Stereo. Please read this manual thoroughly before installation and use to ensure proper function and to maximize your user experience. This unit is specifically designed for the Honda Accord 8th Generation models from 2008 to 2013.
2. Product Overview
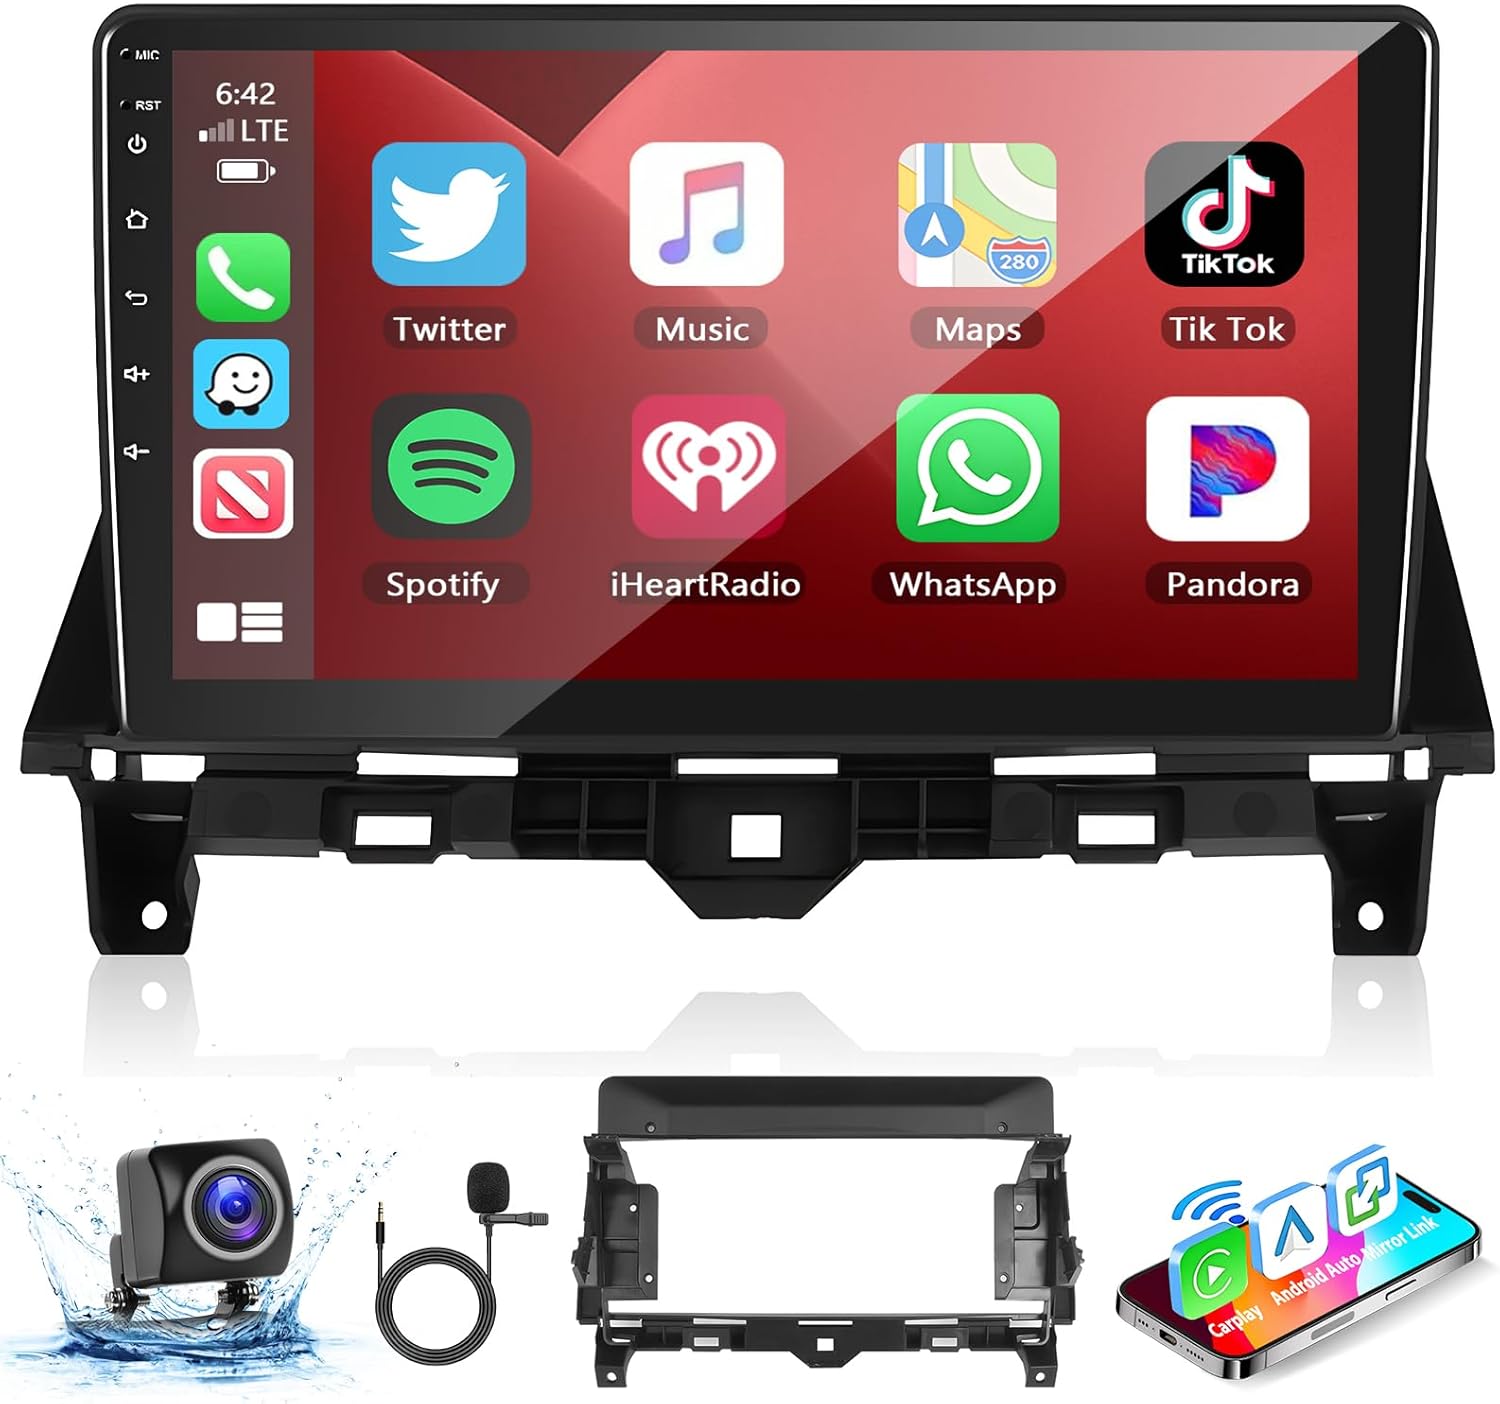
Image: Podofo 10.1-inch Car Stereo Unit. This image displays the main head unit with its large touchscreen interface, showing various application icons.
2.1 Key Features
- 10.1-inch Touch Screen Display
- Wireless Apple CarPlay and Android Auto compatibility
- Built-in GPS Navigation
- Bluetooth for hands-free calling and audio streaming
- Wi-Fi Connectivity
- FM/RDS Radio
- Hi-Fi Audio Function
- Steering Wheel Control (SWC) Support
- Backup Camera Input
- Dual USB Adapter Input
2.2 Package Contents
Verify that all components are present in your package:

Image: Podofo Car Stereo Package Contents. This image displays the main head unit, power cable, RCA cable, AUX adapter, rear camera input cable, USB cables, GPS antenna, microphone, mounting brackets, screws, and user manual.
- Main Head Unit (10.1-inch display)
- Power Cable
- RCA Cable
- AUX Adapter
- Rear Camera Input Cable
- USB Cables (x2)
- GPS Antenna
- Microphone
- Mounting Brackets (x2)
- Screws (x4)
- Backup Camera
- Instruction Manual
3. Installation Guide
Professional installation is recommended. Ensure the vehicle's battery is disconnected before beginning installation. Refer to your vehicle's service manual for specific dashboard disassembly instructions.
3.1 Pre-Installation Check
Before purchasing and installing, confirm your vehicle's central control panel matches Option A in the diagram below. This product is compatible only with Option A configurations.

Image: Dashboard Compatibility Check. This image shows three dashboard configurations (A, B, C) for the Honda Accord 8th Gen, indicating that only configuration A is compatible with this stereo unit.
3.2 Wiring Connections
Carefully connect all cables as shown in the wiring diagram. Ensure secure connections to prevent malfunctions.

Image: Wiring Diagram. This diagram illustrates the connections for the power cable, RCA cable, USB cables, rear camera input cable, and GPS antenna to the main head unit.
- Power Cable: Connect to the vehicle's power harness.
- RCA Cable: For audio/video input/output.
- USB Cables: Connect for data transfer and charging.
- Rear Camera Input Cable: Connect the backup camera.
- GPS Antenna: Mount in a location with a clear view of the sky.
- Microphone: Connect for hands-free calling.
Important Note: If your vehicle has an AUX port in the gear lever location, use the provided AUX adapter cable to ensure audio functionality. If the small screen extension cable is difficult to insert, it may not be necessary for your specific vehicle configuration.

Image: AUX Port and Adapter. This image highlights the typical location of an AUX port in a Honda Accord and shows the AUX adapter cable.
4. Initial Setup
4.1 Power On
After installation, reconnect the vehicle's battery. Turn on the ignition. The stereo should power on automatically. If not, press the power button on the unit.
4.2 Language and Time Settings
Navigate to the system settings to configure your preferred language, time zone, and date.
4.3 Wi-Fi Connection
To access online features, connect the unit to a Wi-Fi network (e.g., your phone's hotspot). Go to Settings > Network & Internet > Wi-Fi, select your network, and enter the password.

Image: Wi-Fi Connection Screen. This image shows the stereo's interface for connecting to a Wi-Fi network, displaying available networks and connection status.
5. Operating Instructions
5.1 Wireless Apple CarPlay / Android Auto
This unit supports both wireless and wired connections for Apple CarPlay and Android Auto. This allows you to access your phone's navigation, music, messages, and other apps directly on the stereo display.

Image: Apple CarPlay and Android Auto Interface. This image displays the main screen of the car stereo showing the Apple CarPlay interface with various app icons.
- Pairing: Ensure your phone's Bluetooth is on. On the car stereo, go to Bluetooth settings and pair with your phone (default password: 0000). The Bluetooth name is typically "CarBT123".
- Connect to Zlink APP: Once paired, the system should automatically switch to the Zlink APP, displaying the CarPlay or Android Auto interface.
- Voice Control: Use voice commands (Siri for Apple CarPlay, Google Assistant for Android Auto) for navigation, calls, and music.
Troubleshooting Connection: If Bluetooth pairing fails, try connecting the car stereo's Wi-Fi to your phone's hotspot manually (Settings > Android Car Setting > Network > Hotspot Sharing). Also, delete existing Bluetooth connection records and retry pairing.

Image: Voice Control Functionality. This image illustrates the use of voice commands like "Hey Siri, Play music" or "Navigation home" with the car stereo.
5.2 GPS Navigation
The unit has built-in GPS. You can use pre-installed navigation apps or download others from the Play Store when connected to Wi-Fi.
5.3 Bluetooth Functions
Connect your phone via Bluetooth for hands-free calls and audio streaming (A2DP).

Image: Bluetooth Interface. This image shows the car stereo's Bluetooth calling screen, including a dial pad and call management options.
- Hands-Free Calling: Dial numbers directly from the screen or access your phone book.
- Bluetooth Music: Stream audio from your paired device.
5.4 FM/RDS Radio
Tune into your favorite radio stations. The RDS (Radio Data System) feature displays station information where available.
5.5 Steering Wheel Control (SWC)
Configure your steering wheel buttons to control the stereo functions. Go to Settings > Steering Learn to program the buttons.
5.6 Backup Camera
When the vehicle is shifted into reverse, the display will automatically show the view from the connected backup camera, providing parking assistance.

Image: Reverse Assistance with Backup Camera. This image shows the car stereo displaying the rear view with parking guidelines, along with a diagram of the camera wiring.
6. Maintenance
- Screen Cleaning: Use a soft, lint-free cloth to clean the touchscreen. Avoid abrasive cleaners.
- Software Updates: Periodically check for software updates through the system settings to ensure optimal performance and access to new features.
- General Care: Avoid exposing the unit to extreme temperatures or direct sunlight for extended periods.
7. Troubleshooting
| Issue | Possible Cause | Solution |
|---|---|---|
| No Power | Loose power connection, blown fuse. | Check power cable connections. Inspect vehicle's fuse box and stereo's inline fuse. |
| No Sound / Static Sound | Incorrect wiring, missing AUX connection, speaker issues. | Verify all audio wiring, especially the AUX adapter if applicable. Check speaker connections. |
| Apple CarPlay / Android Auto Not Connecting | Bluetooth pairing issue, Wi-Fi interference, phone settings. | Ensure Bluetooth is paired. Connect stereo Wi-Fi to phone hotspot. Delete and re-pair Bluetooth. Check phone's CarPlay/Android Auto settings. |
| Steering Wheel Controls Not Working | Incorrect wiring, not programmed. | Verify SWC wiring. Go to Settings > Steering Learn and program the buttons. |
| Backup Camera Not Displaying | Incorrect camera wiring, camera malfunction. | Check the rear camera input cable connection. Ensure the camera is powered correctly. |
| Screen Unresponsive / Black Screen | Software glitch, hardware issue. | Try restarting the unit (press and hold power button). If issue persists, contact support. |
8. Specifications
| Feature | Detail |
|---|---|
| Display Size | 10.1 Inches |
| Resolution | 1024 x 600 |
| Operating System | Android 13 |
| Memory (RAM) | 1GB |
| Storage (ROM) | 32GB |
| Connectivity | Wi-Fi, Bluetooth |
| Map Type | Worldwide (via GPS) |
| Mounting Type | Dashboard Mount |
| Product Dimensions | 1.1 x 0.83 x 0.55 inches |
| Item Weight | 5.66 pounds (2.57 Kilograms) |
9. Warranty and Support
Podofo is committed to providing quality products and customer satisfaction.
- Warranty: Replacement available within 24 months from the date of purchase.
- Technical Support: Lifetime after-sales consultation and technical support are provided.
- Returns: 60-day worry-free return policy.
- Contact: For any issues or inquiries, please contact Podofo customer service.


